Kitchen at the AGH Cottage: The Making of A Good Home
BTS of the AGH Cottage Renovation
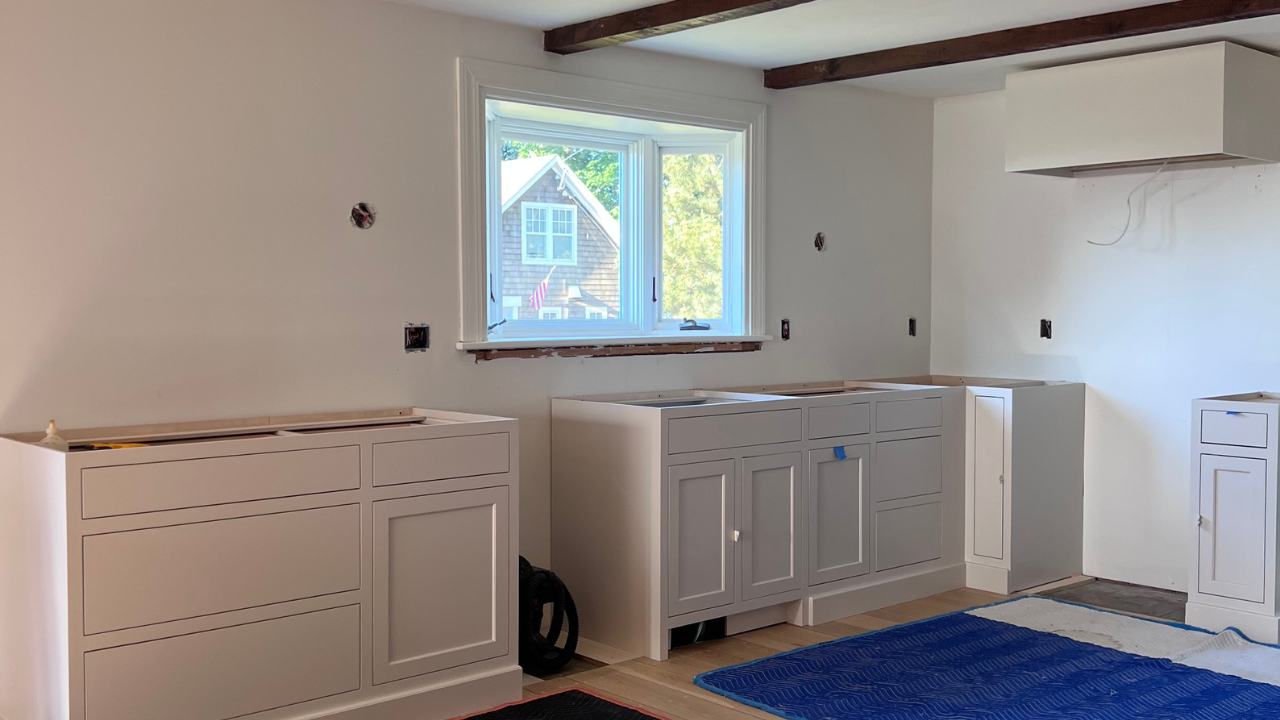
The kitchen is the first project we took on at the AGH Cottage. From the “before”, renovation plans, inspiration, design, selections, to the process, install and comprehensive costs, we’re sharing it all below.
The Before
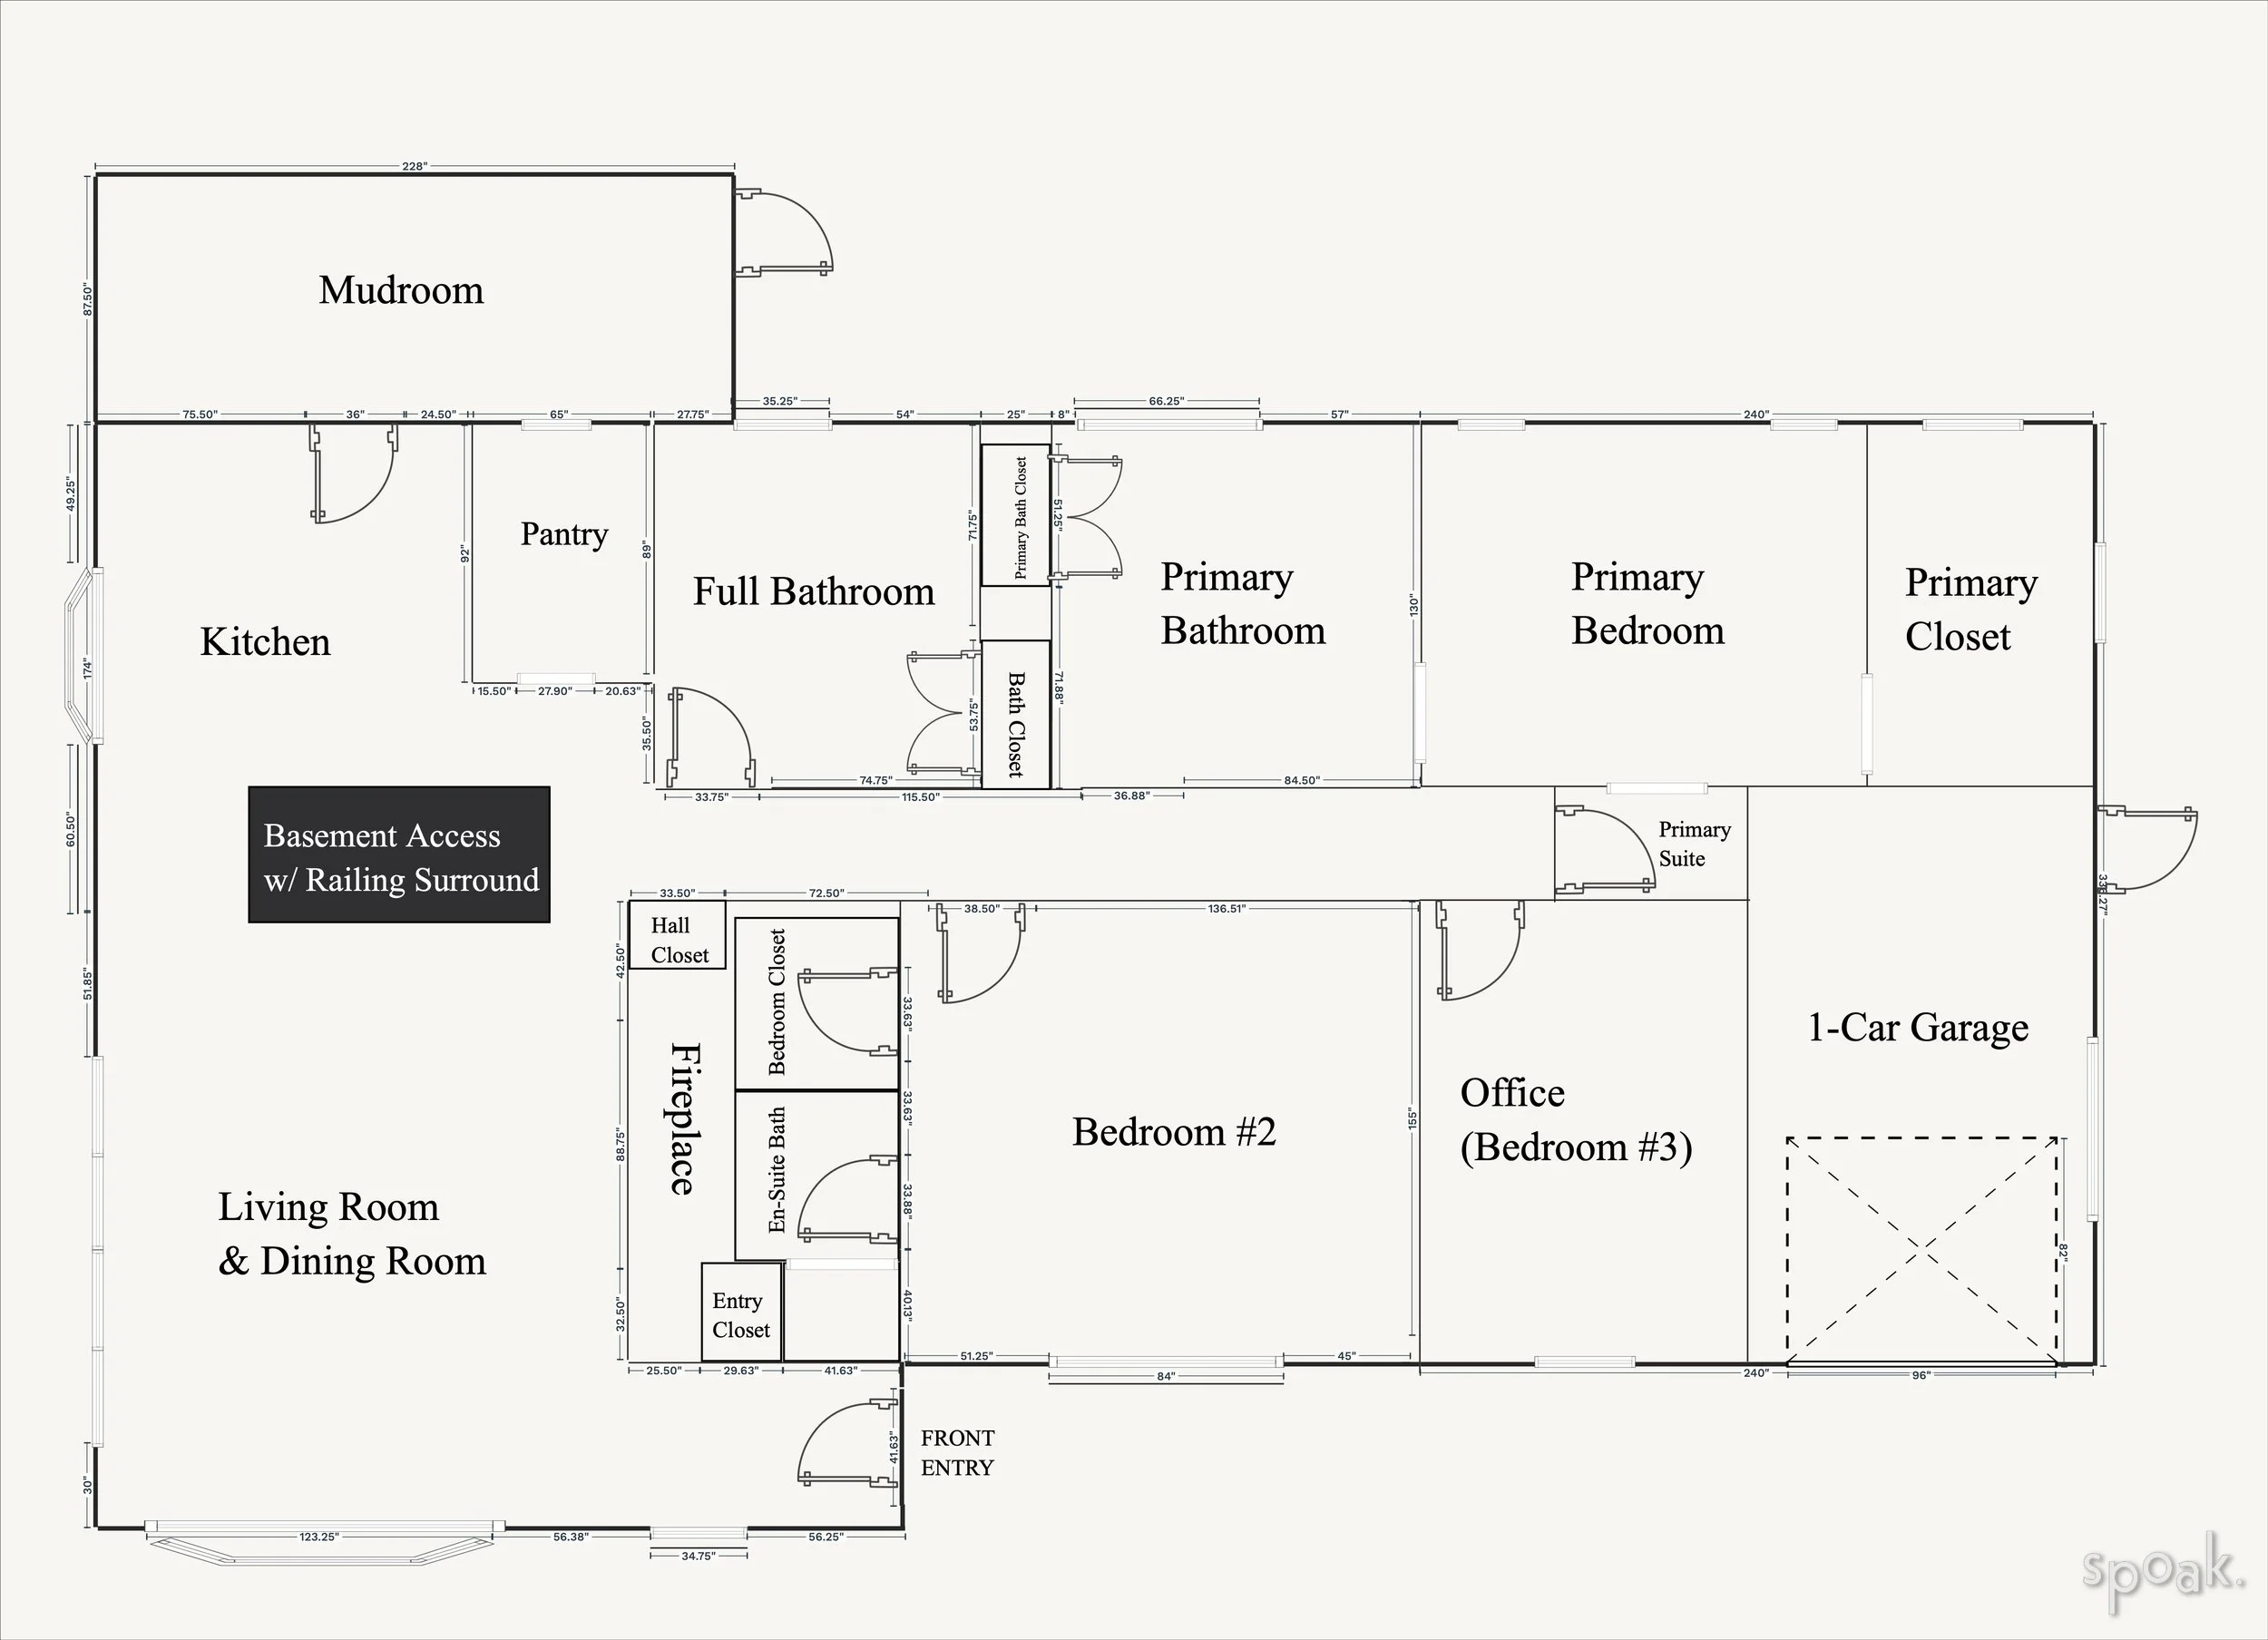
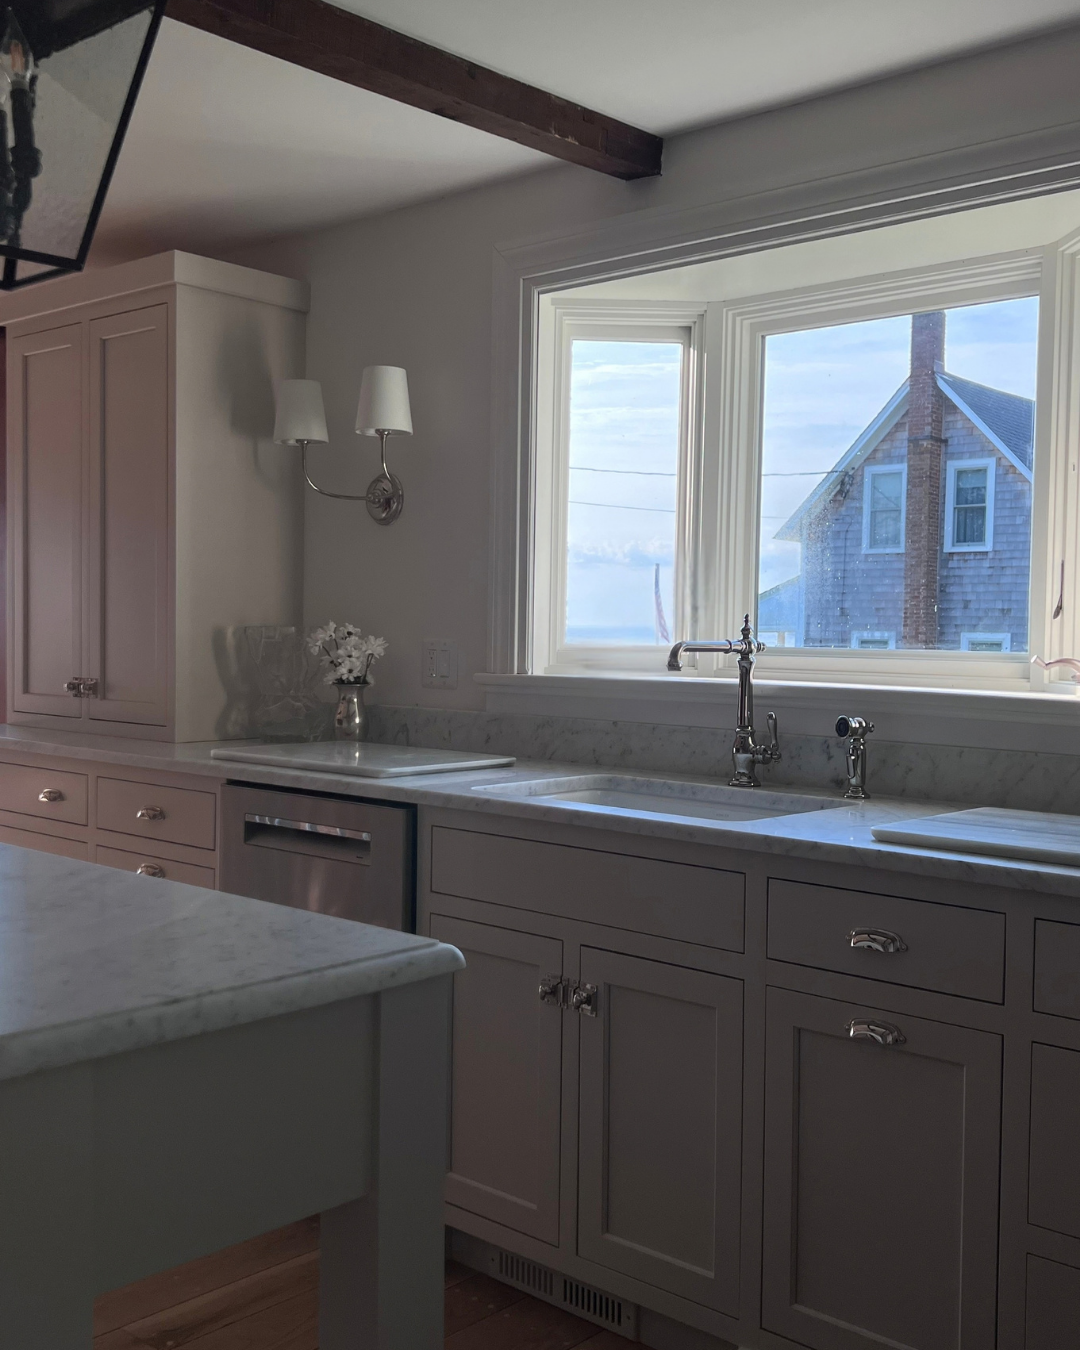
The existing kitchen was cramped, tired and in need of a total overhaul. The kitchen felt particularly small due to an imposing 108“ x 49” wall that encased a climb-up pantry (yes you read that right) on the left side and a descending stairwell to the lower level on the right side. However, it had a few things going for it, including a cute bay window with a view, a nice French door, cool stained beams across the ceiling and white oak flooring (unbeknownst to us- uncovered at the time of floor refinishing).
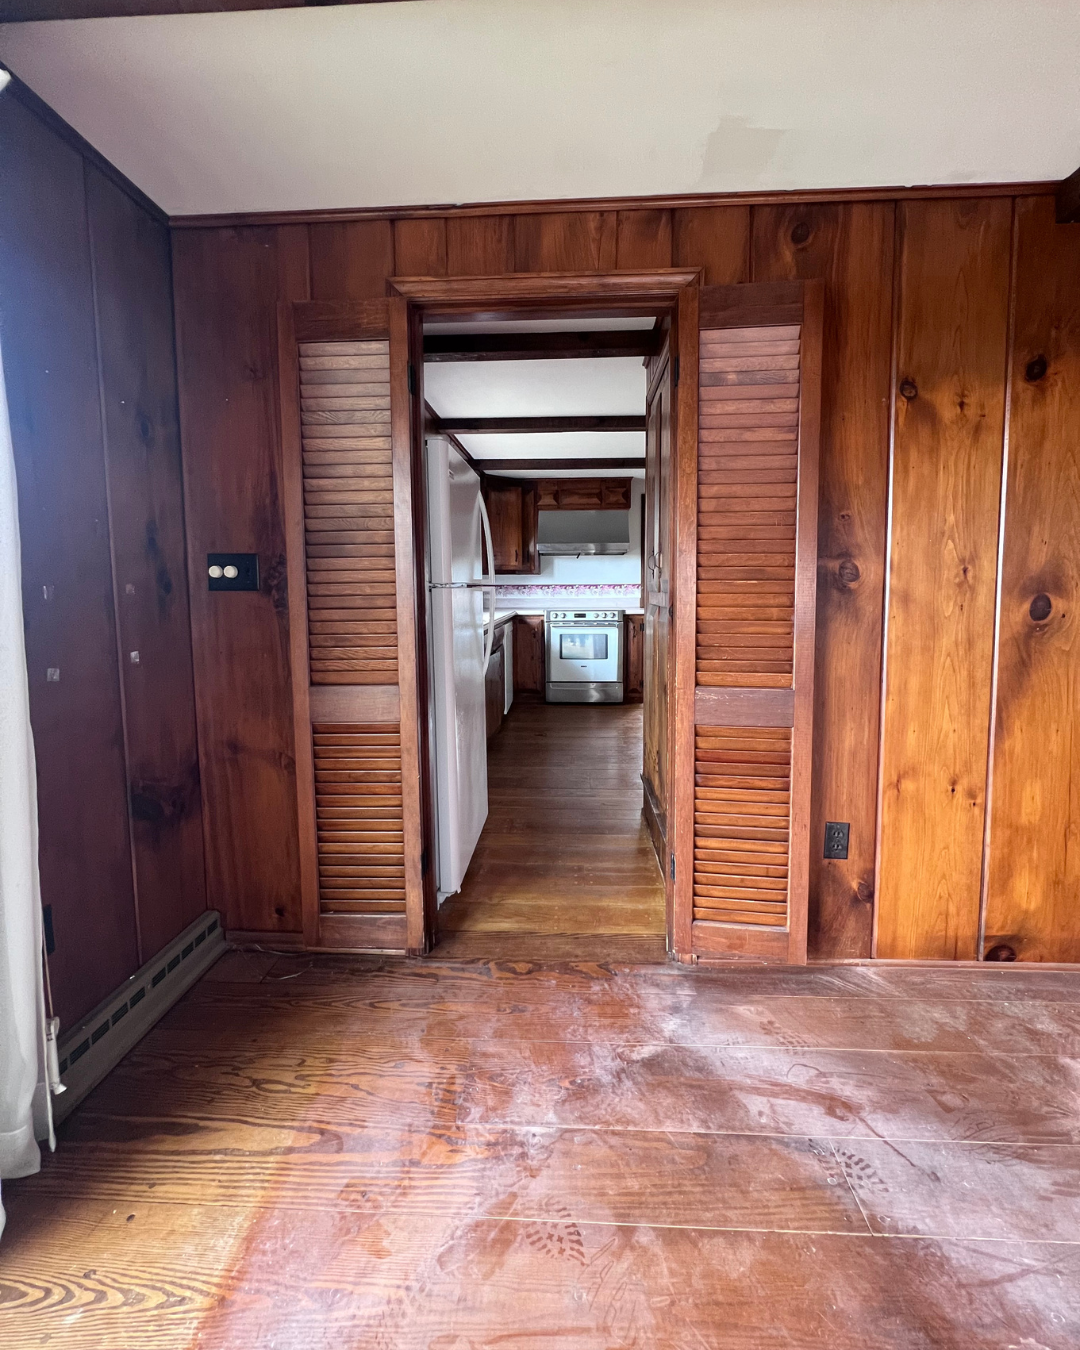
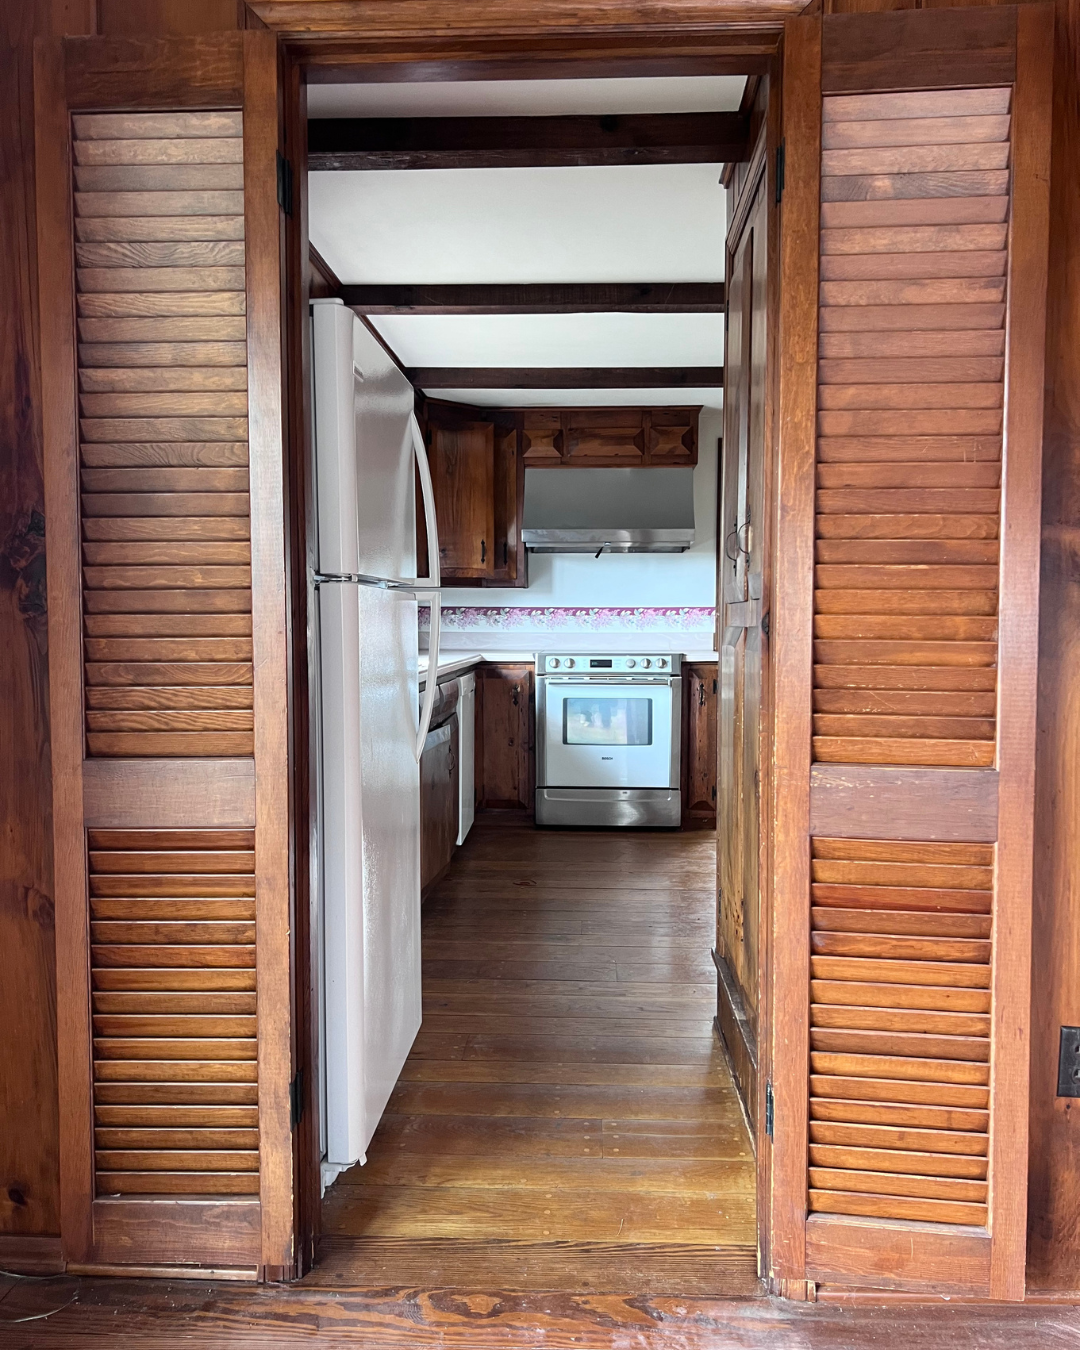
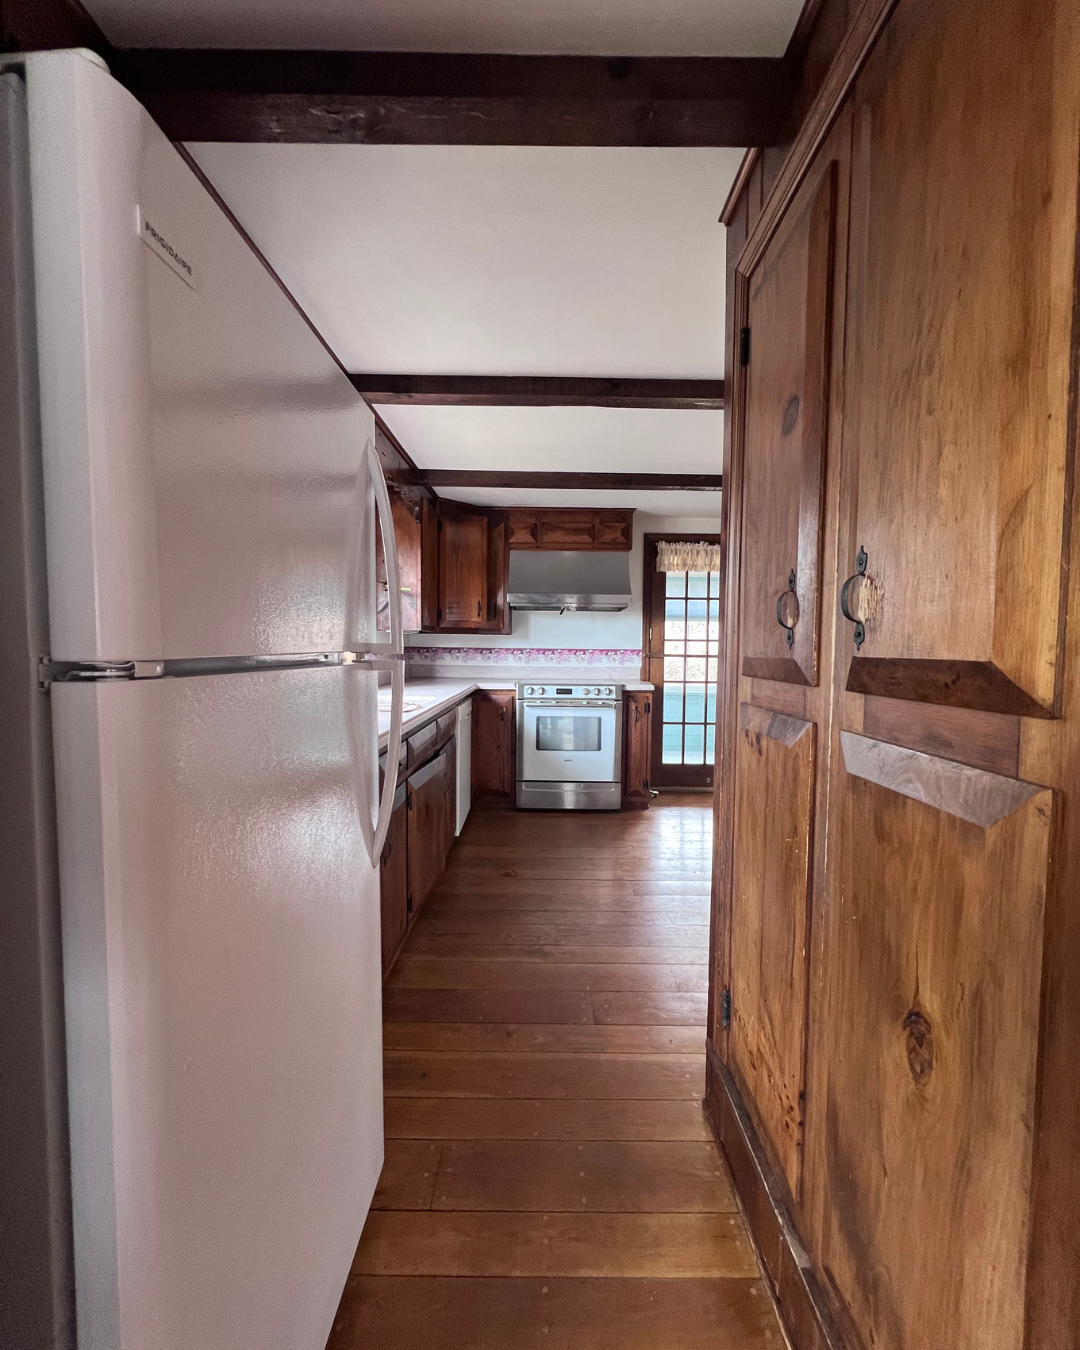
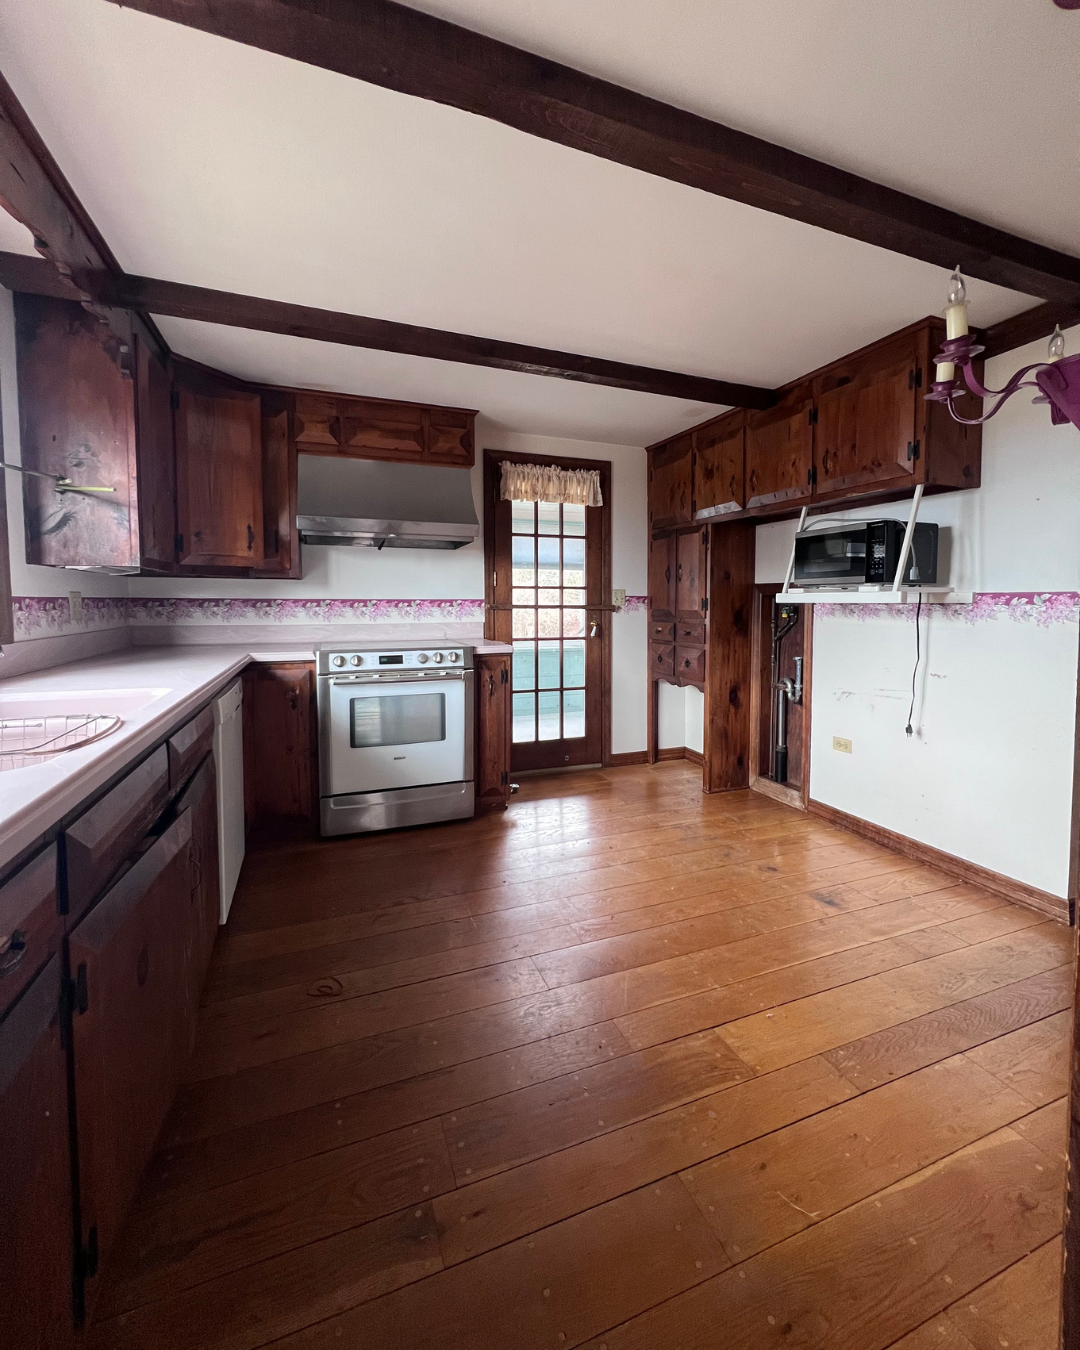
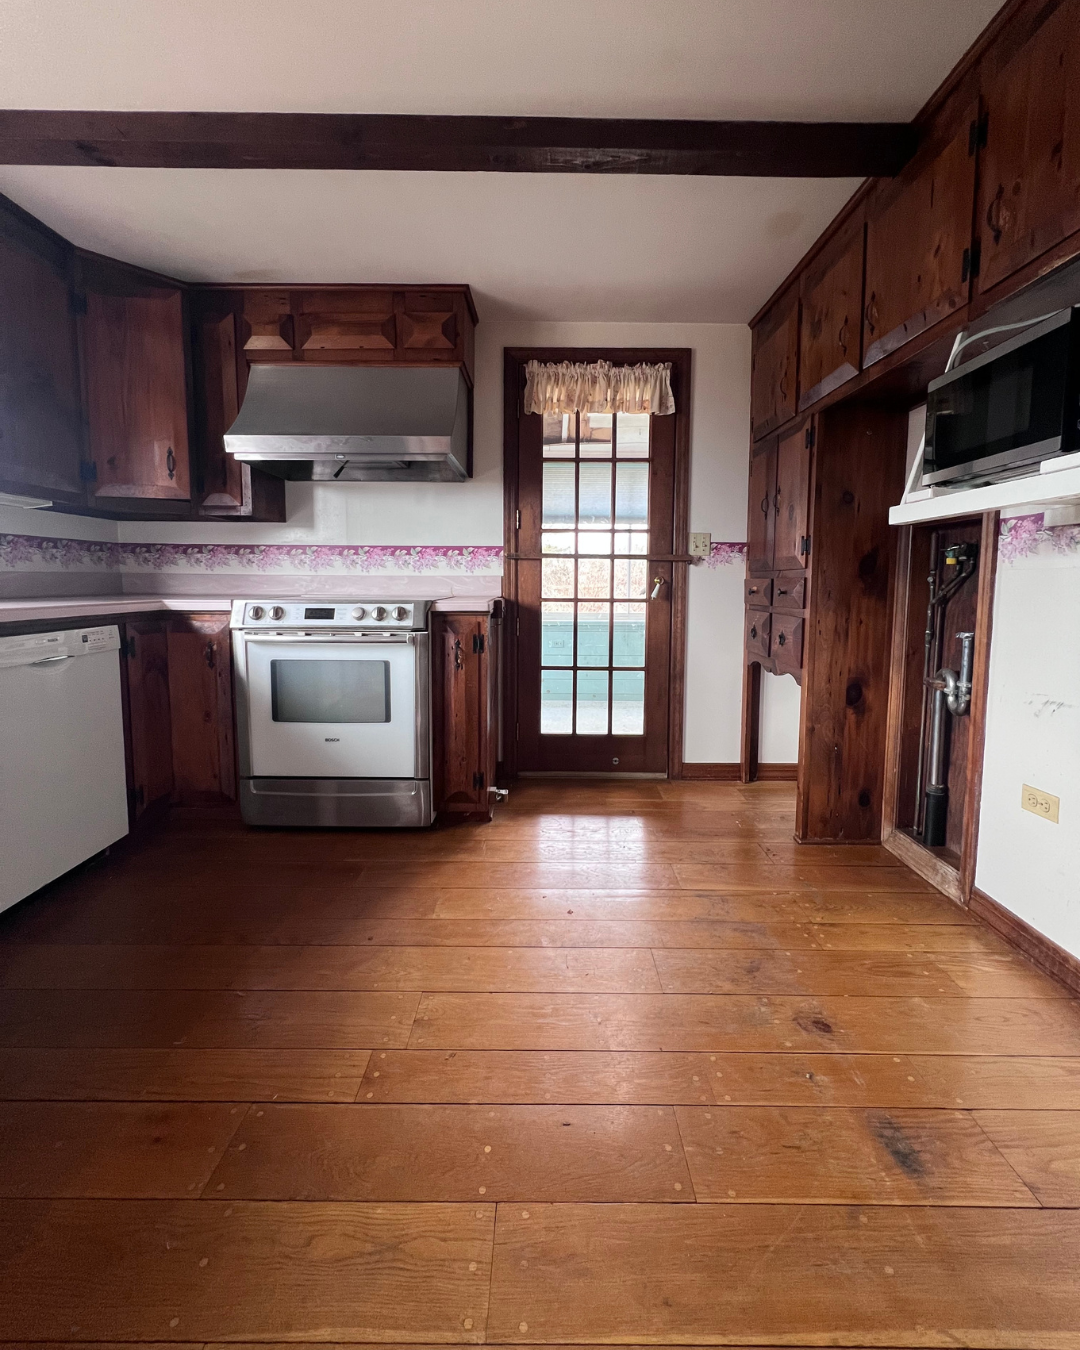
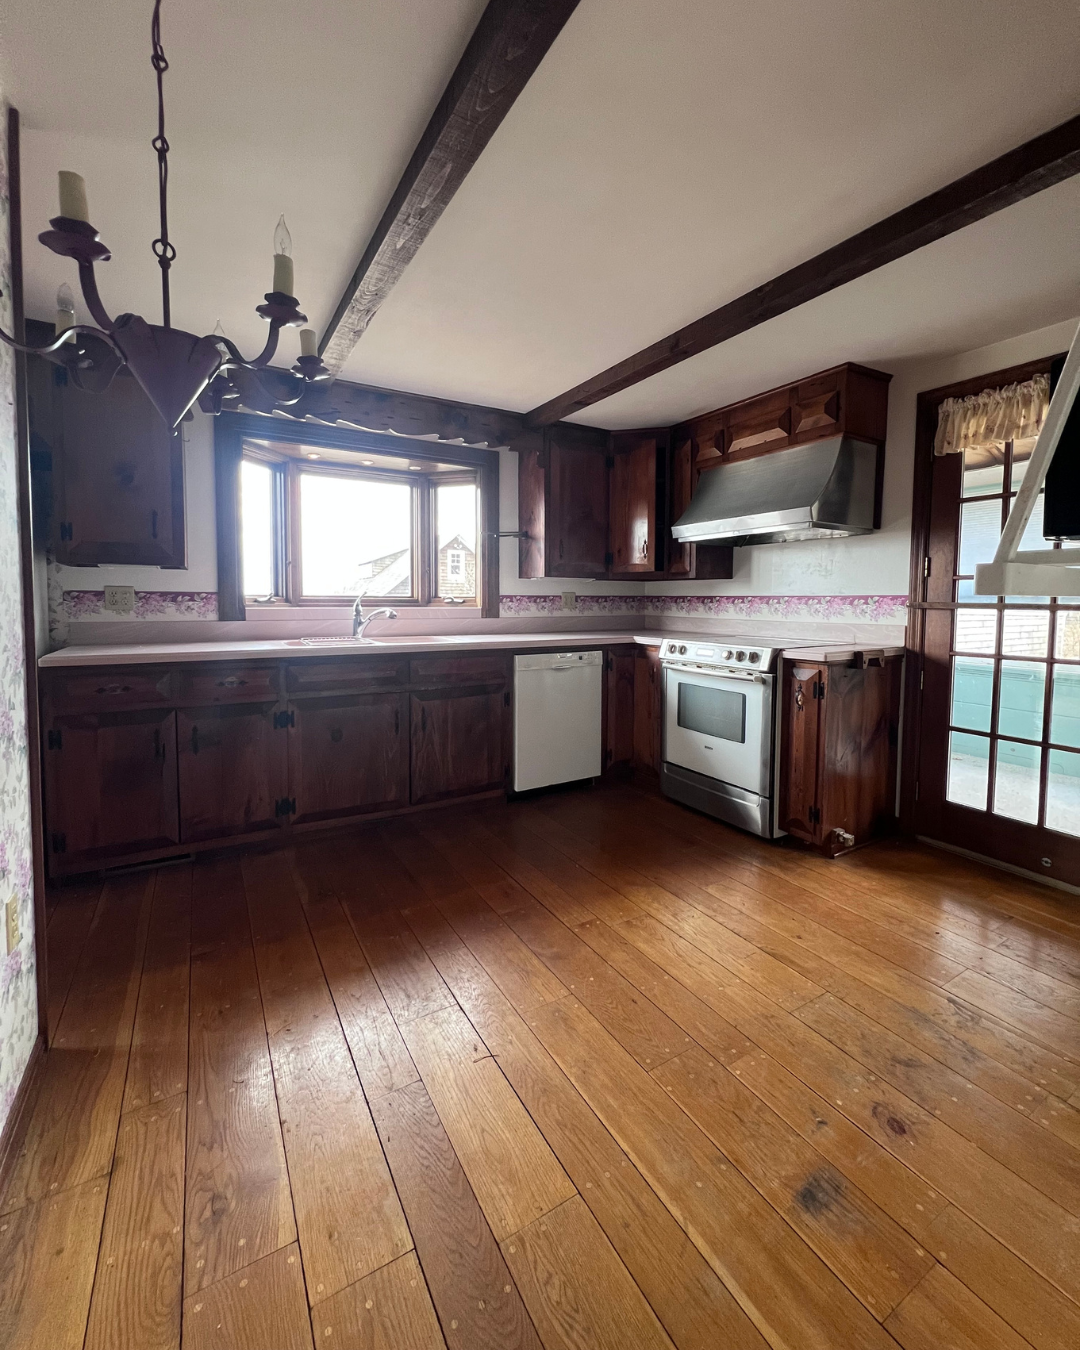
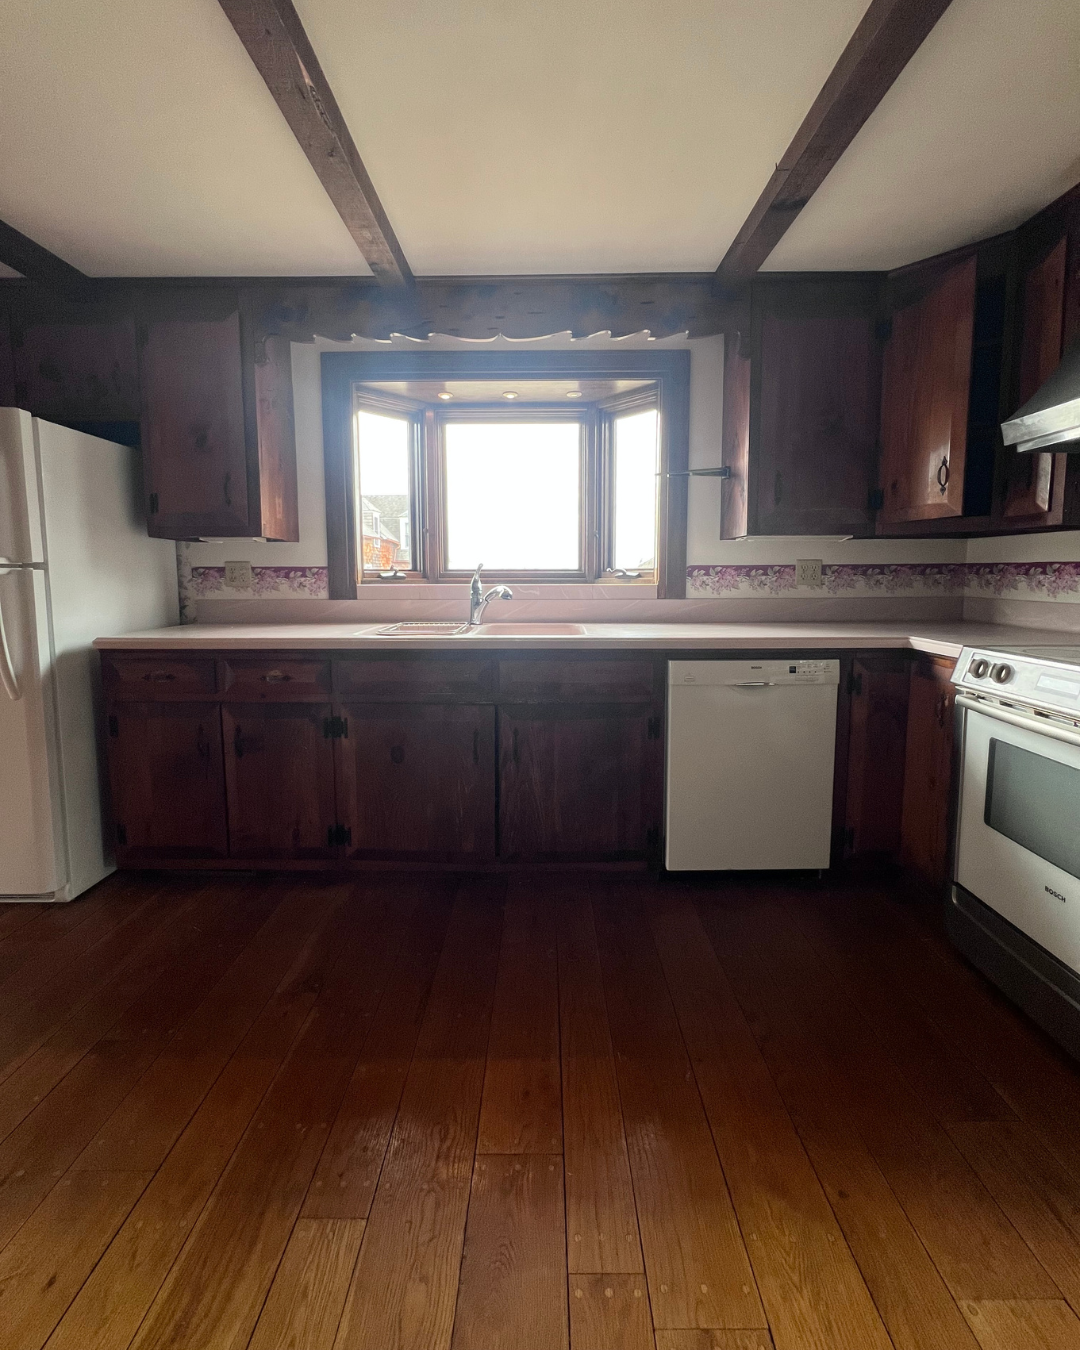
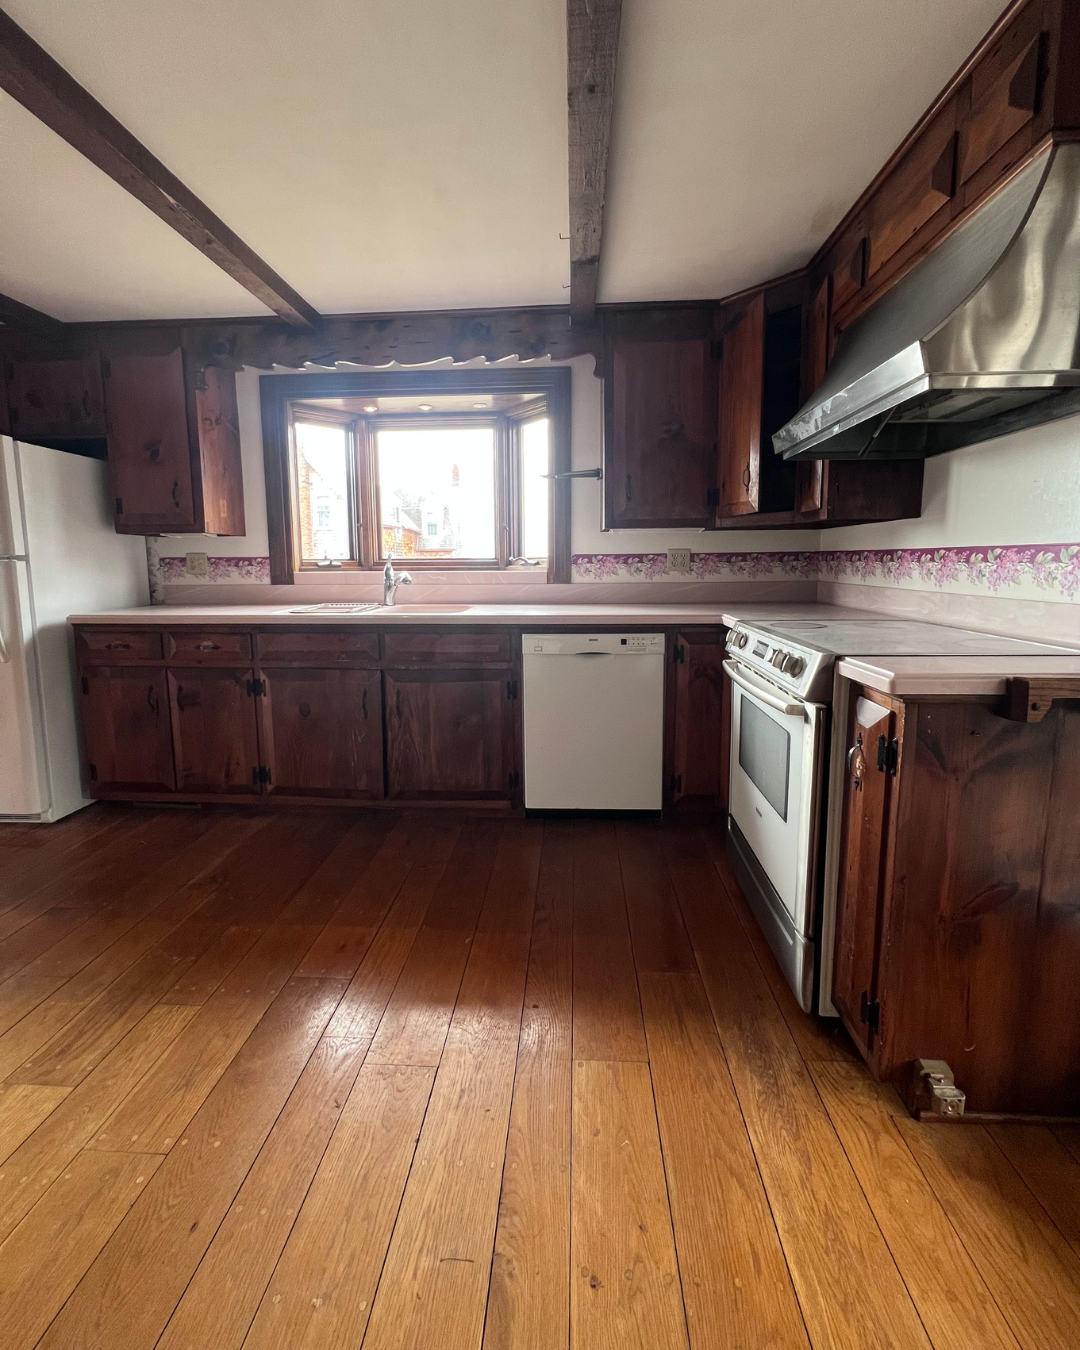
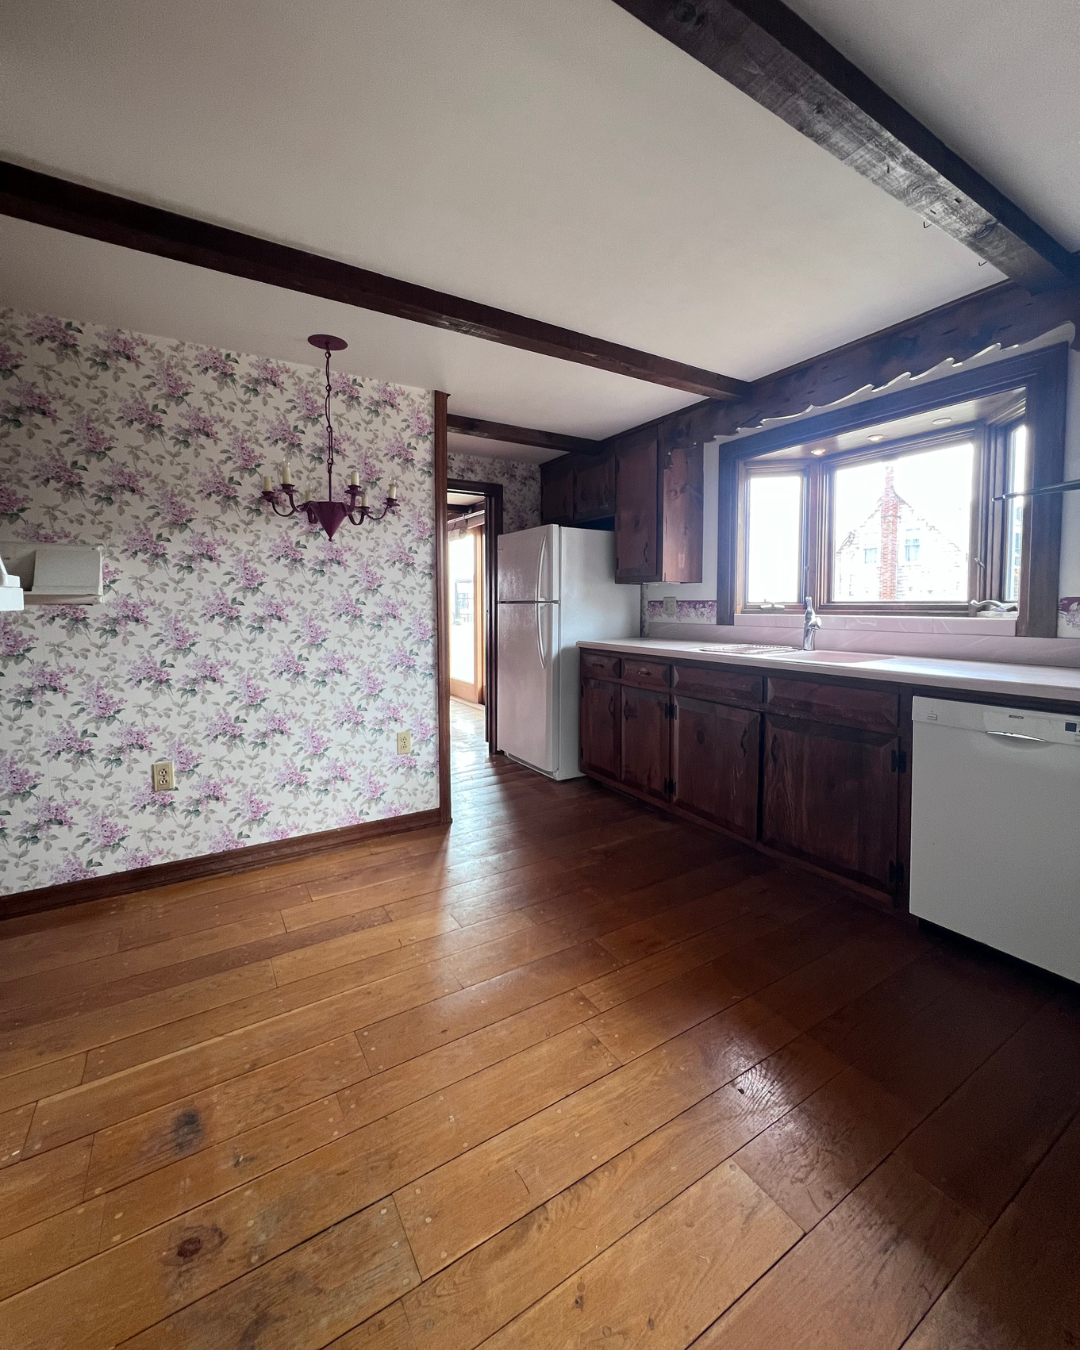
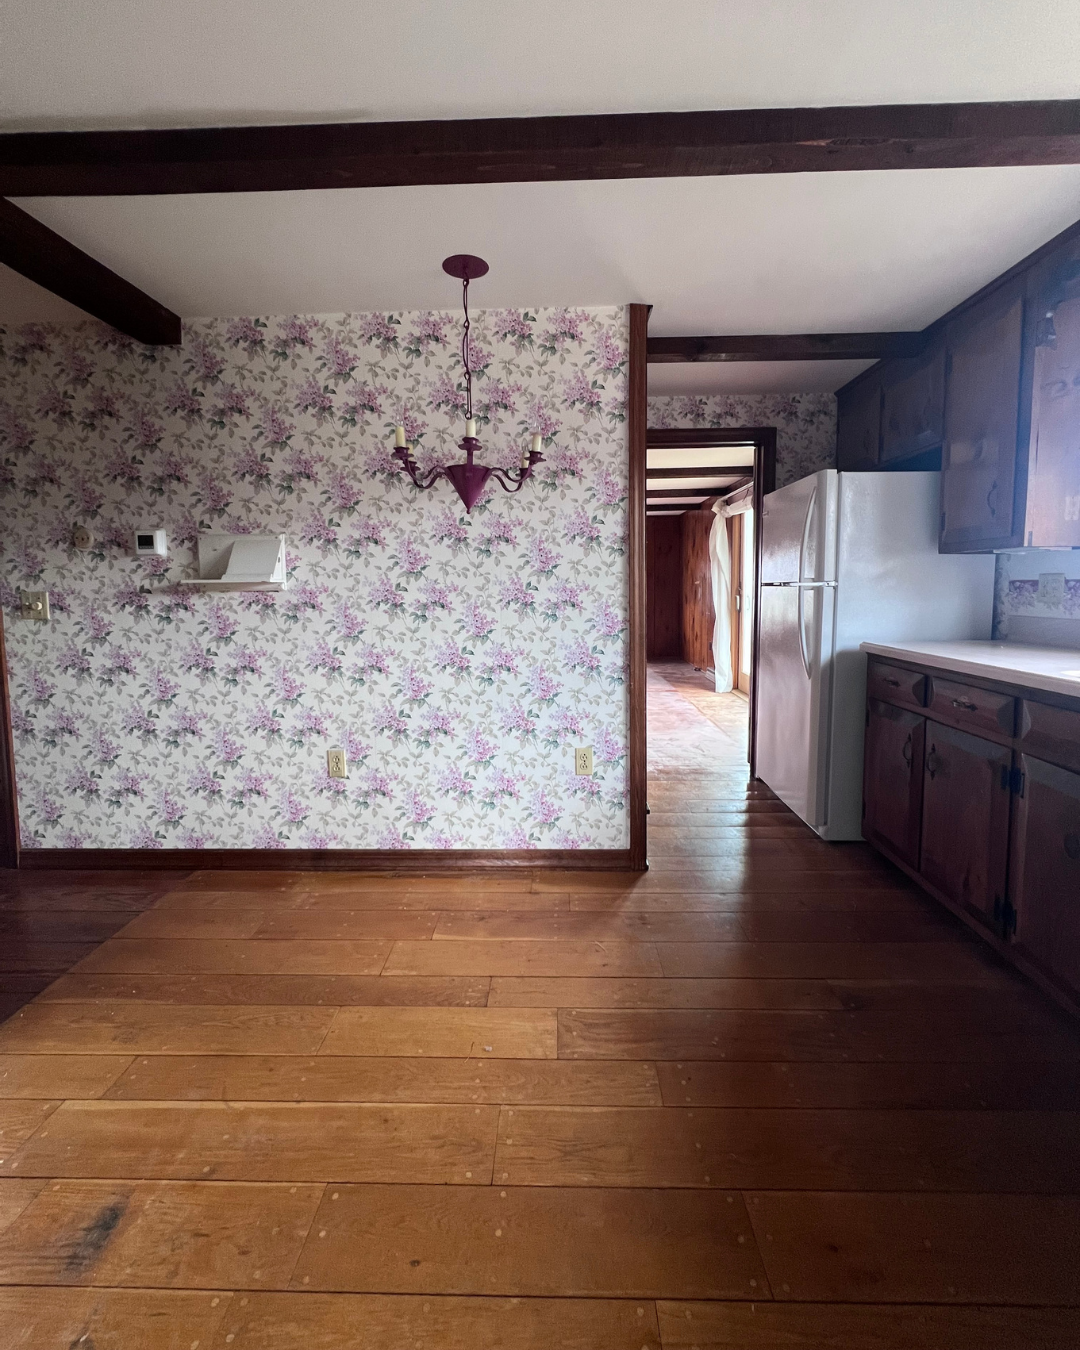
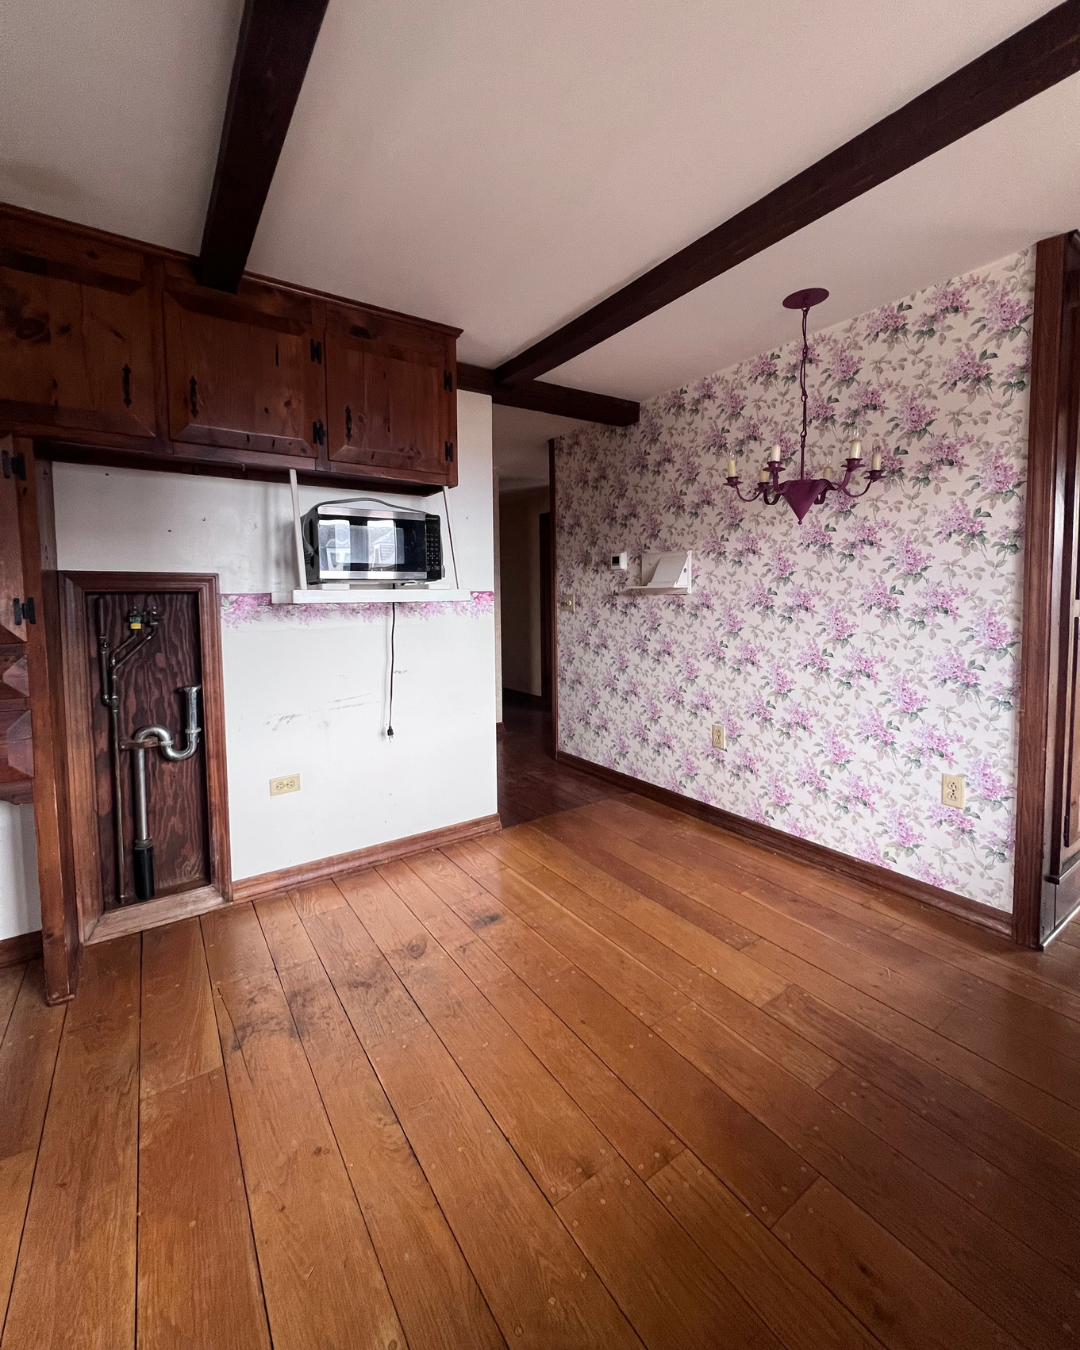
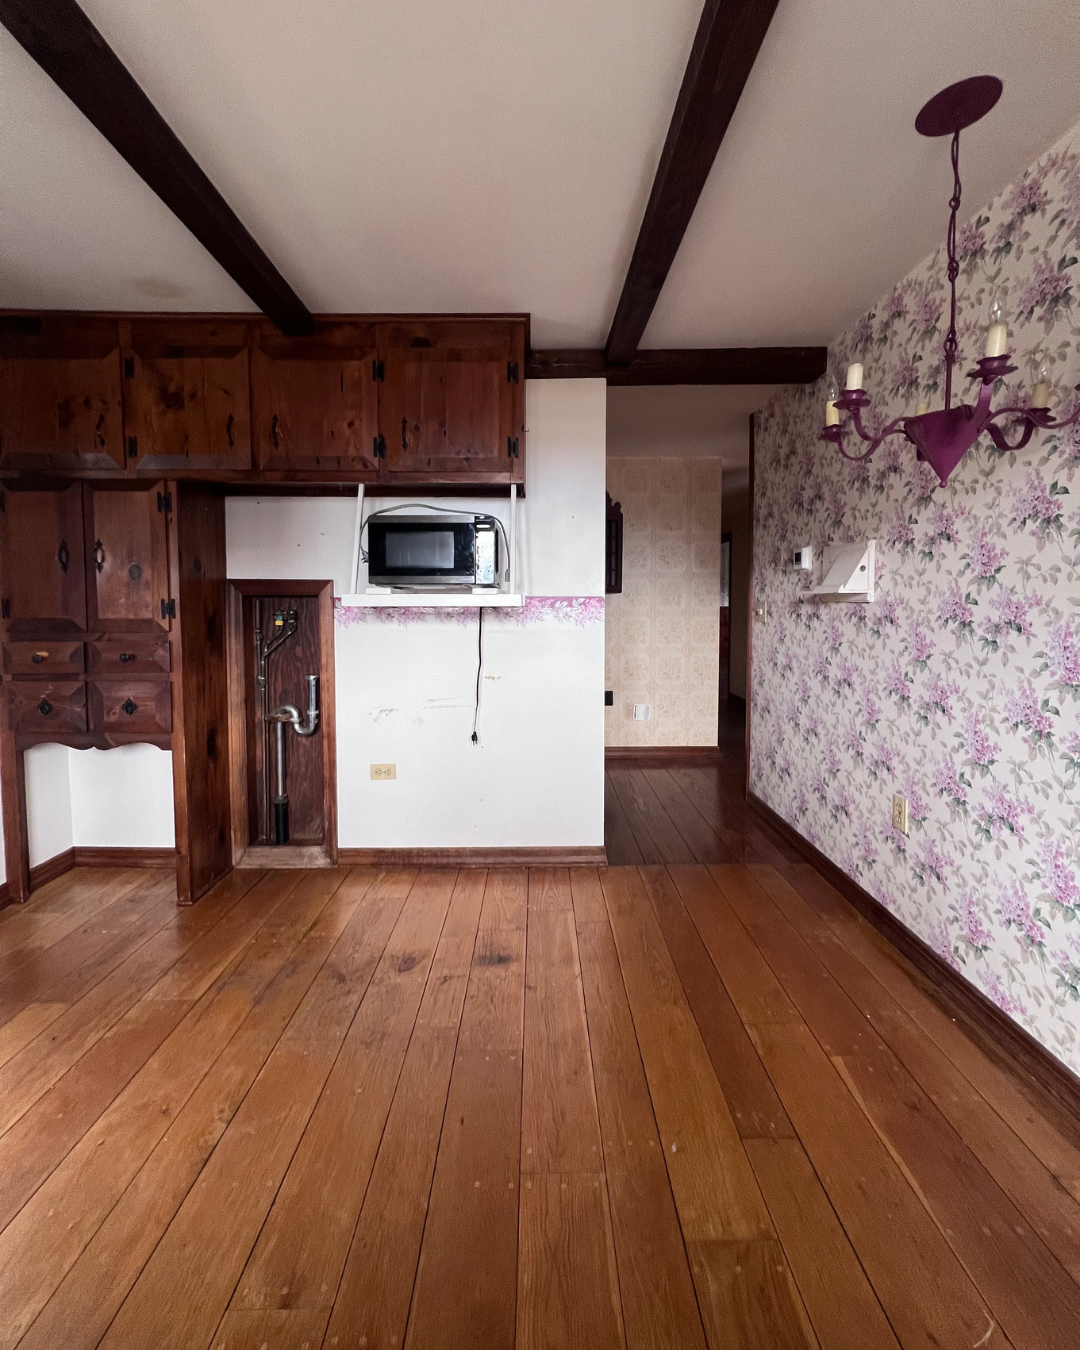
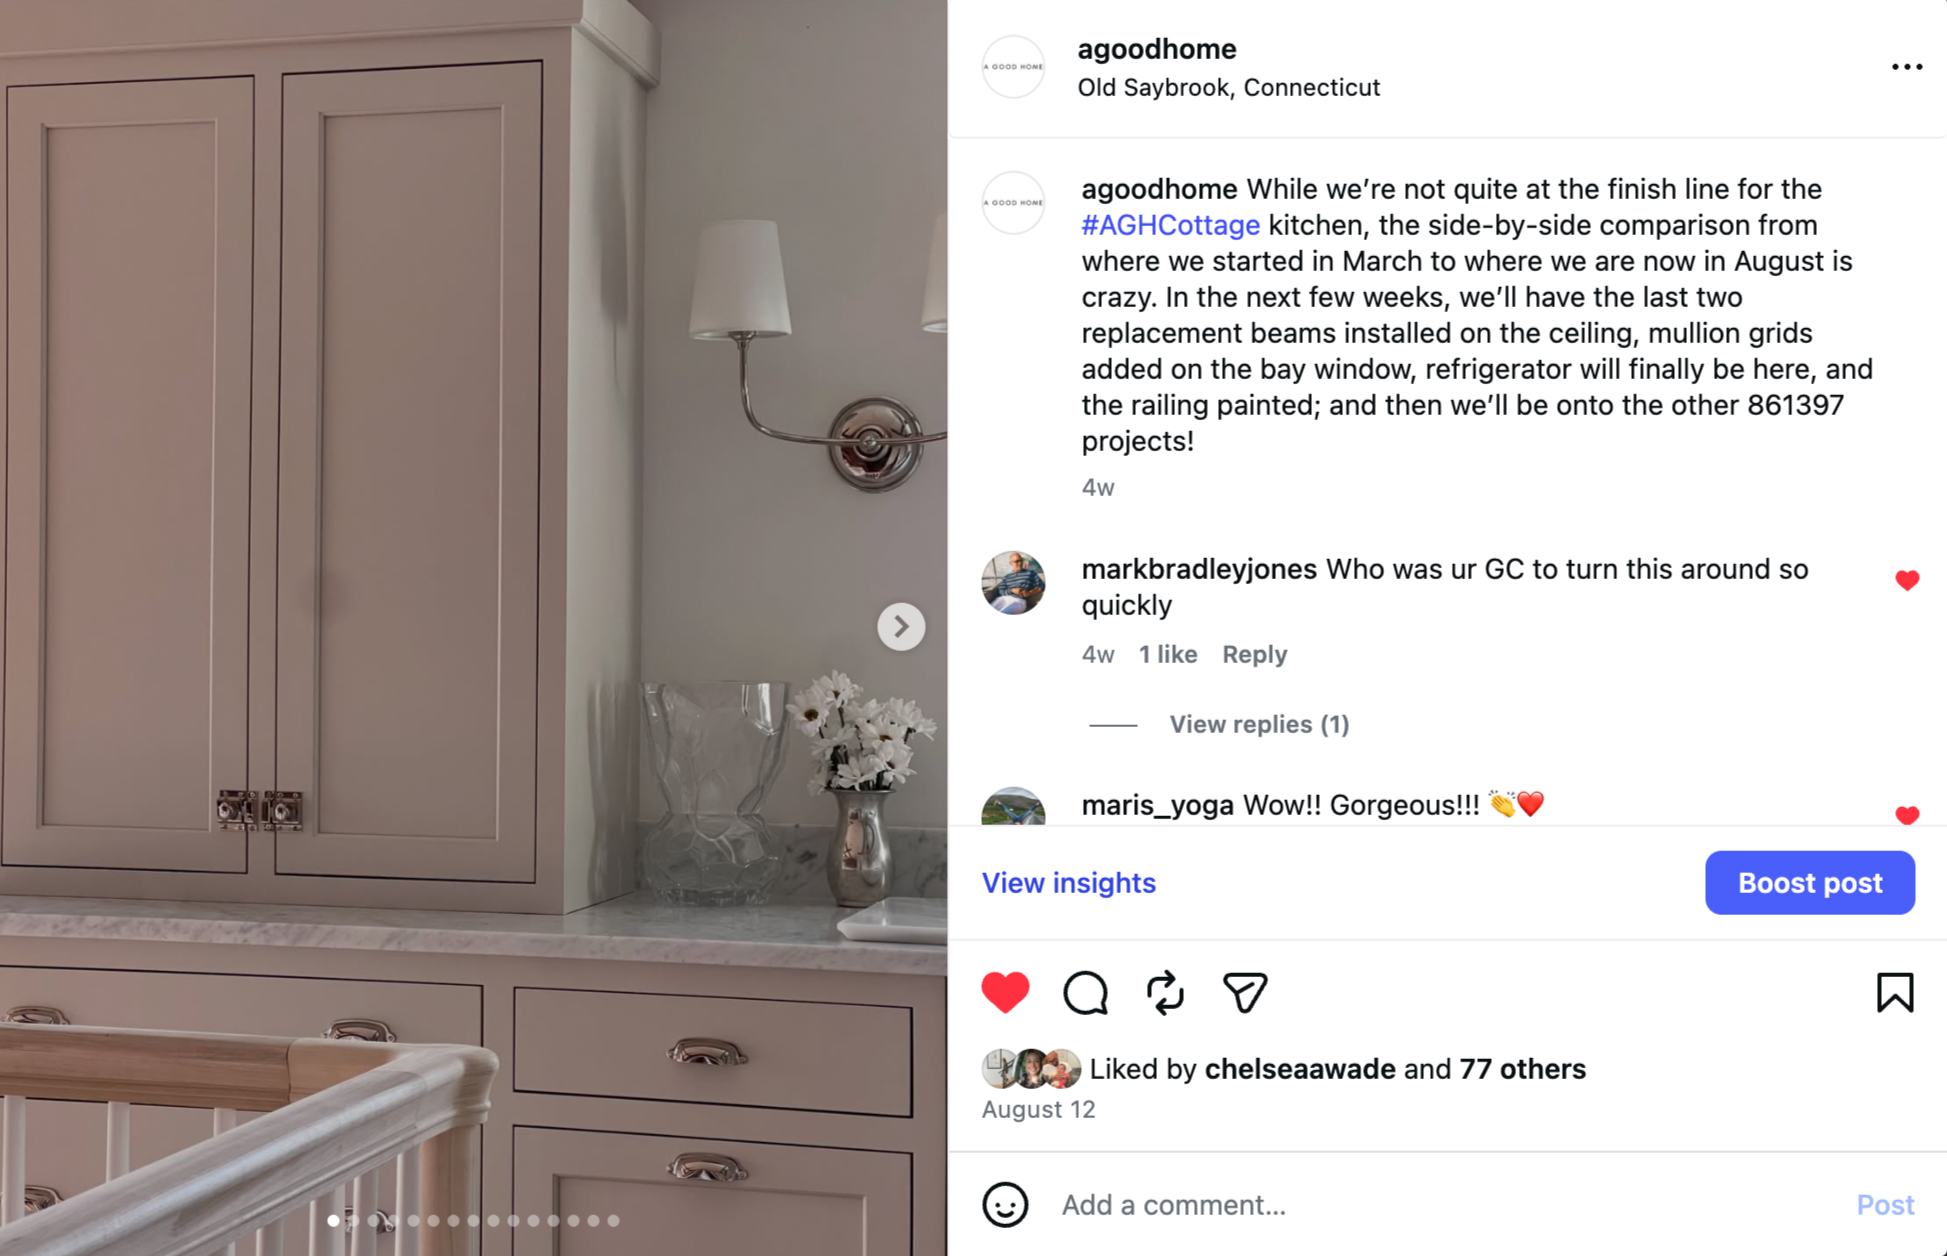
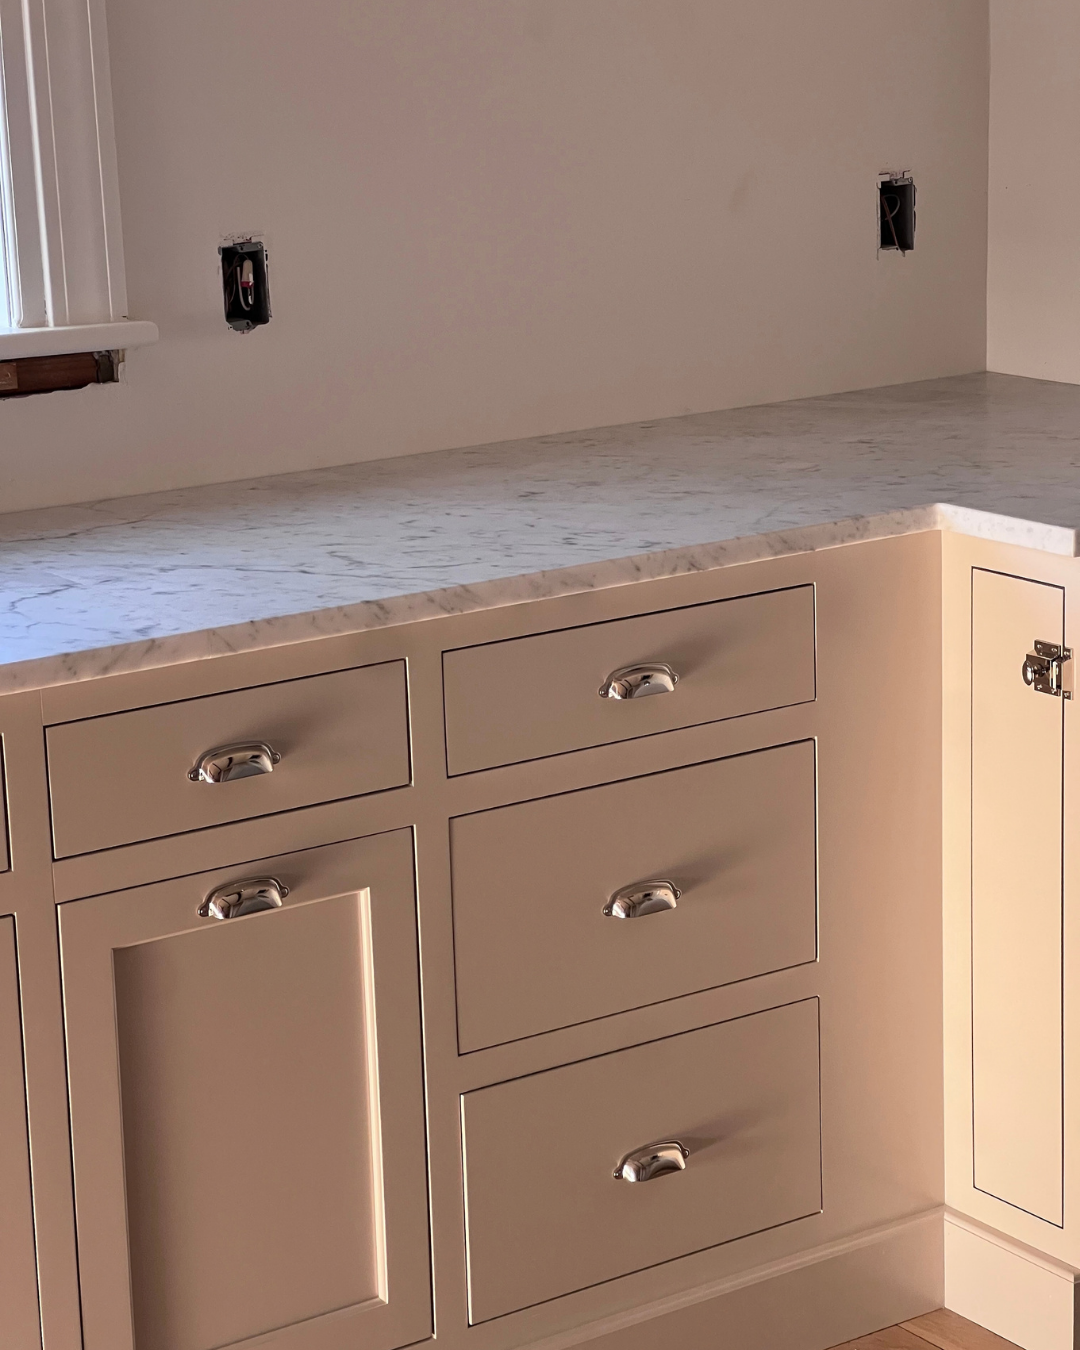
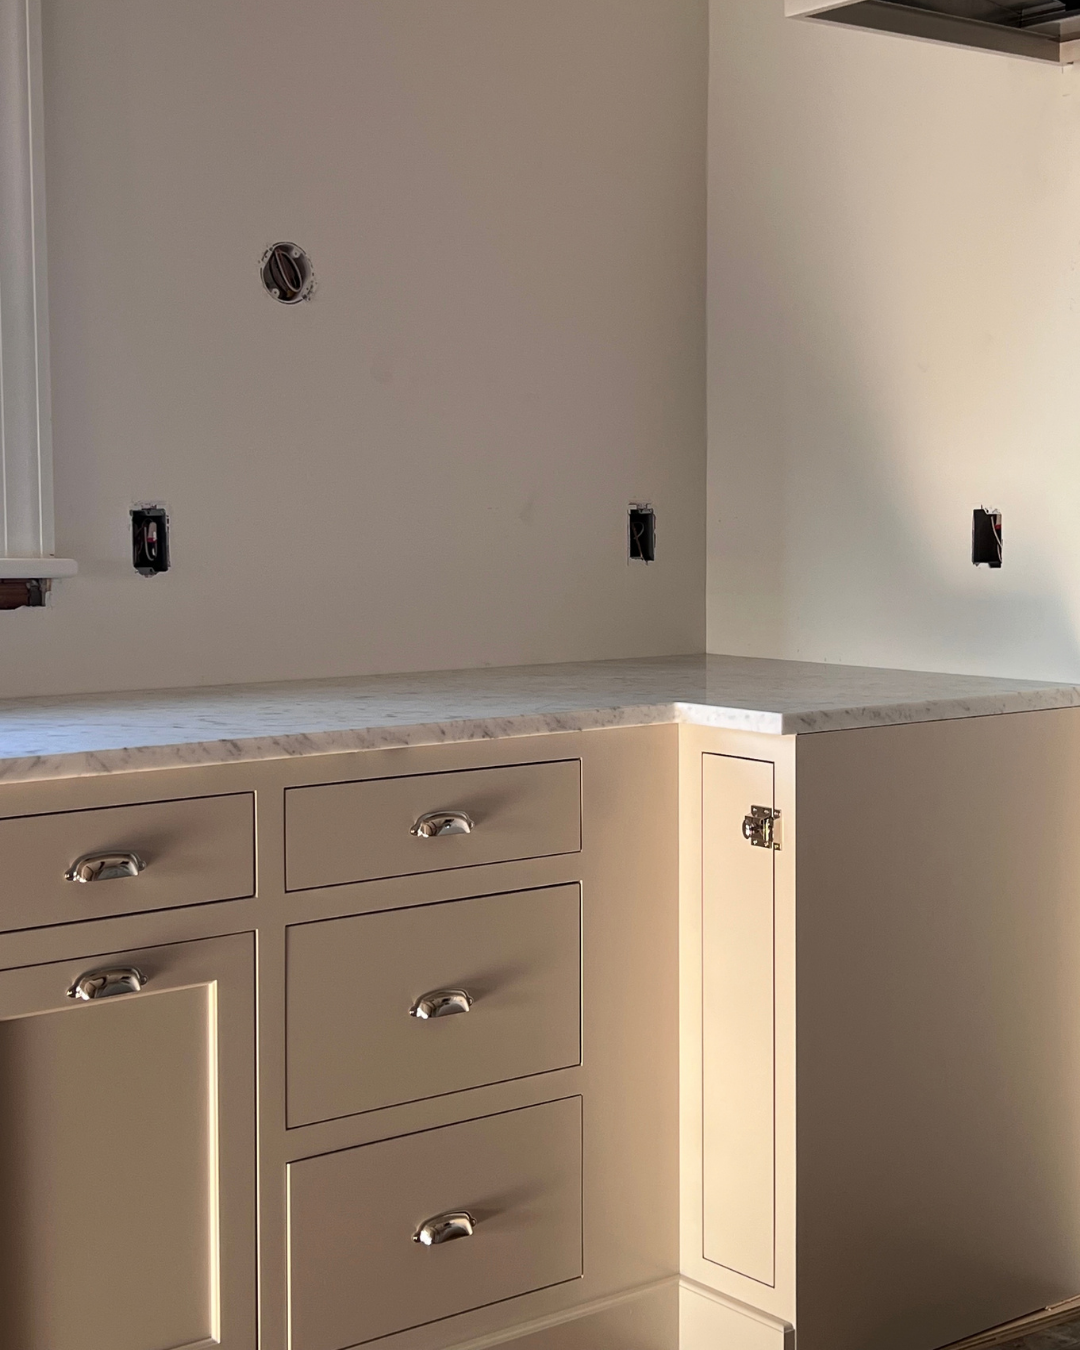
Click on this Instagram post to see the before & almost-there after of each elevation.
The Plan
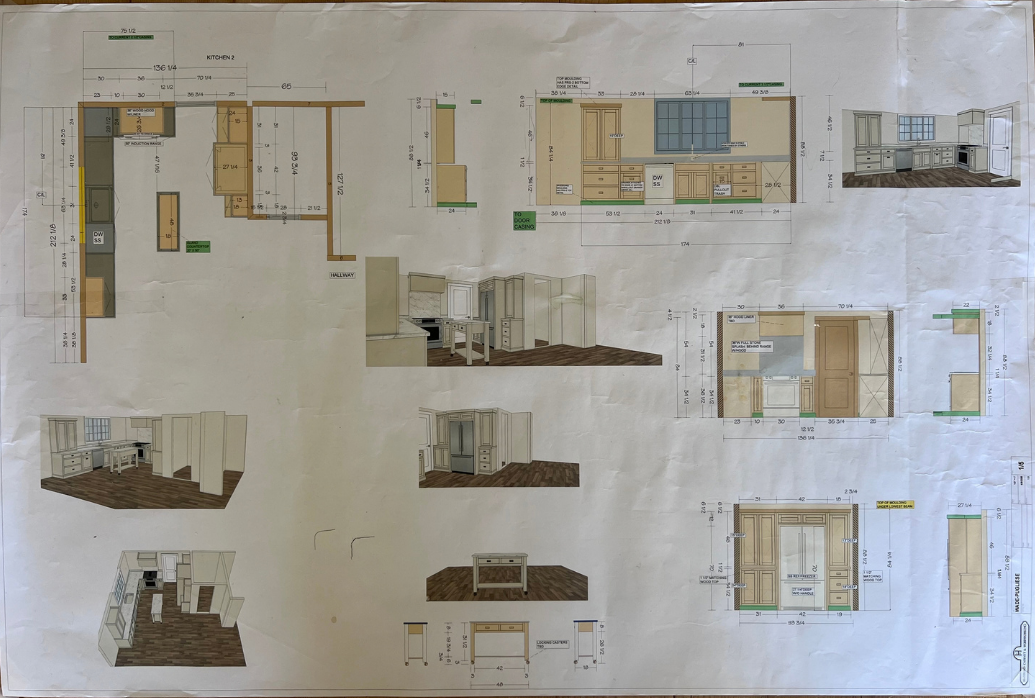
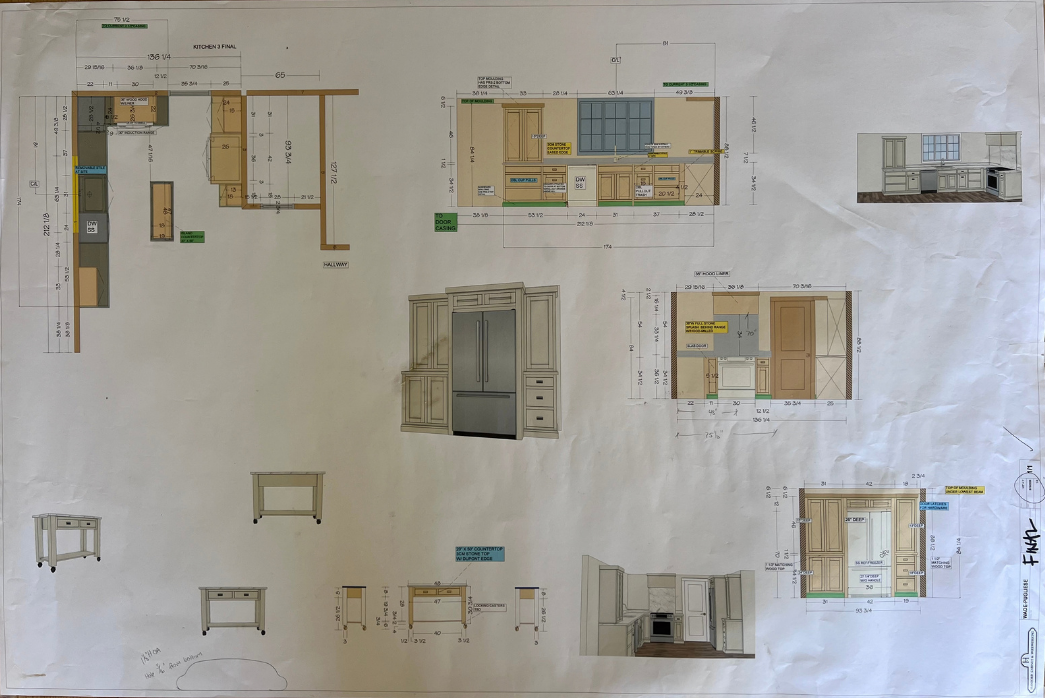
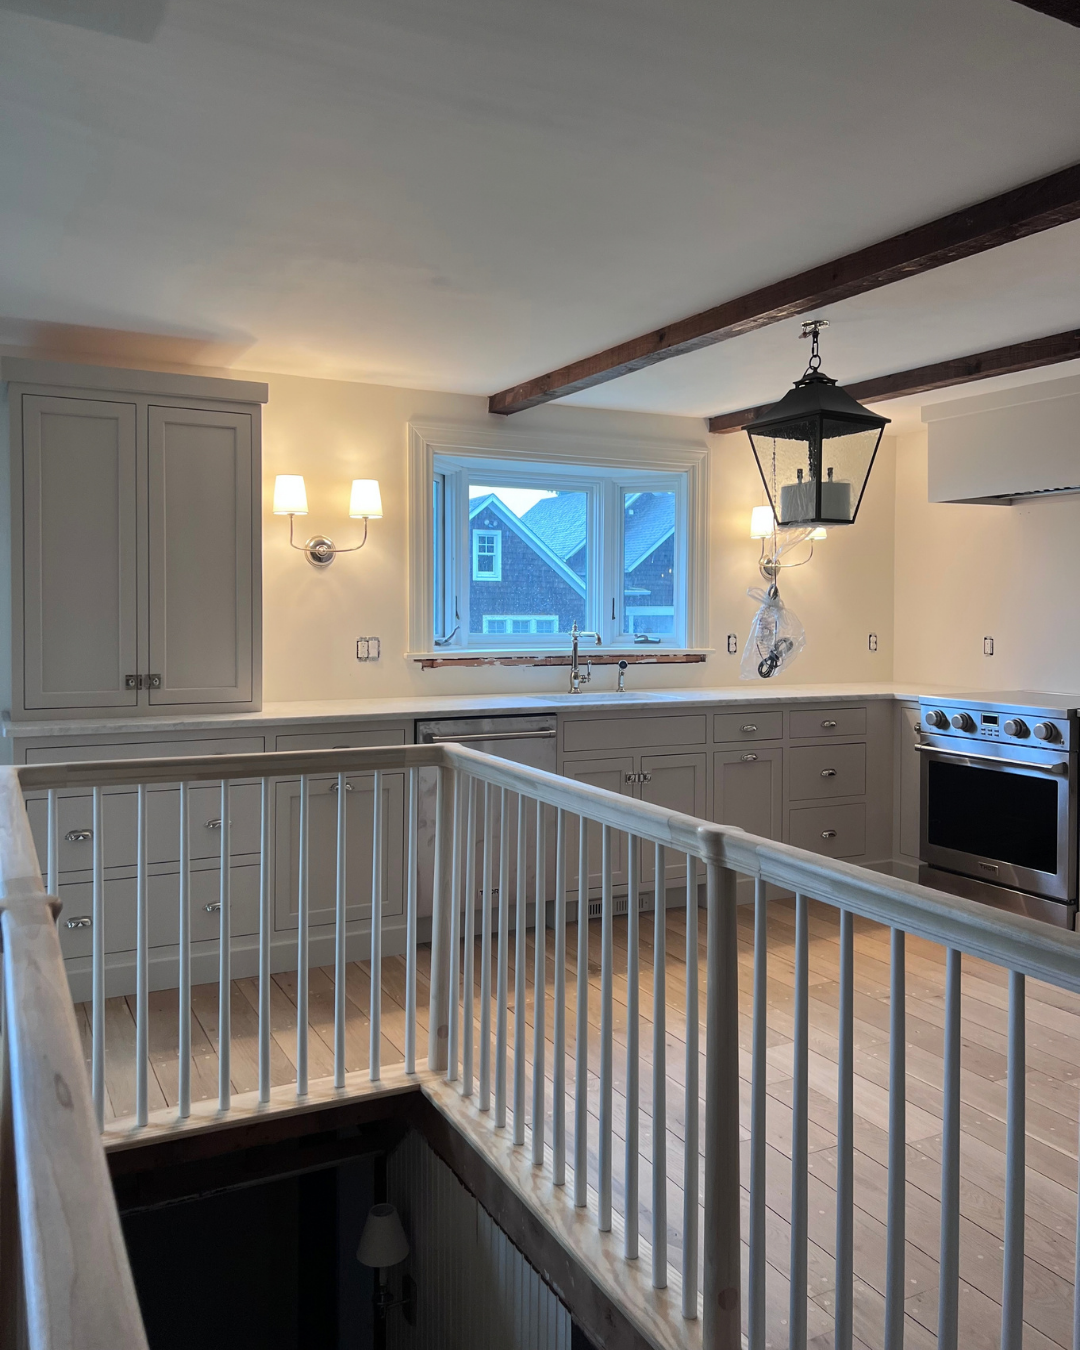
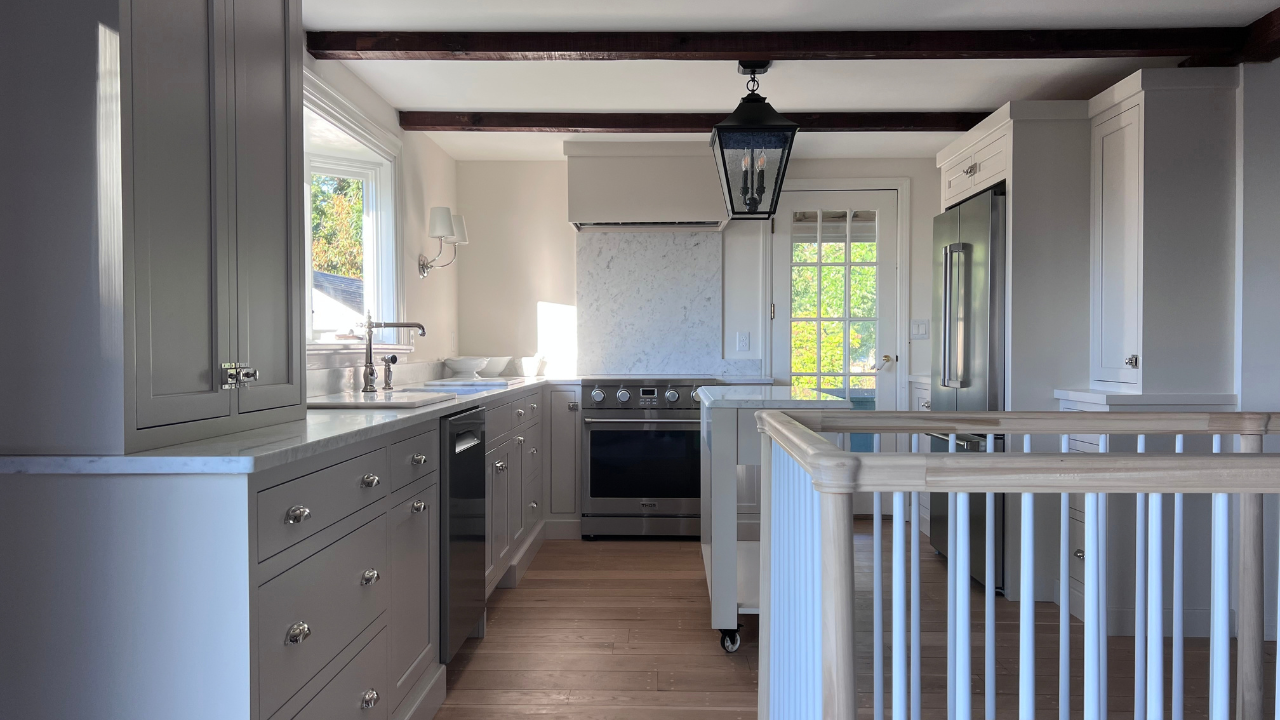
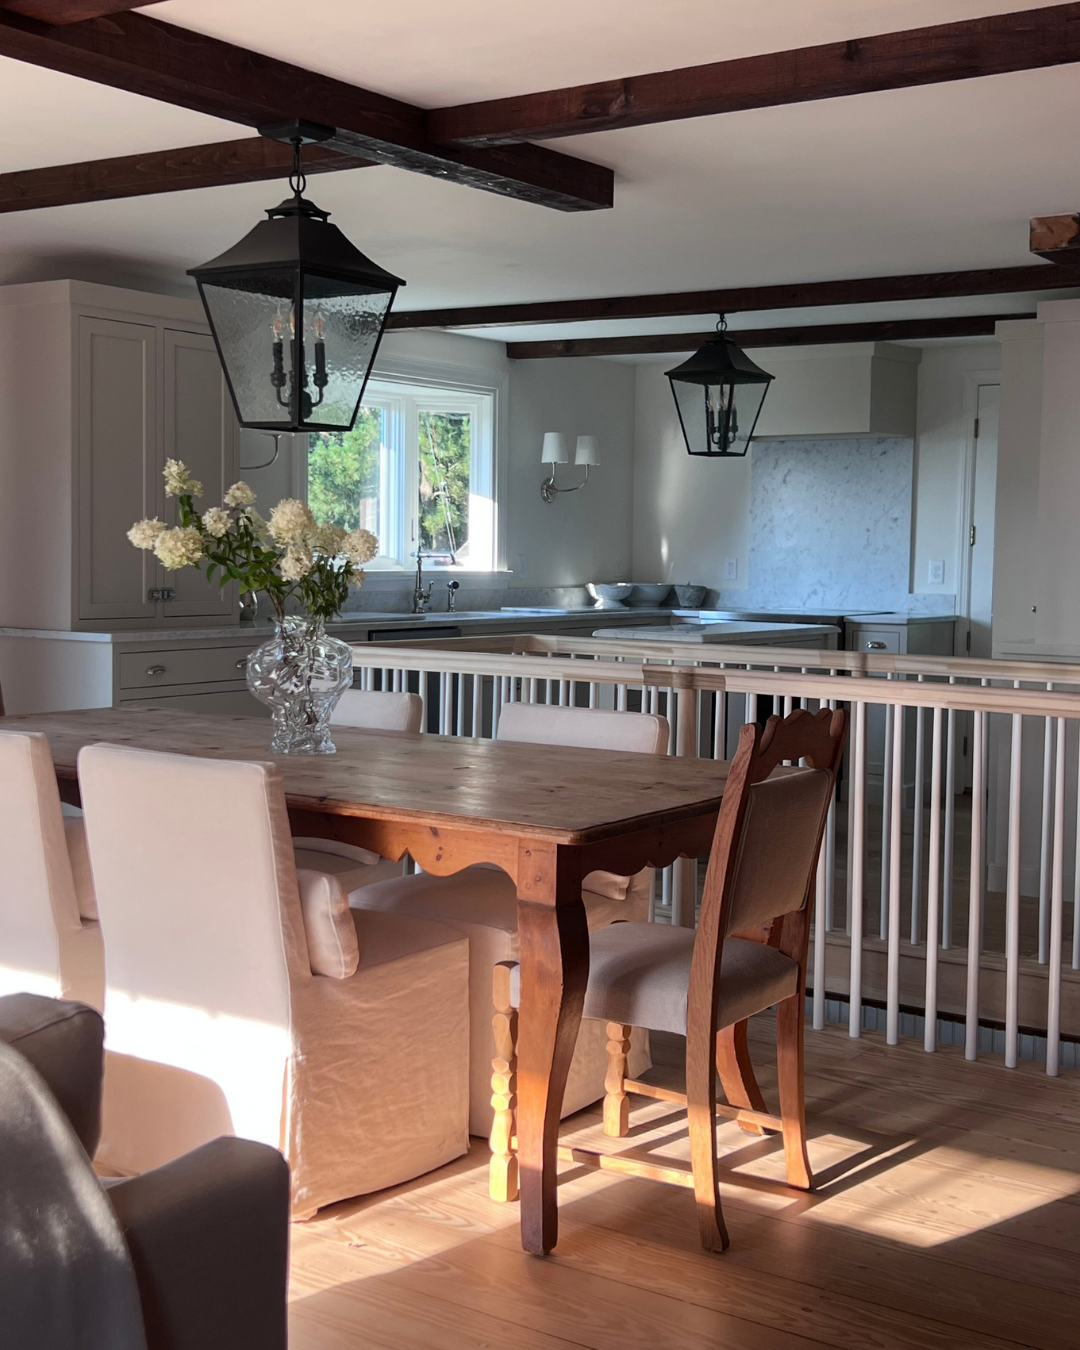
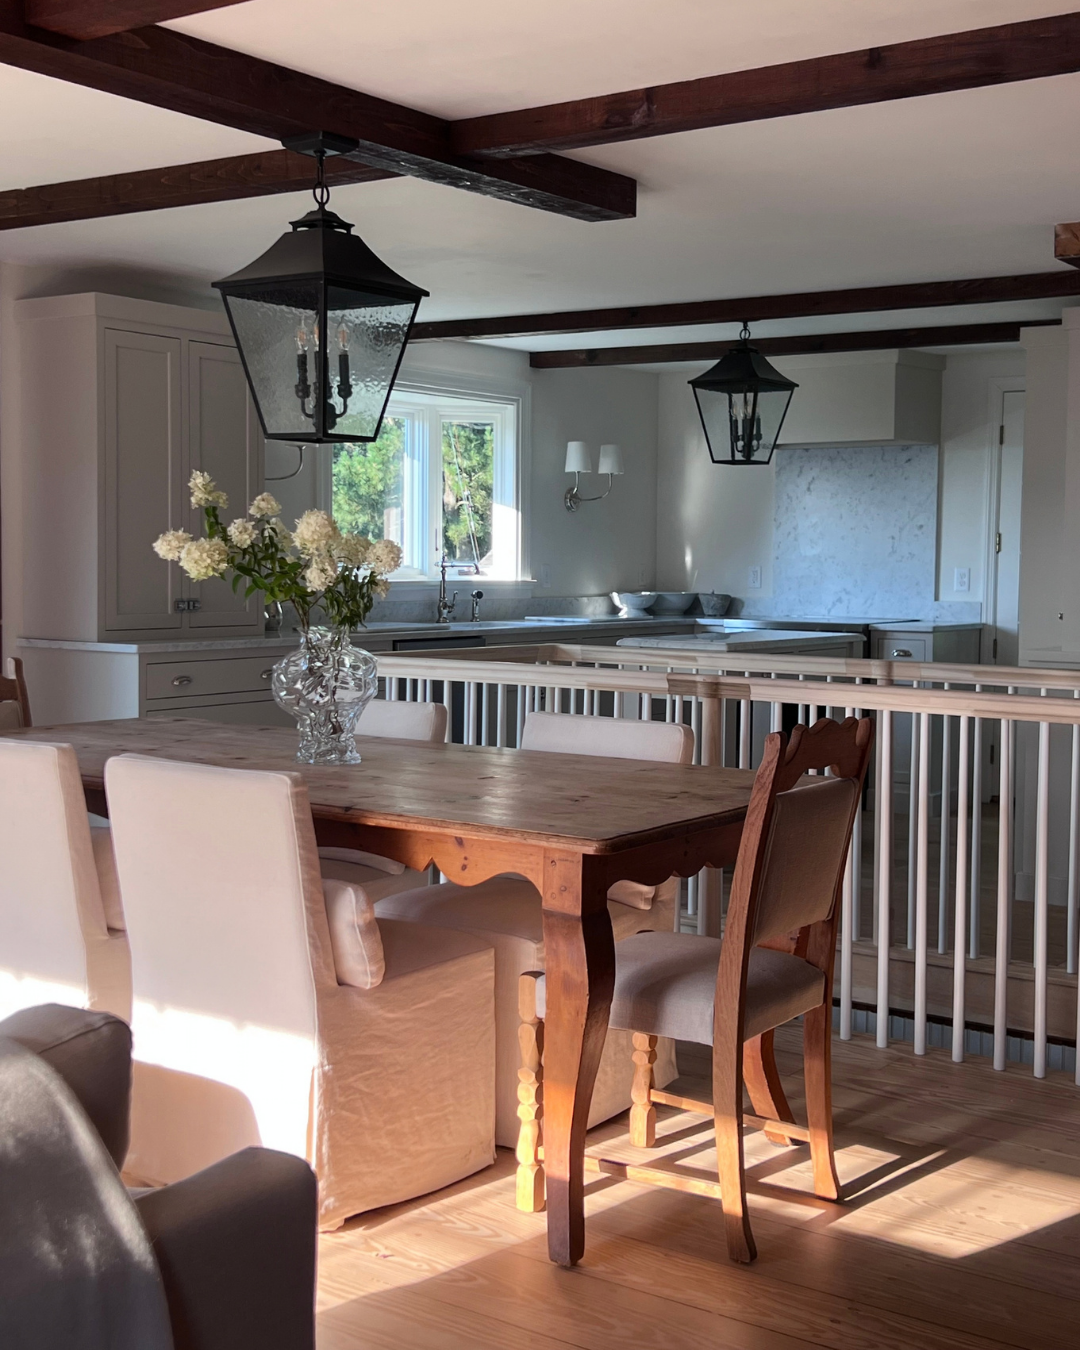
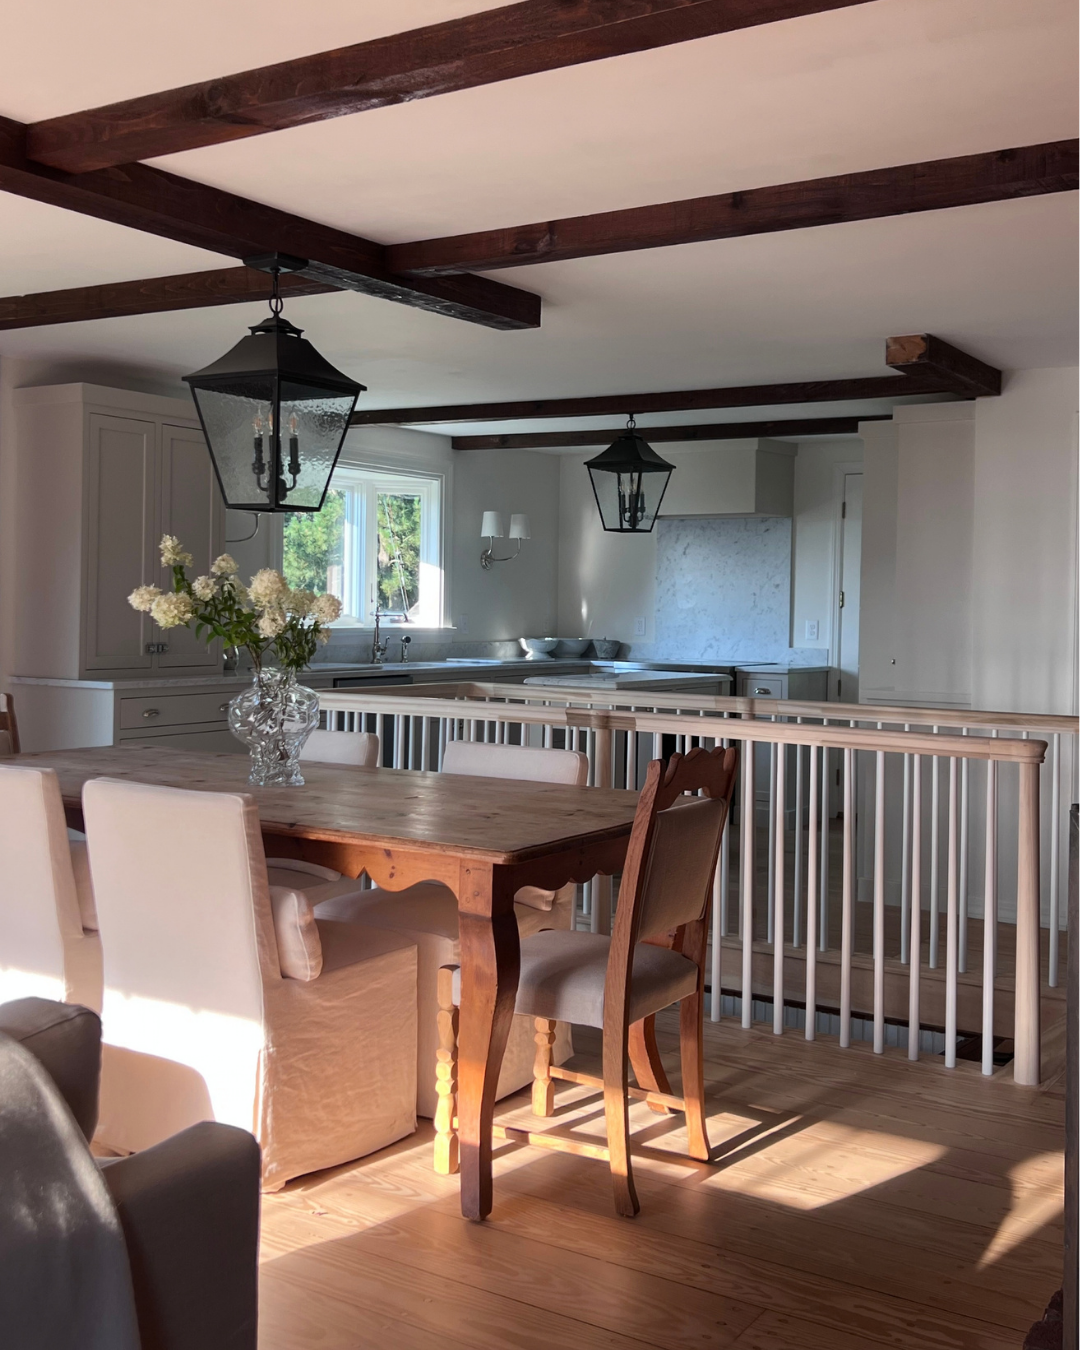
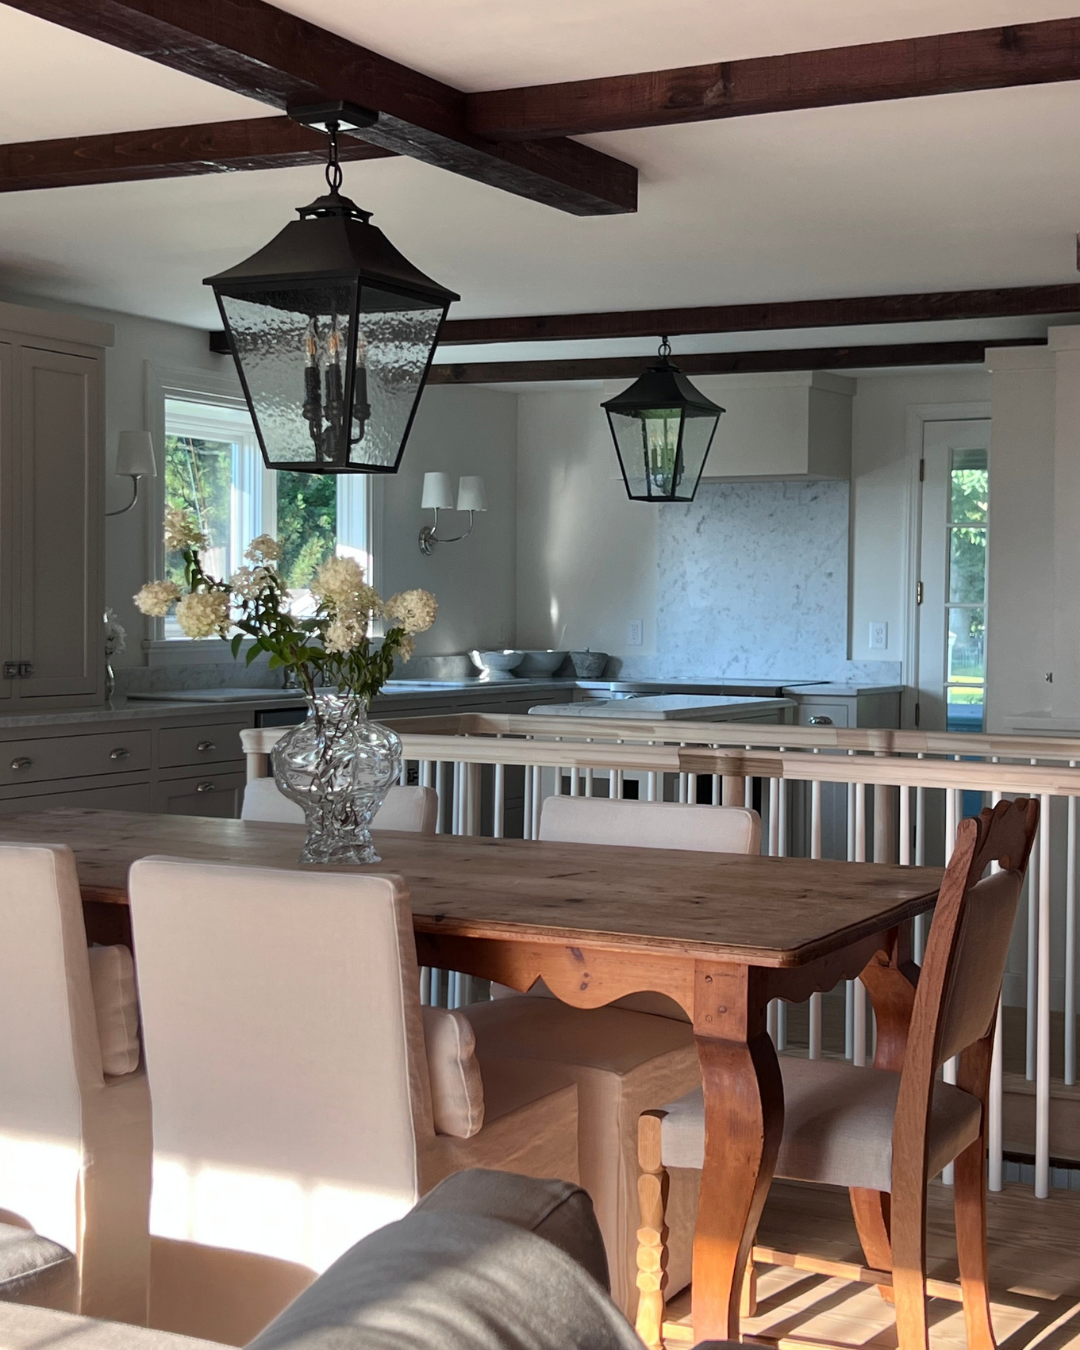
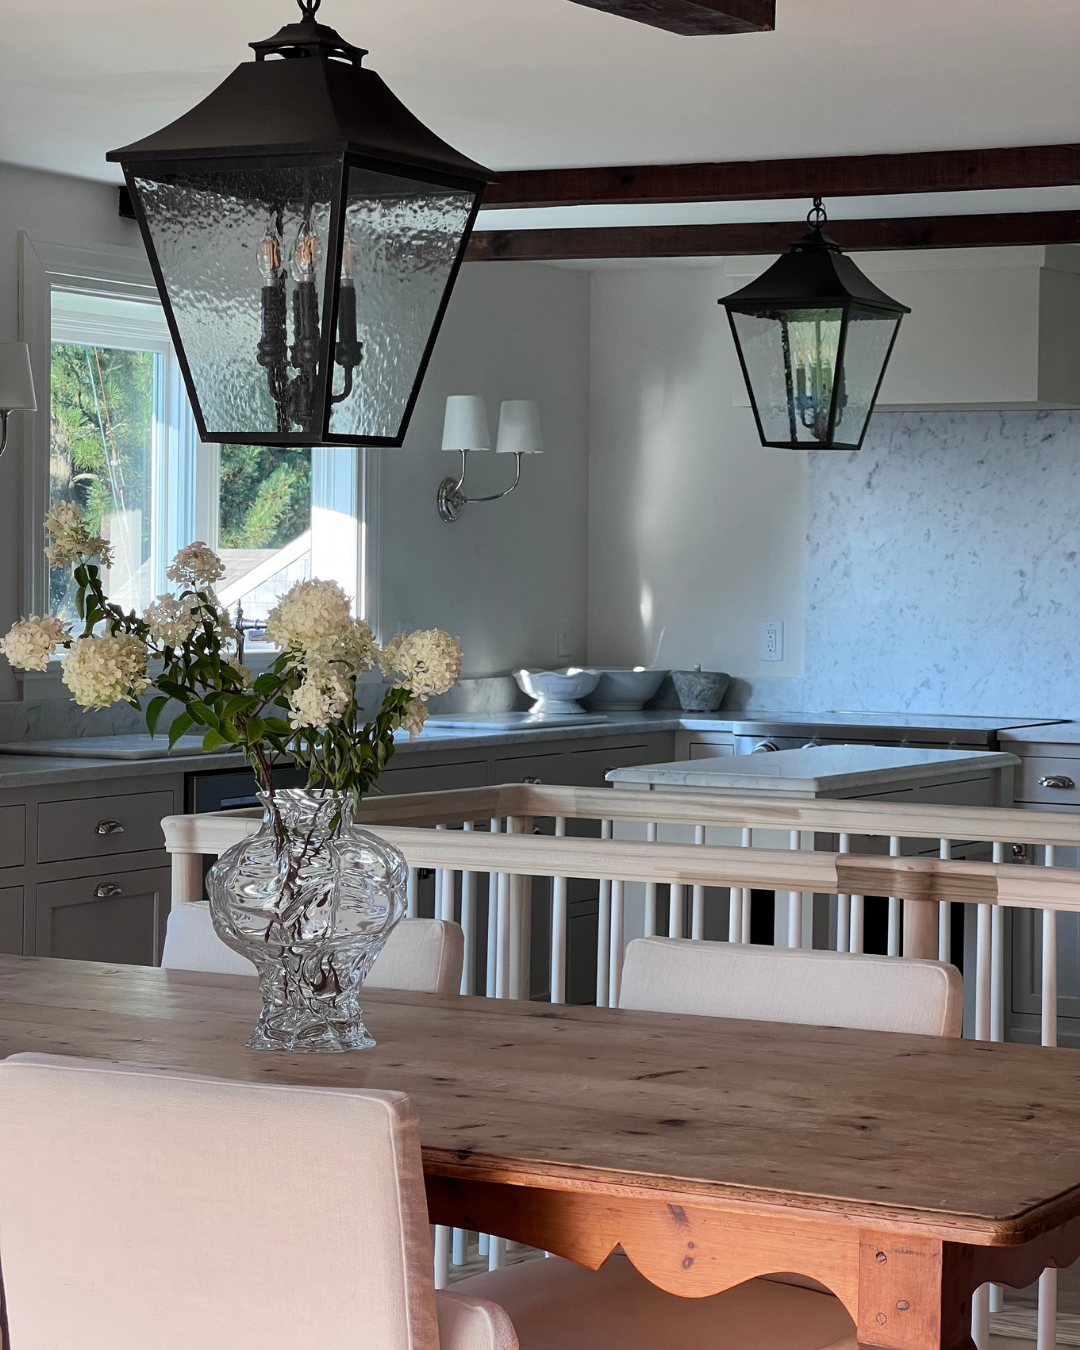
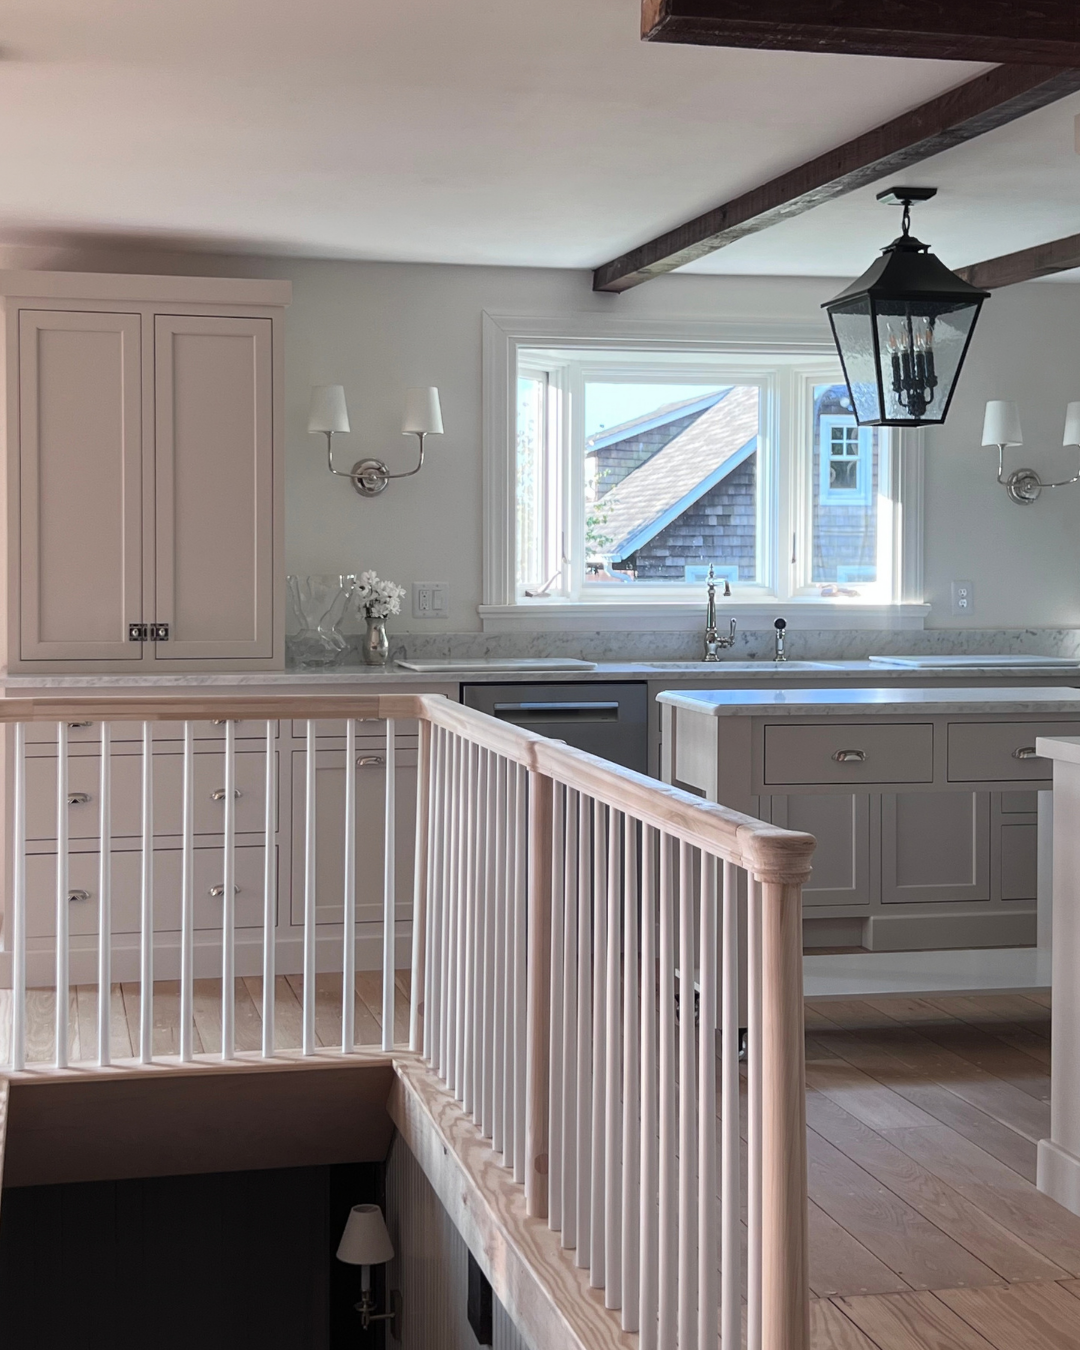
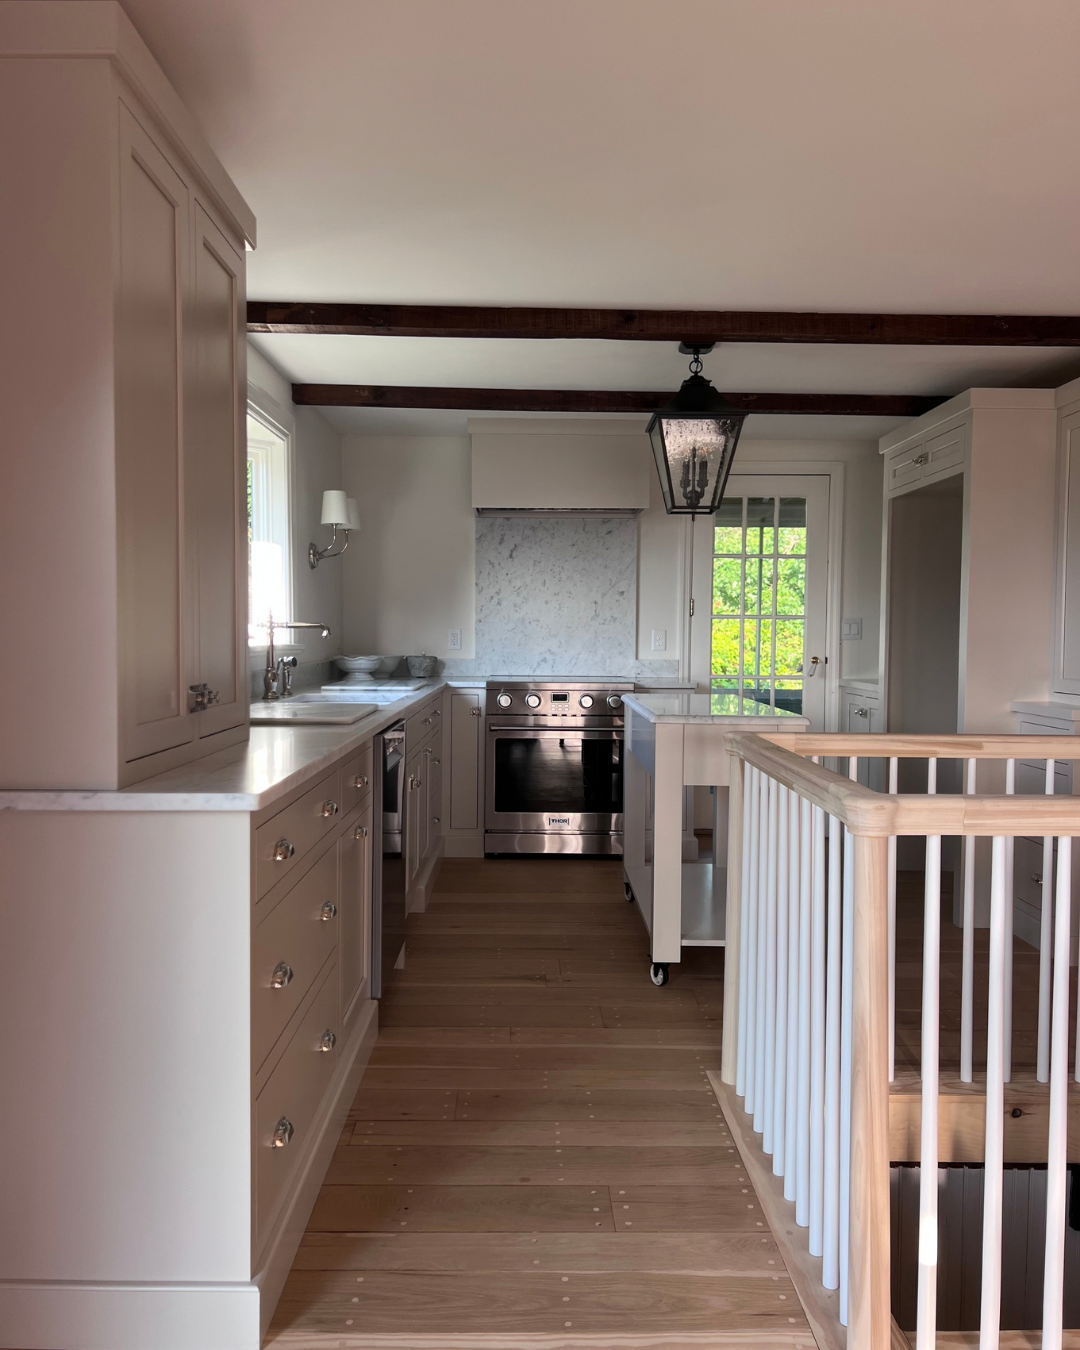
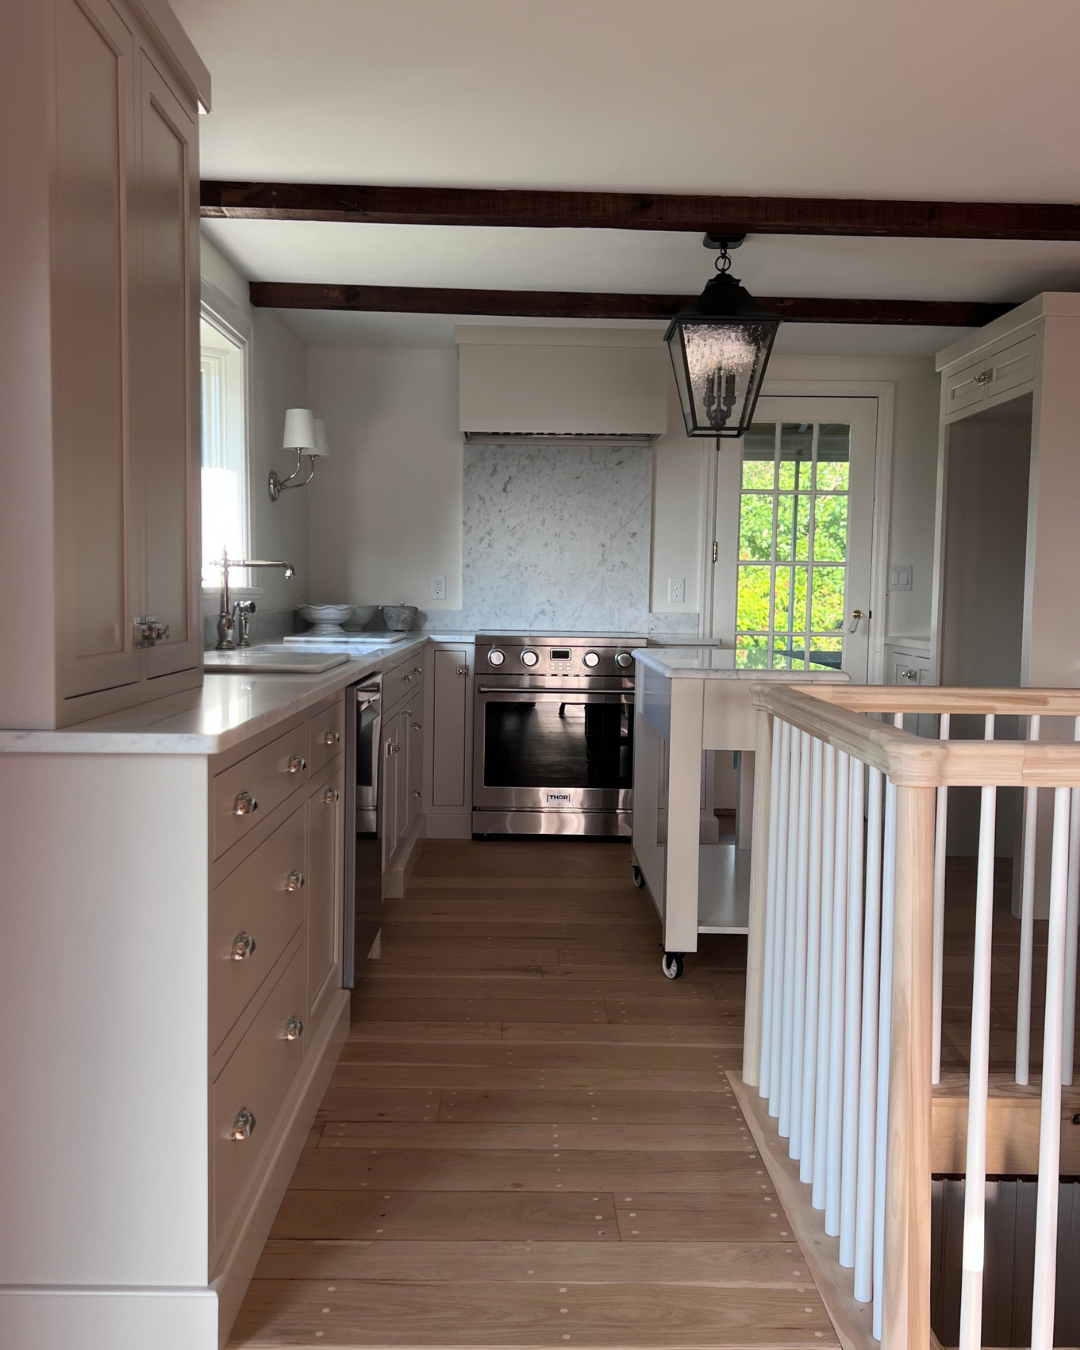
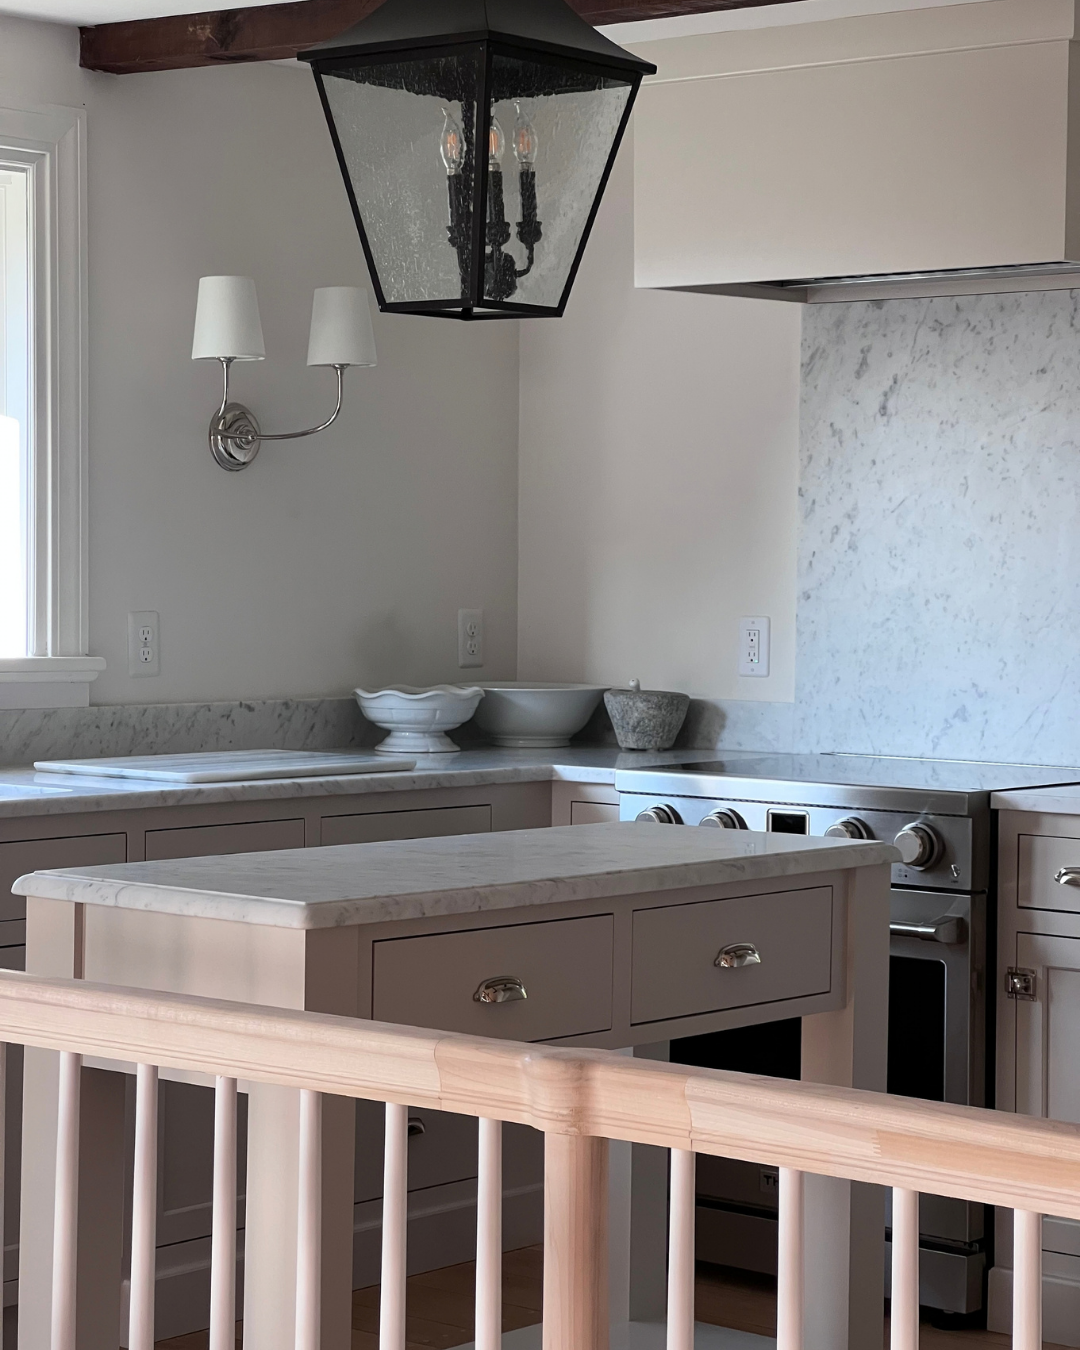
With an overall renovation goal of removing/moving as few walls within the entire house as possible, we decided to keep the kitchen’s small footprint and general layout (with a few change-ups) while essentially starting from scratch otherwise and putting our renovation dollars towards high-quality materials within the space. Also, a nearby small bathroom would be converted into a pantry to provide additional storage and workspace.The biggest structural change in the space was the decision to remove the wall that cut-off the kitchen from the adjoining living & dining room. The removal of the wall opened up the entire space to create an open-concept kitchen/dining/living room, and subsequently required a 16-foot support beam to be put into place where the wall previously existed. The descending stairwell to the lower level stayed in its existing location, and we installed a stair railing around its perimeter; in a perfect world, it would have been nice to not have the lower level access right in the middle of the kitchen and dining room, but it was the best option as relocation was not possible. In the end, we feel it added a unique feature to the space, and we do like having it there! The stained aesthetic beams across the ceiling stayed but were slightly re-worked to make sense with the newly expansive open ceiling; two newly installed beams tied the spaces back in together. See below for floor plan references!
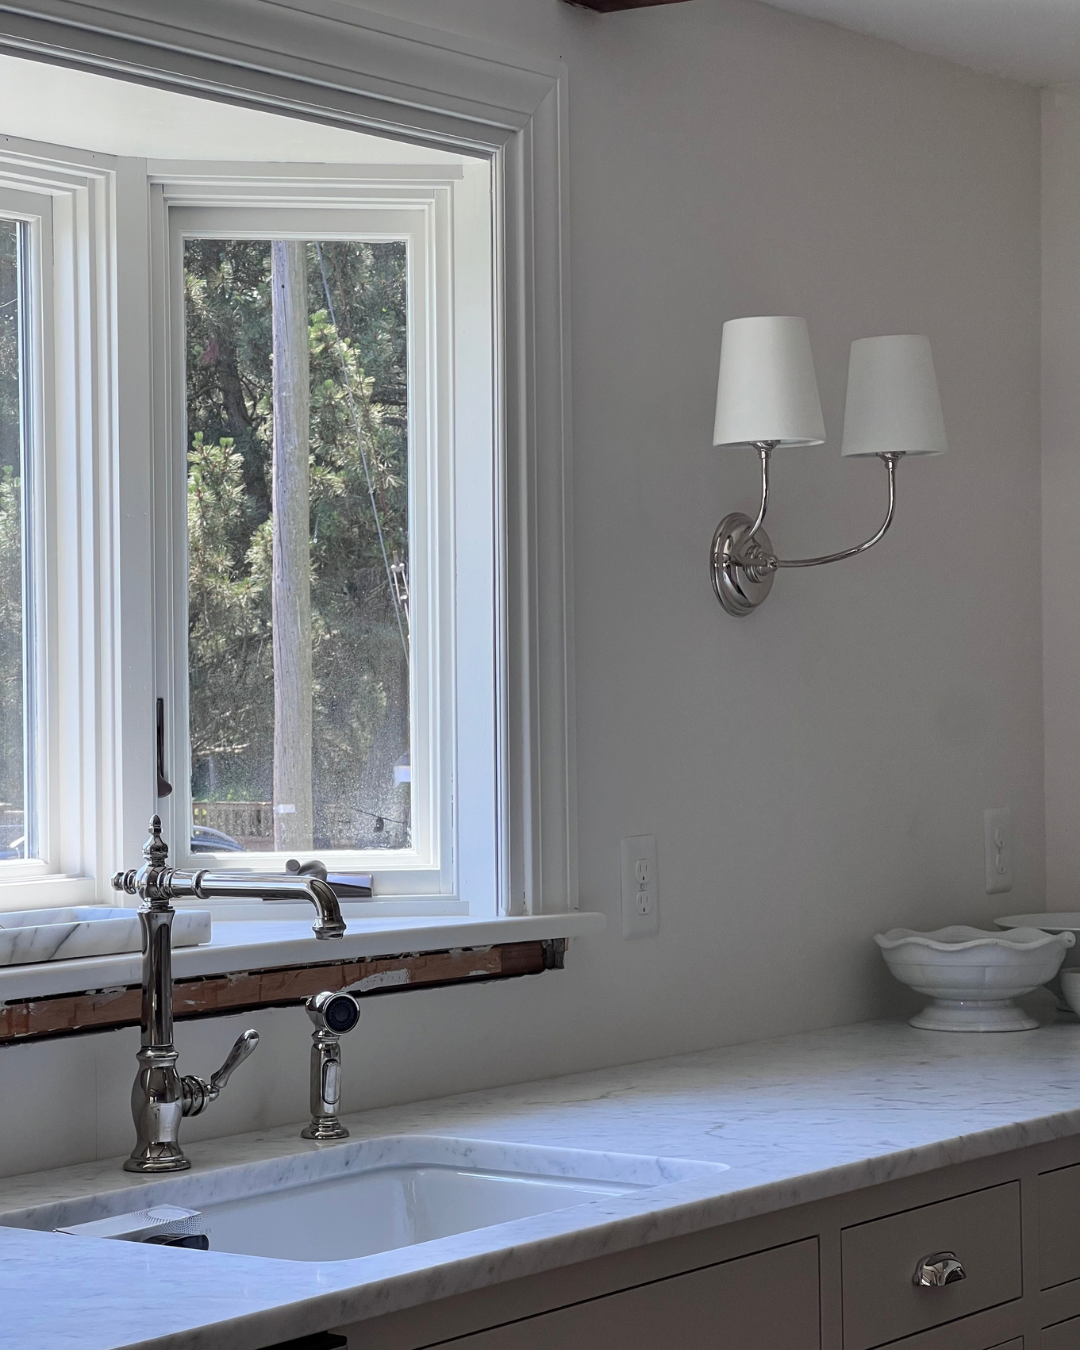
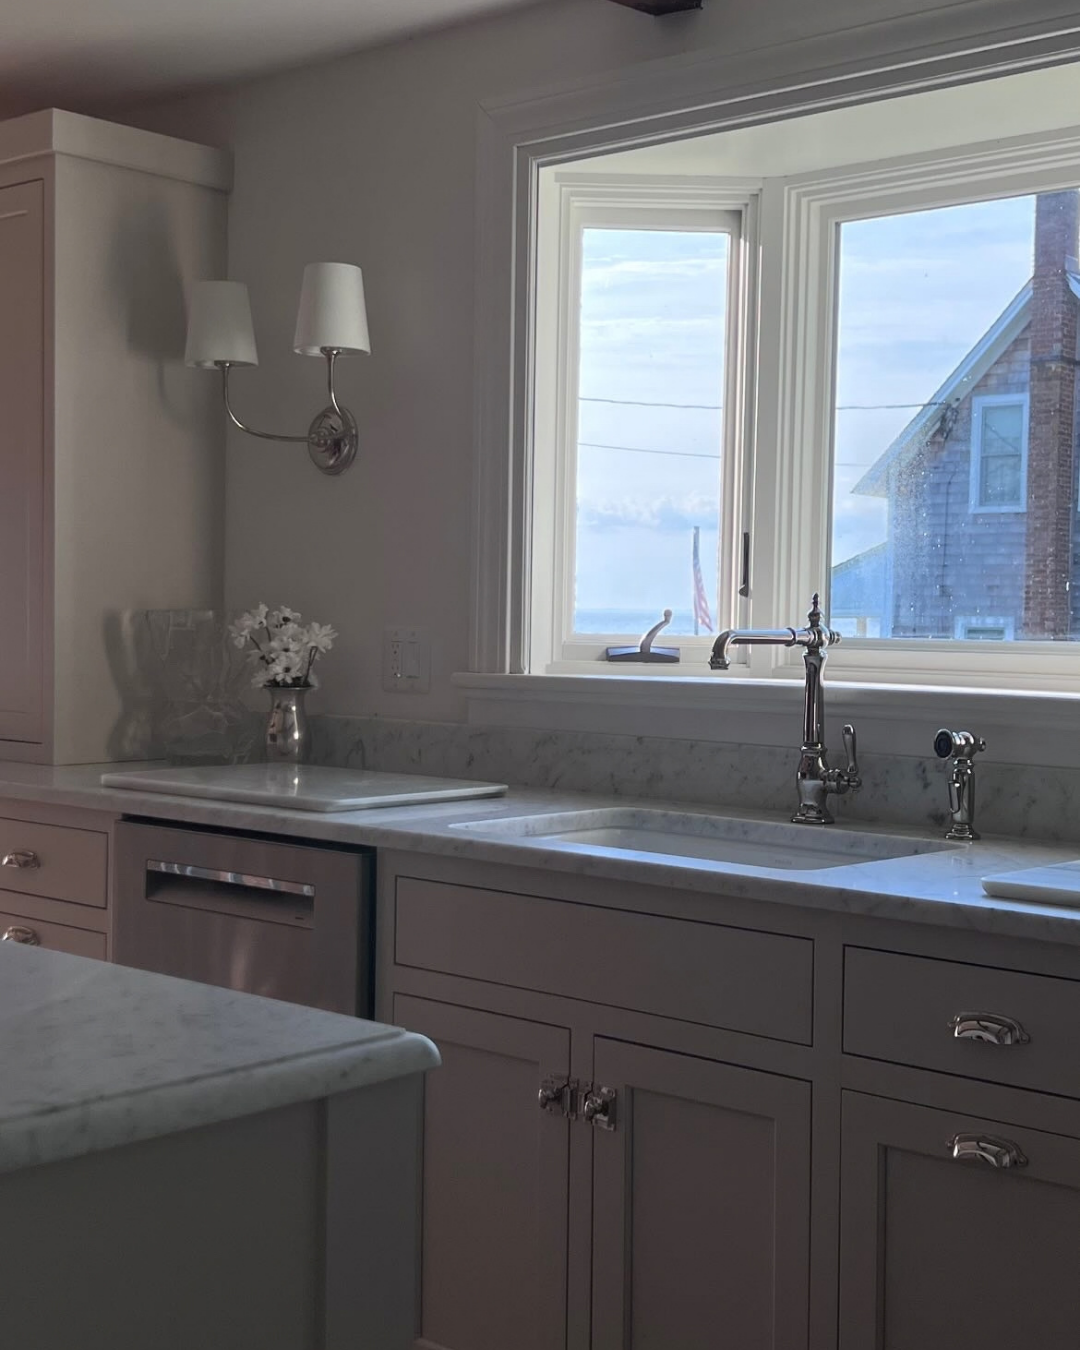
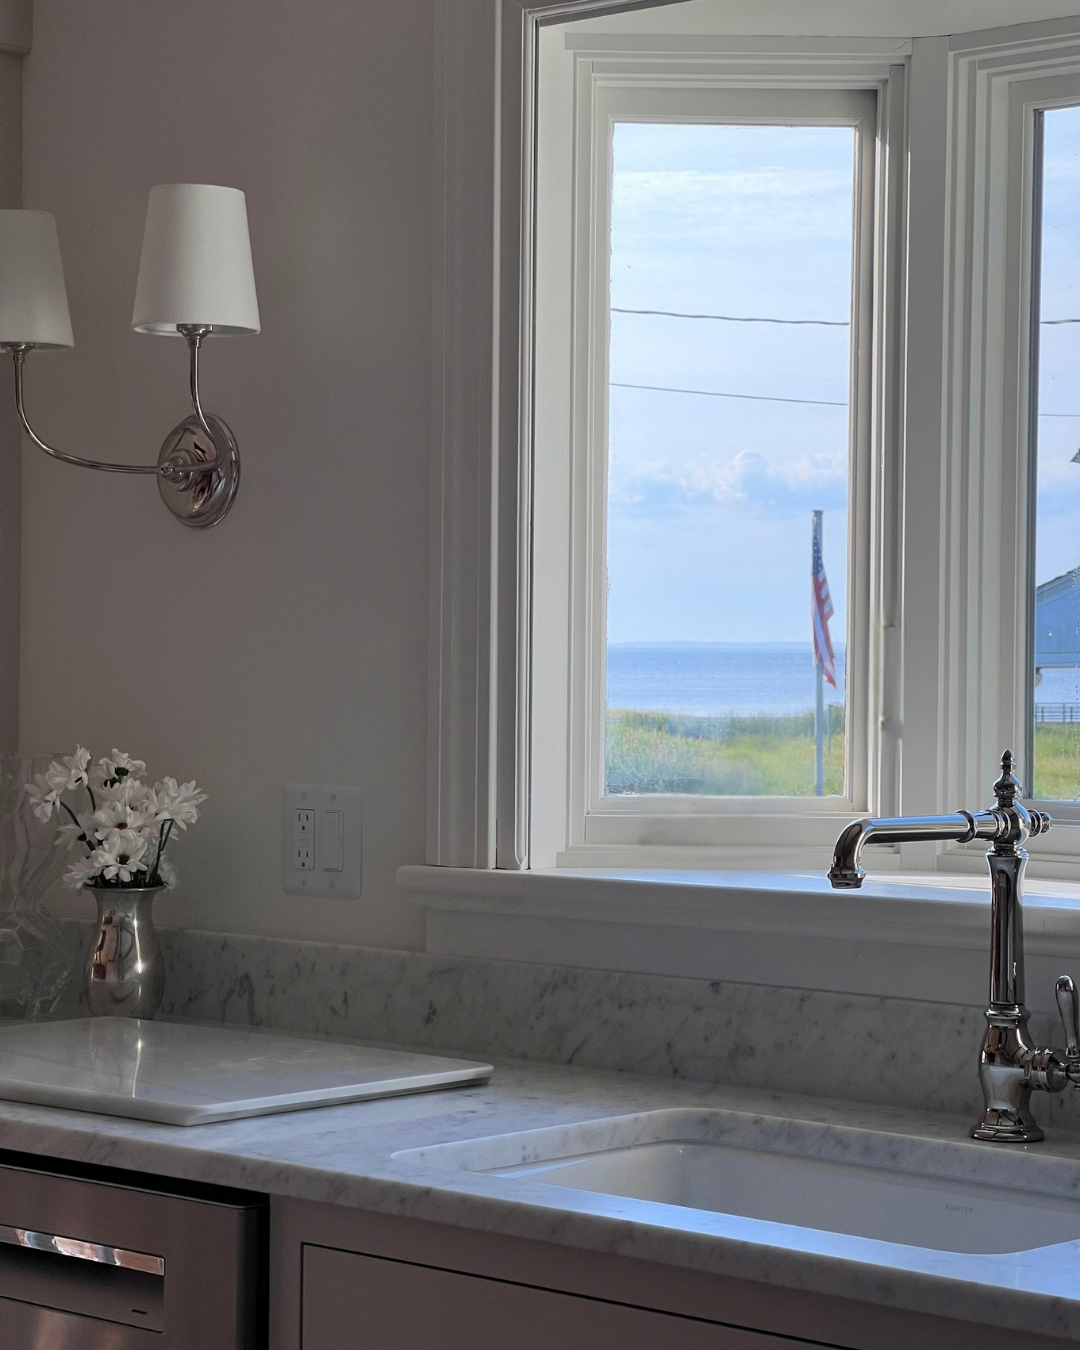
Also in the scope of the renovation— We replaced the sheetrock from the height of the countertop down. We installed all-new electrical and plumbing. We refinished the existing floors (which ended up being the best surprise as we uncovered beautiful white oak flooring hidden underneath dark/drab stain). And lastly, I had initially considered getting rid of the bay window, but I realized that just the lack of mullions (which are the interior grids/grilles) was why I wasn’t loving it and that adding them would be the solution to keeping it. So, I found a maker on Etsy who laser-cuts mullions to your exact windows specifications.
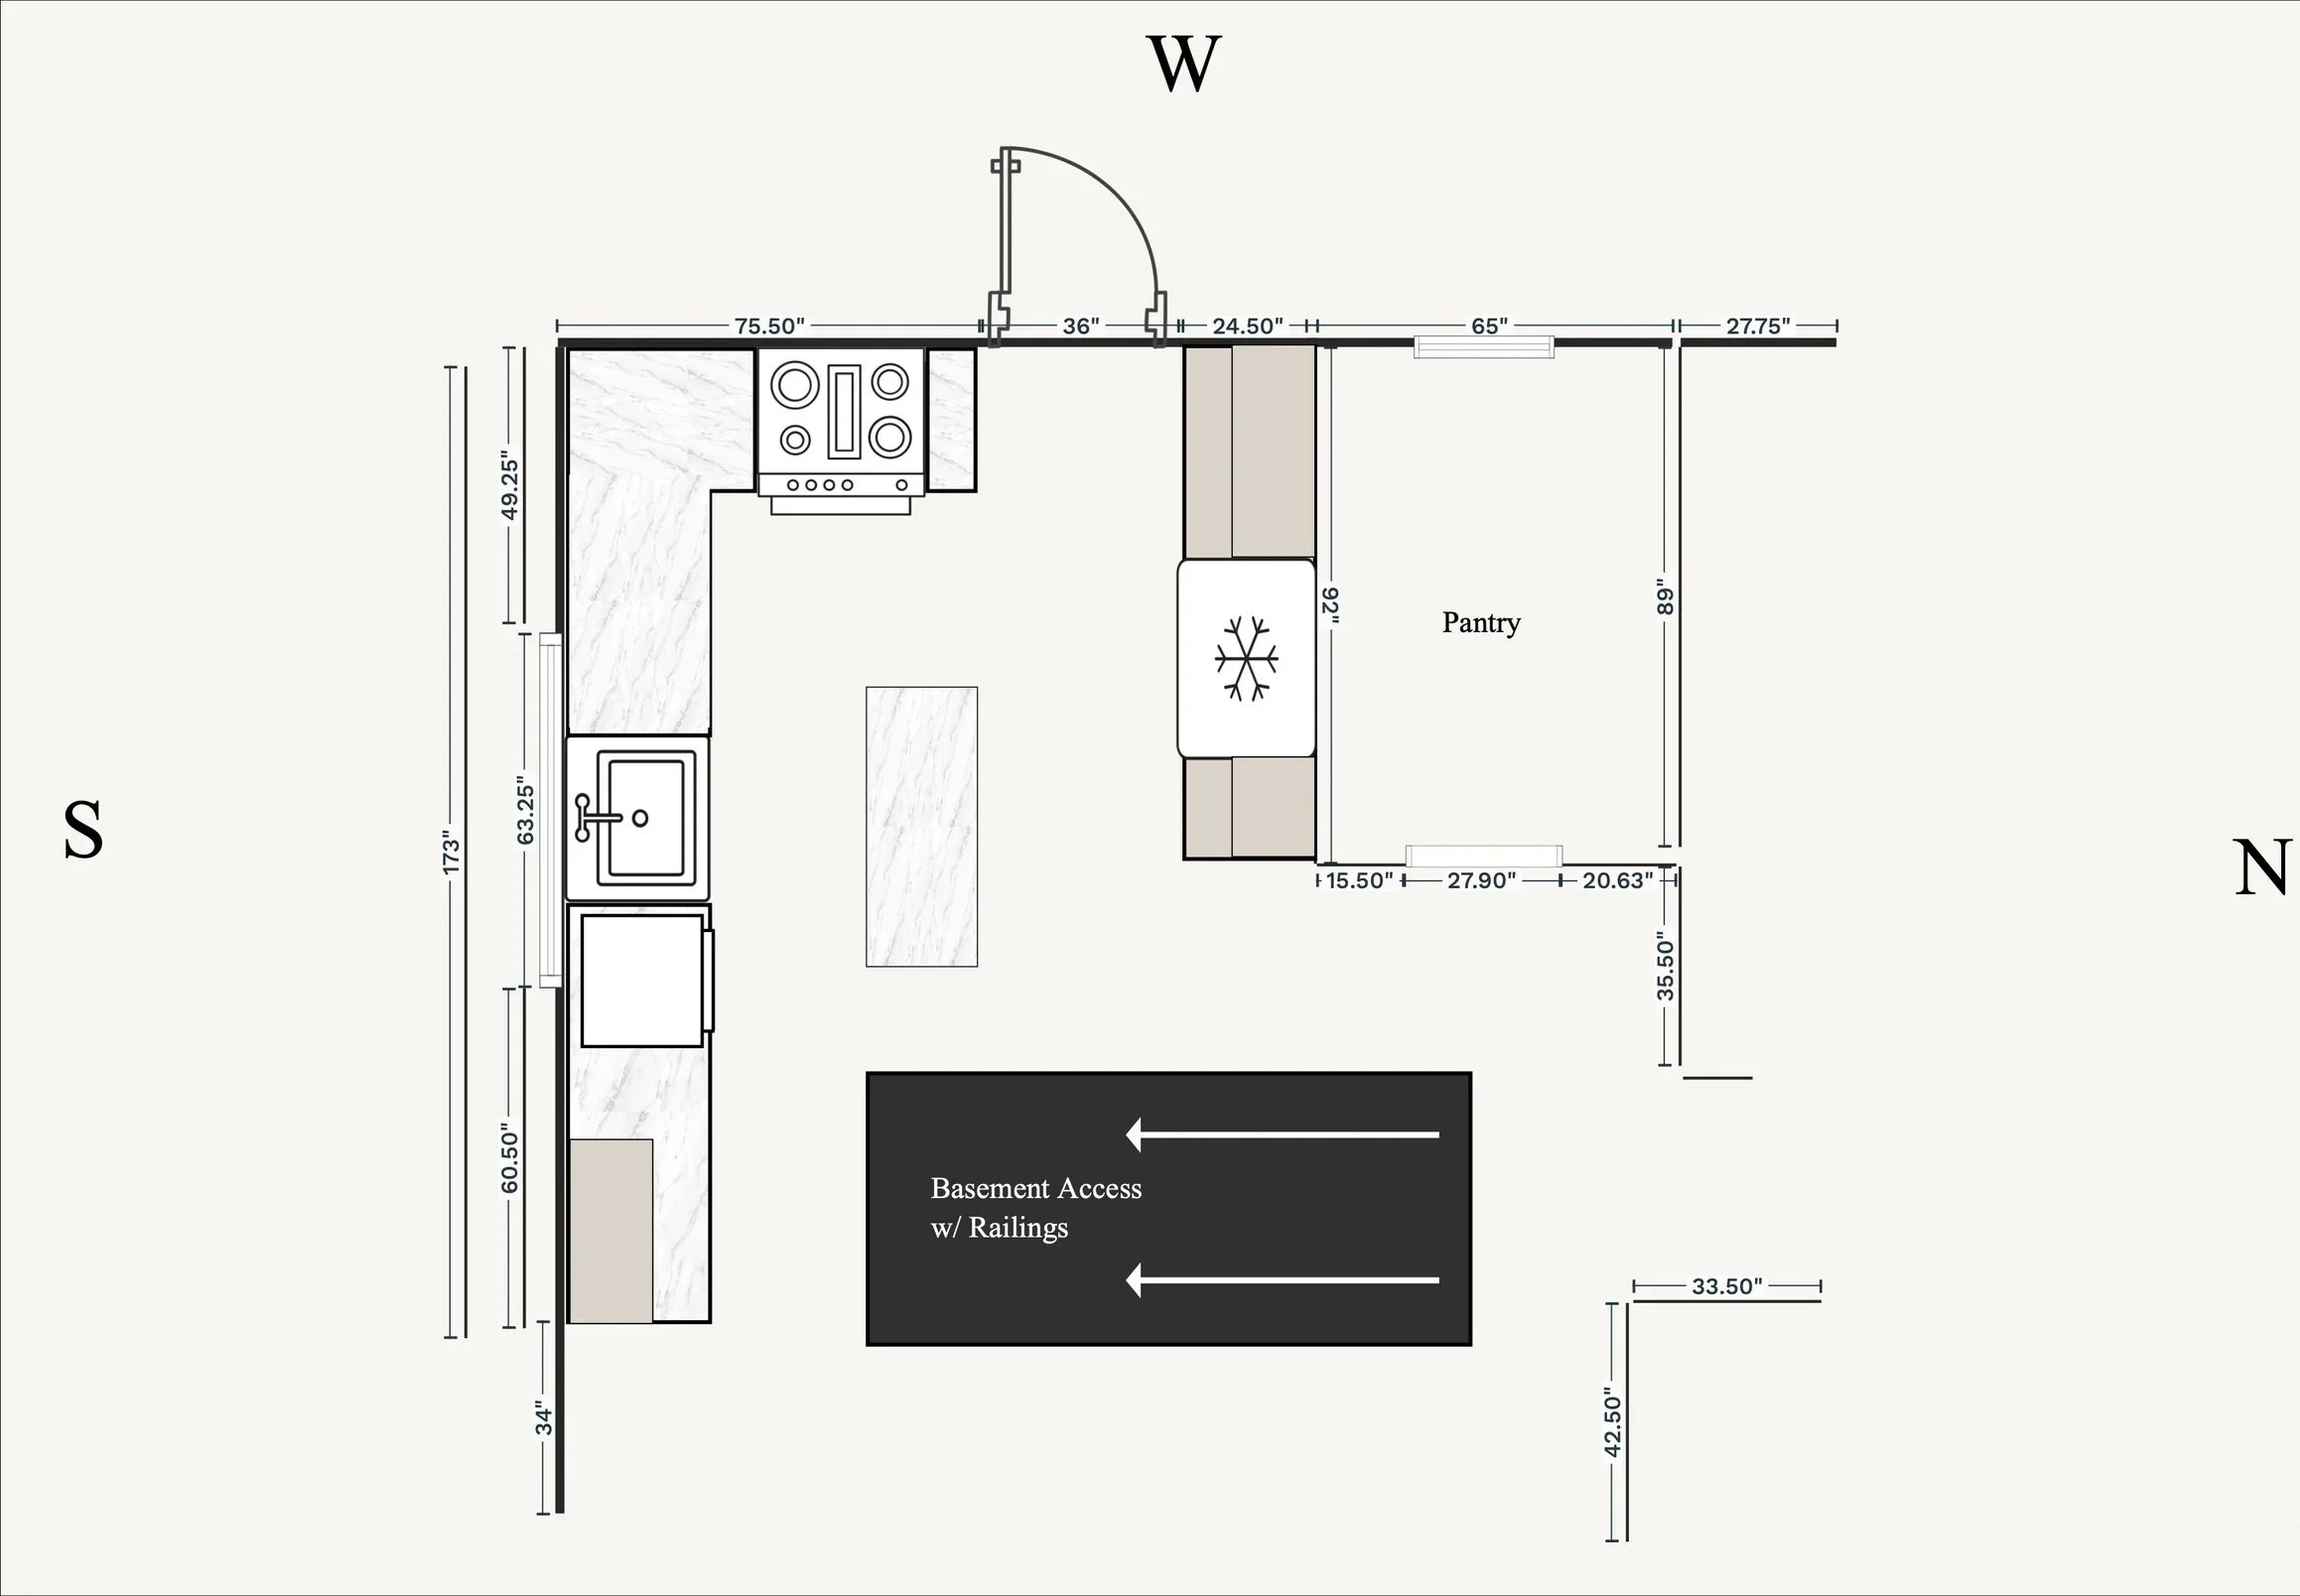
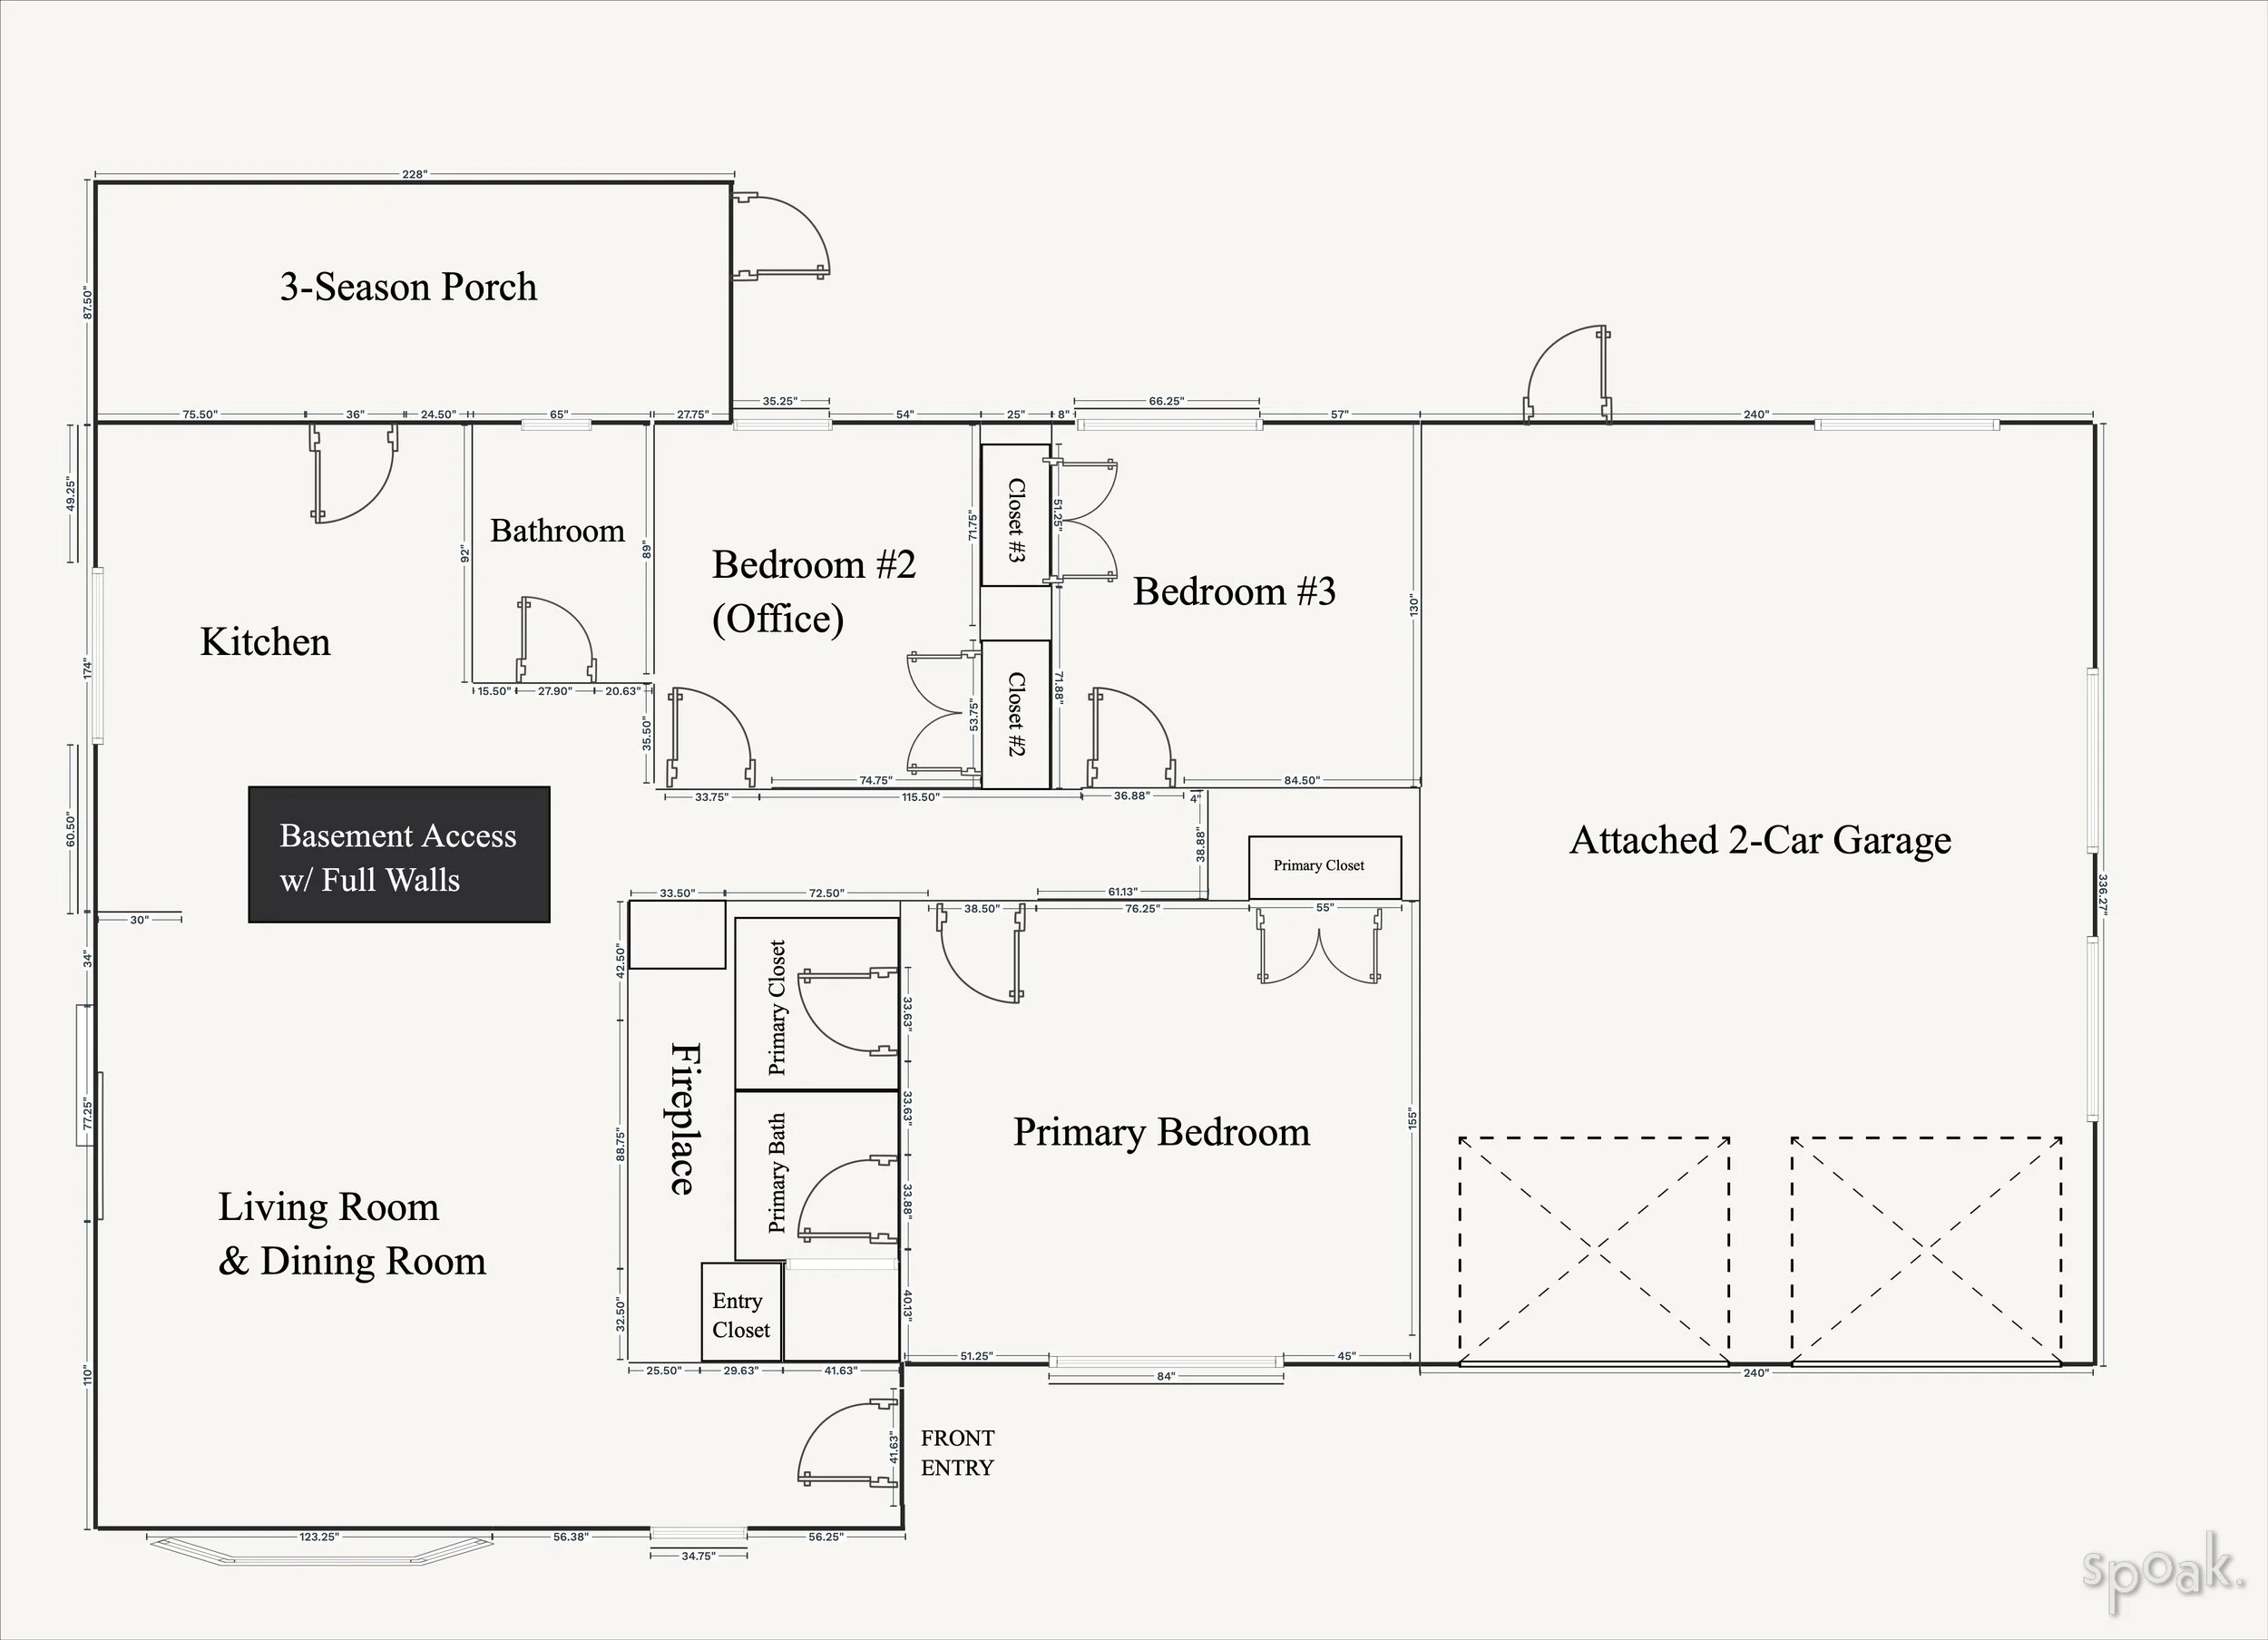
The Demo
We closed on the house the last Friday of March. That same afternoon, we had a dumpster delivered to the driveway. By 8:00 am on Saturday the following morning, we were demo-ing the space. Over the course of the weekend, it took three of us (myself, my husband and my father) 14 total hours to demo. It produced about 20 yards of garbage. It was an exhausting, arduous task, but we decided to do this part ourselves for a little sweat equity and cost-savings. We had a good system between the three of us, and it was manageable. There were about 3 more additionally accumulated hours to remove the final pieces of wall framing that were attached to the ceiling— something that we didn’t want to do until we were ready to put the support beam into place. Watch our sped-up demo process in the video below.
The Inspiration
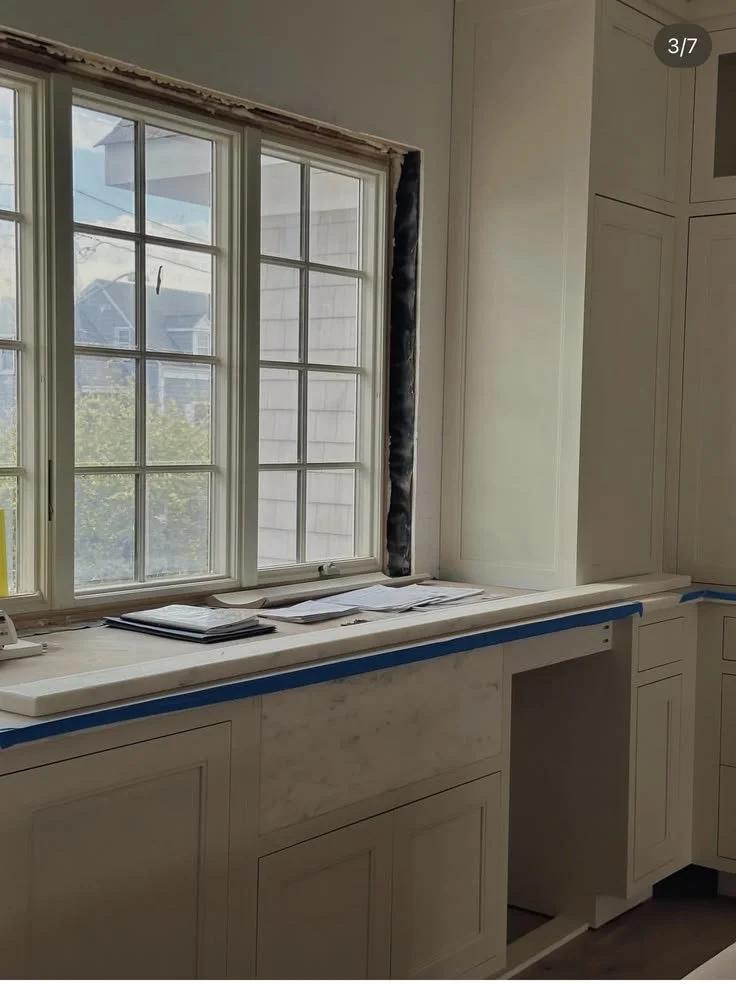
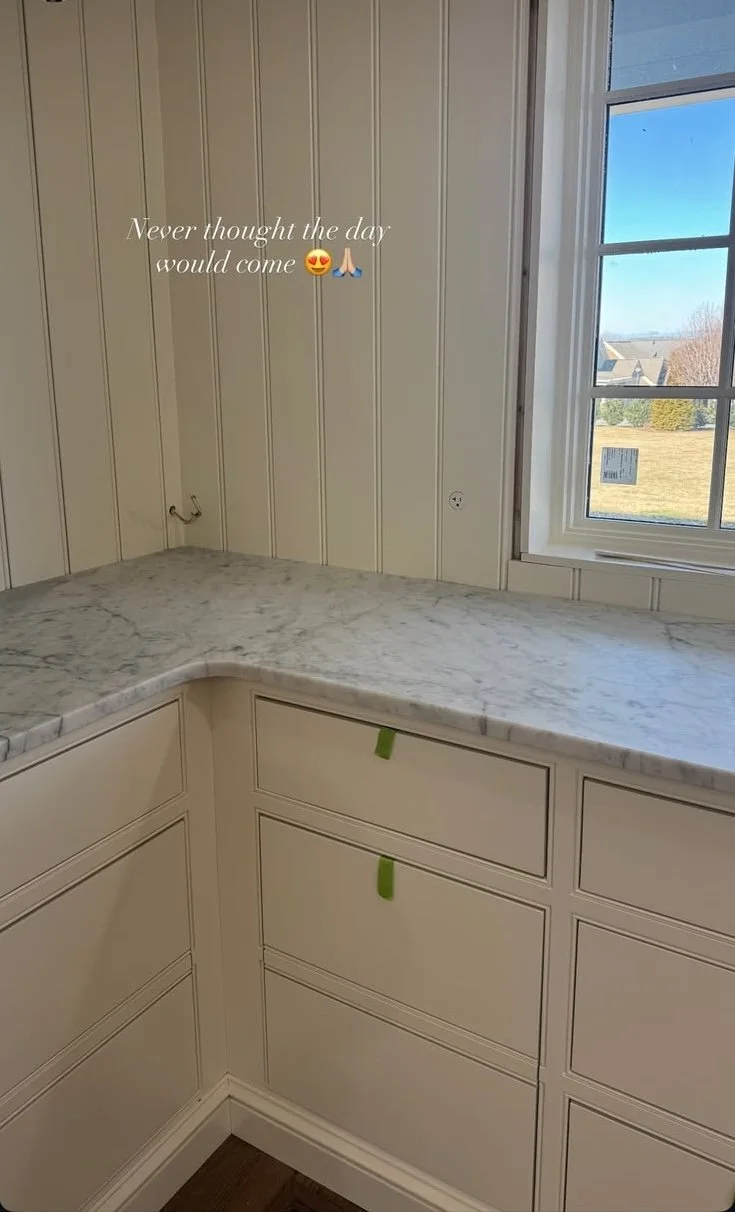
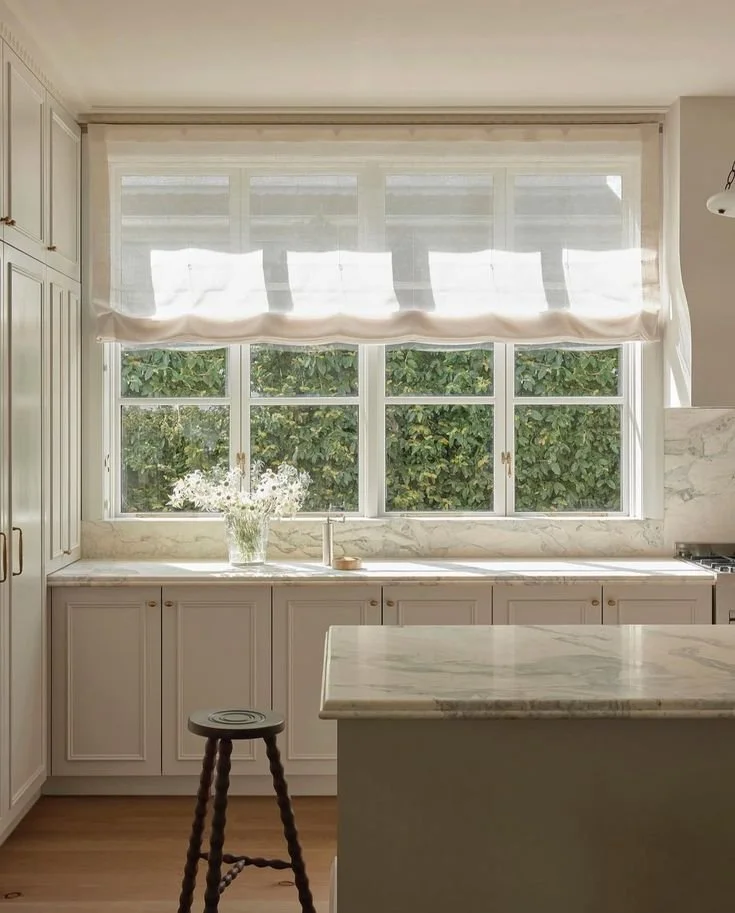
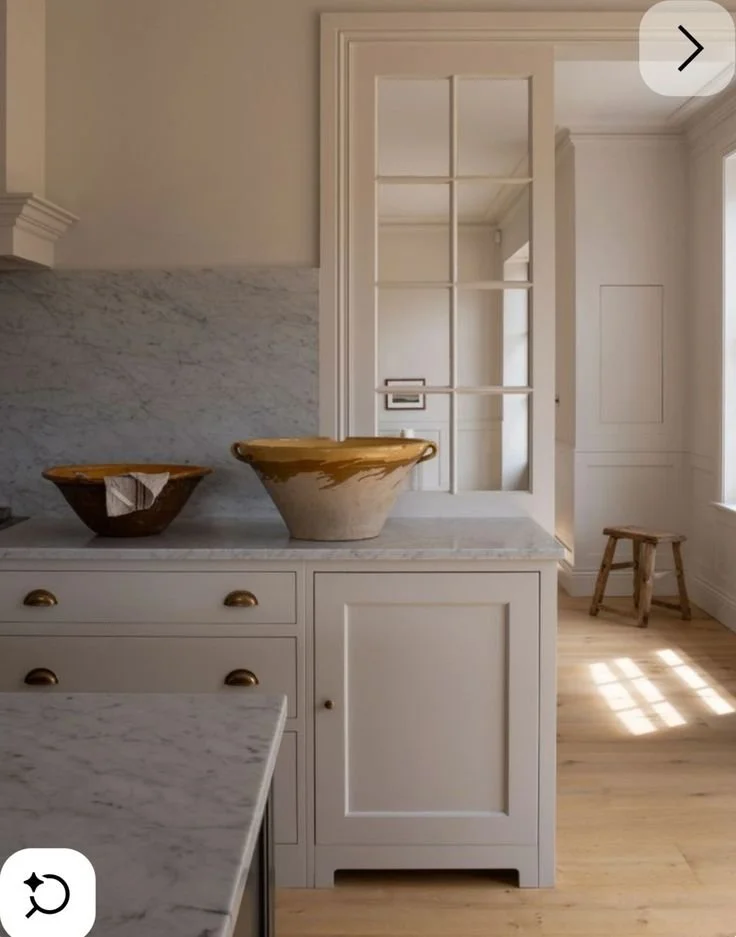
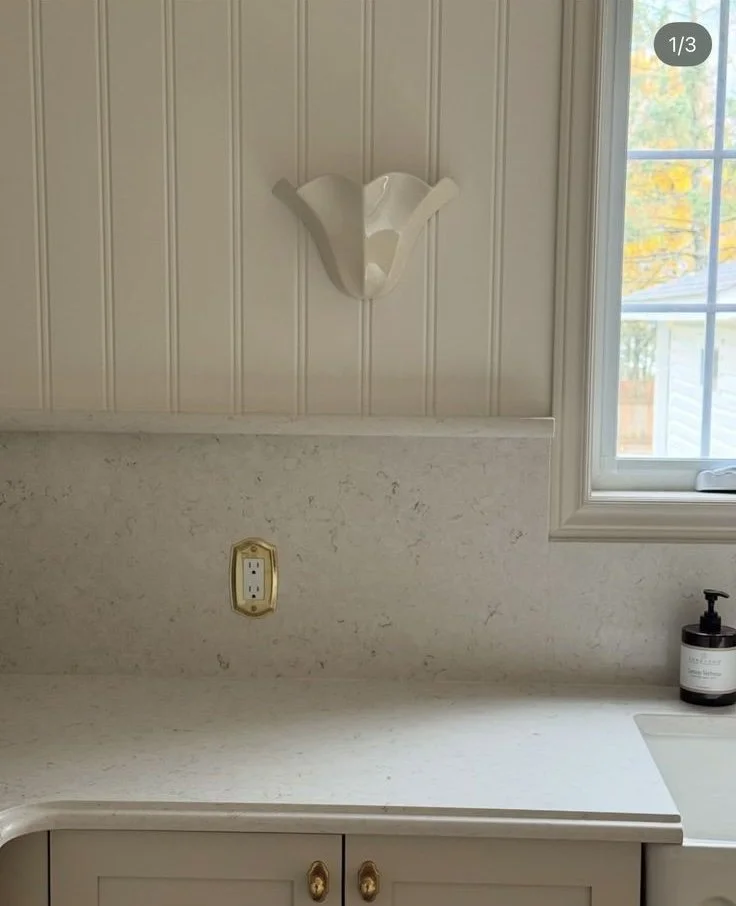
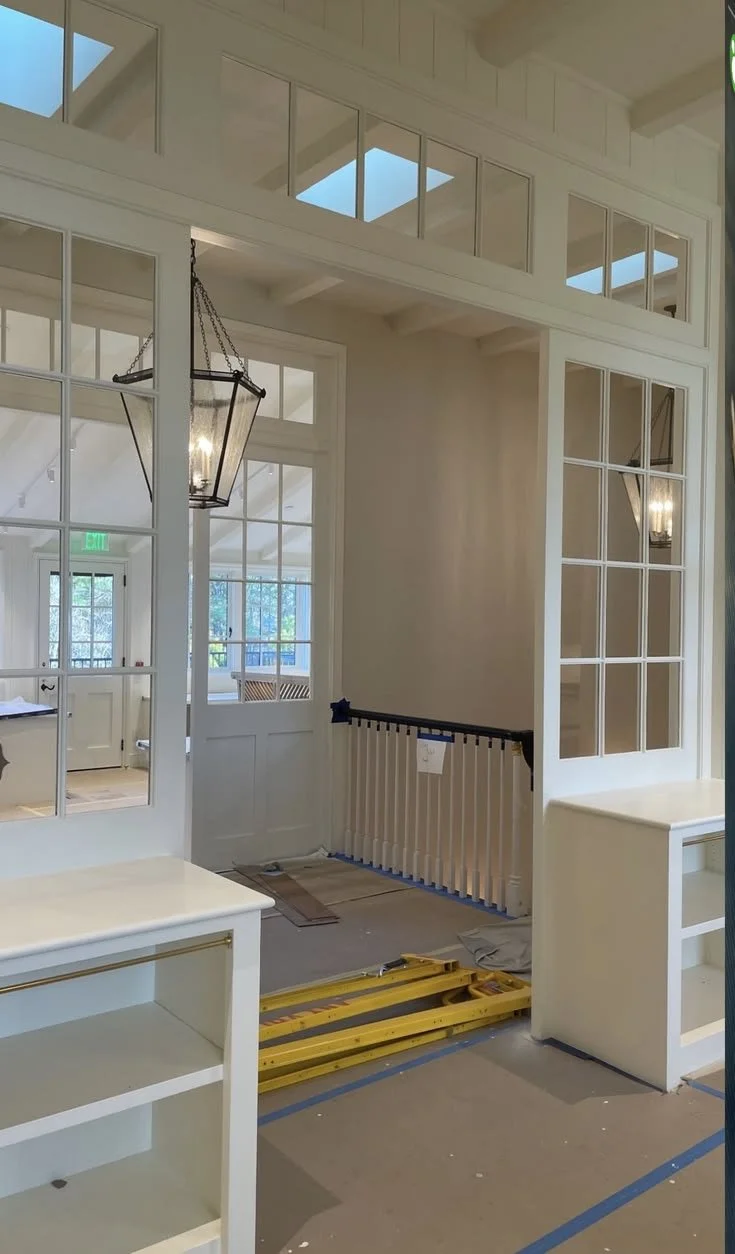
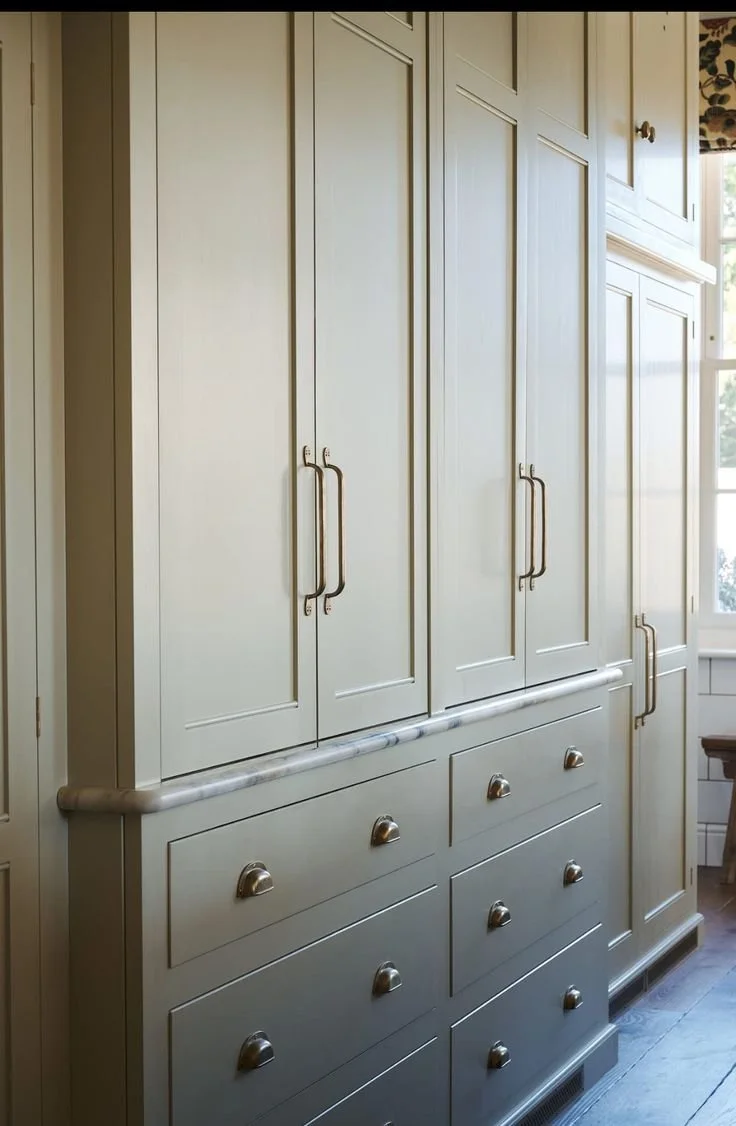
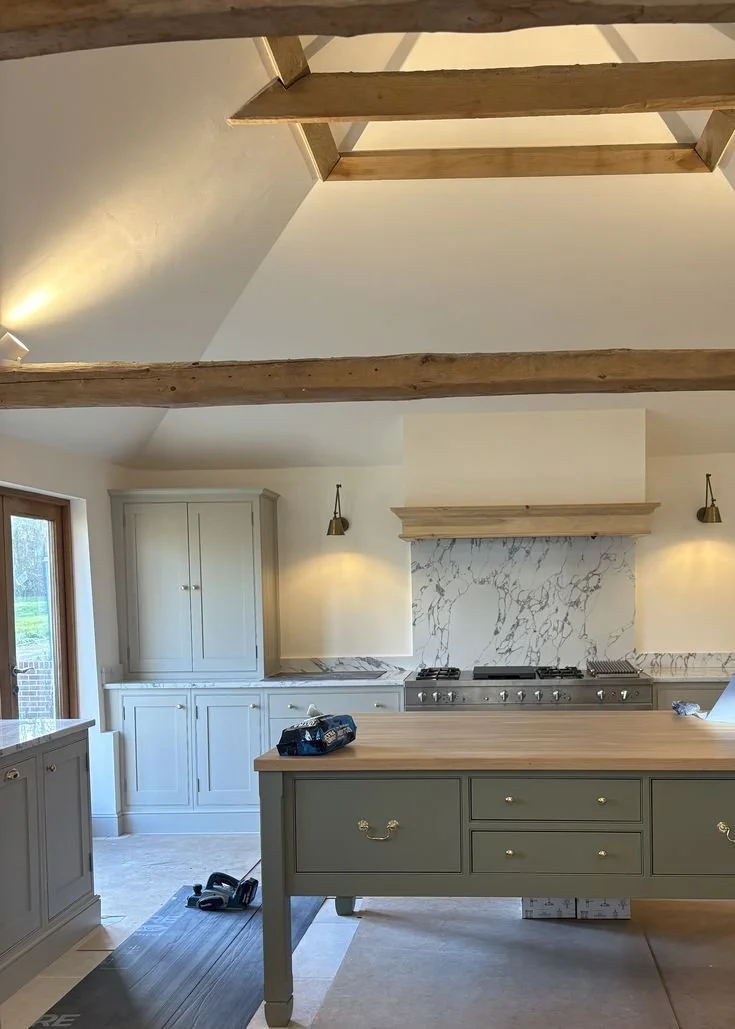
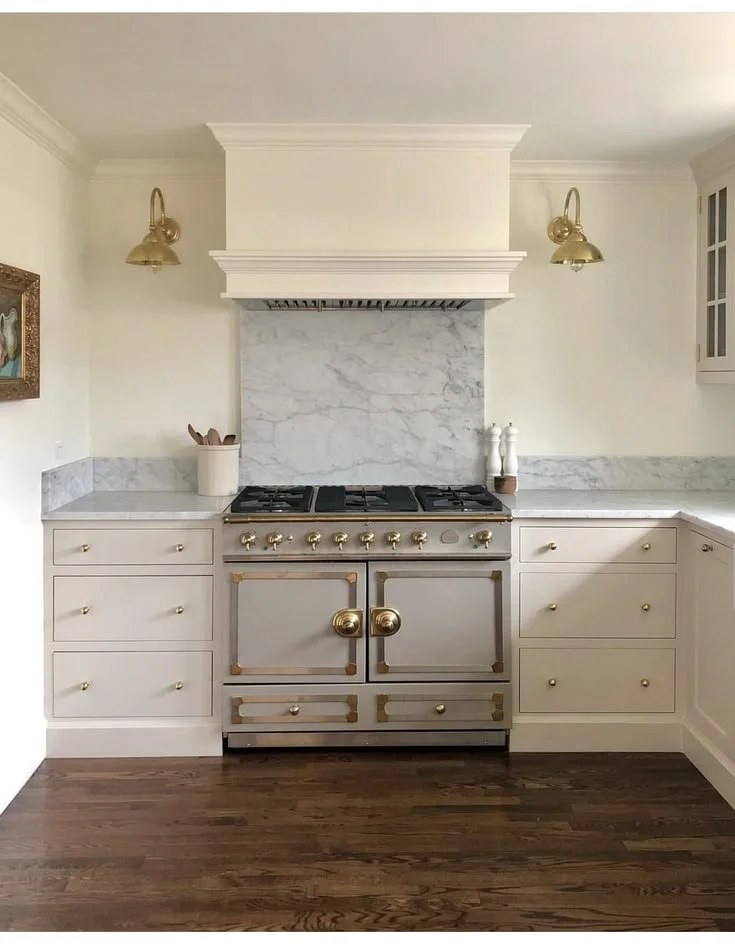
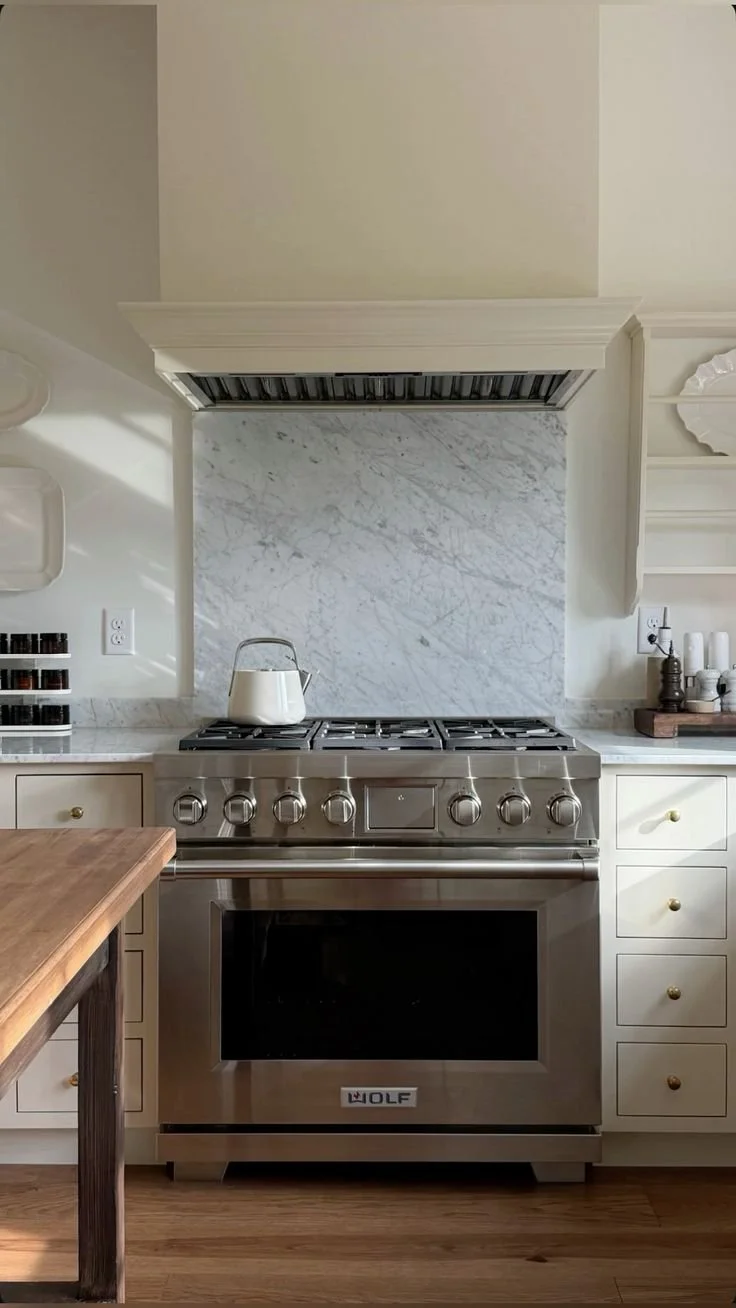
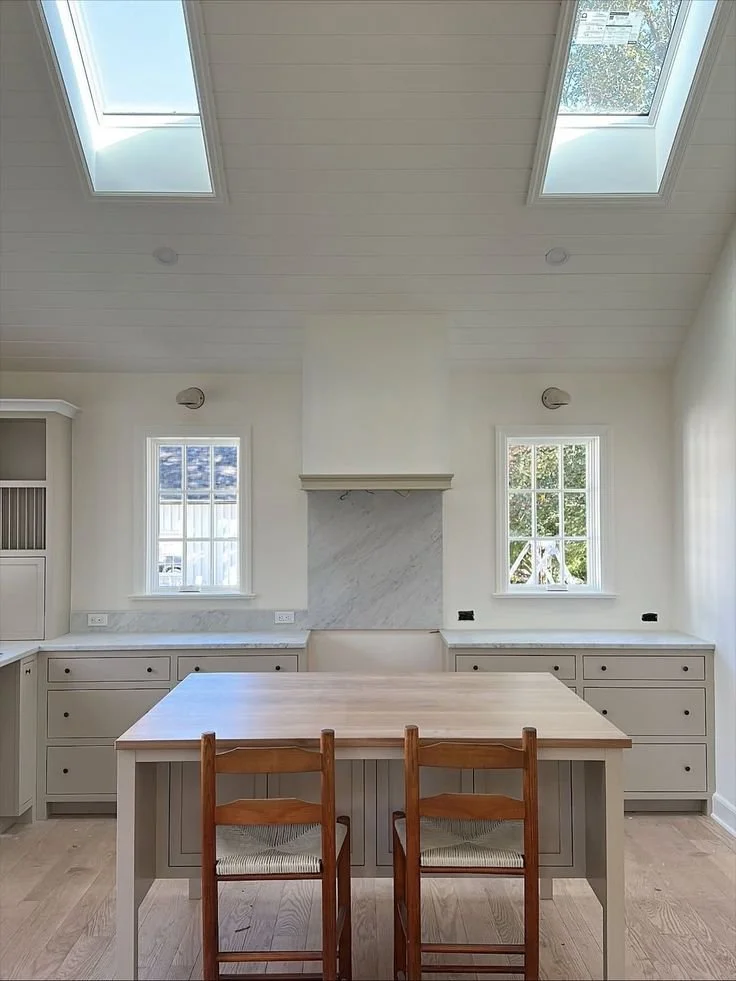
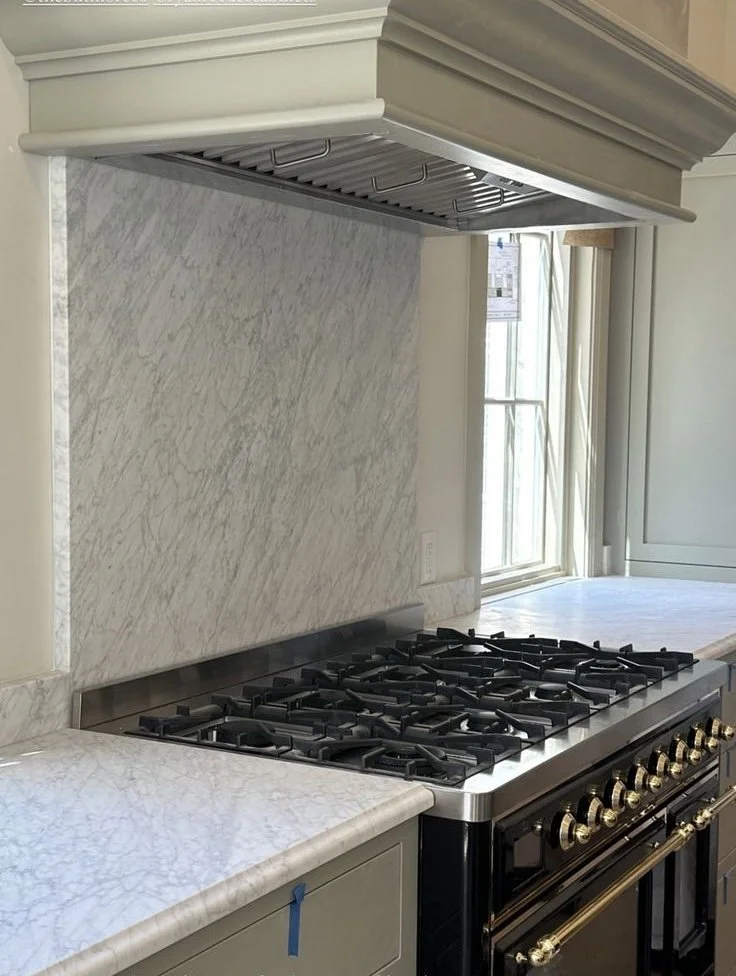
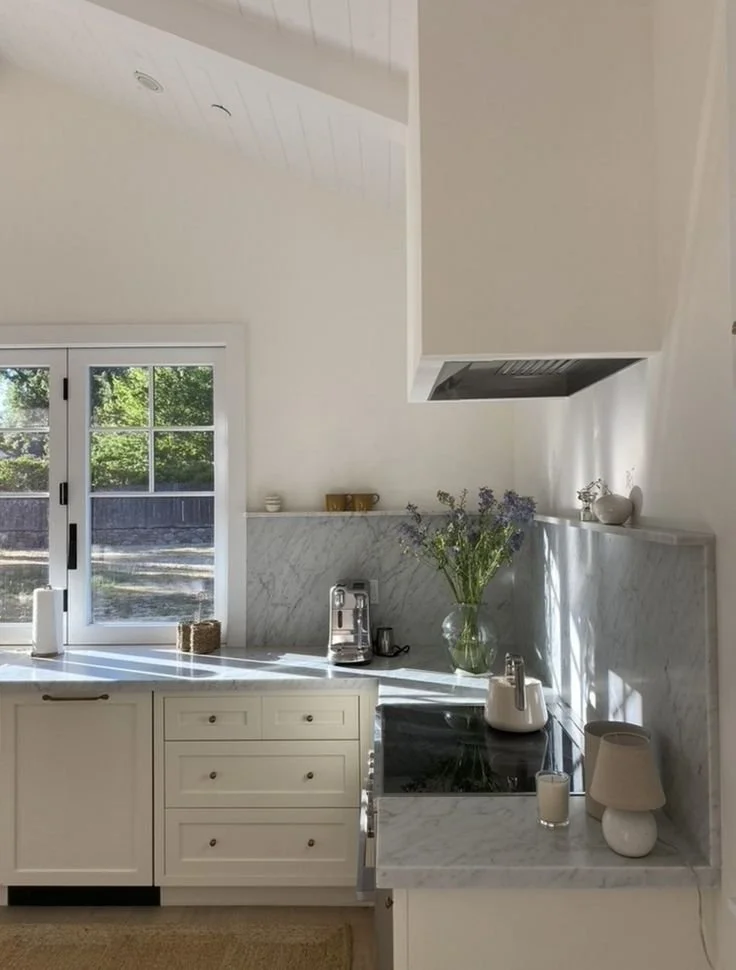
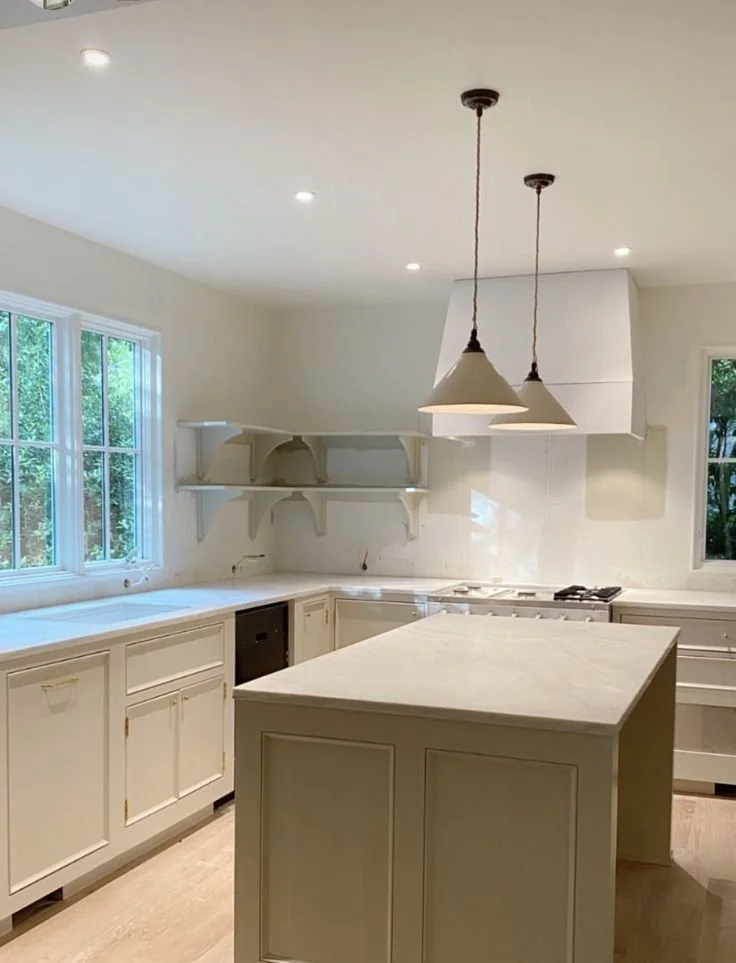
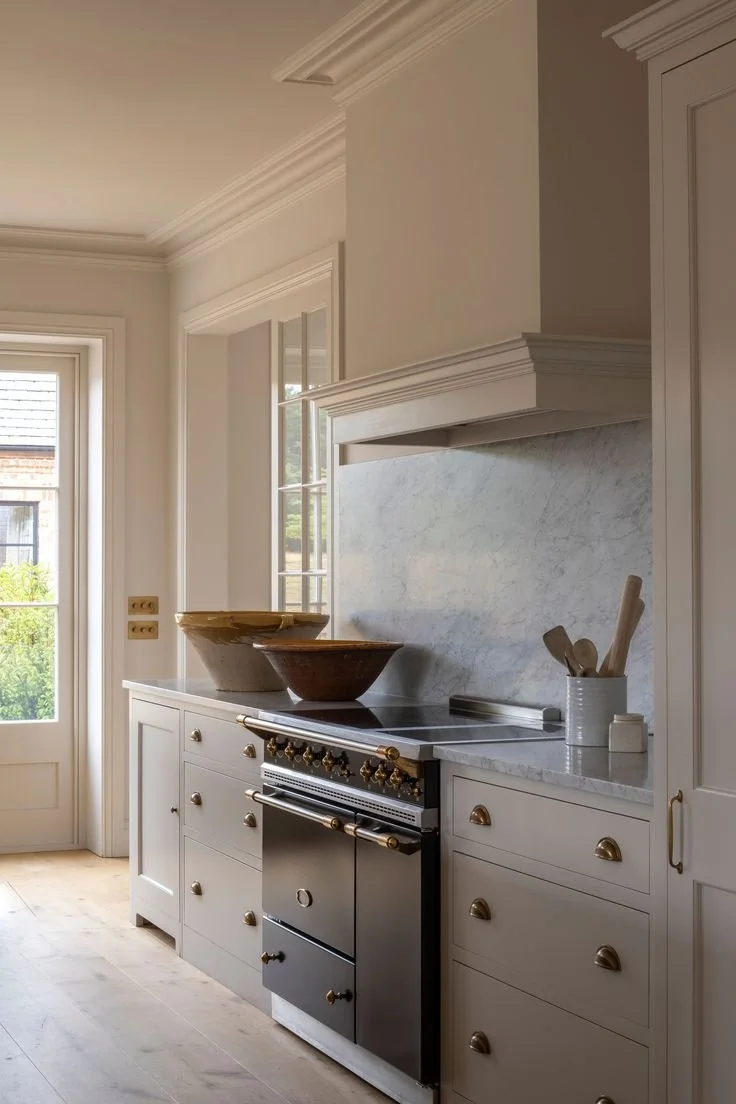
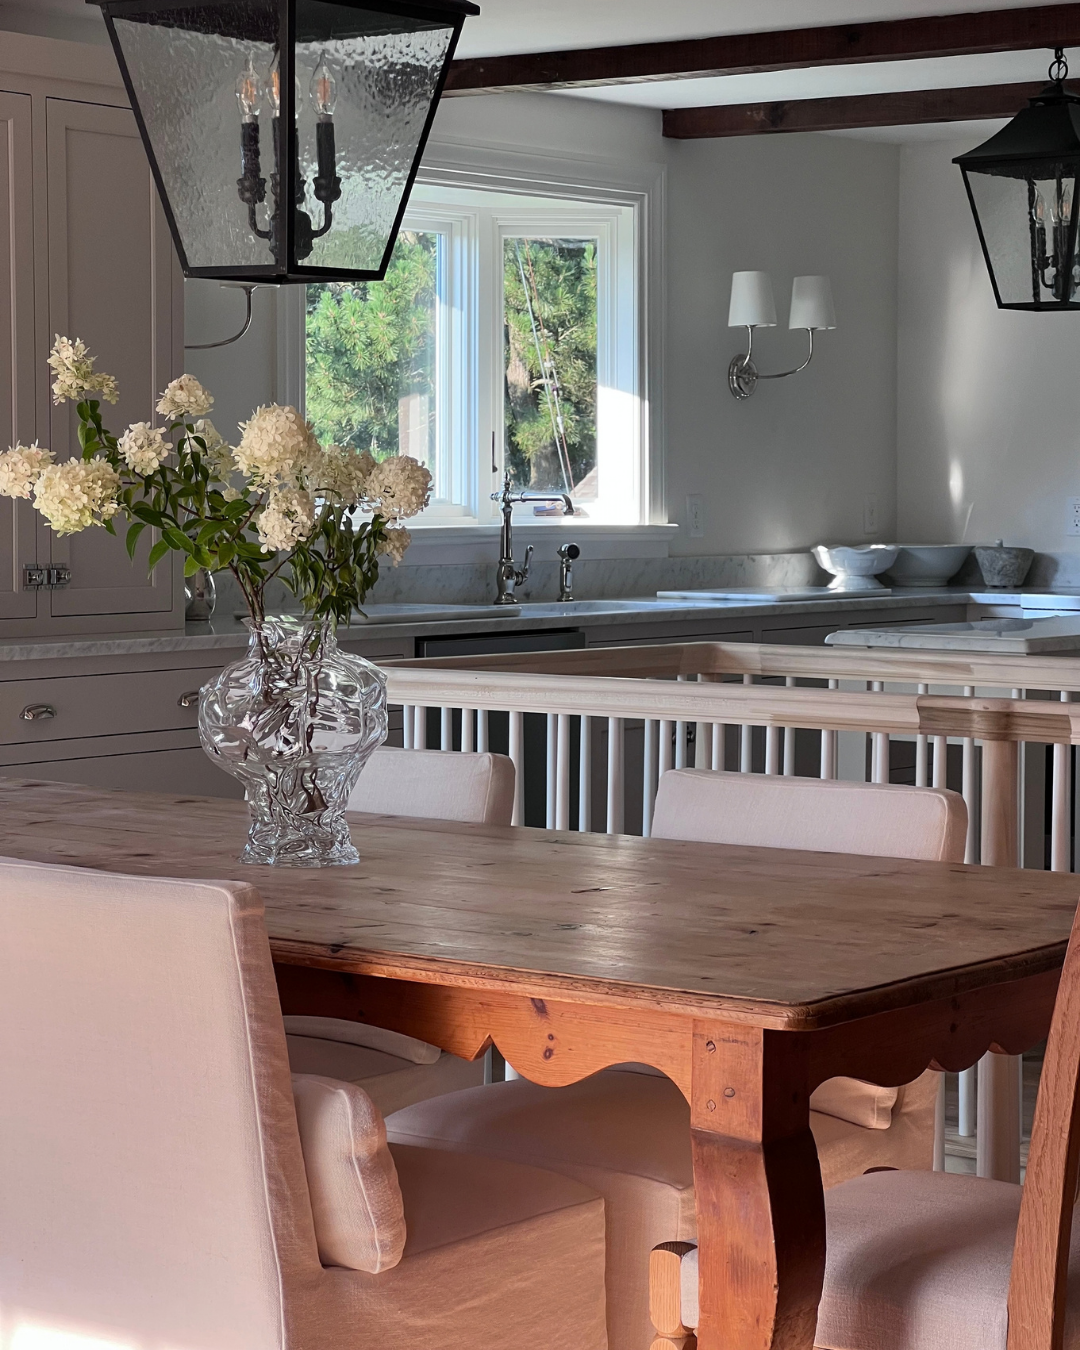
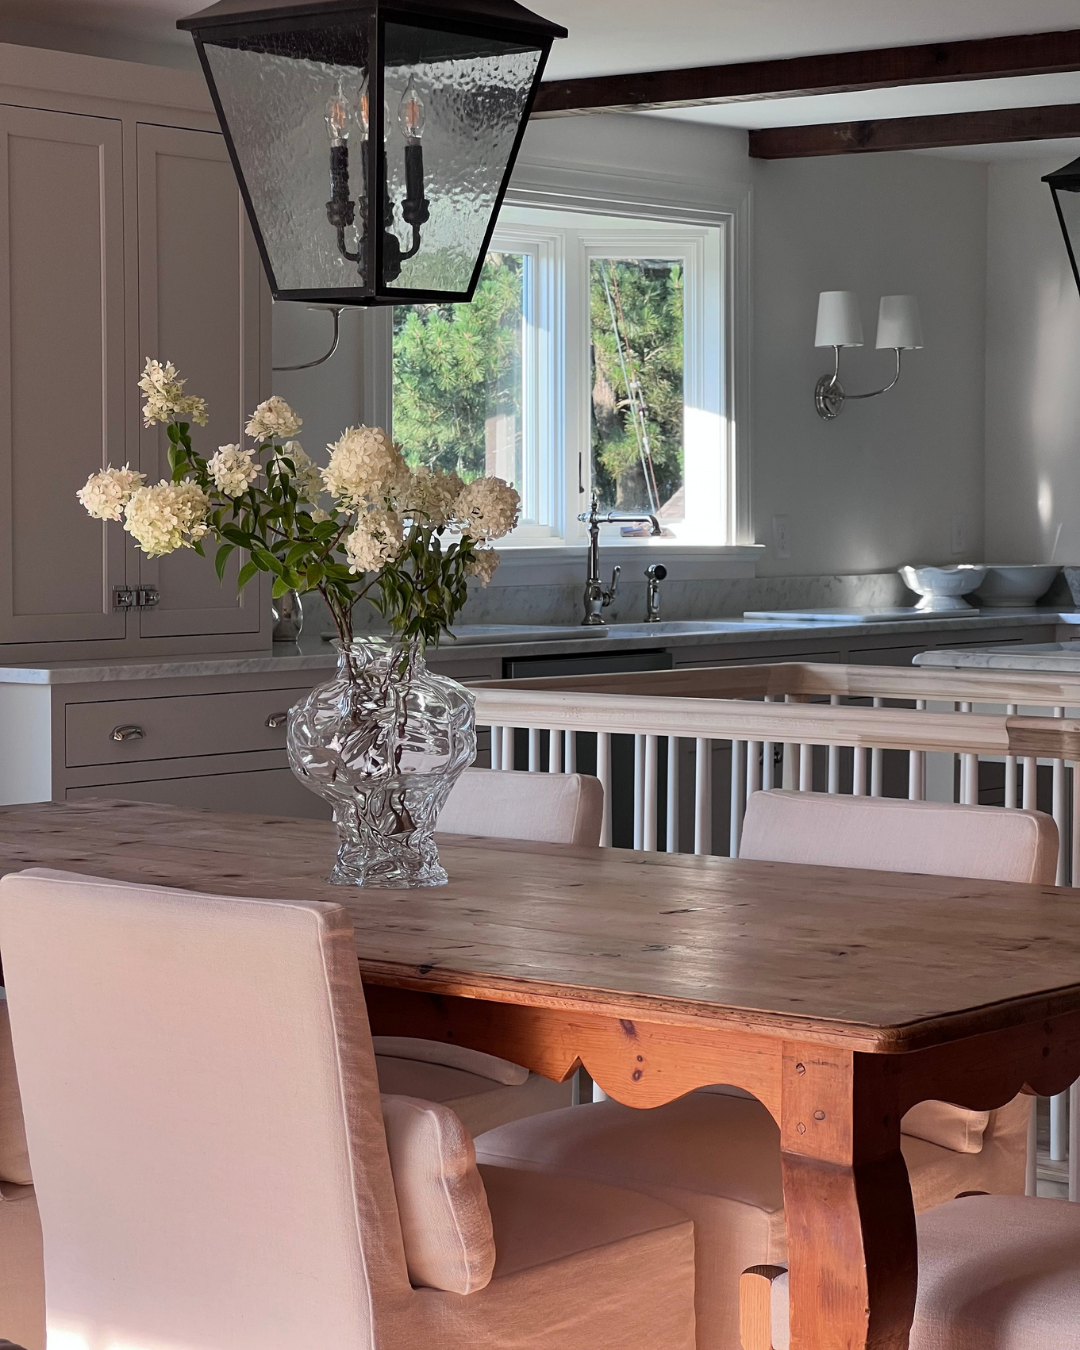
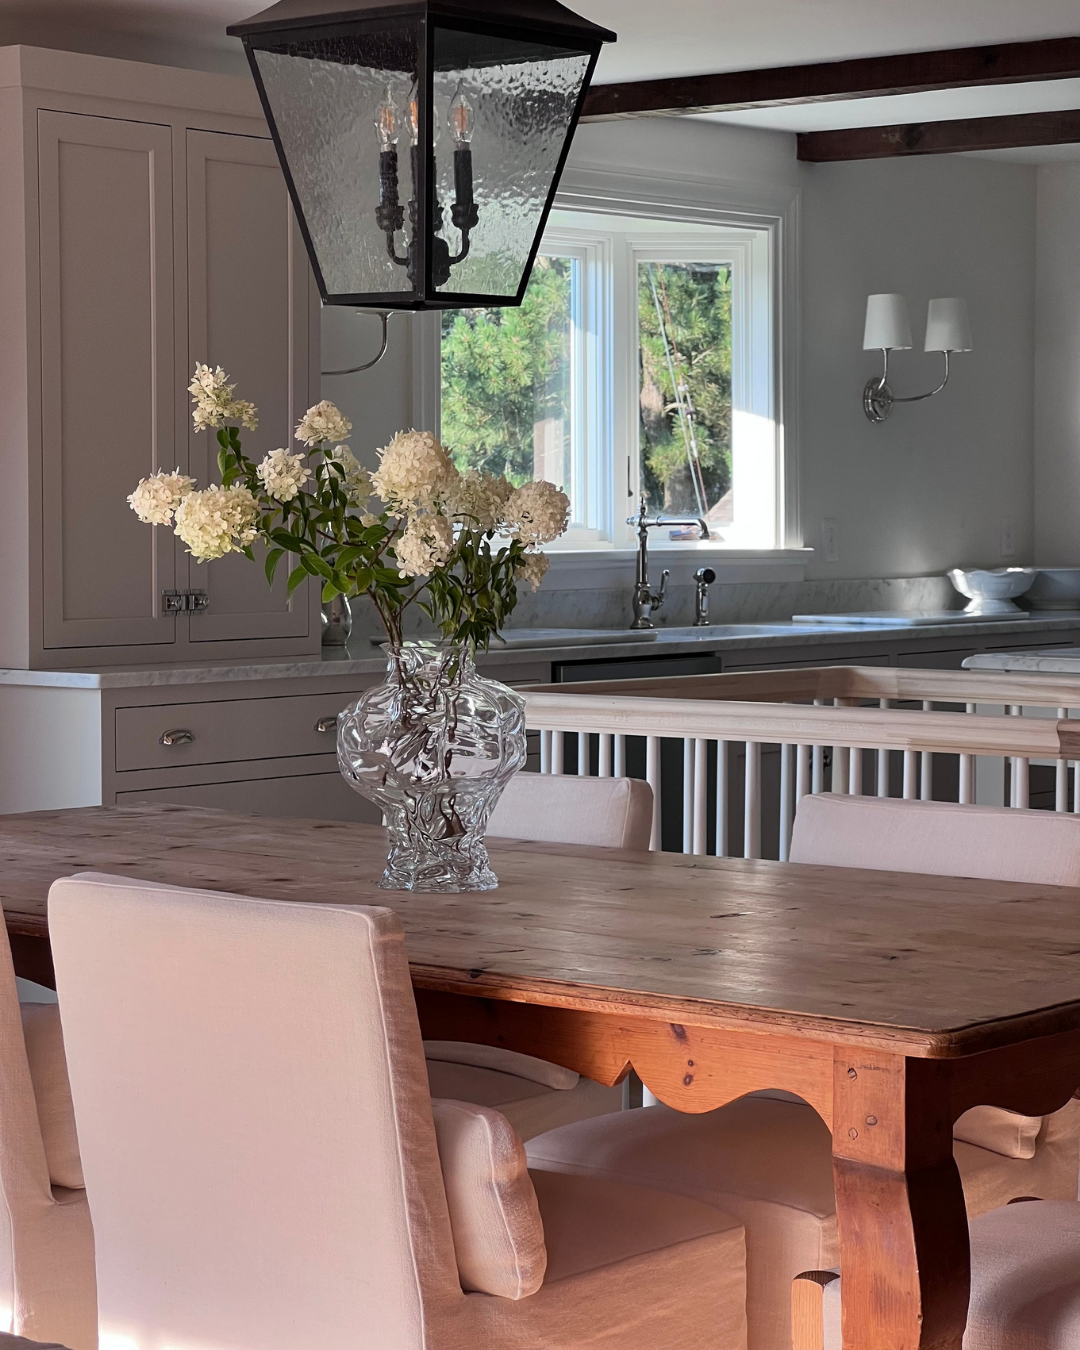
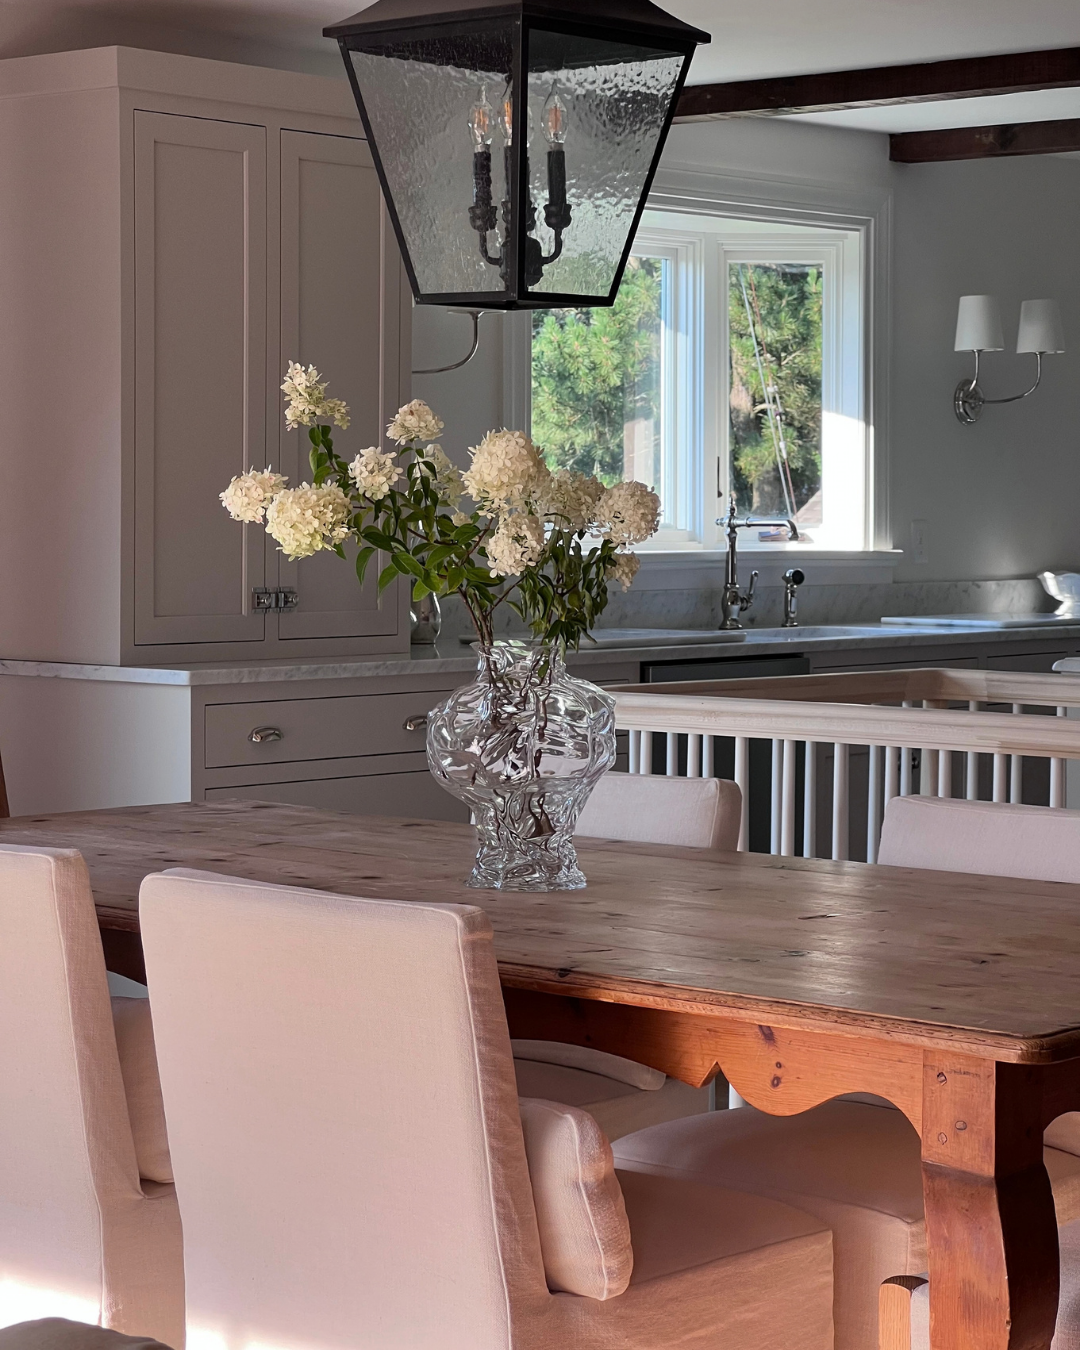
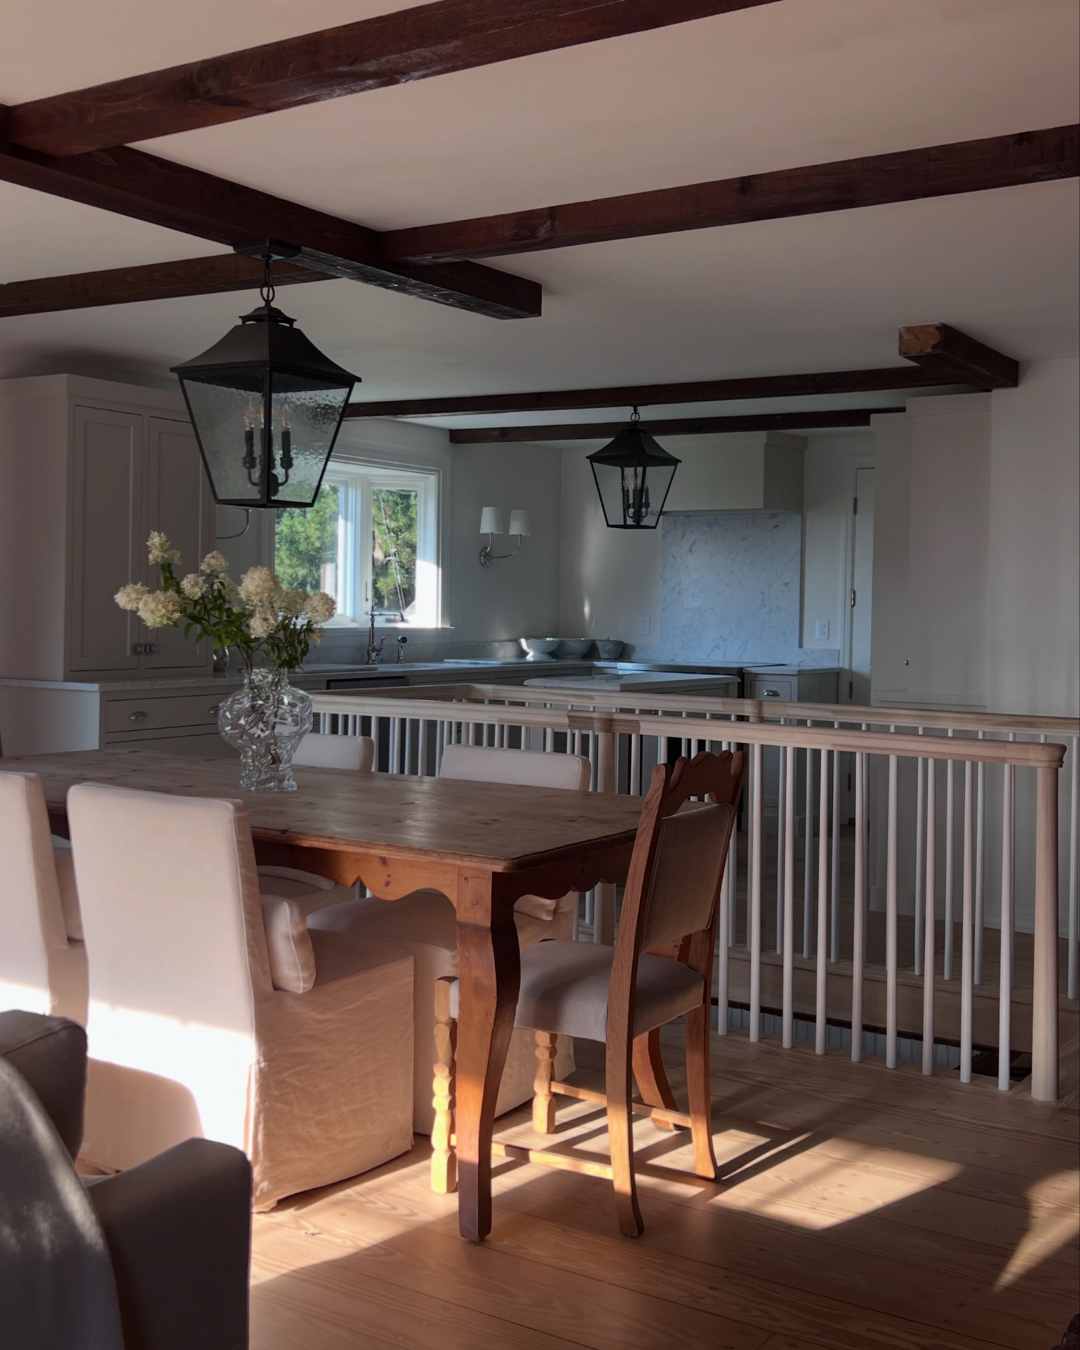
I am consistently inspired by classically designed British kitchens: simple, rooted in functionality, plentiful lower cabinetry, limited upper cabinetry, inset style, enameled cast iron sinks, classic taps, natural honed stone and surfaces, historic metals, heritage hues, monochromatic walls and cabinets, gracefully-aged patina. I wanted to take those foundational details, and translate them into a coastal New England cottage; a clean and simple space with timeless, enduring details.
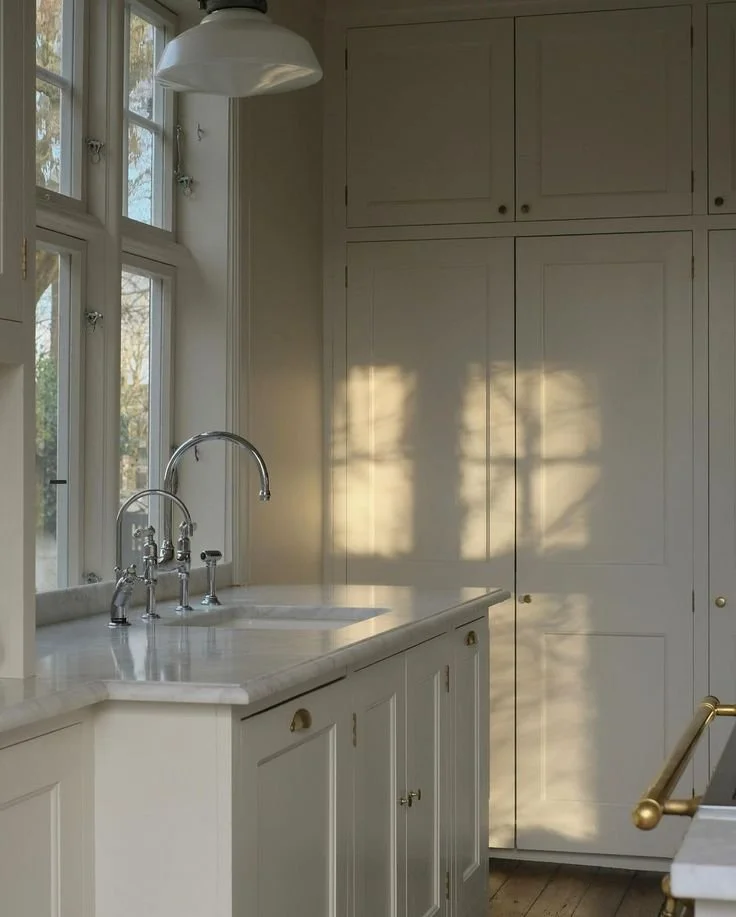
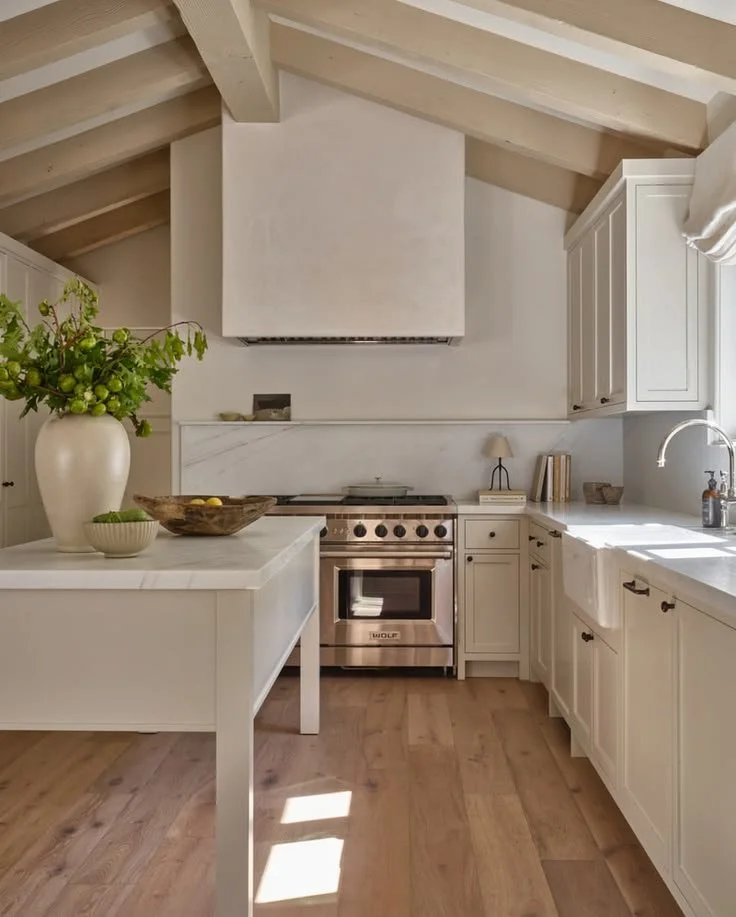
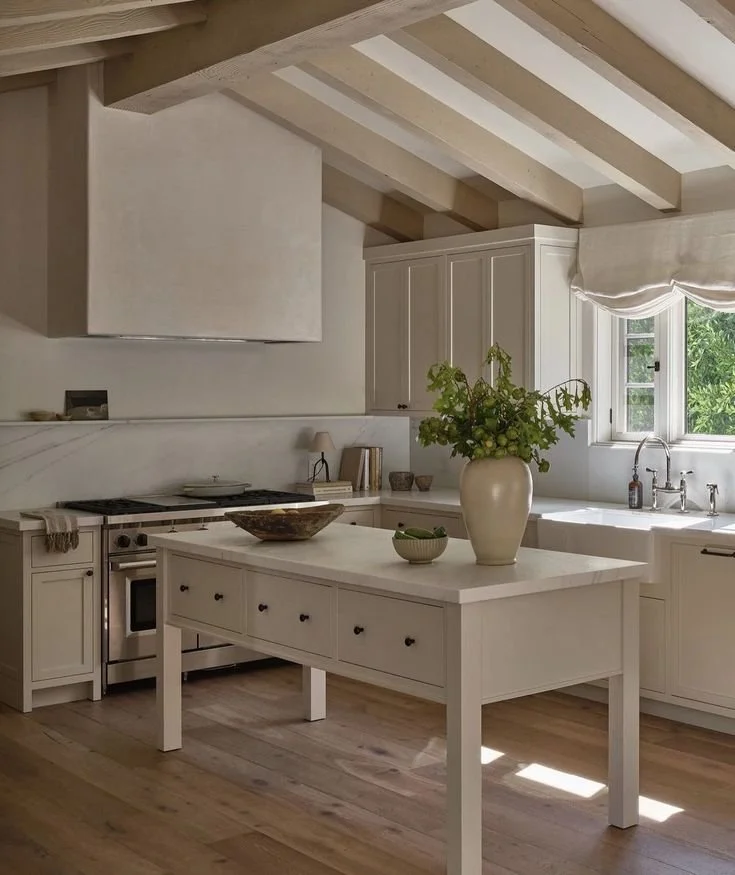
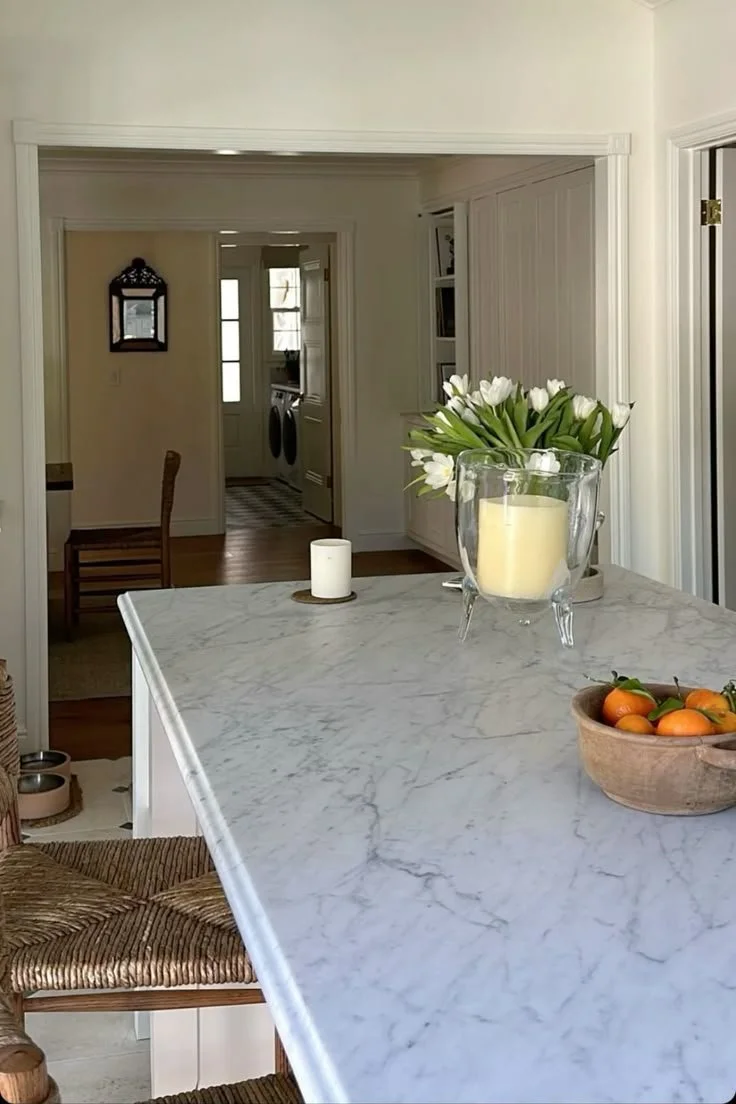

The Design
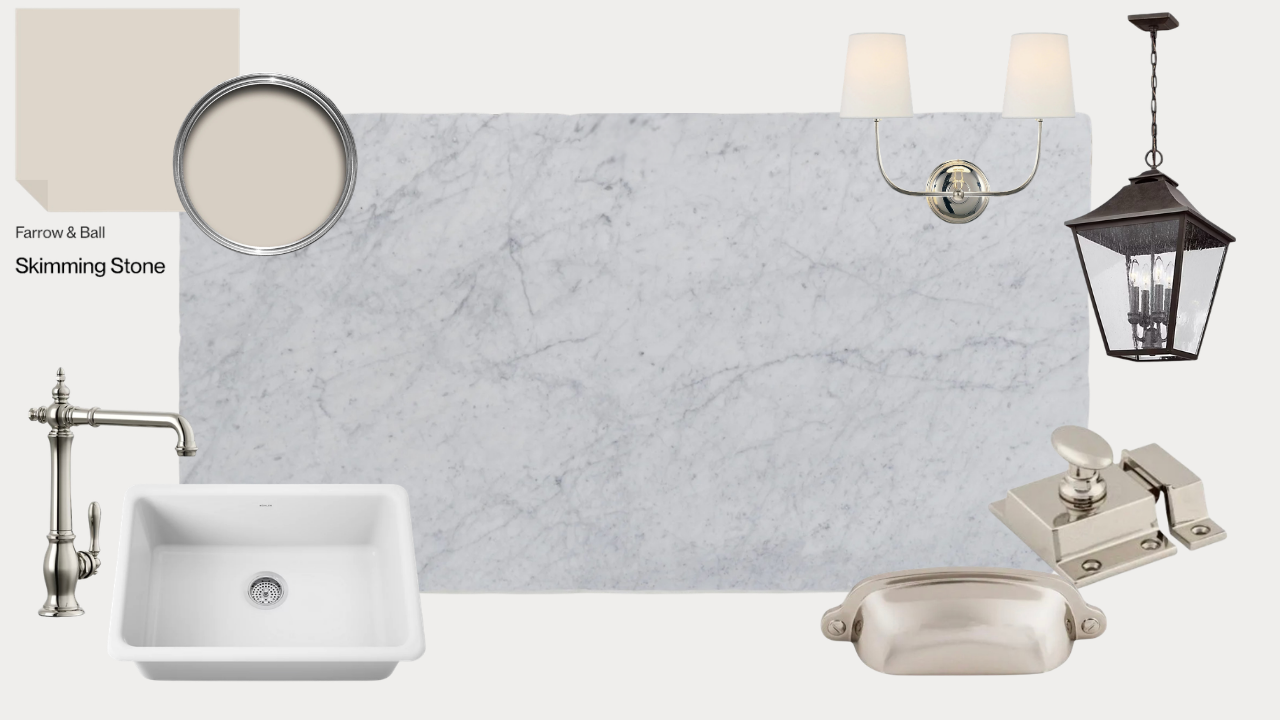
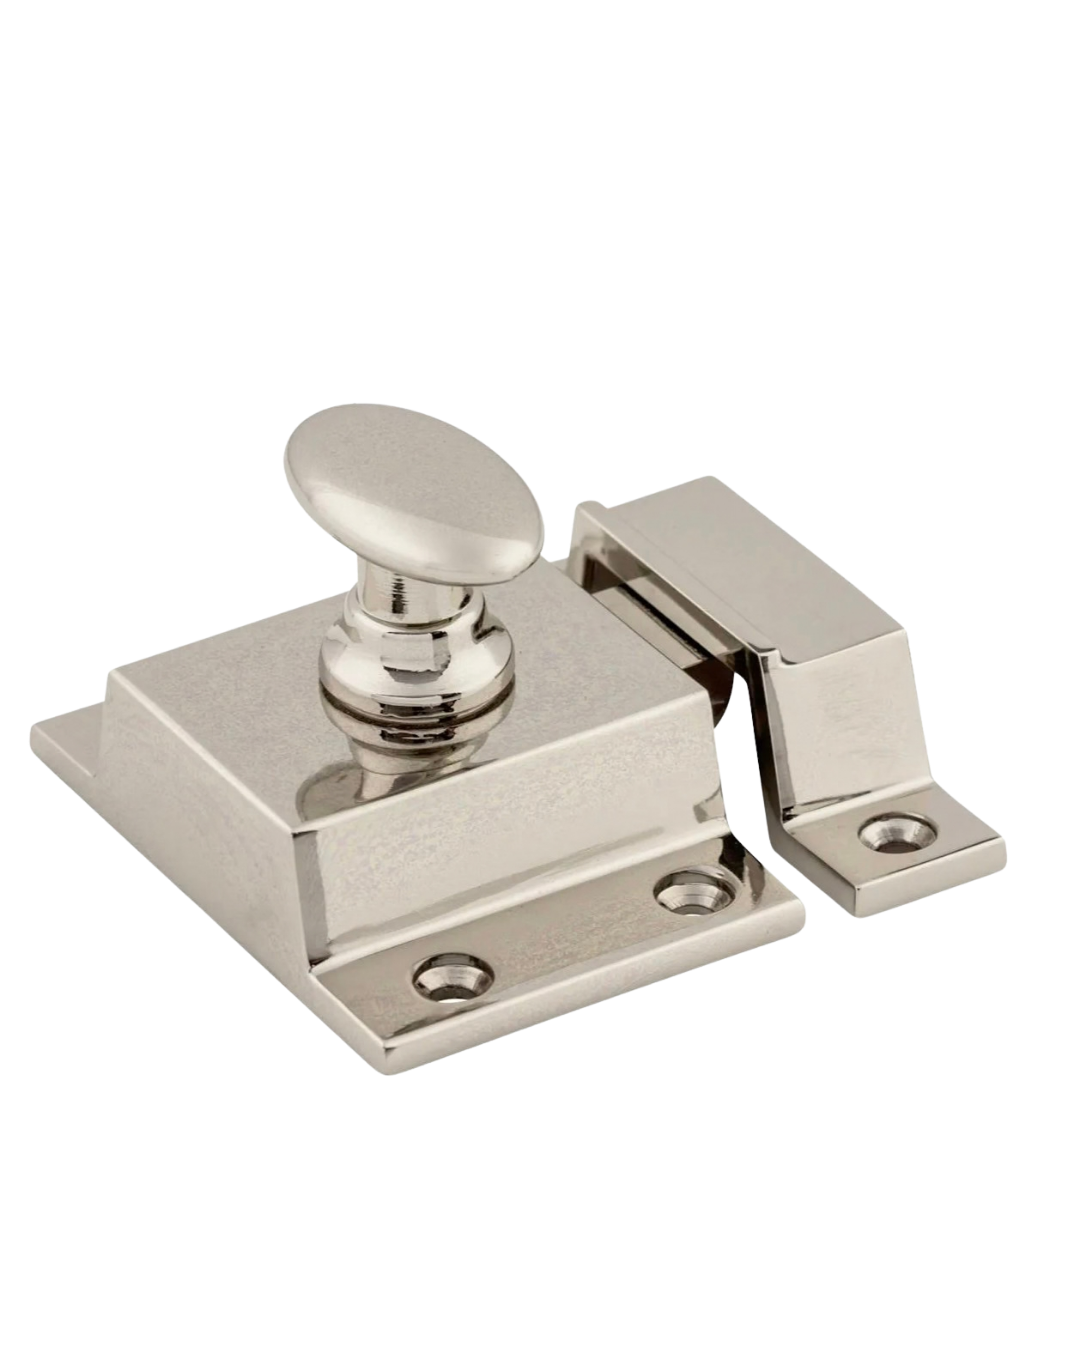
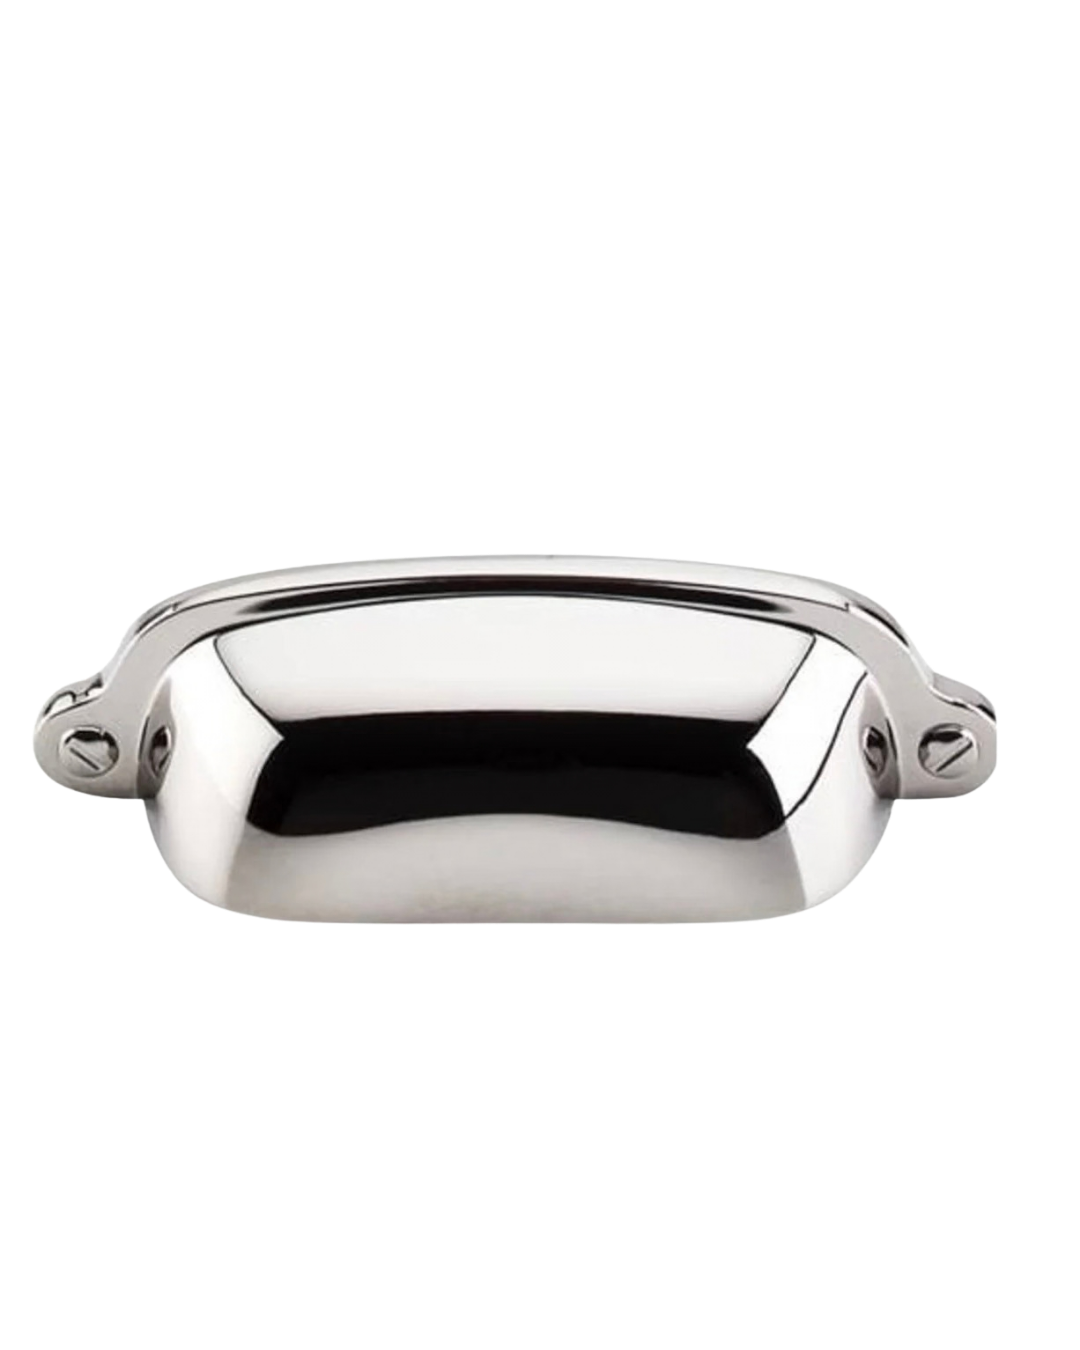
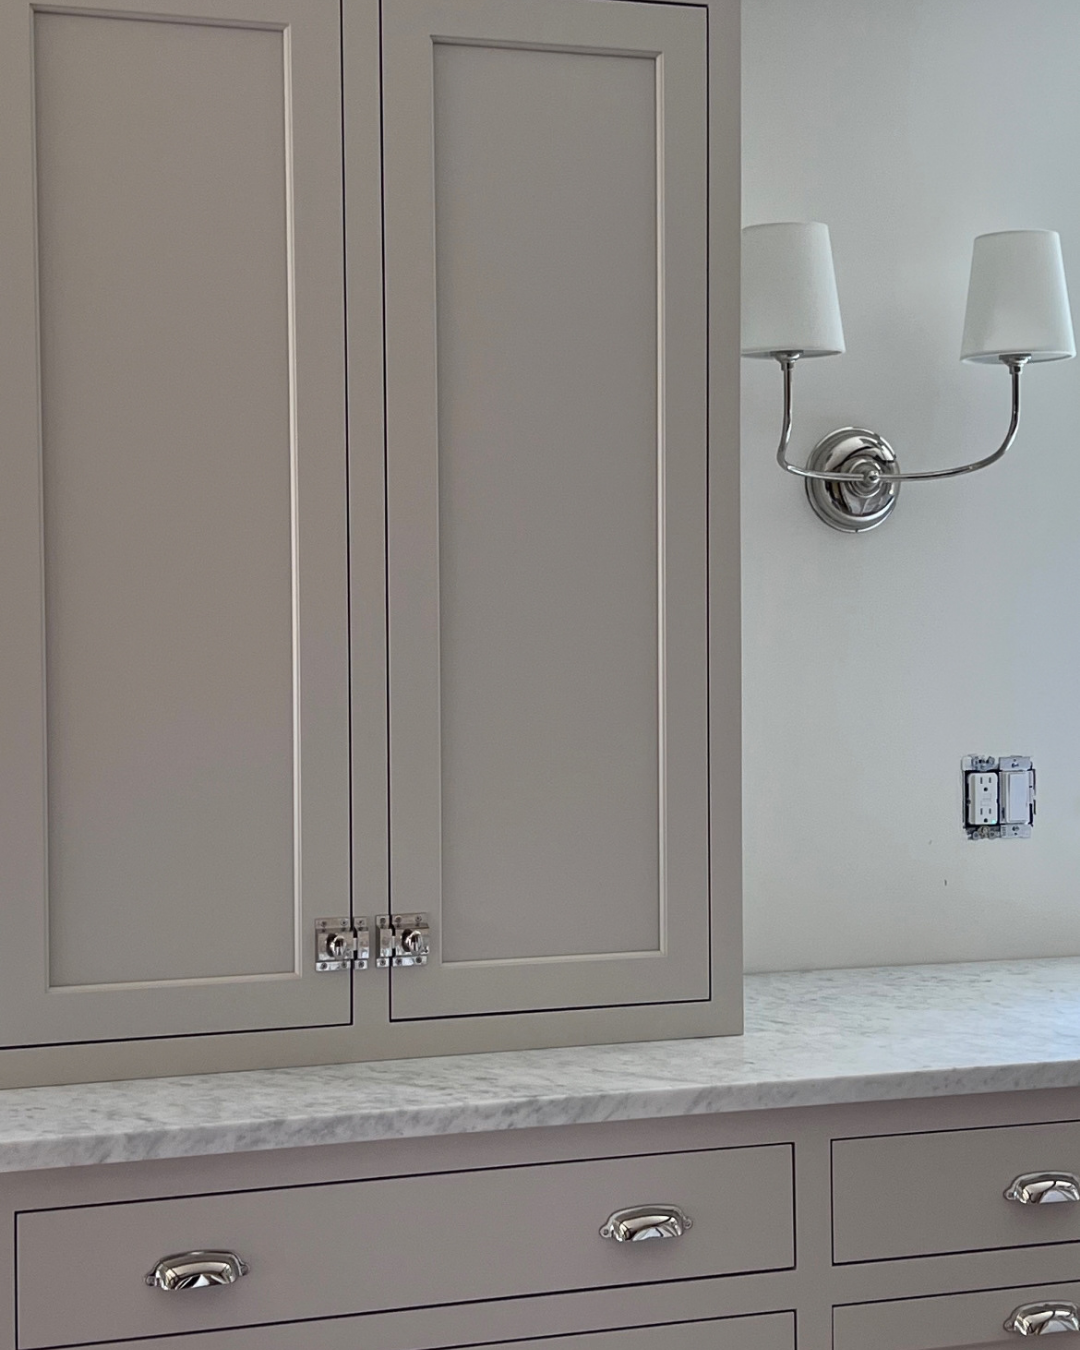
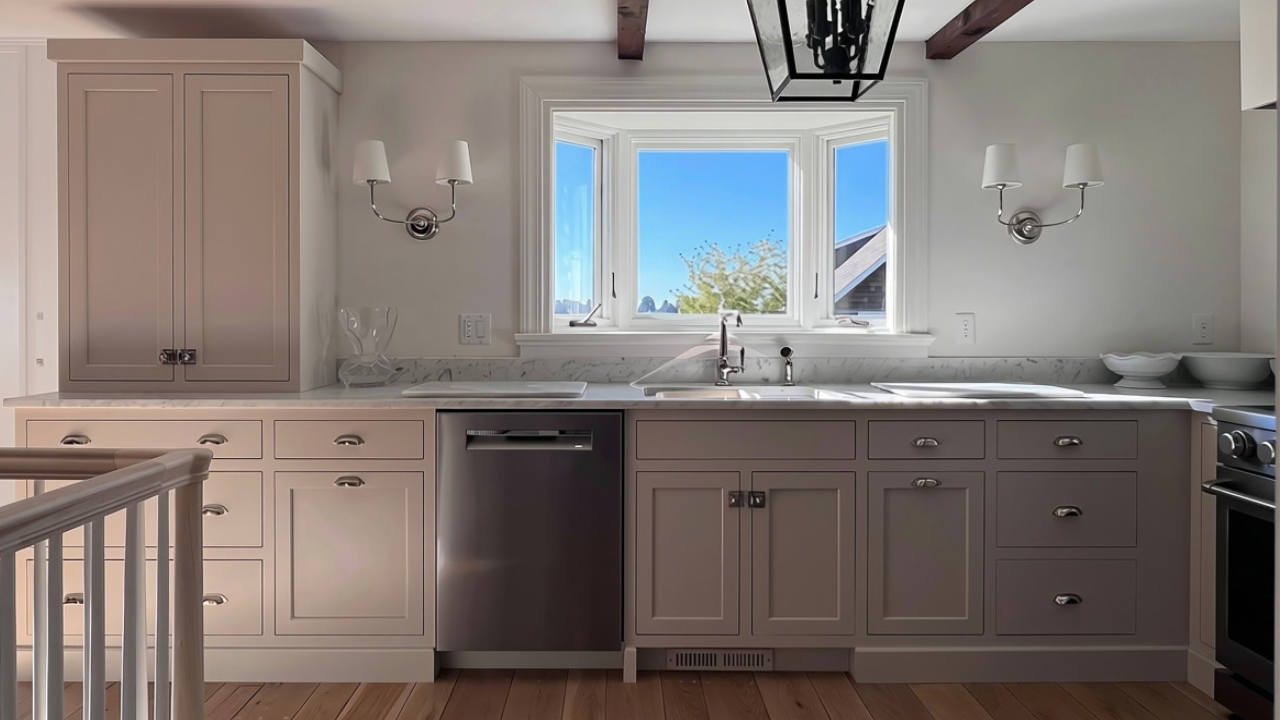
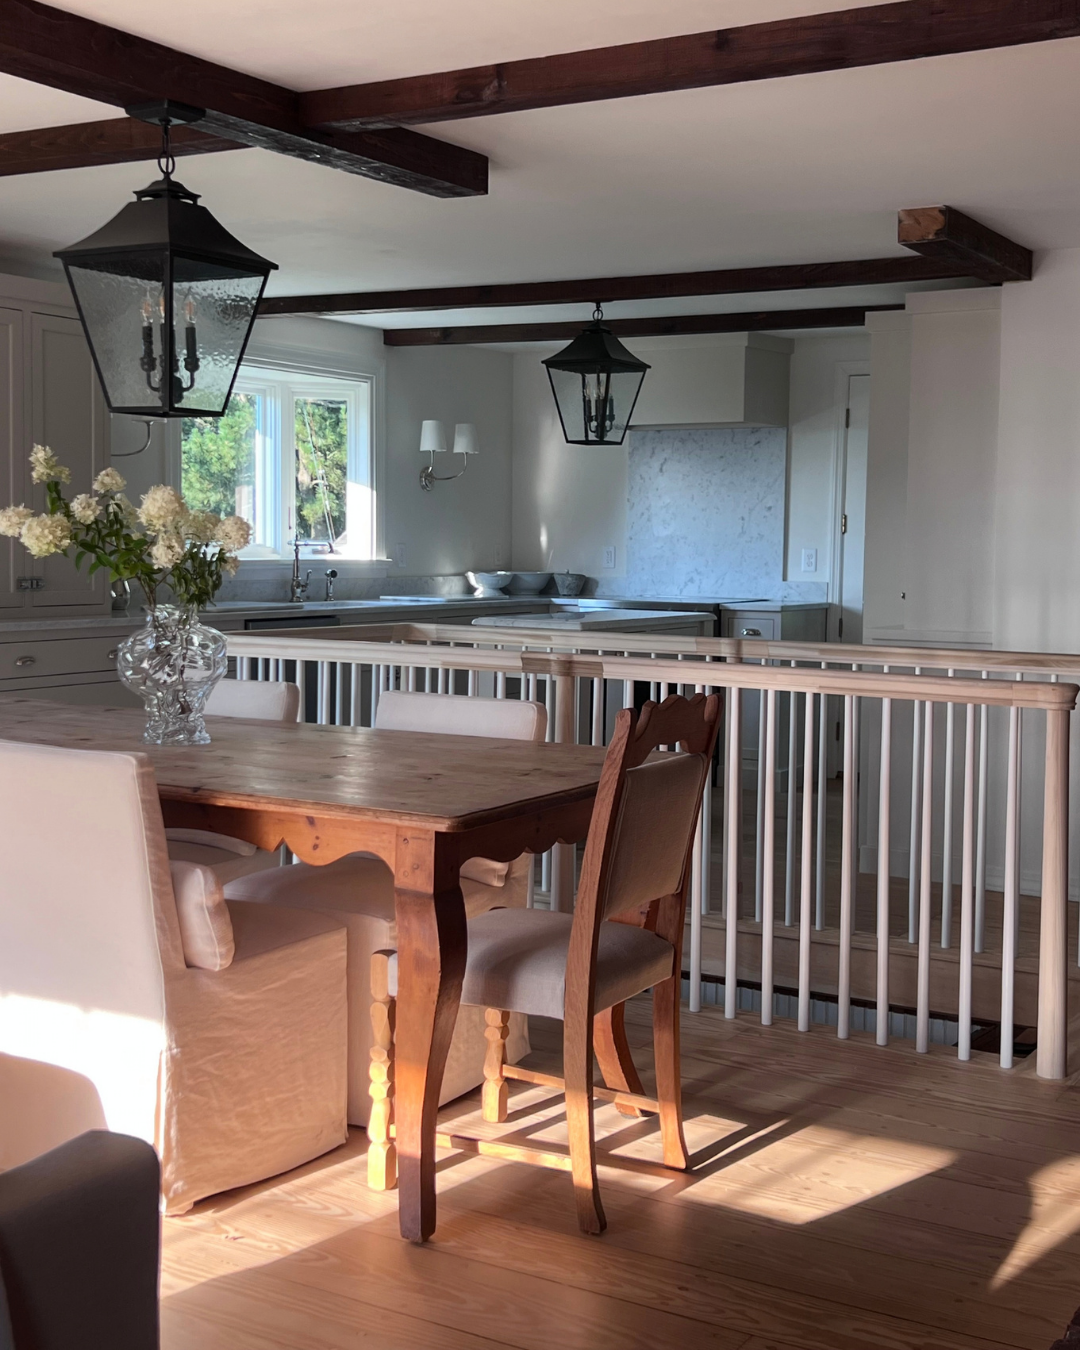
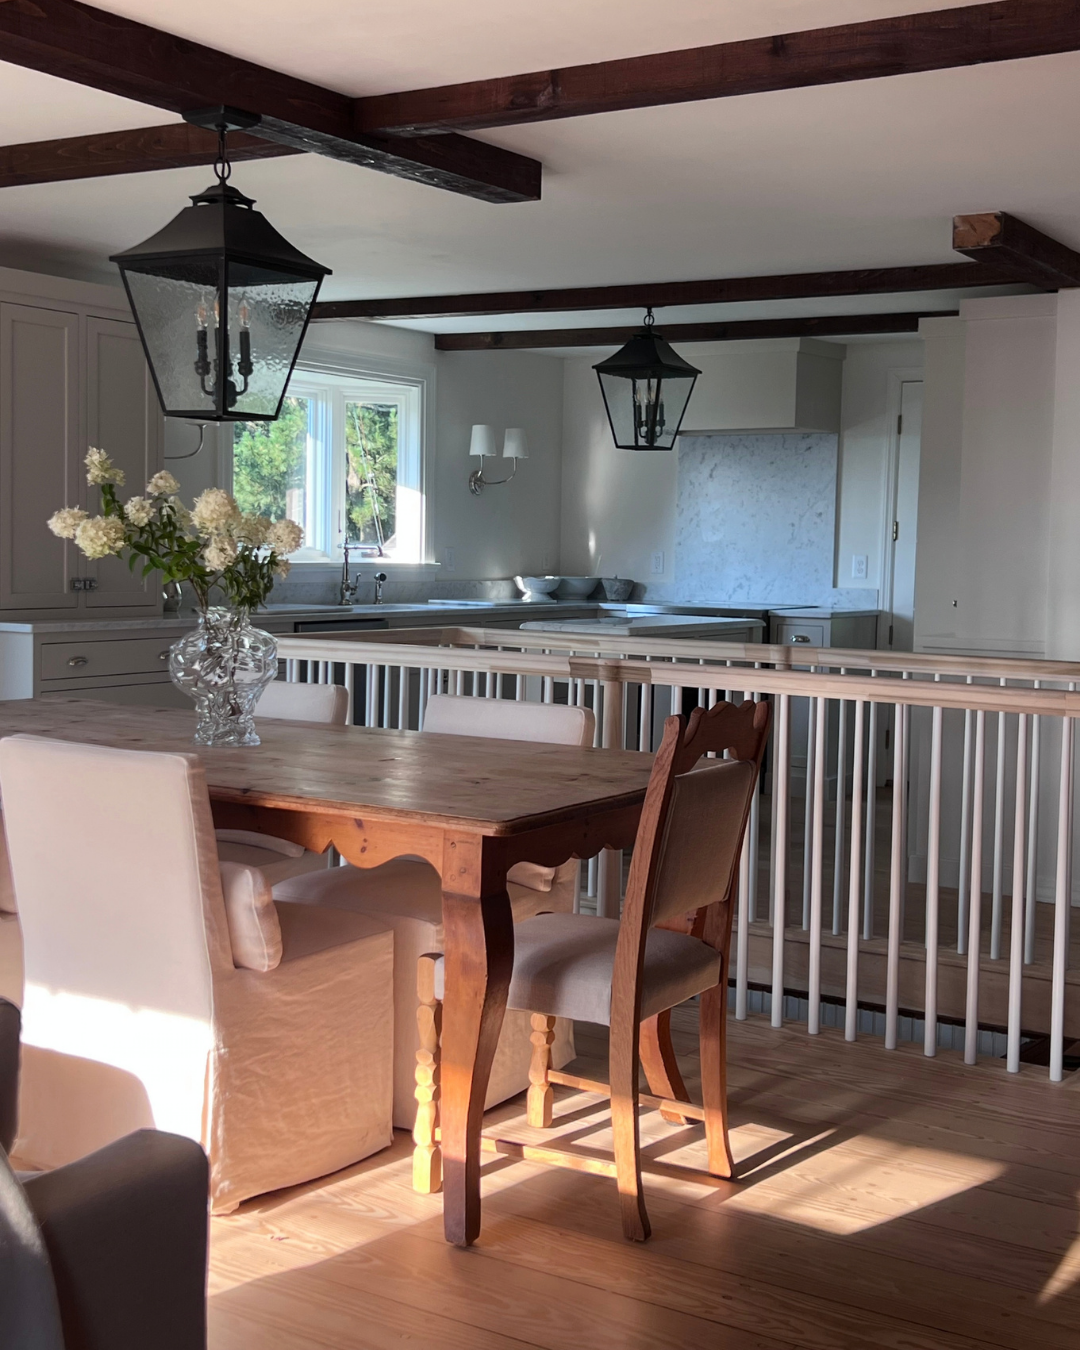
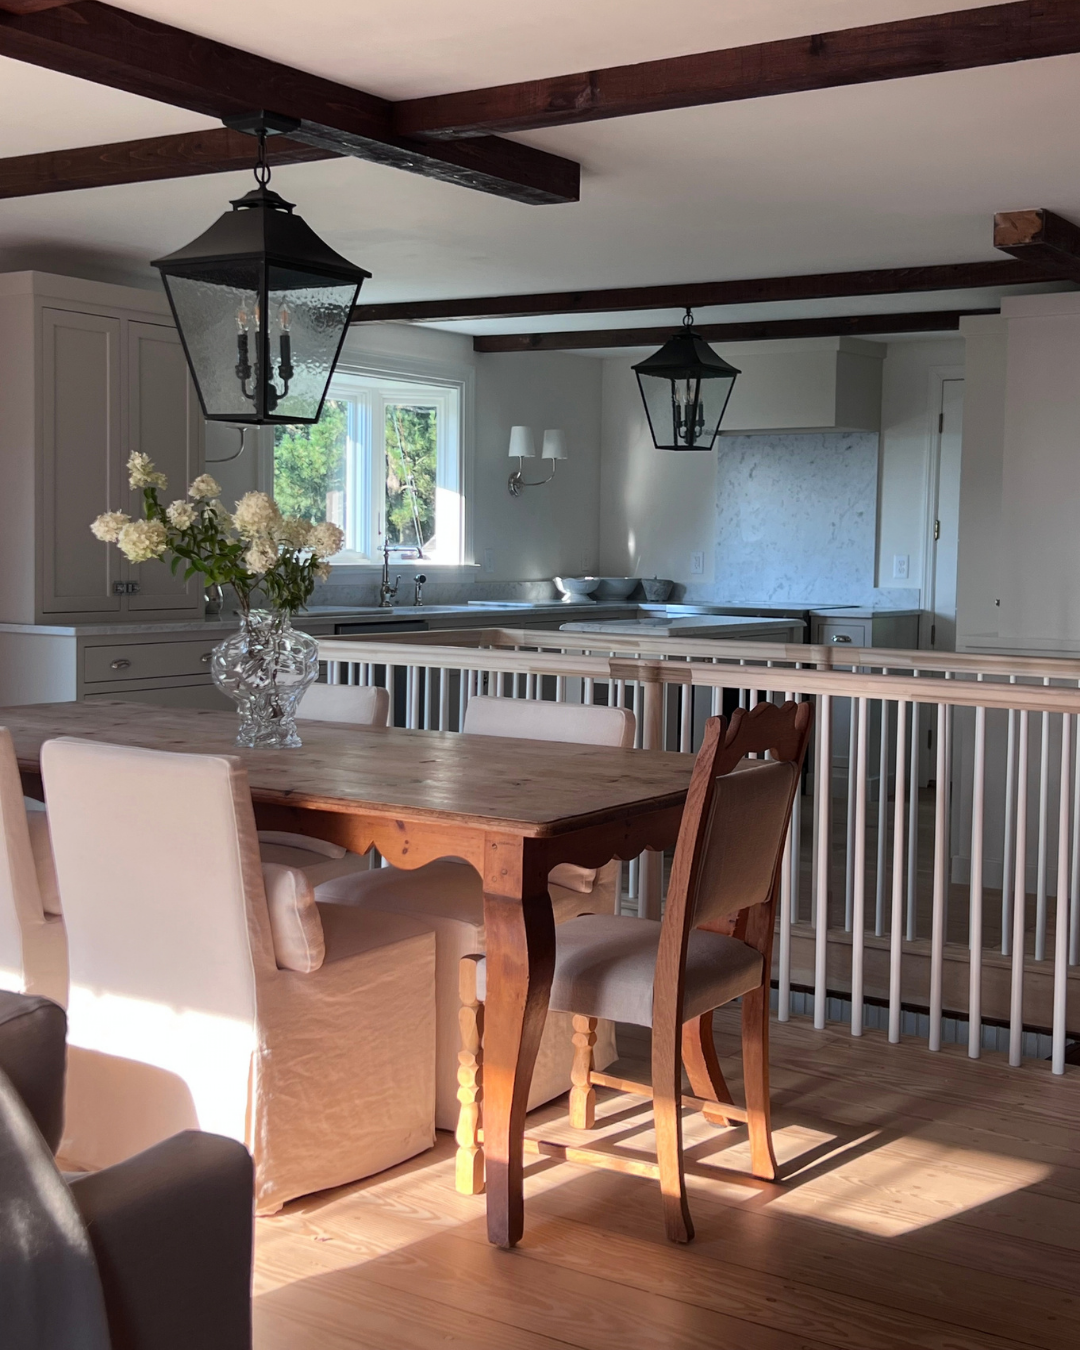
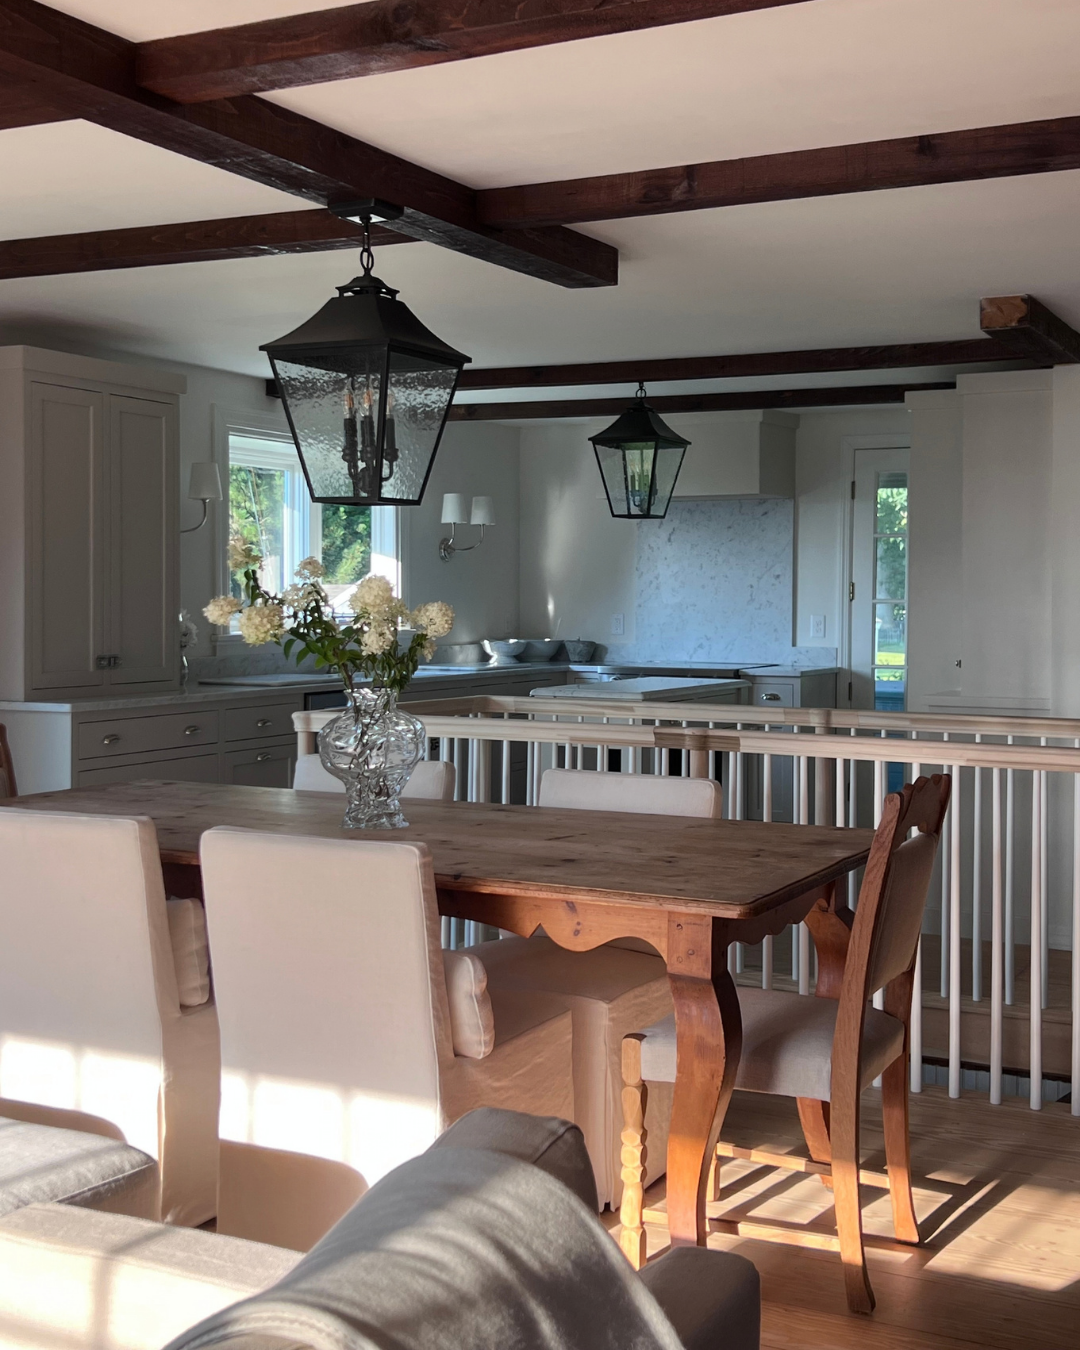
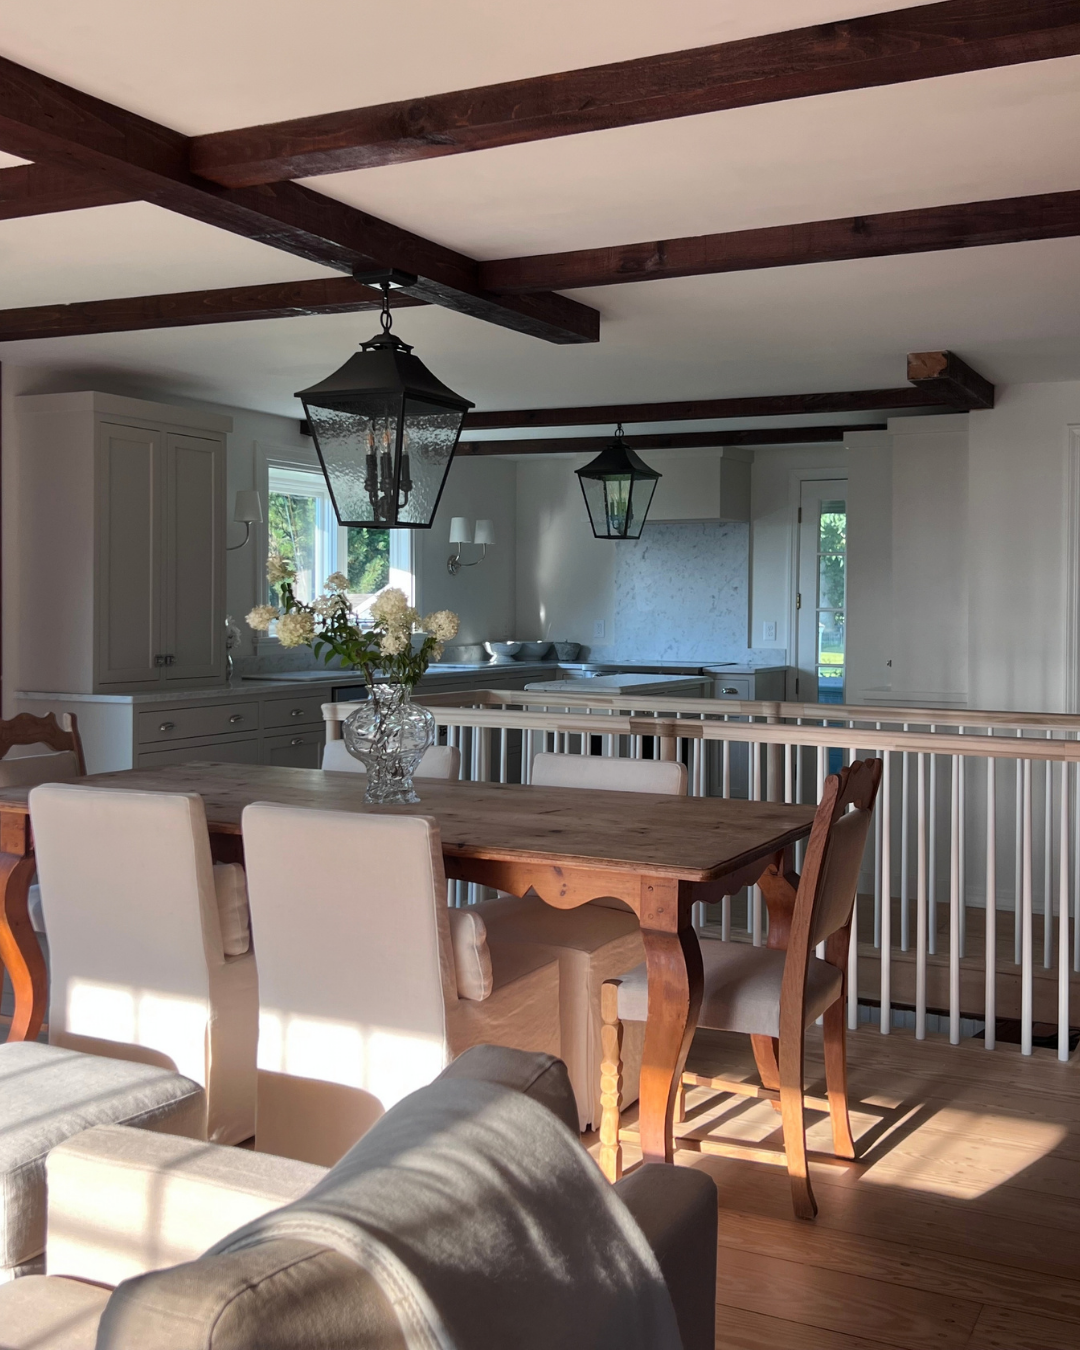
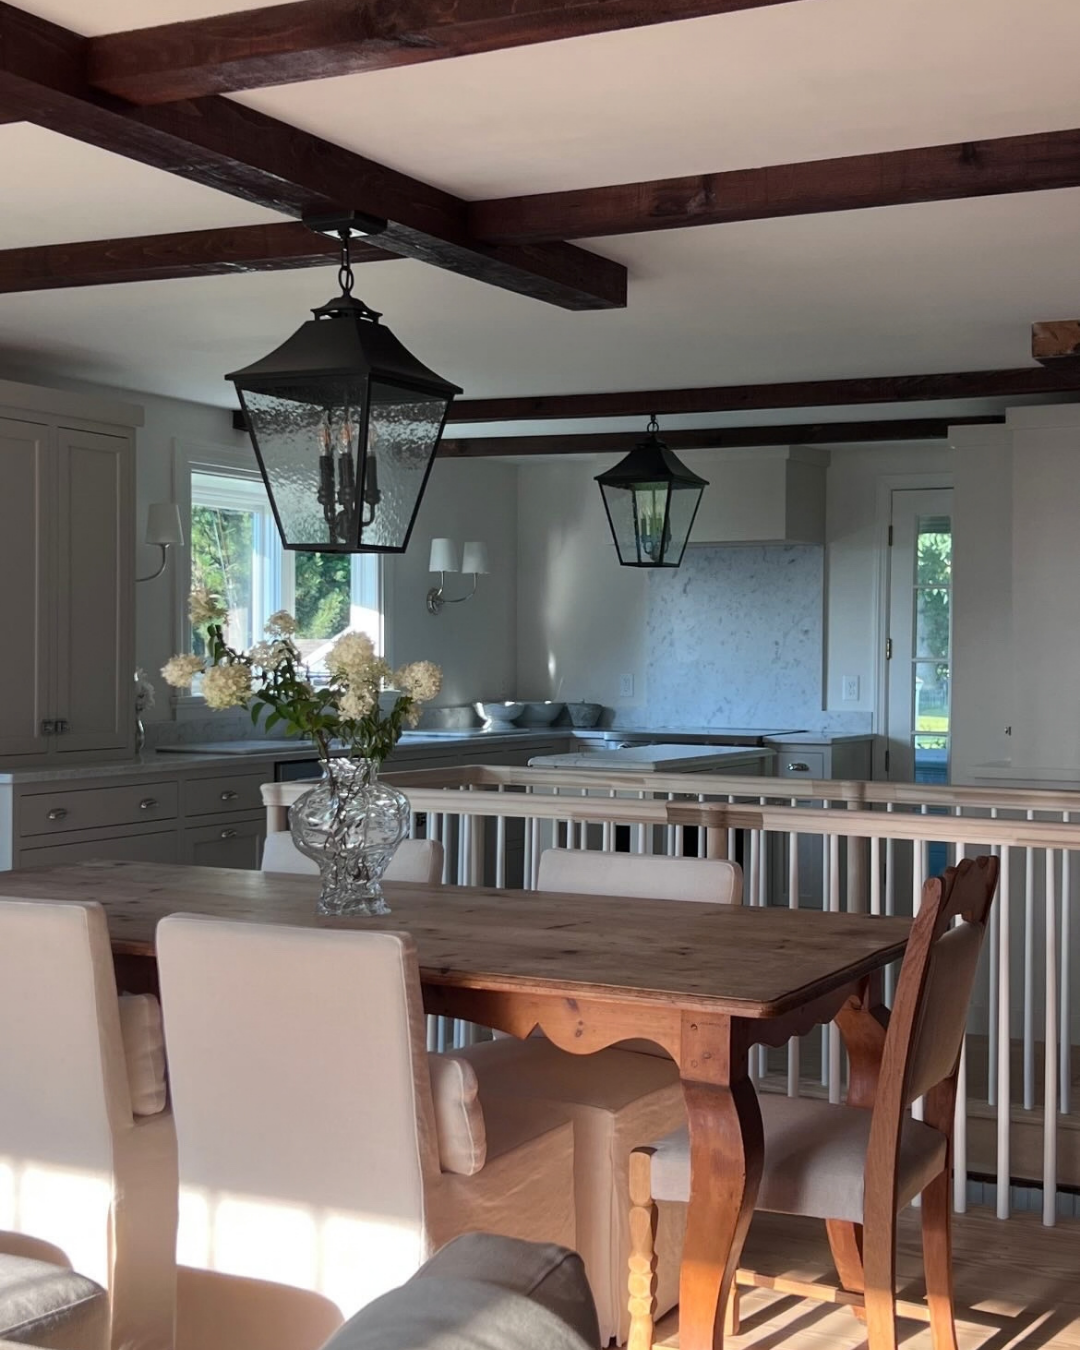
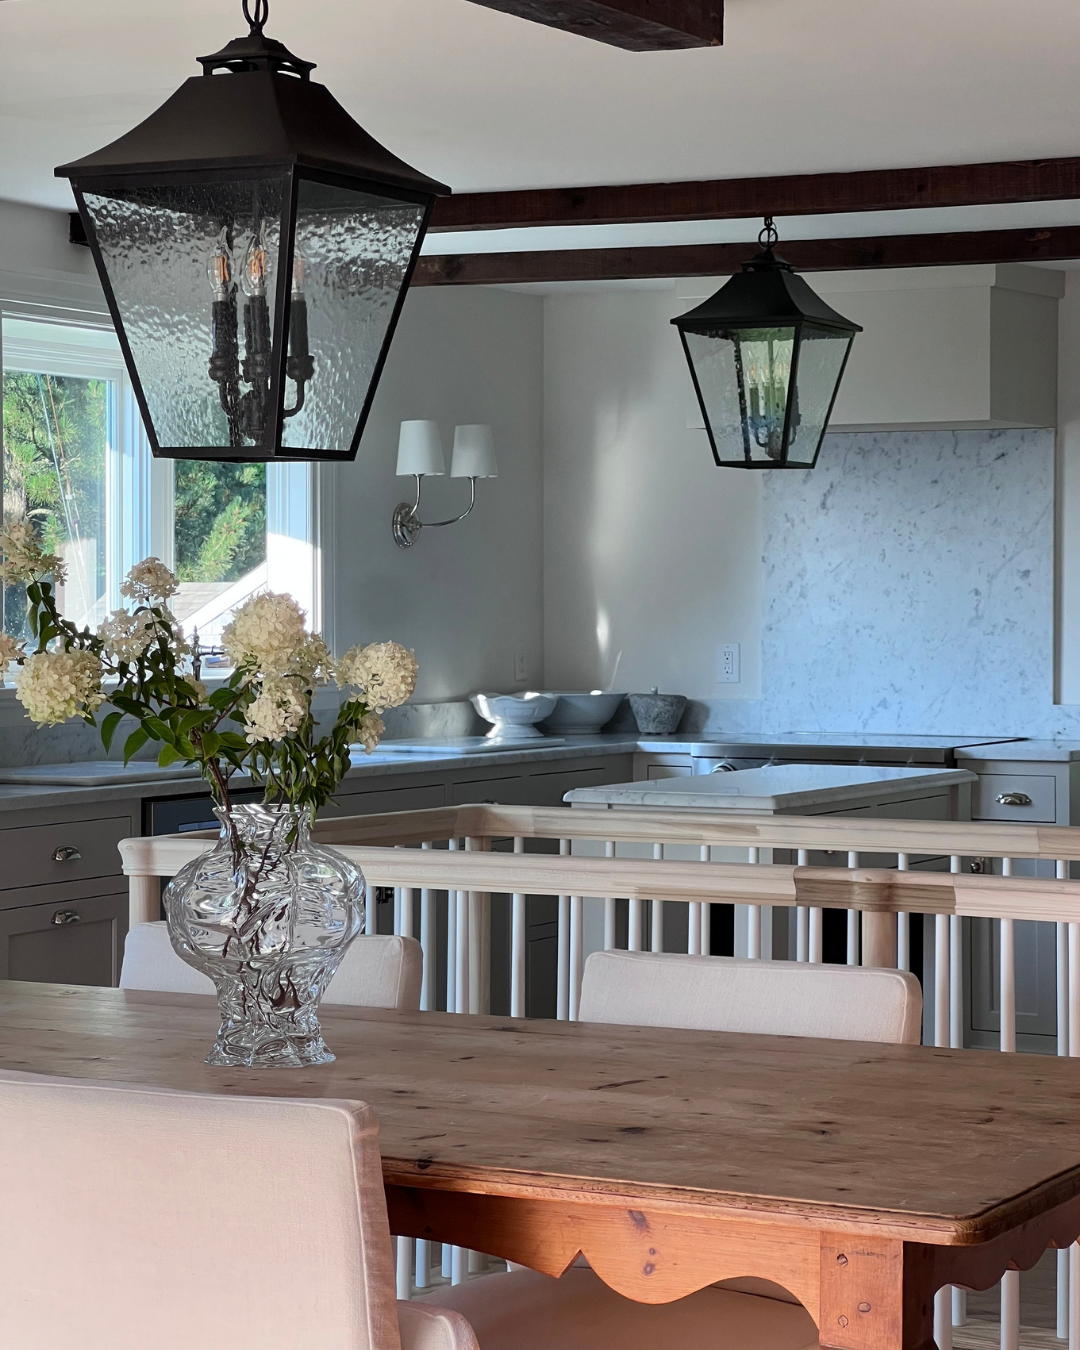
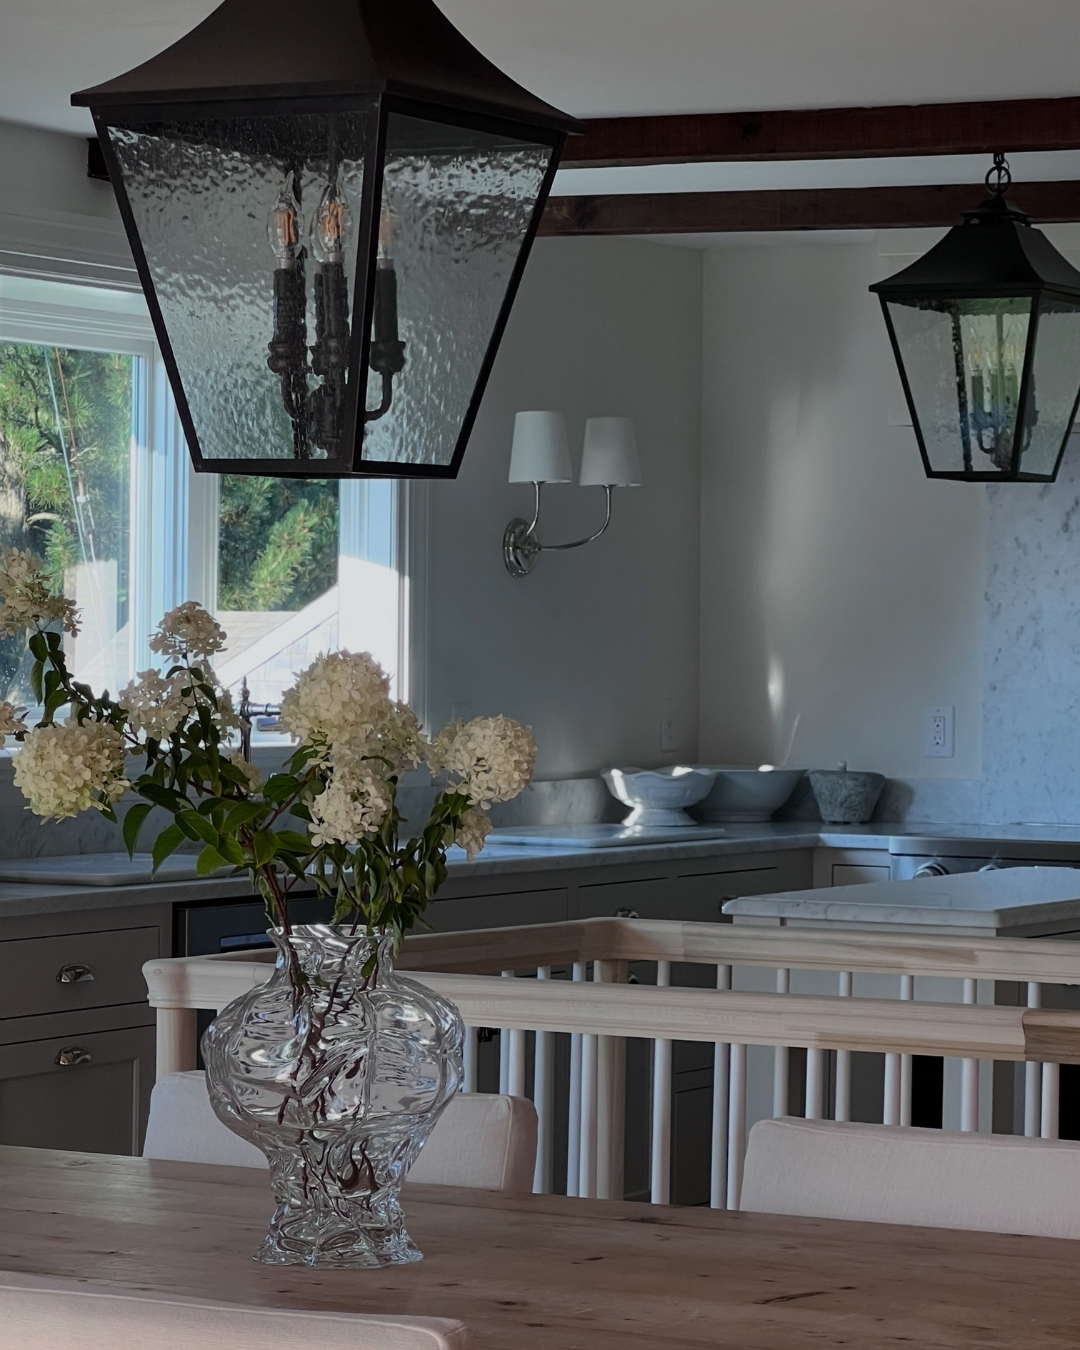
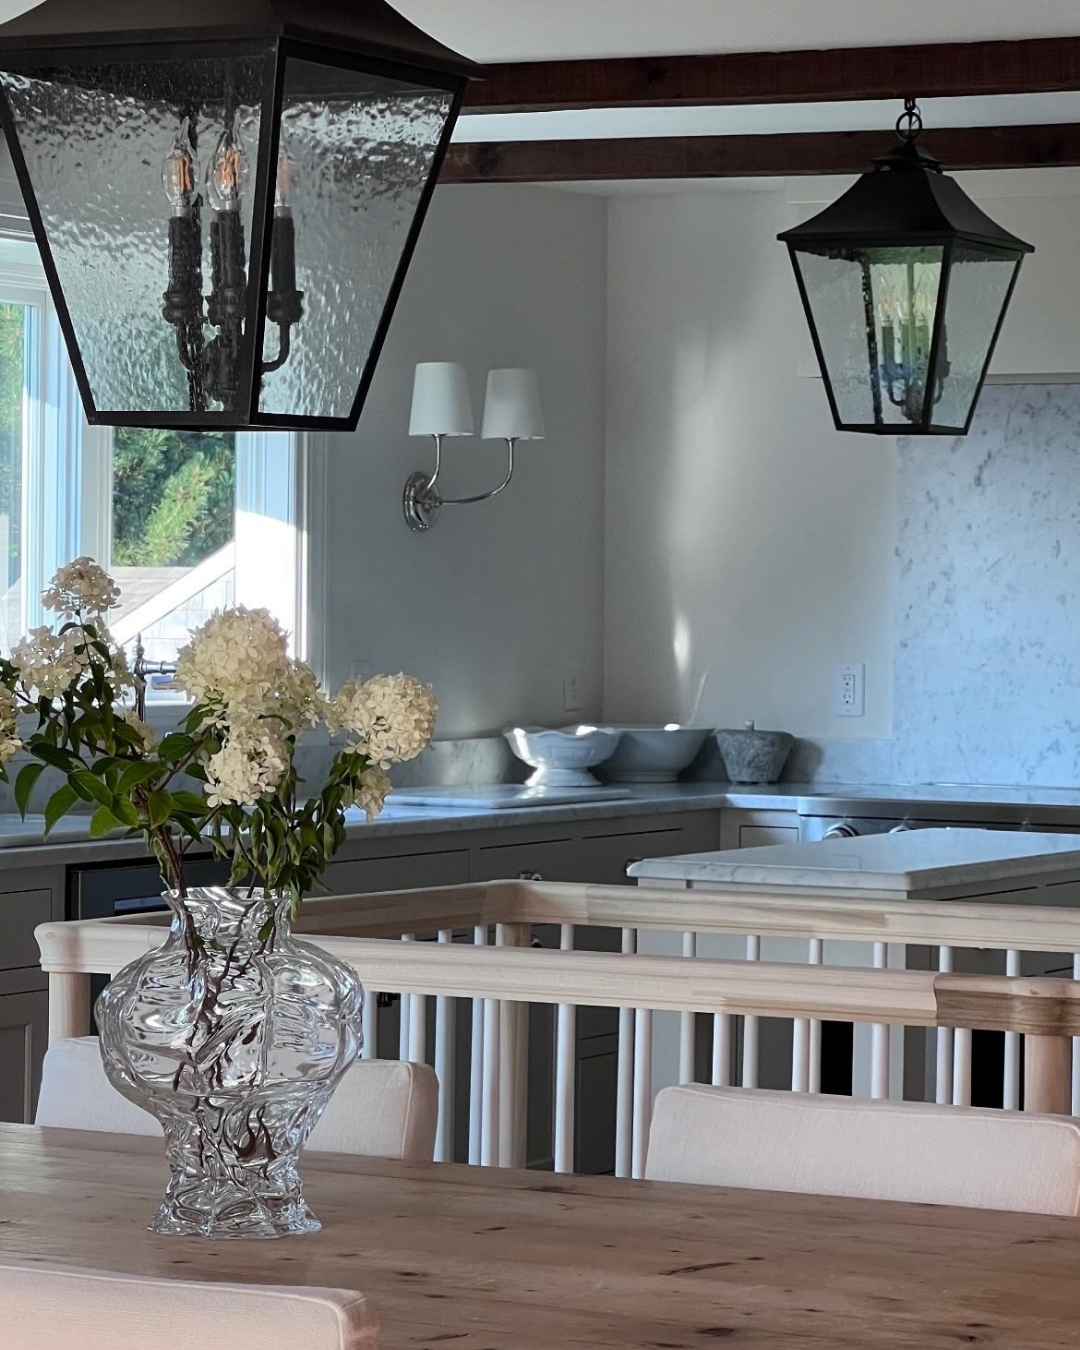
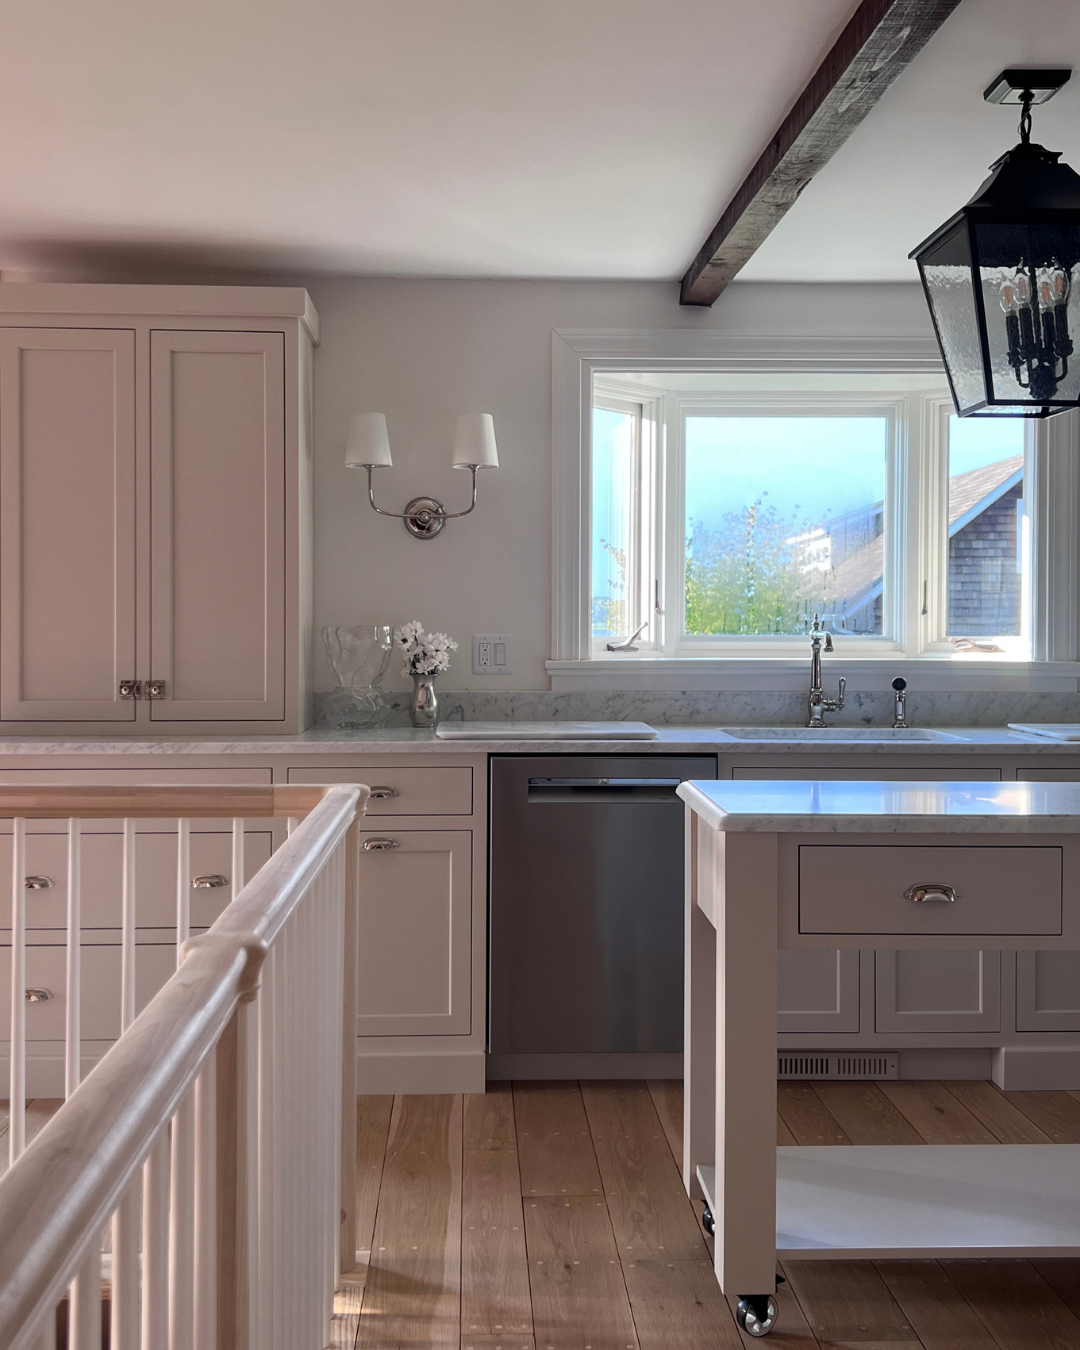
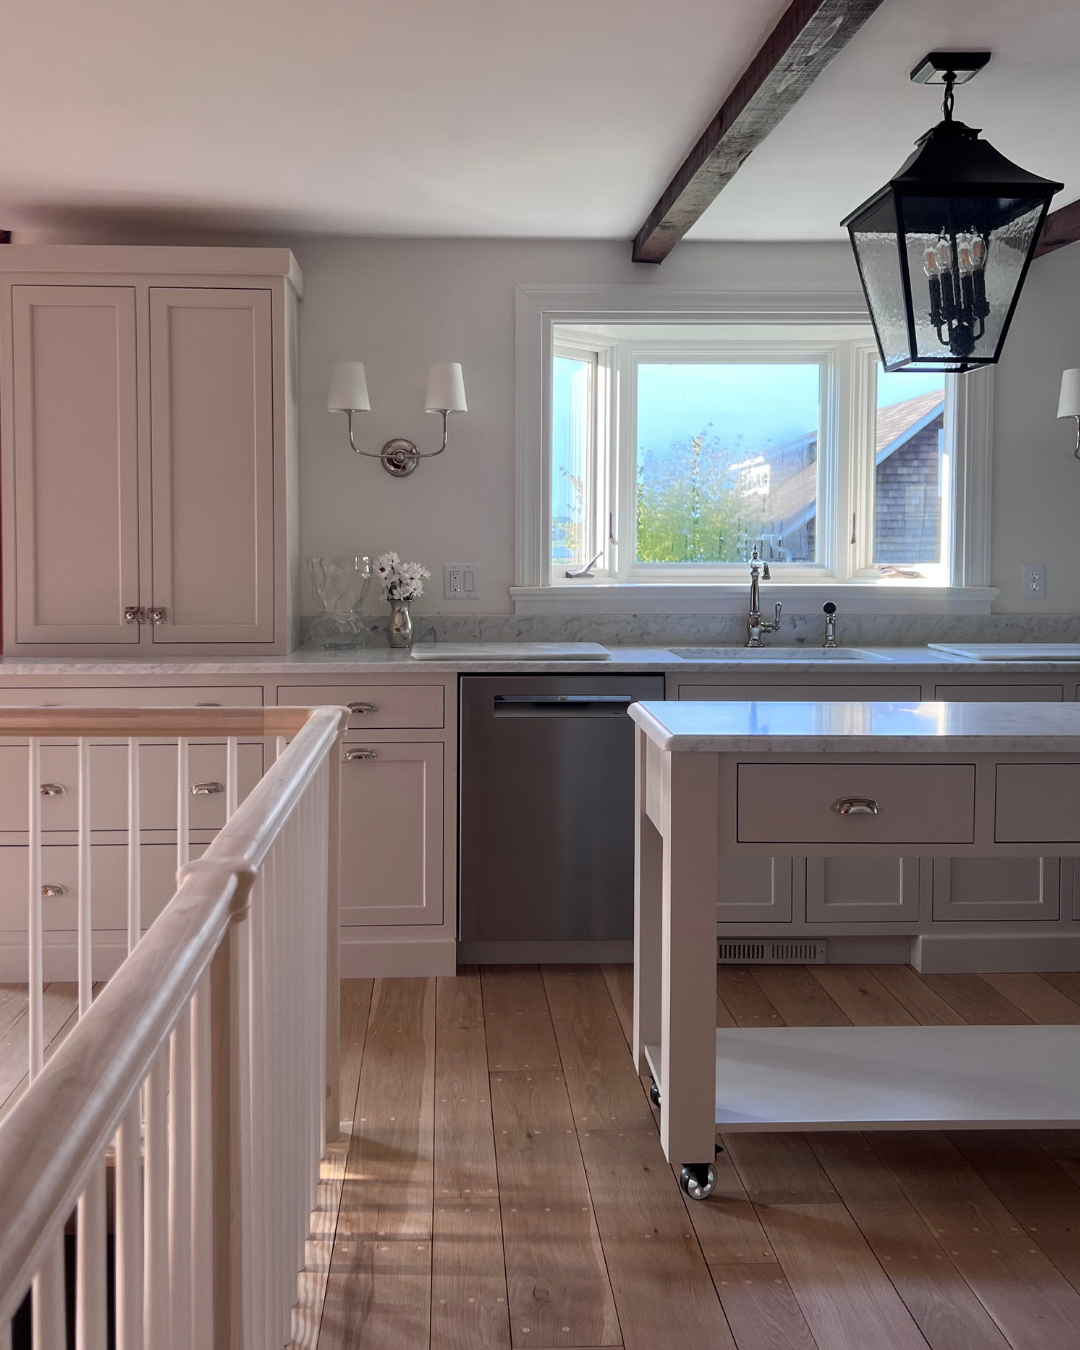
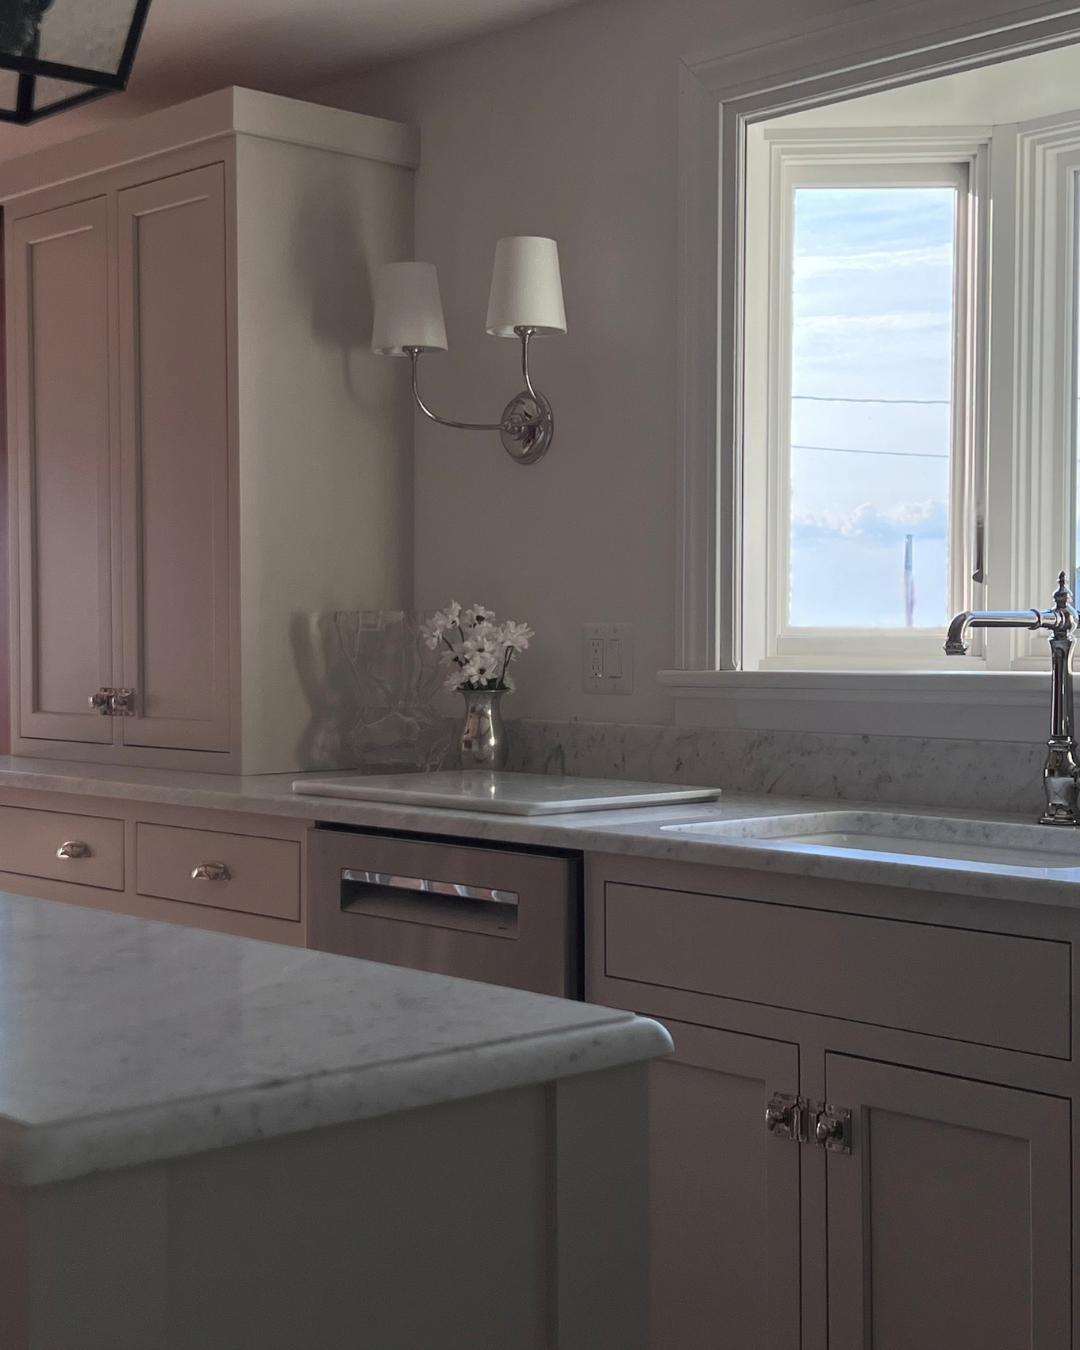
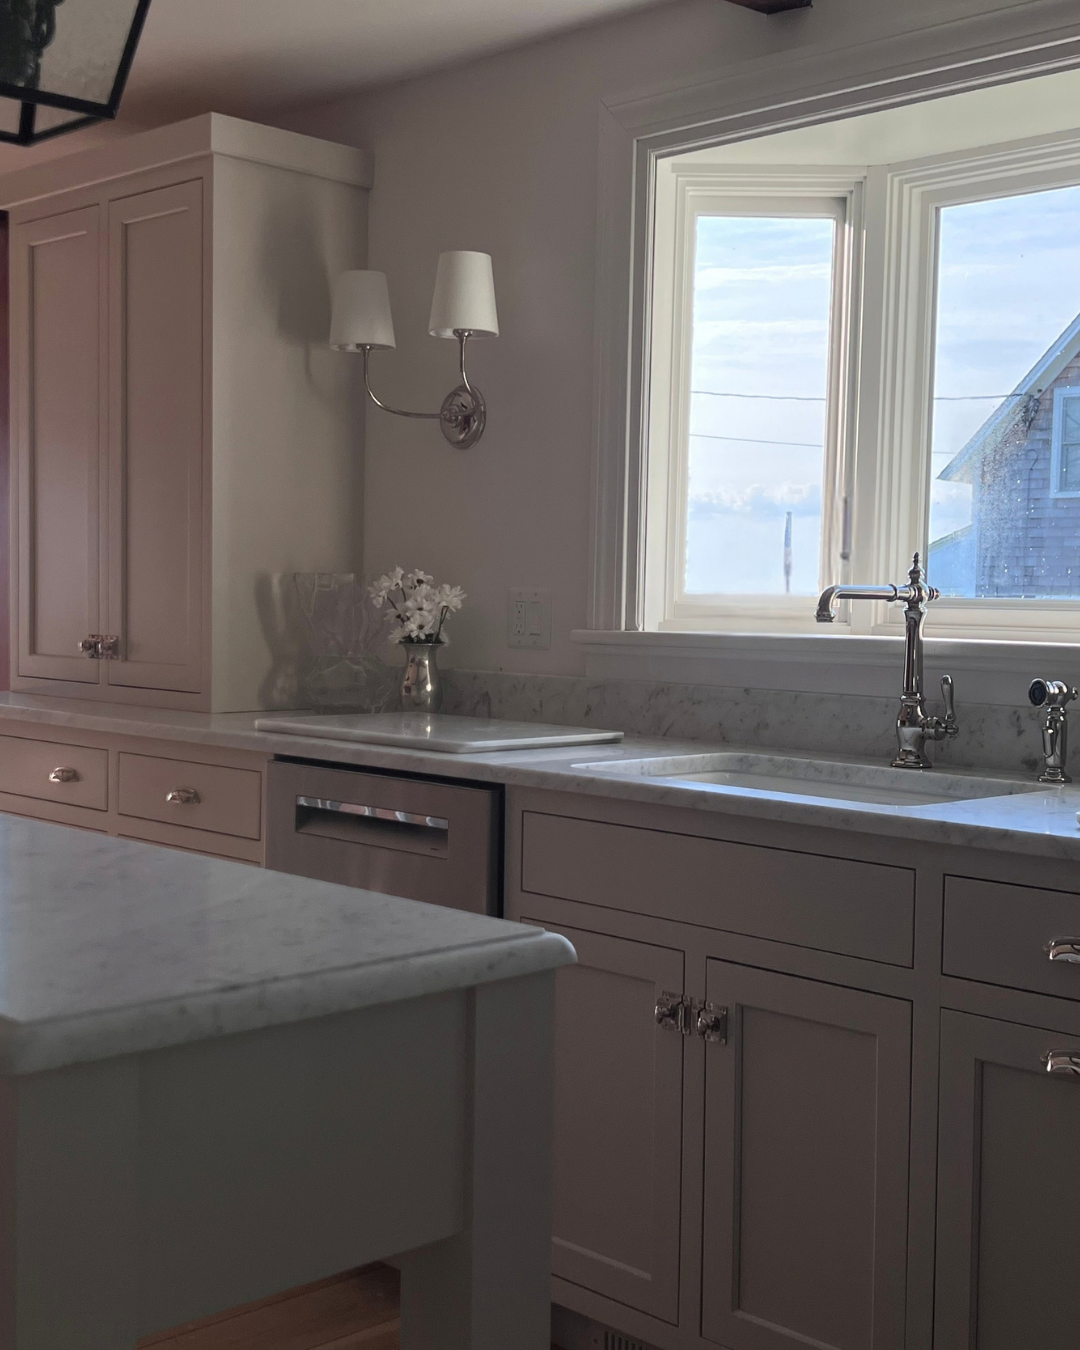
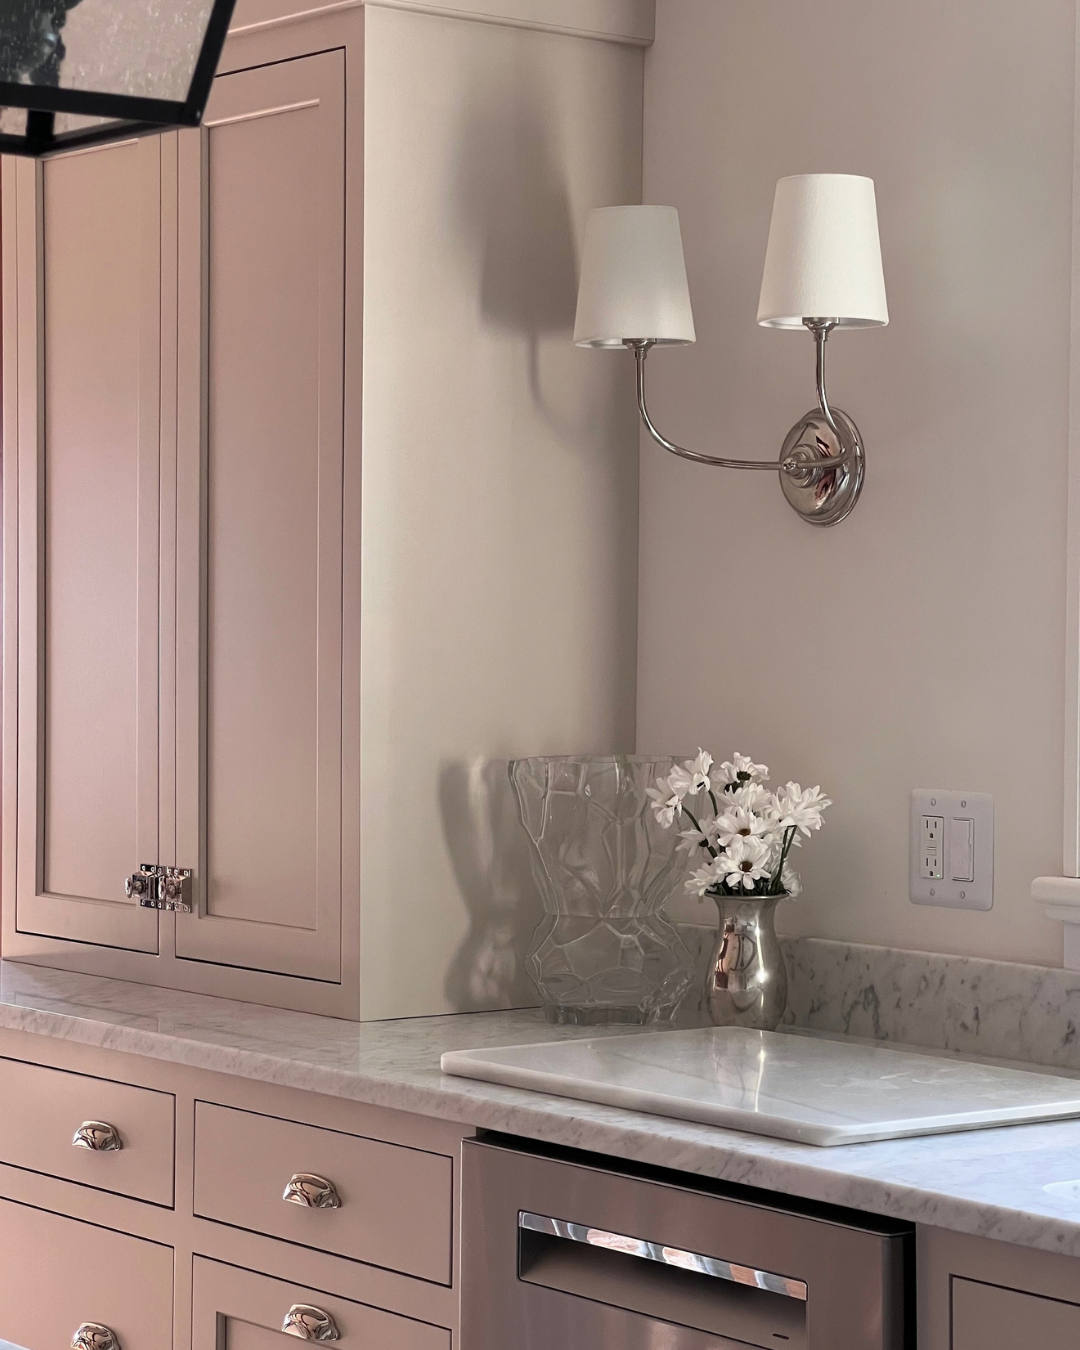
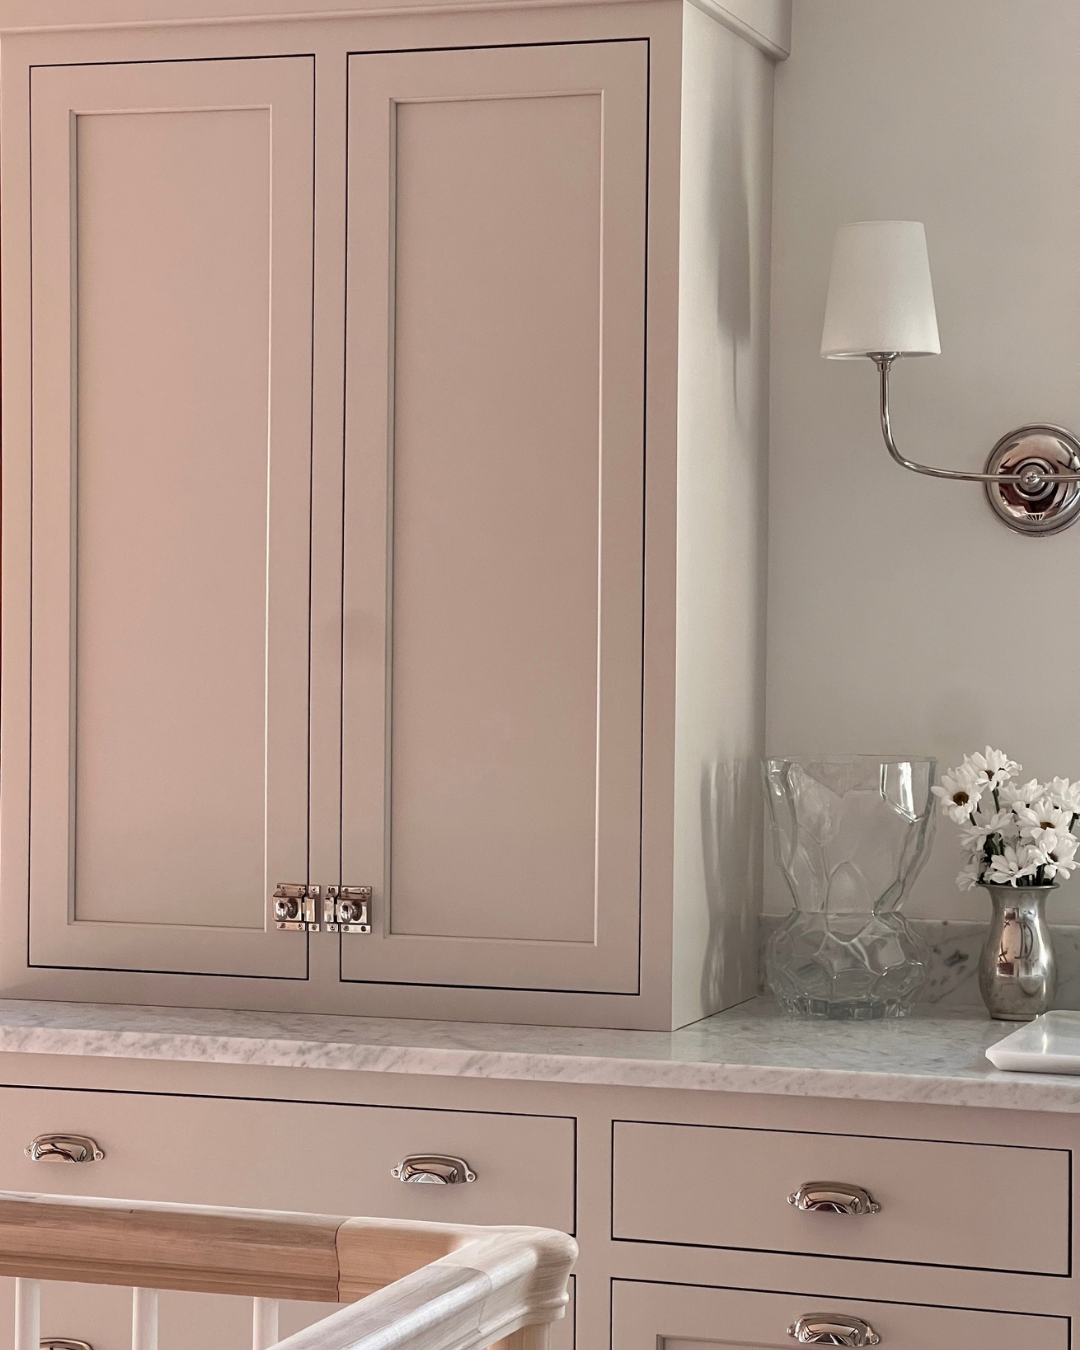
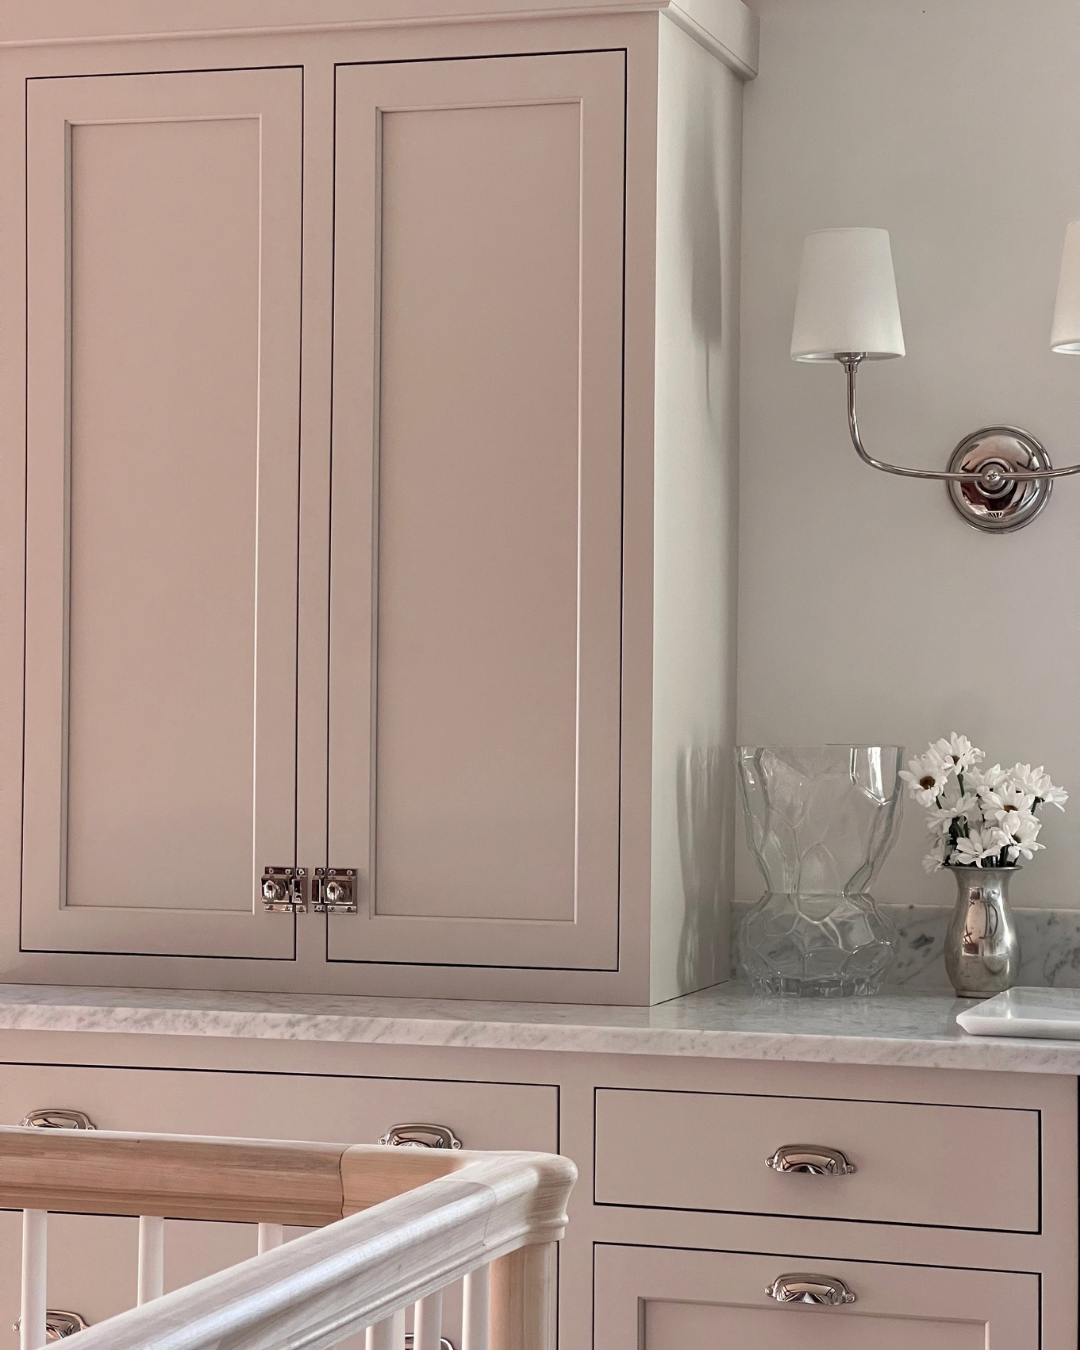
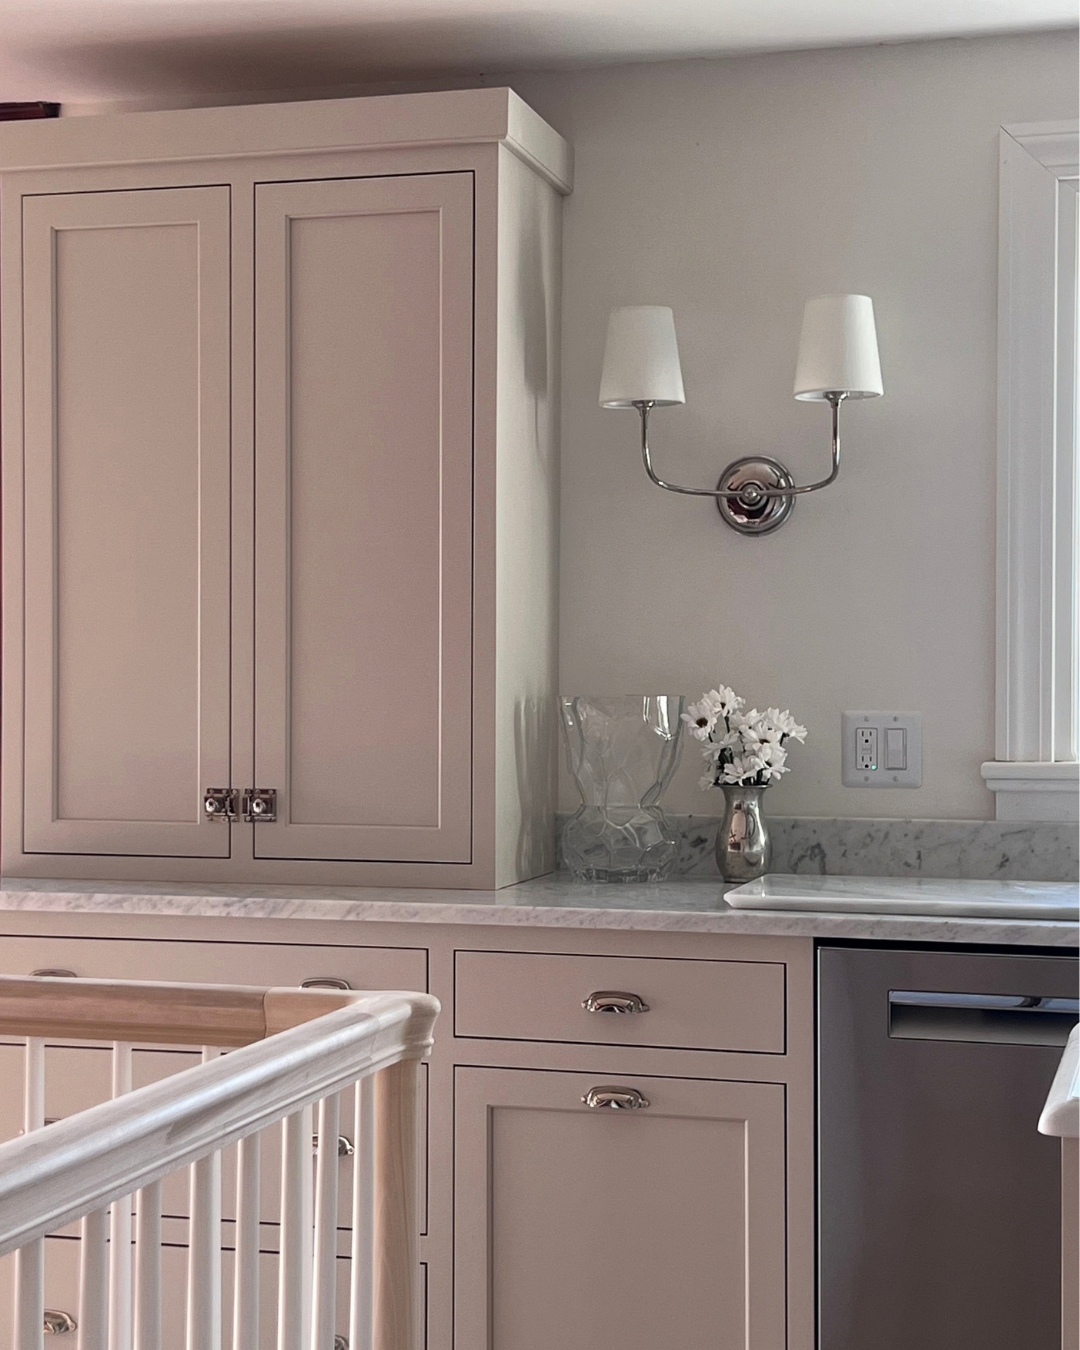
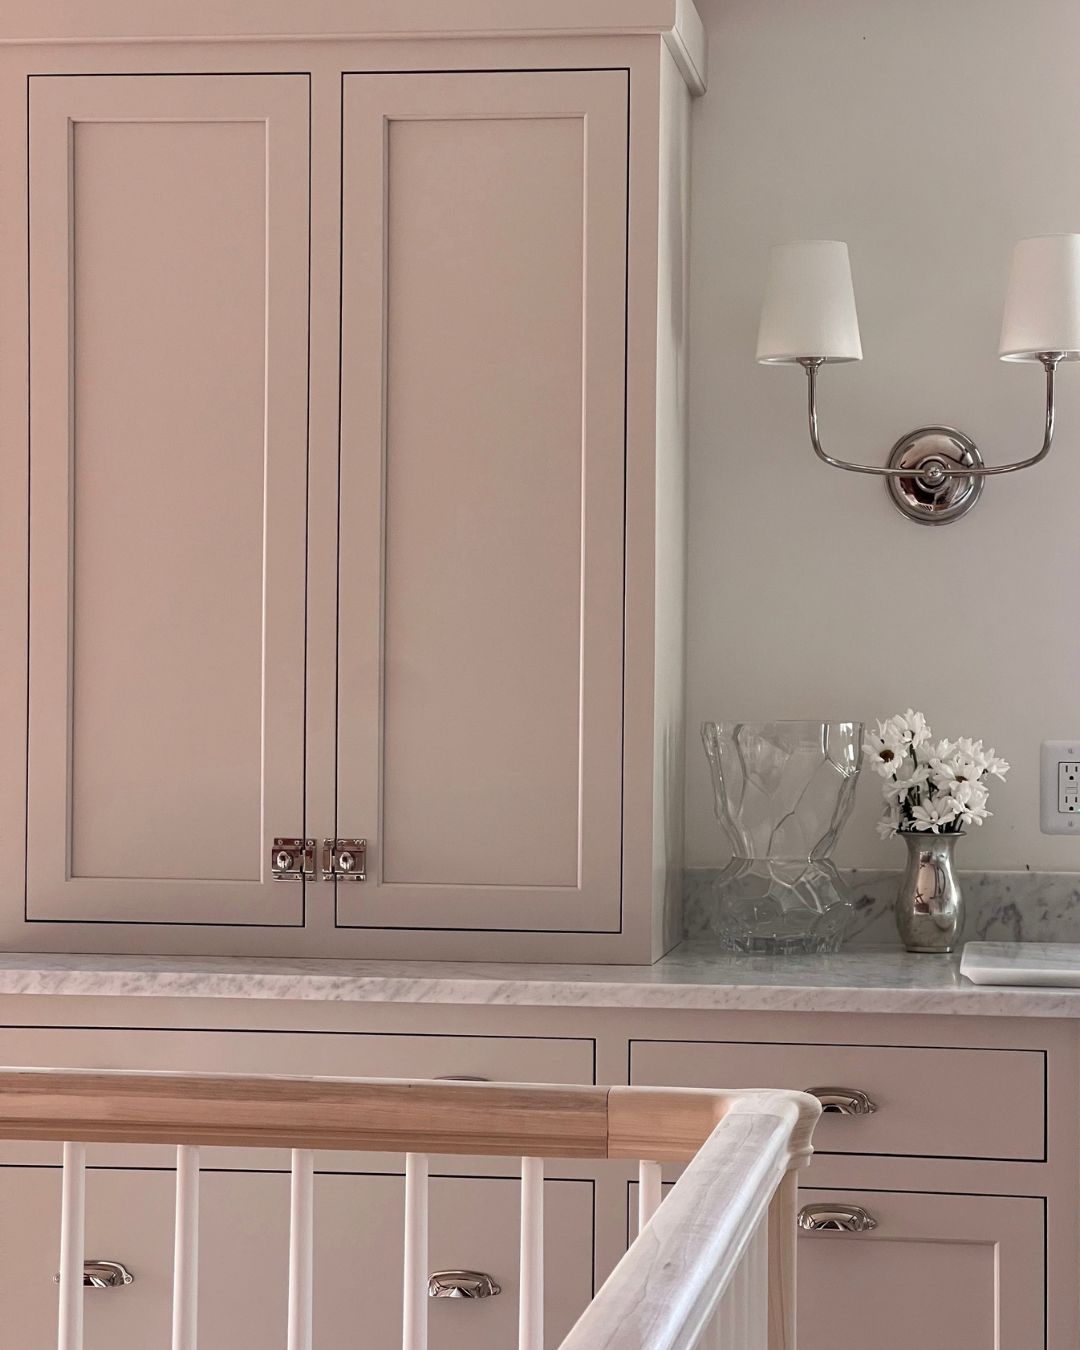
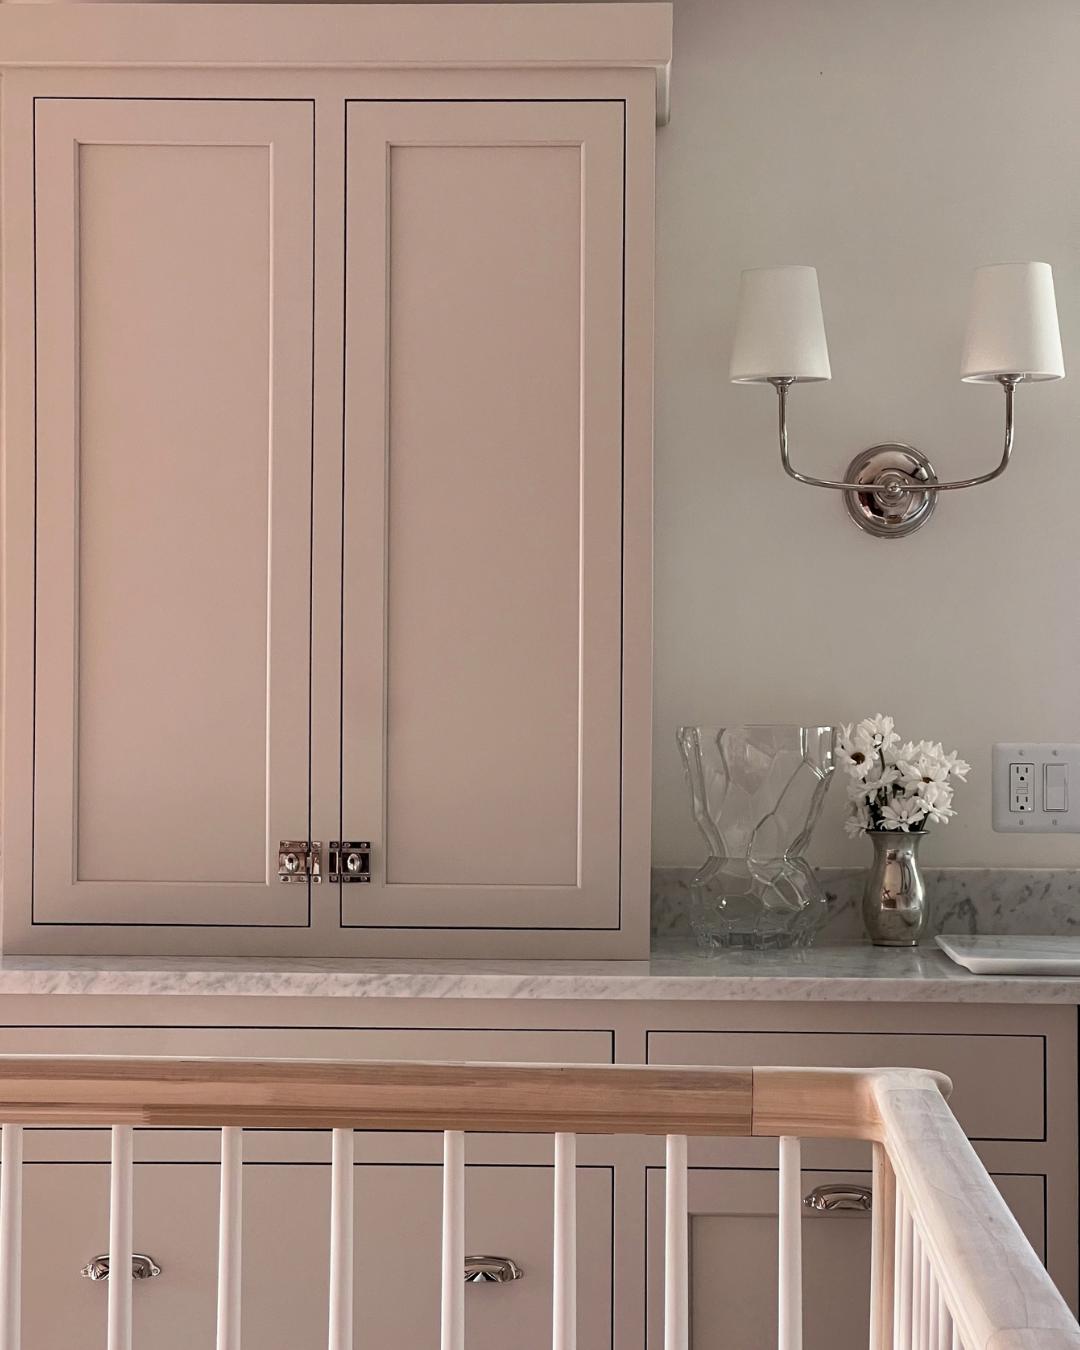
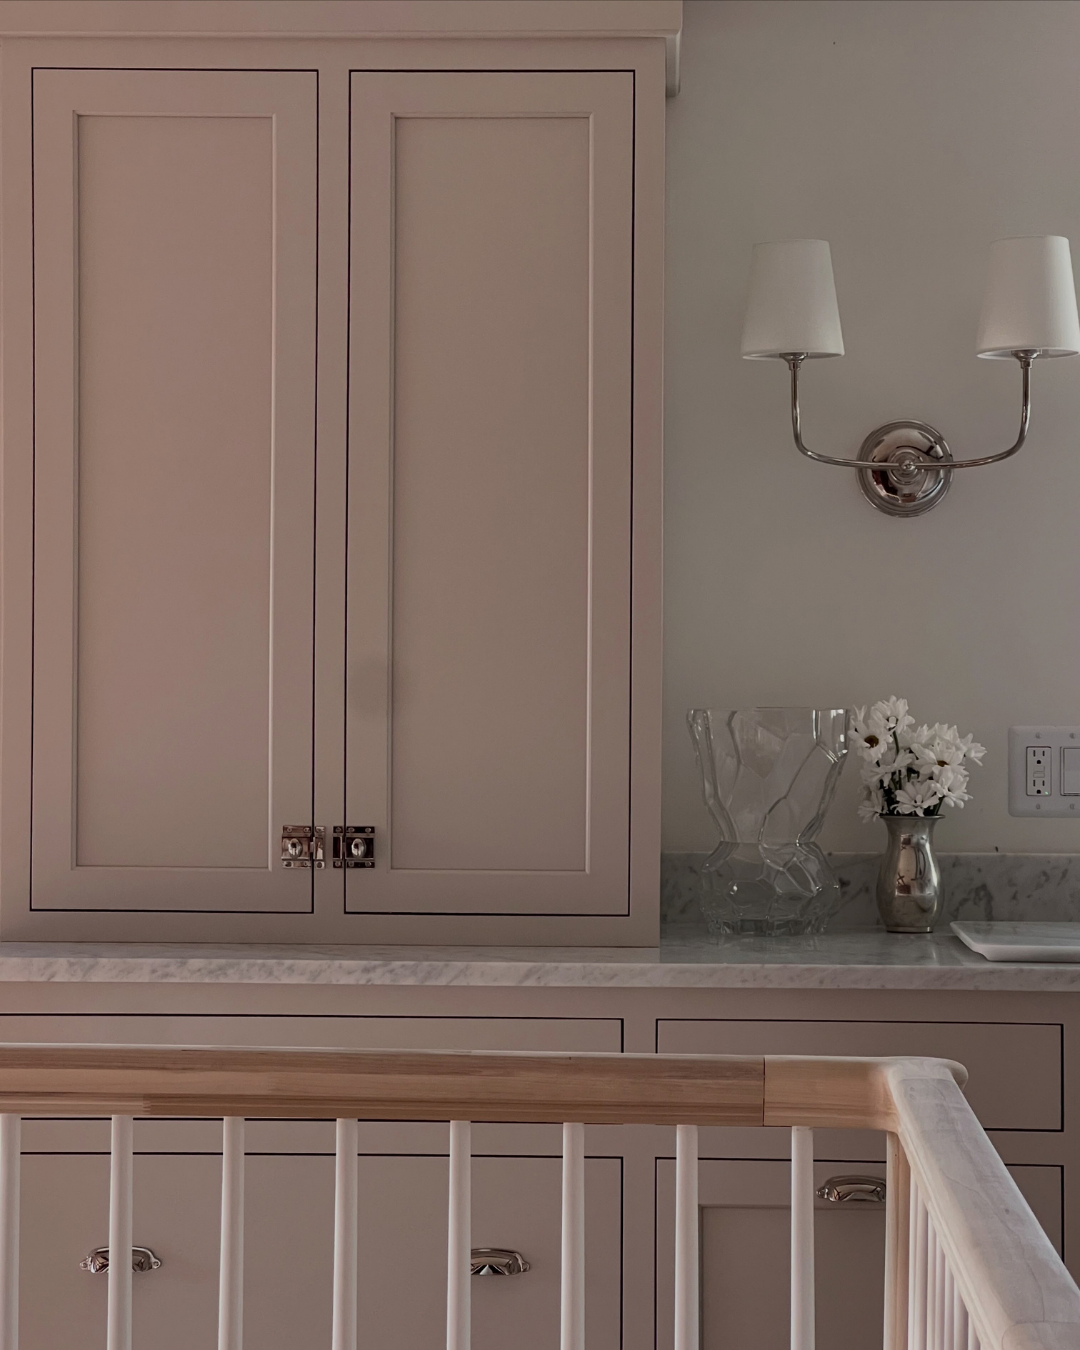
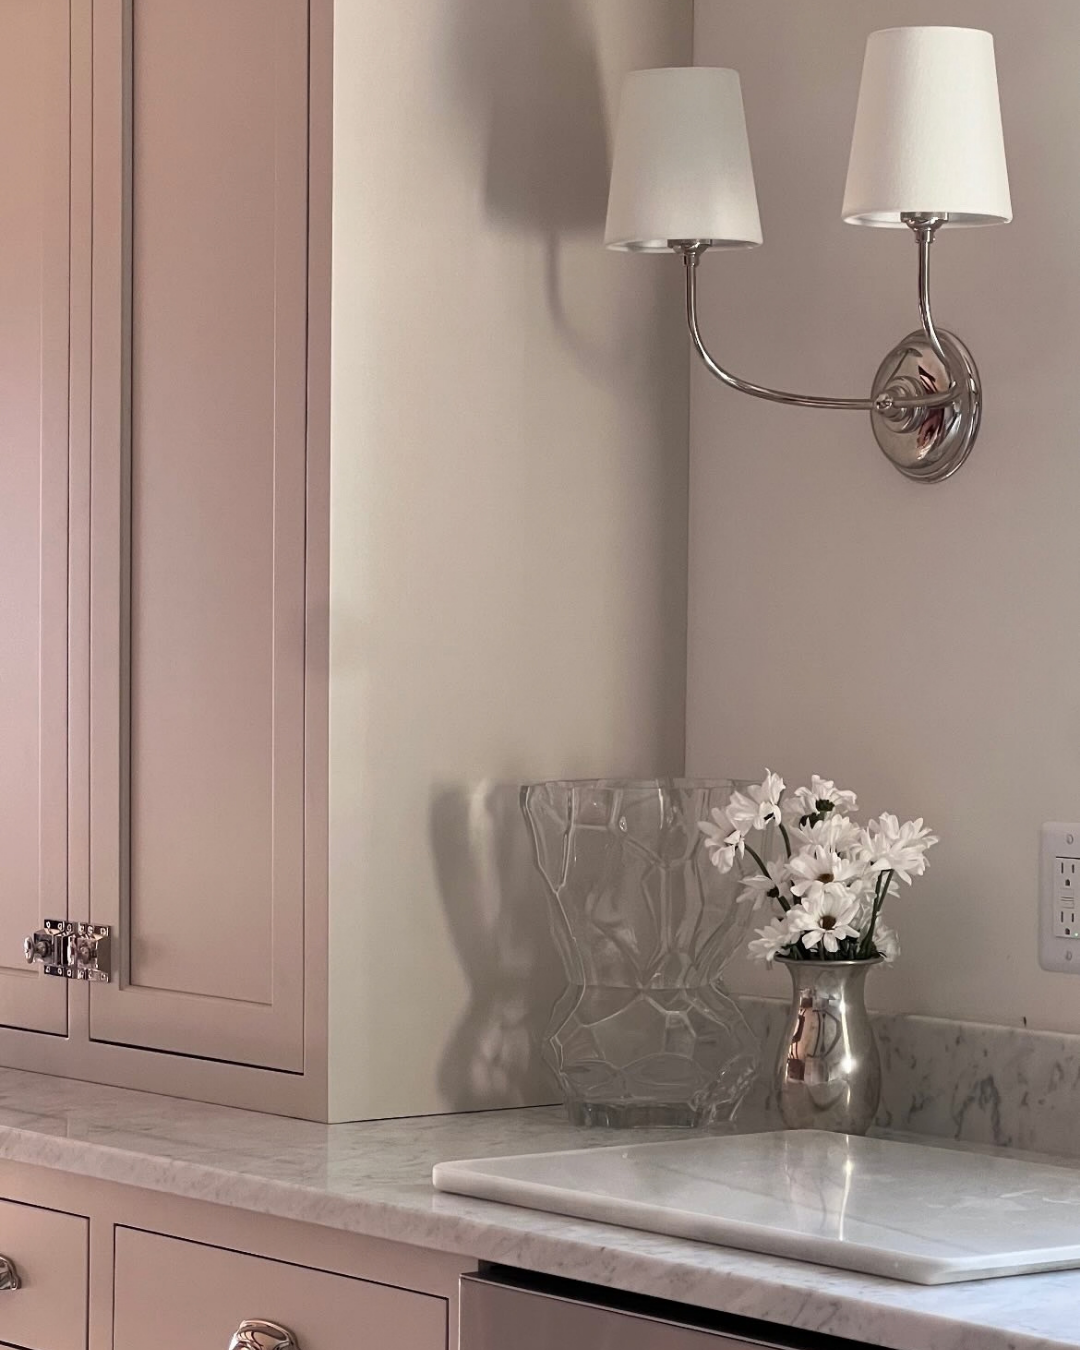
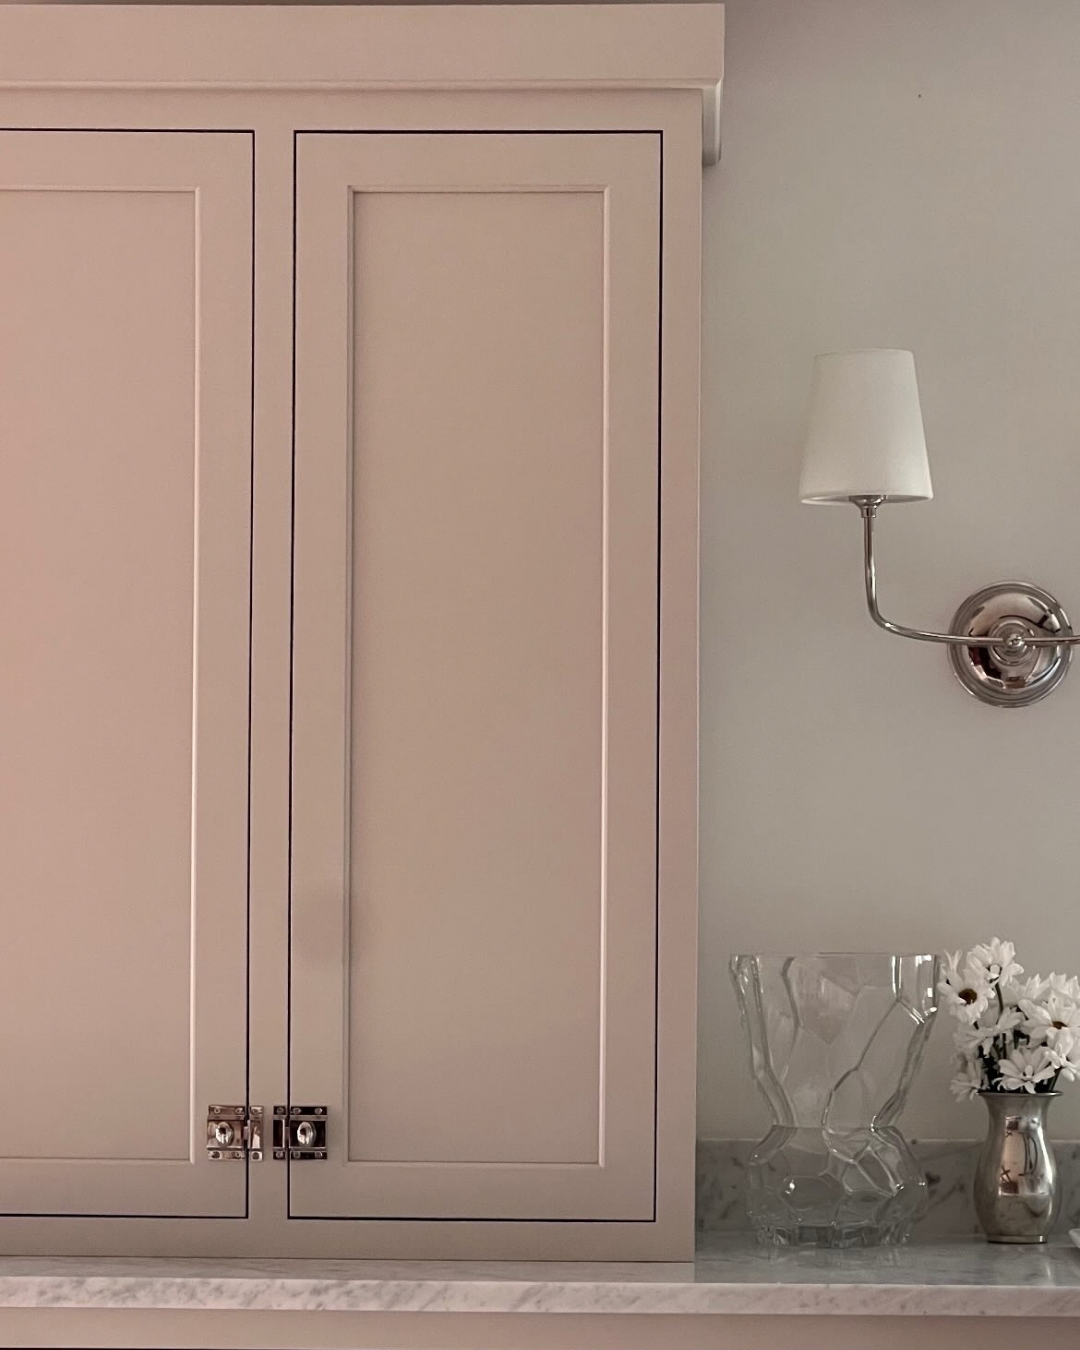
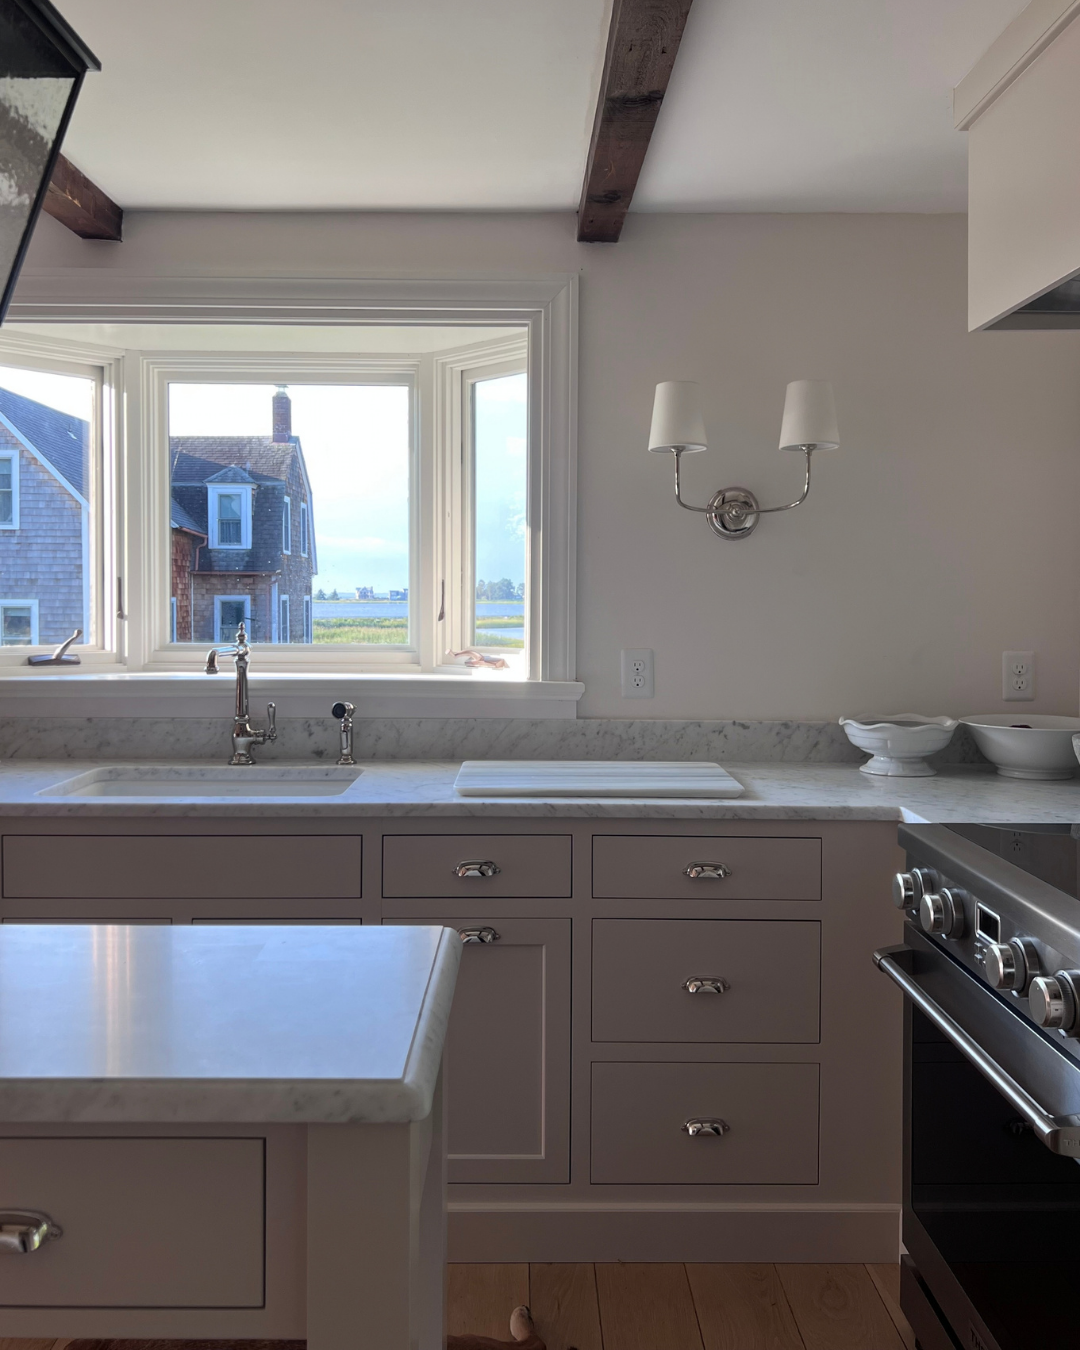
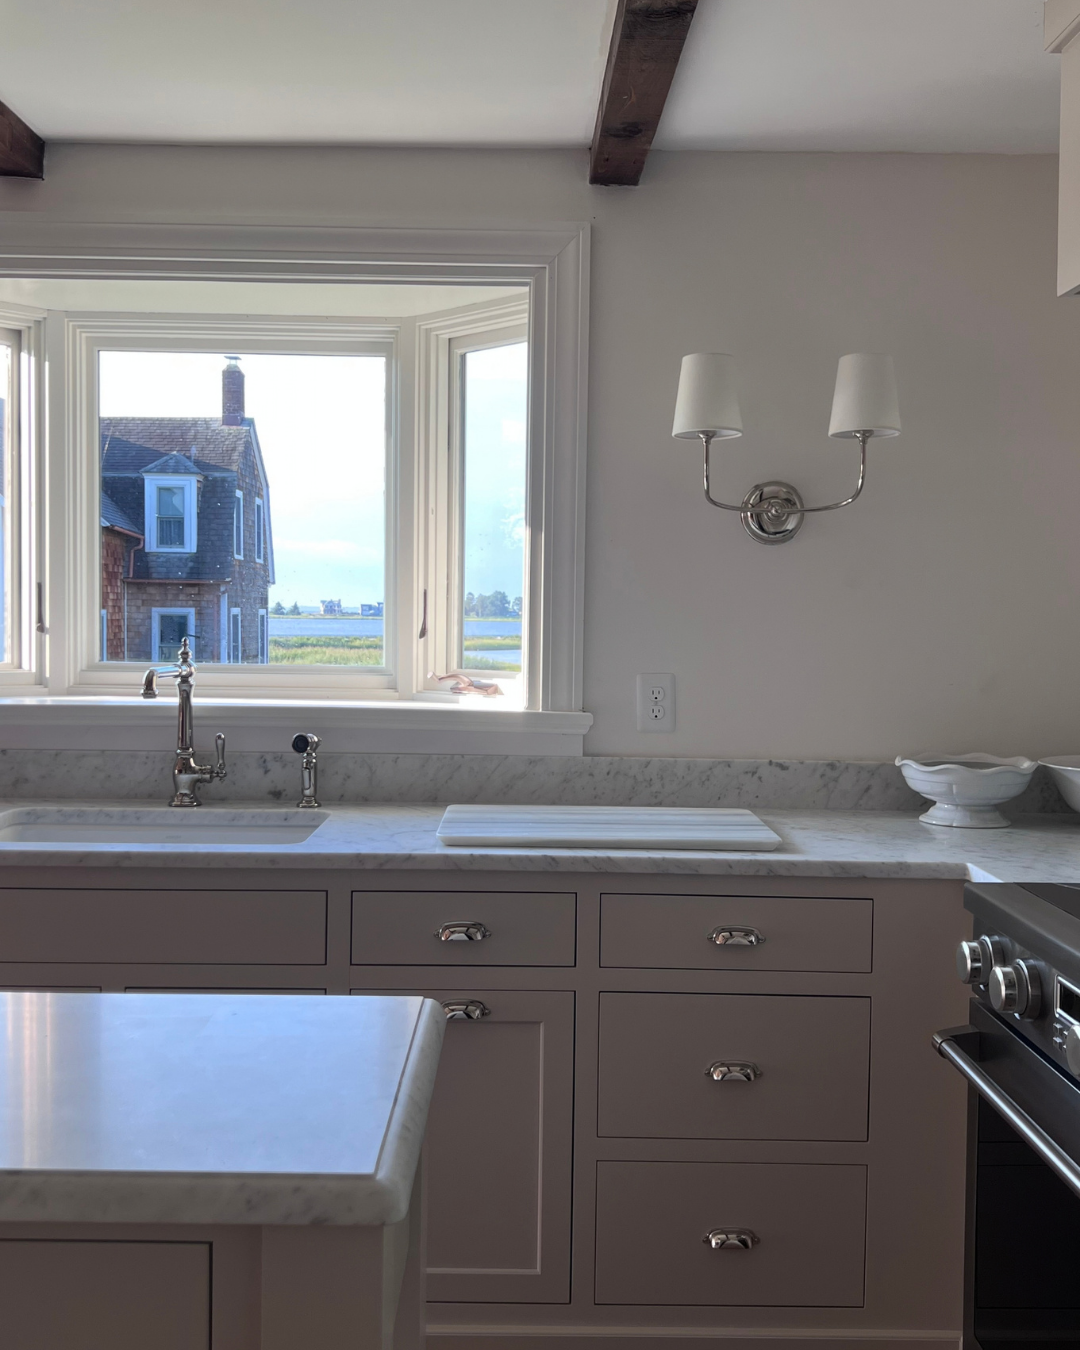
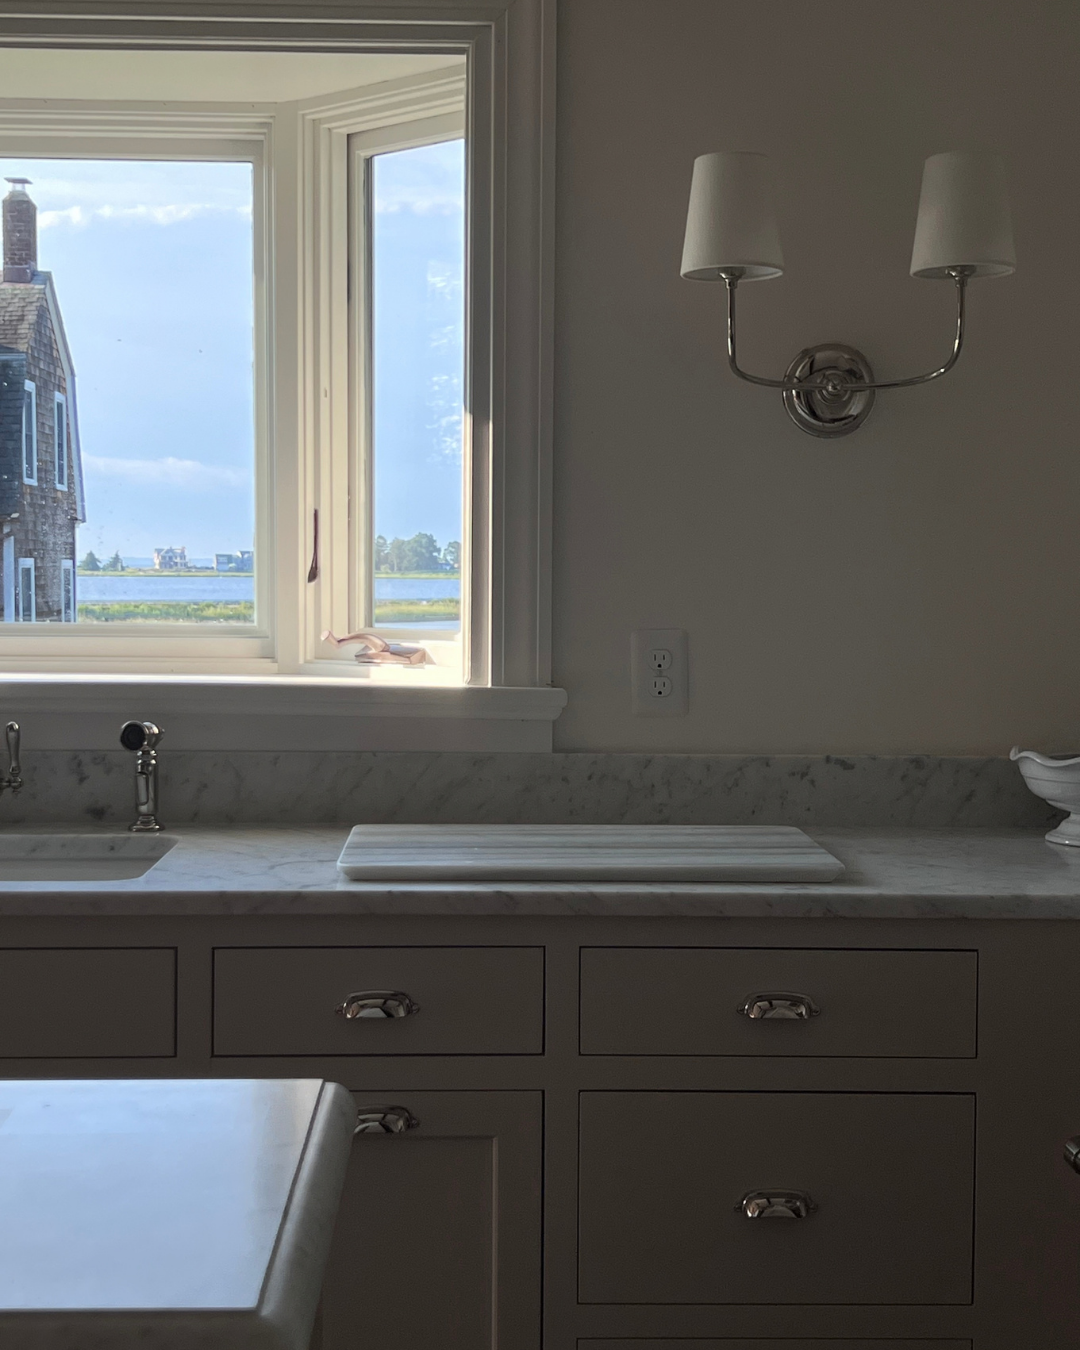
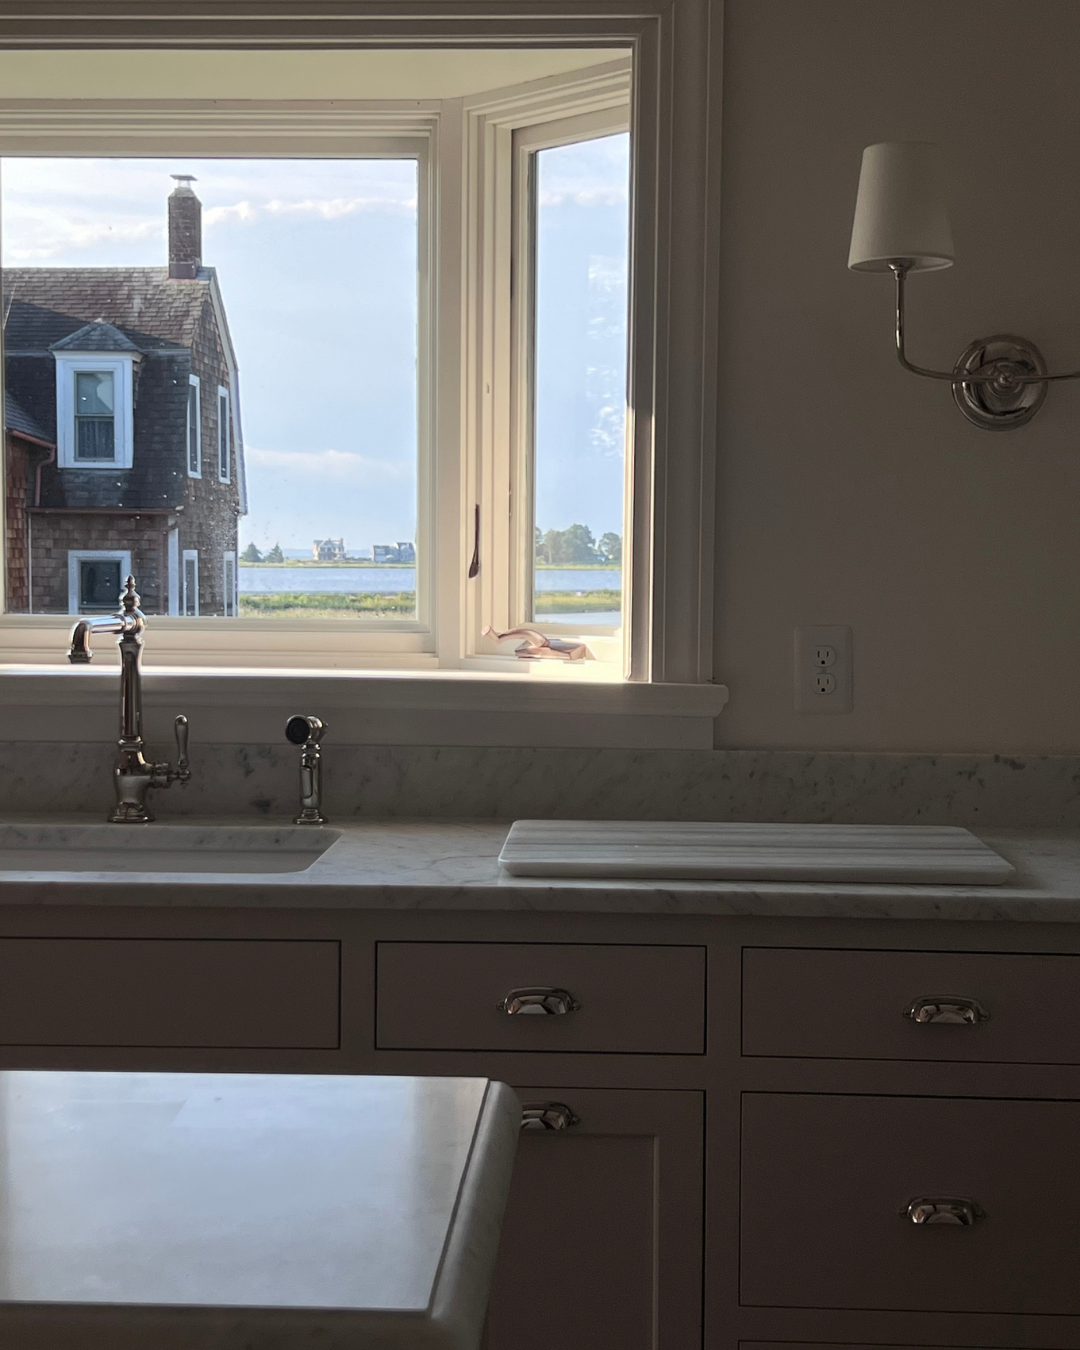
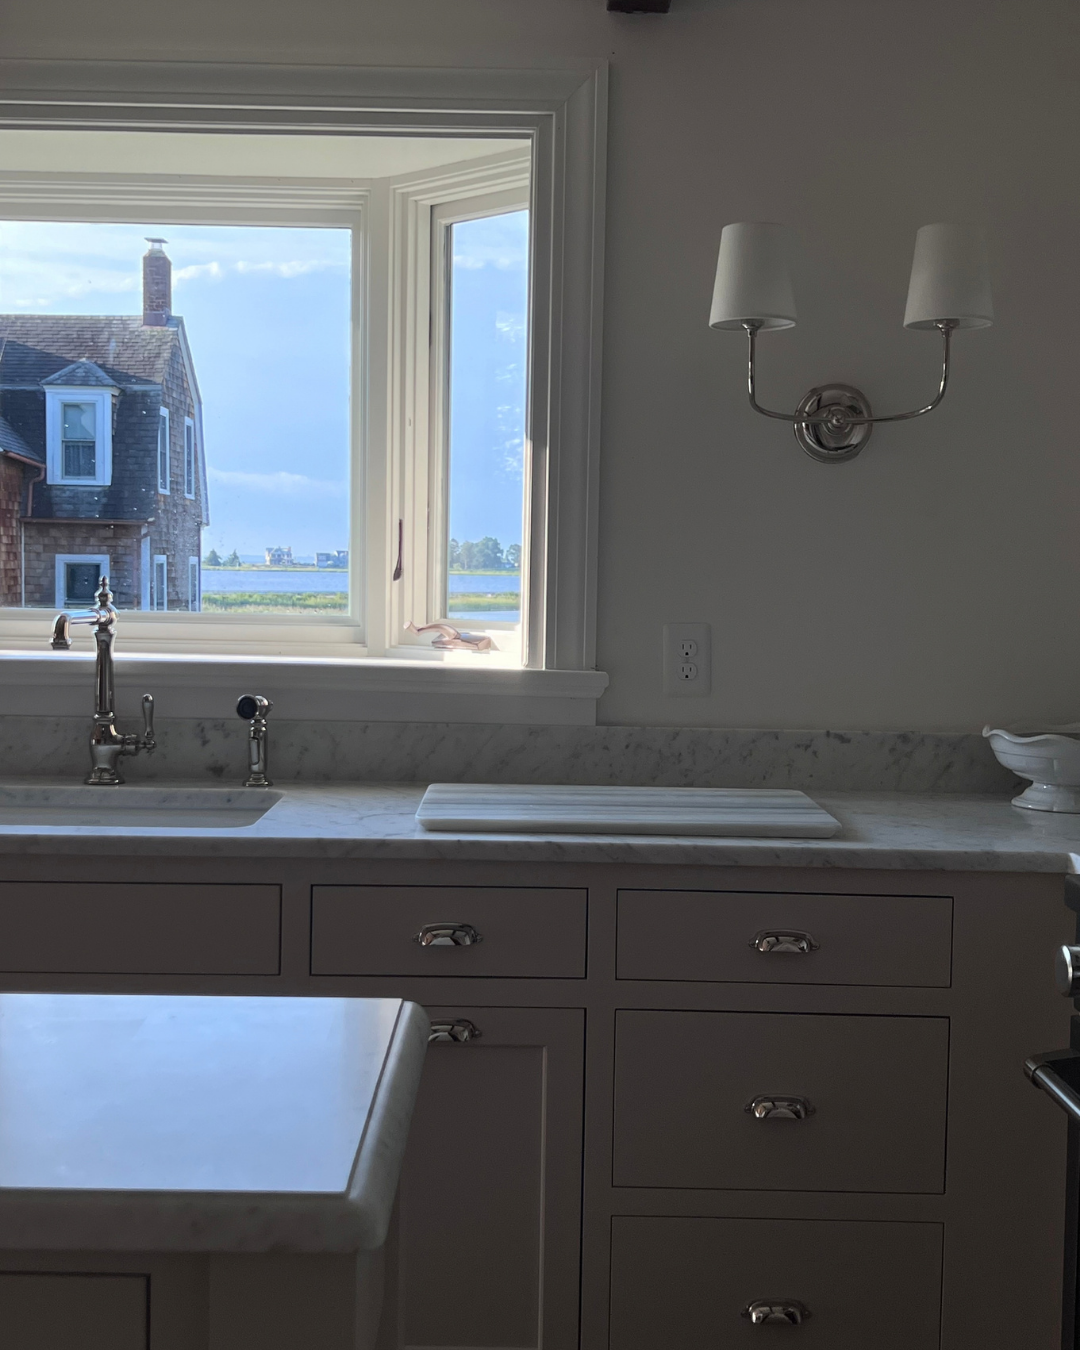
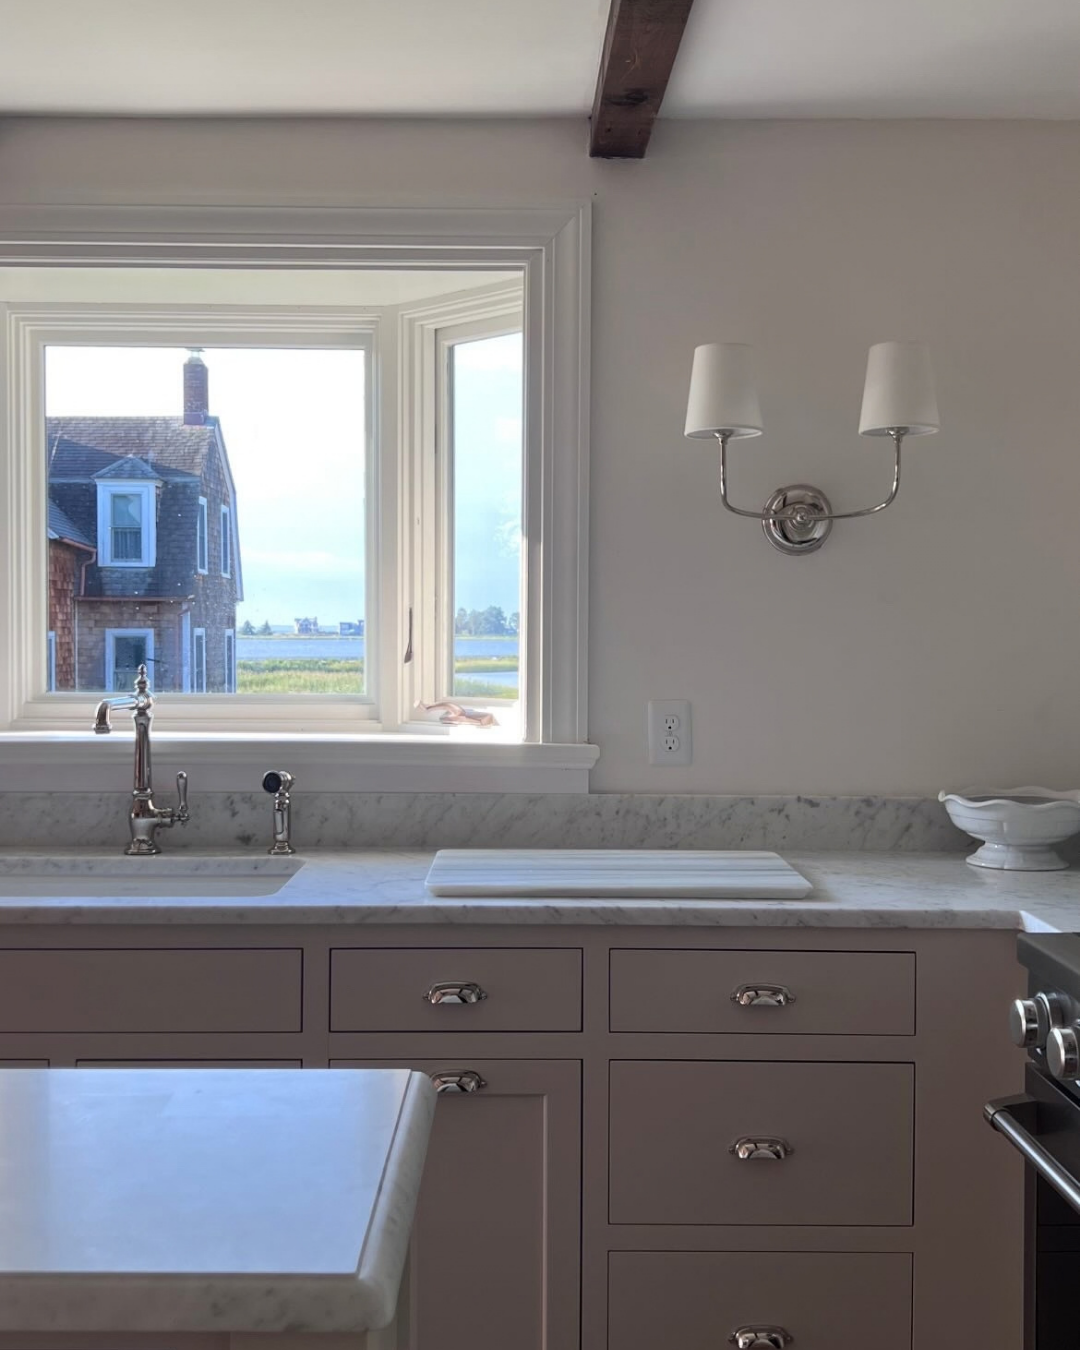
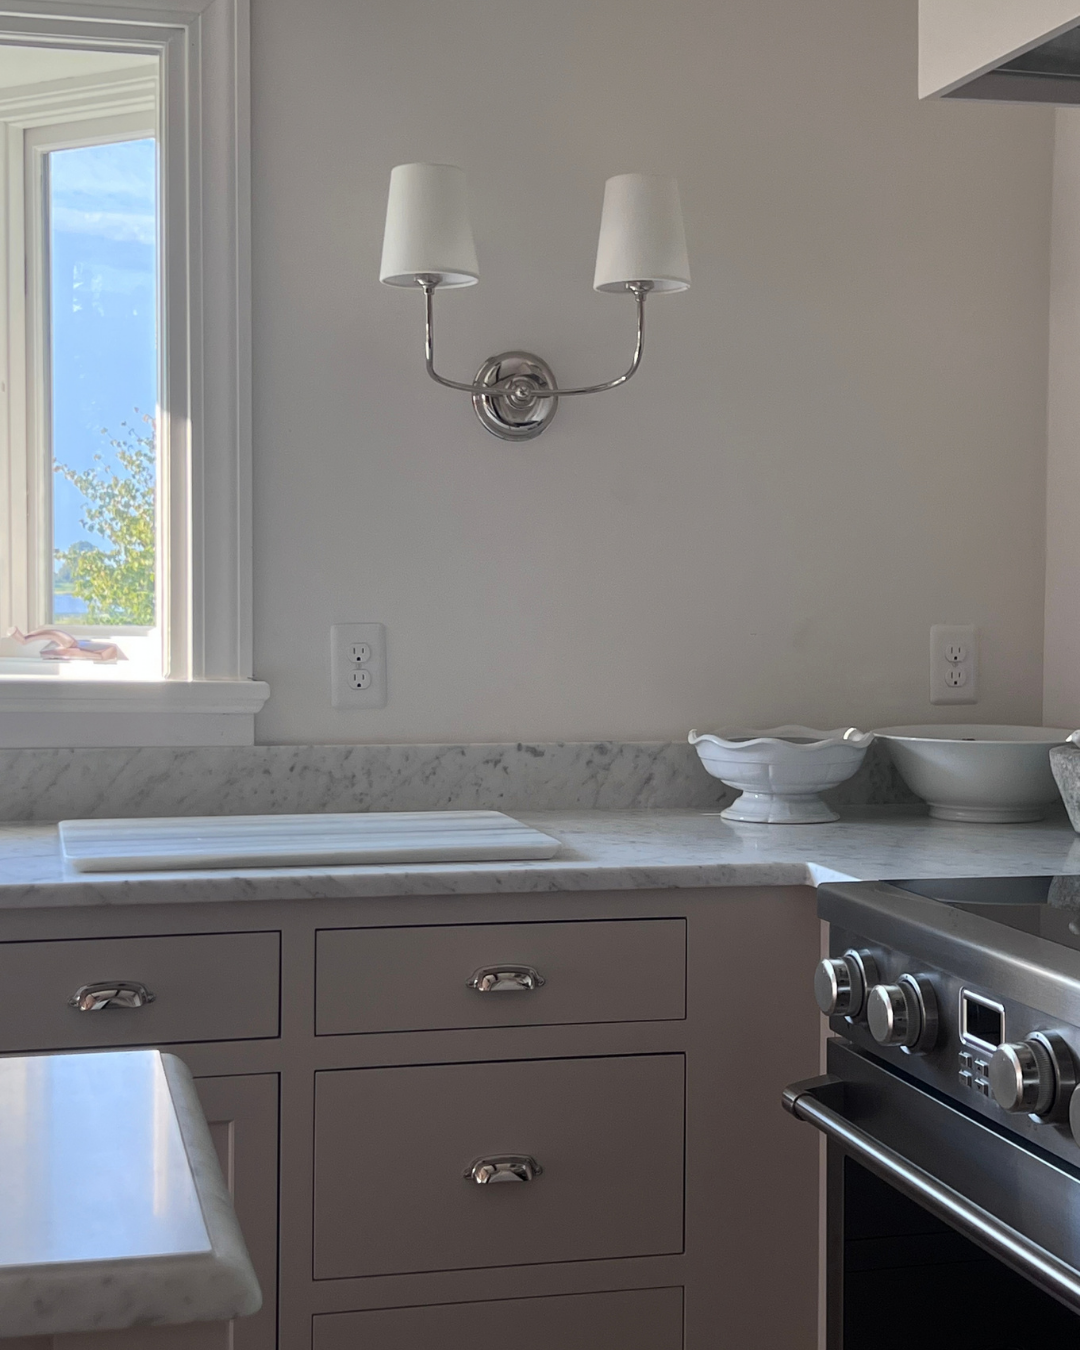
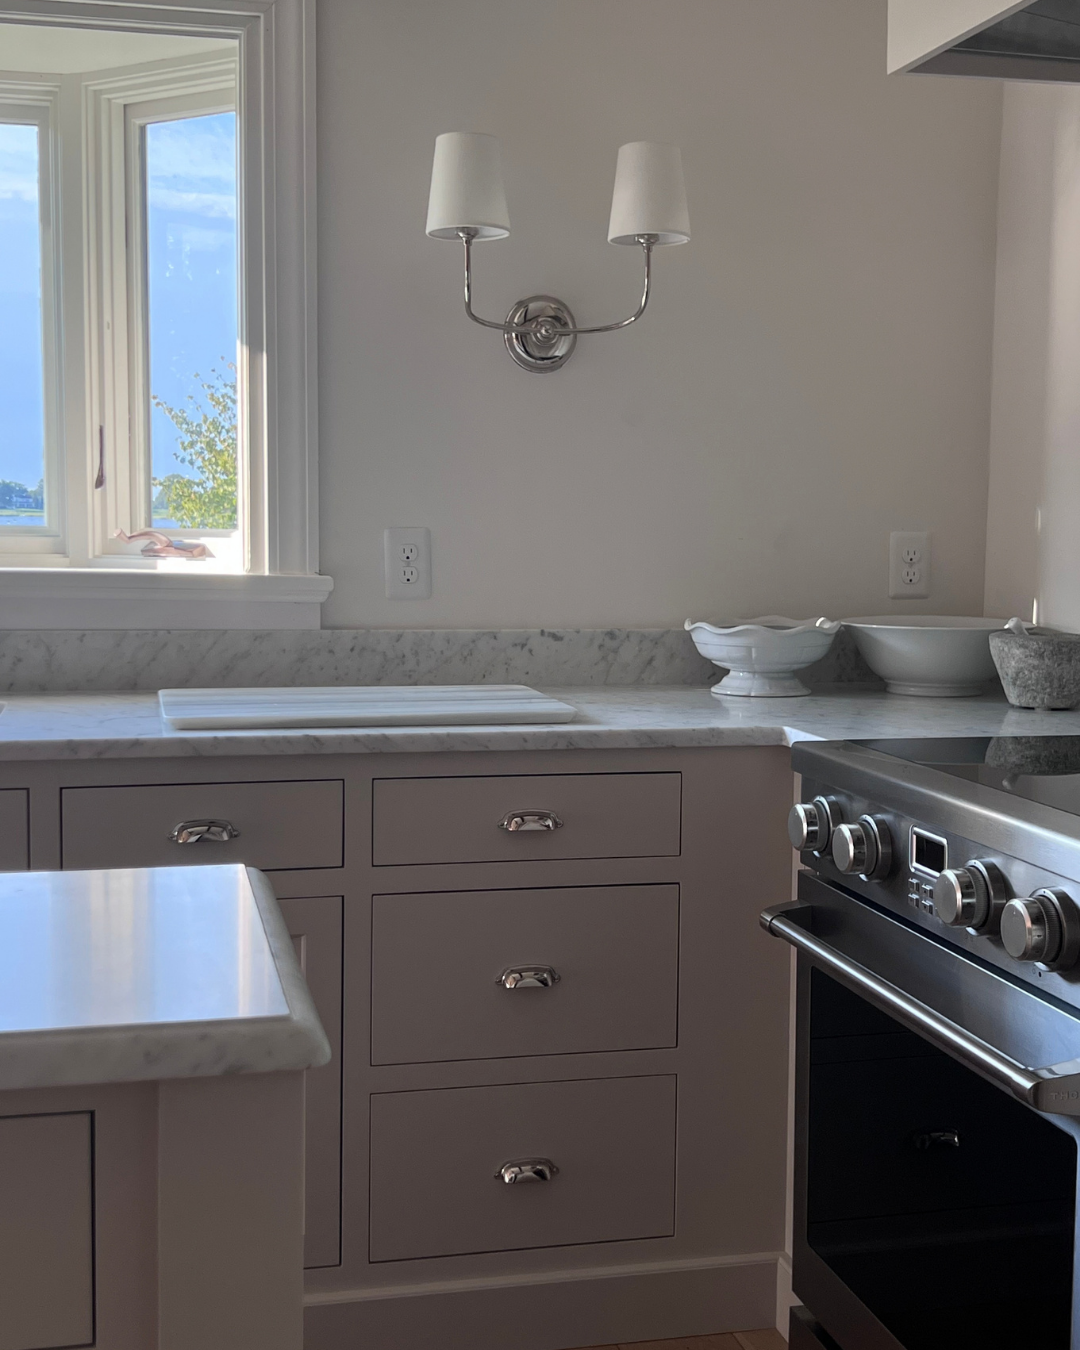
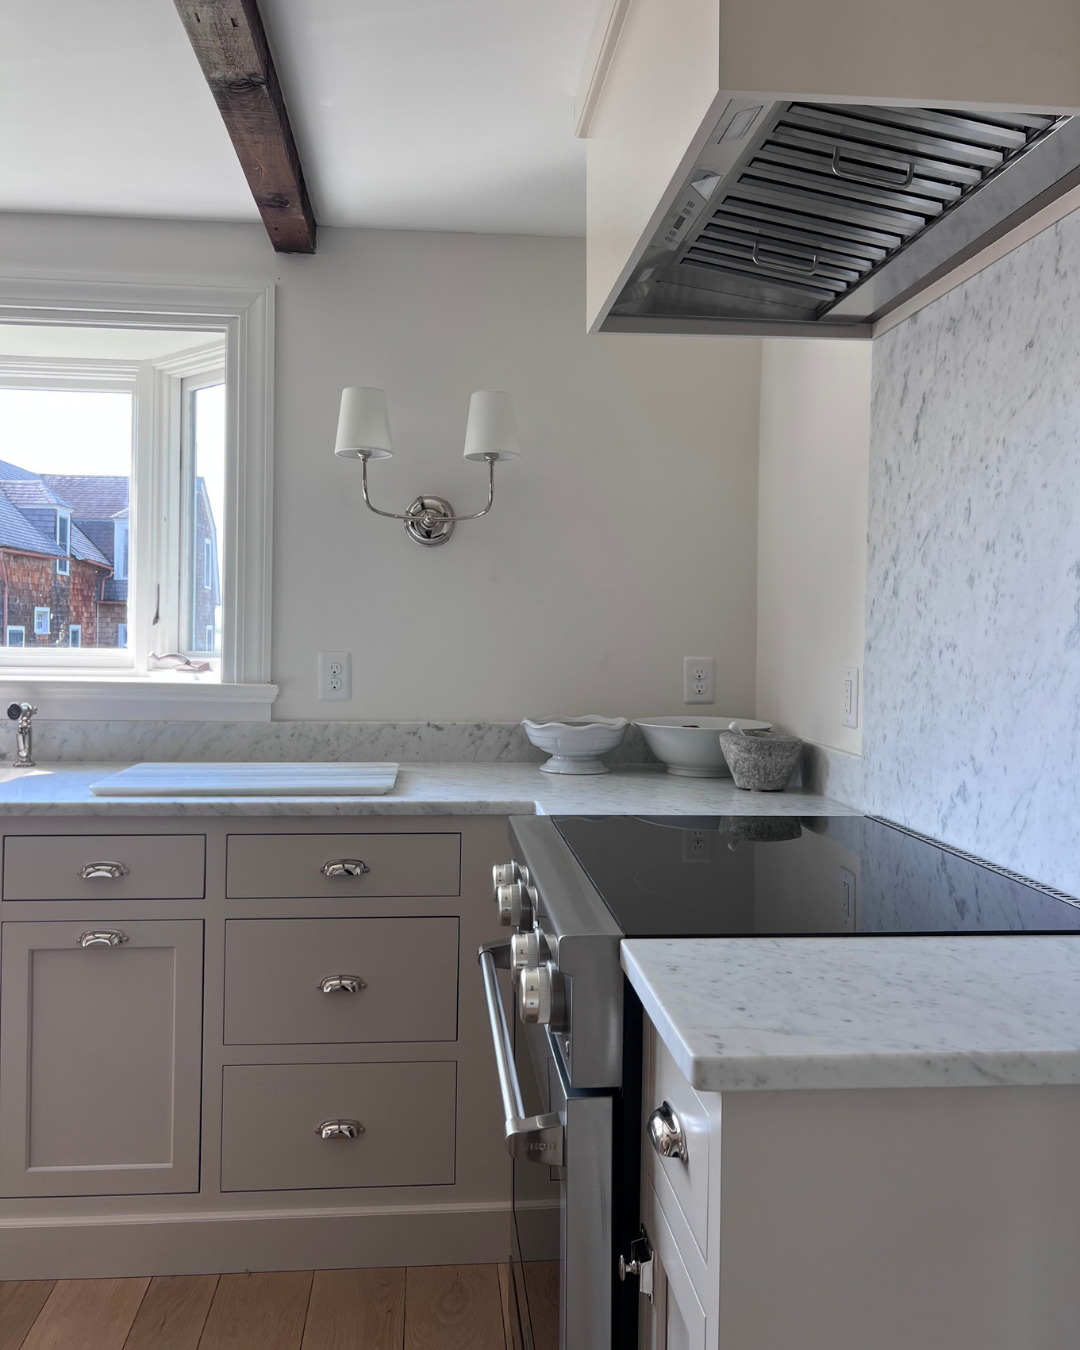
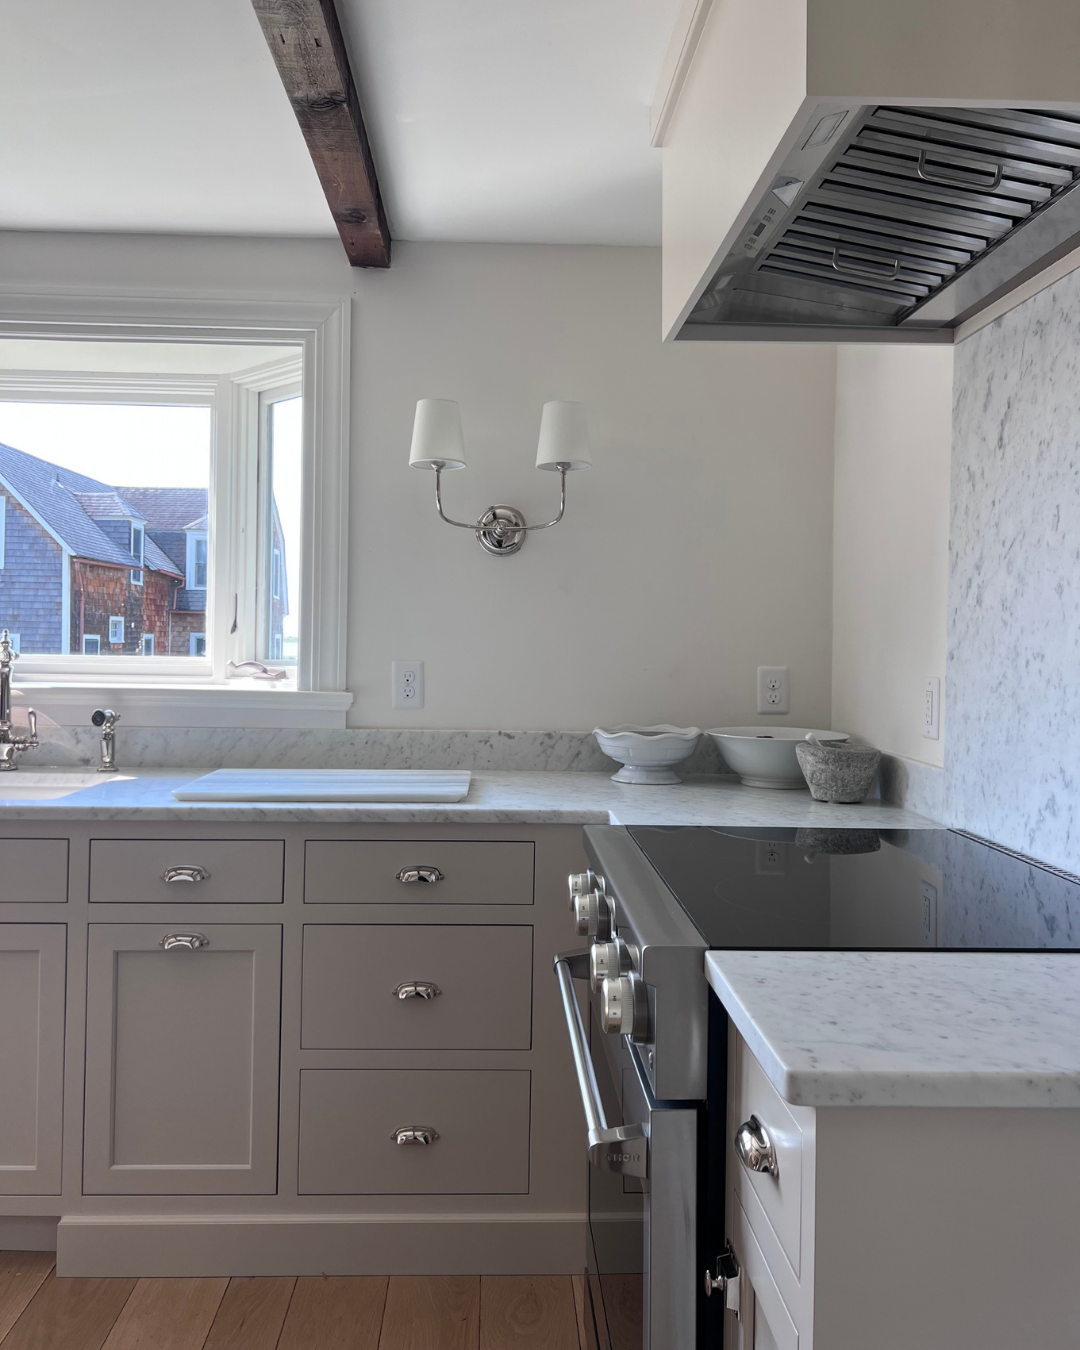
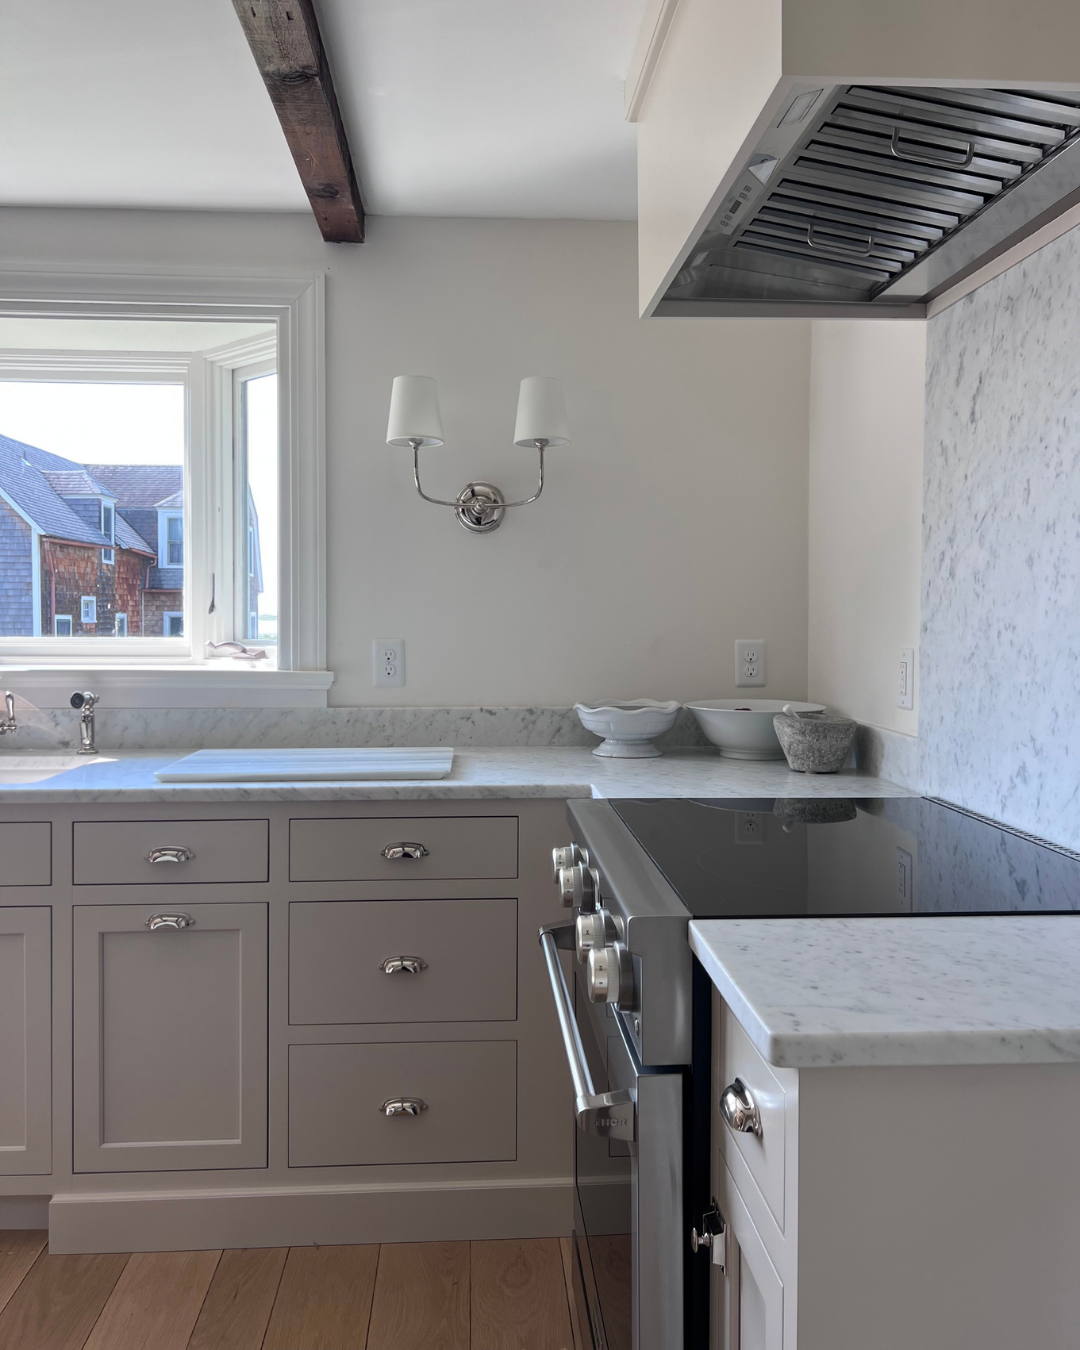
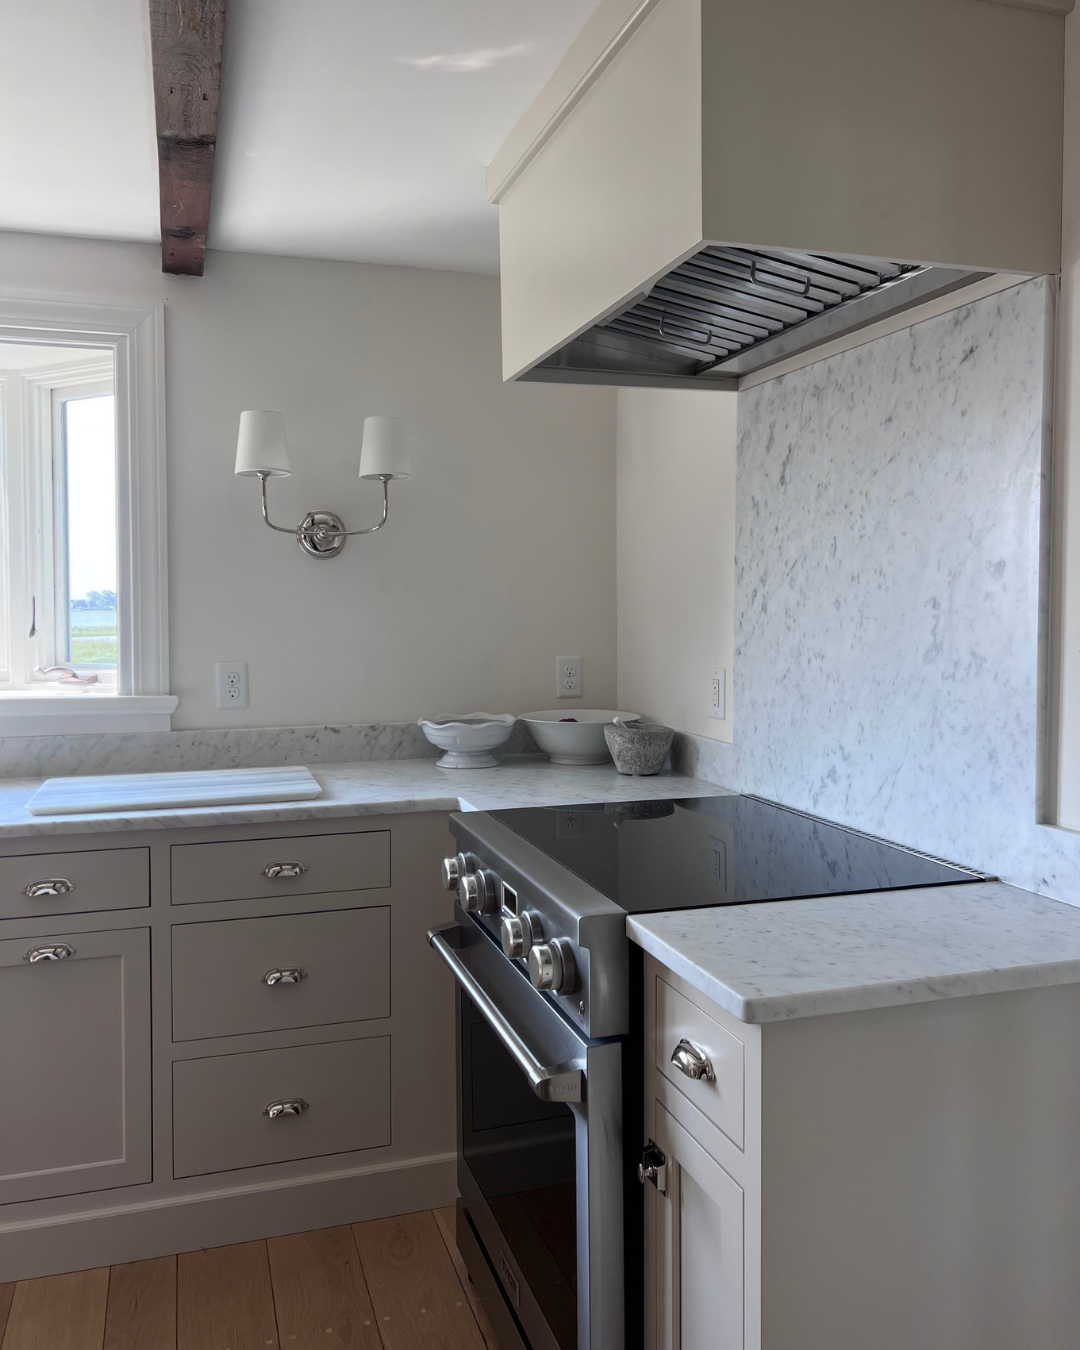
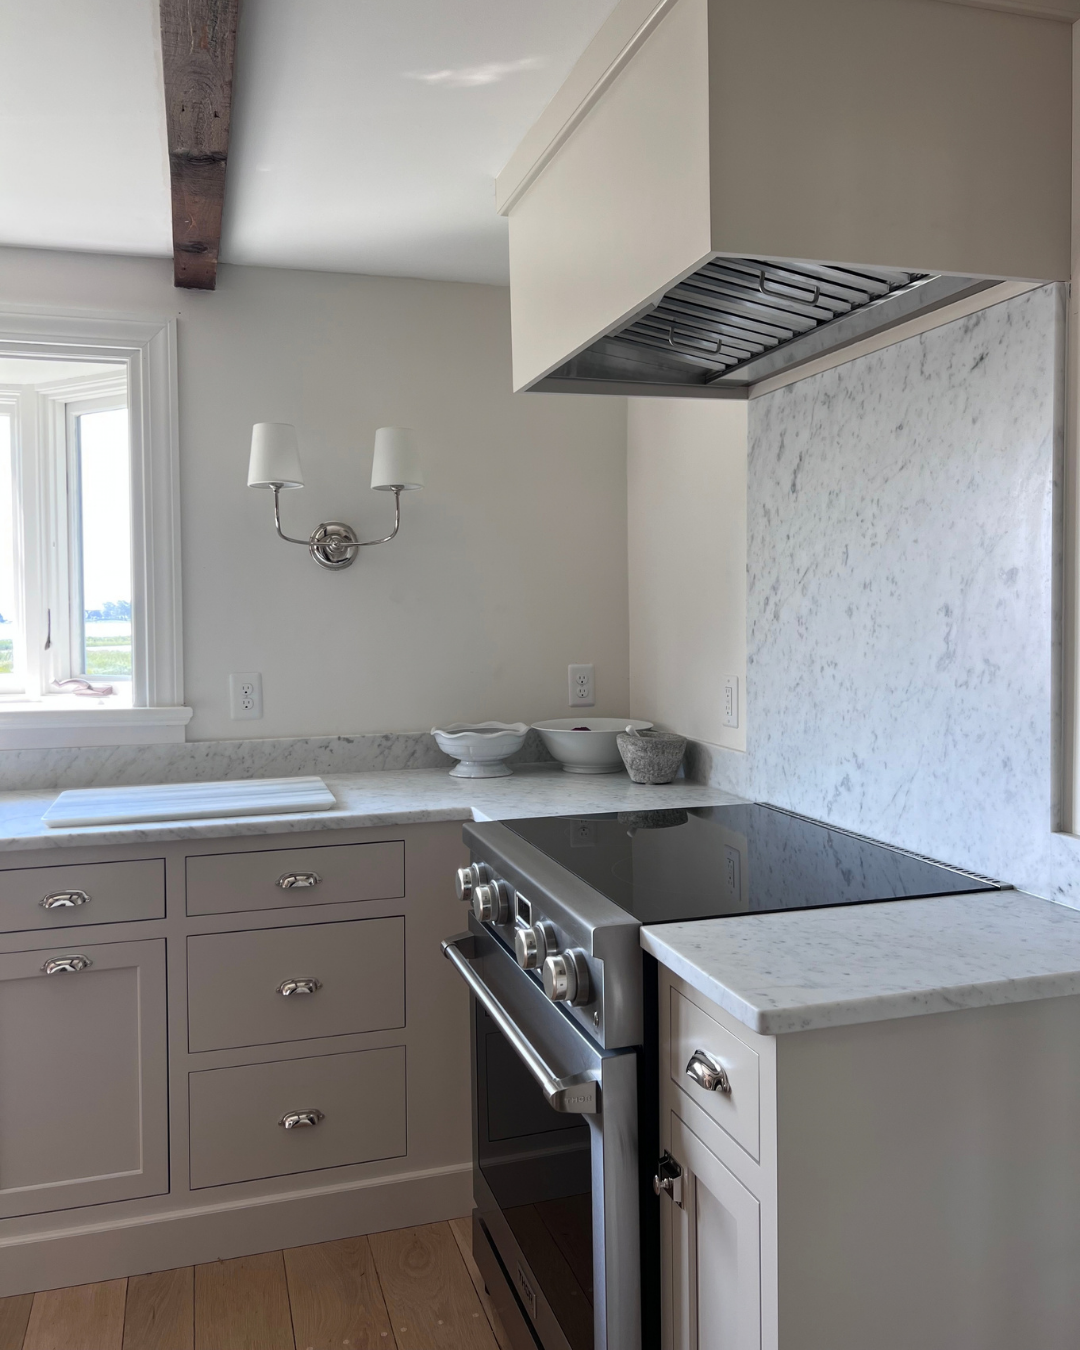
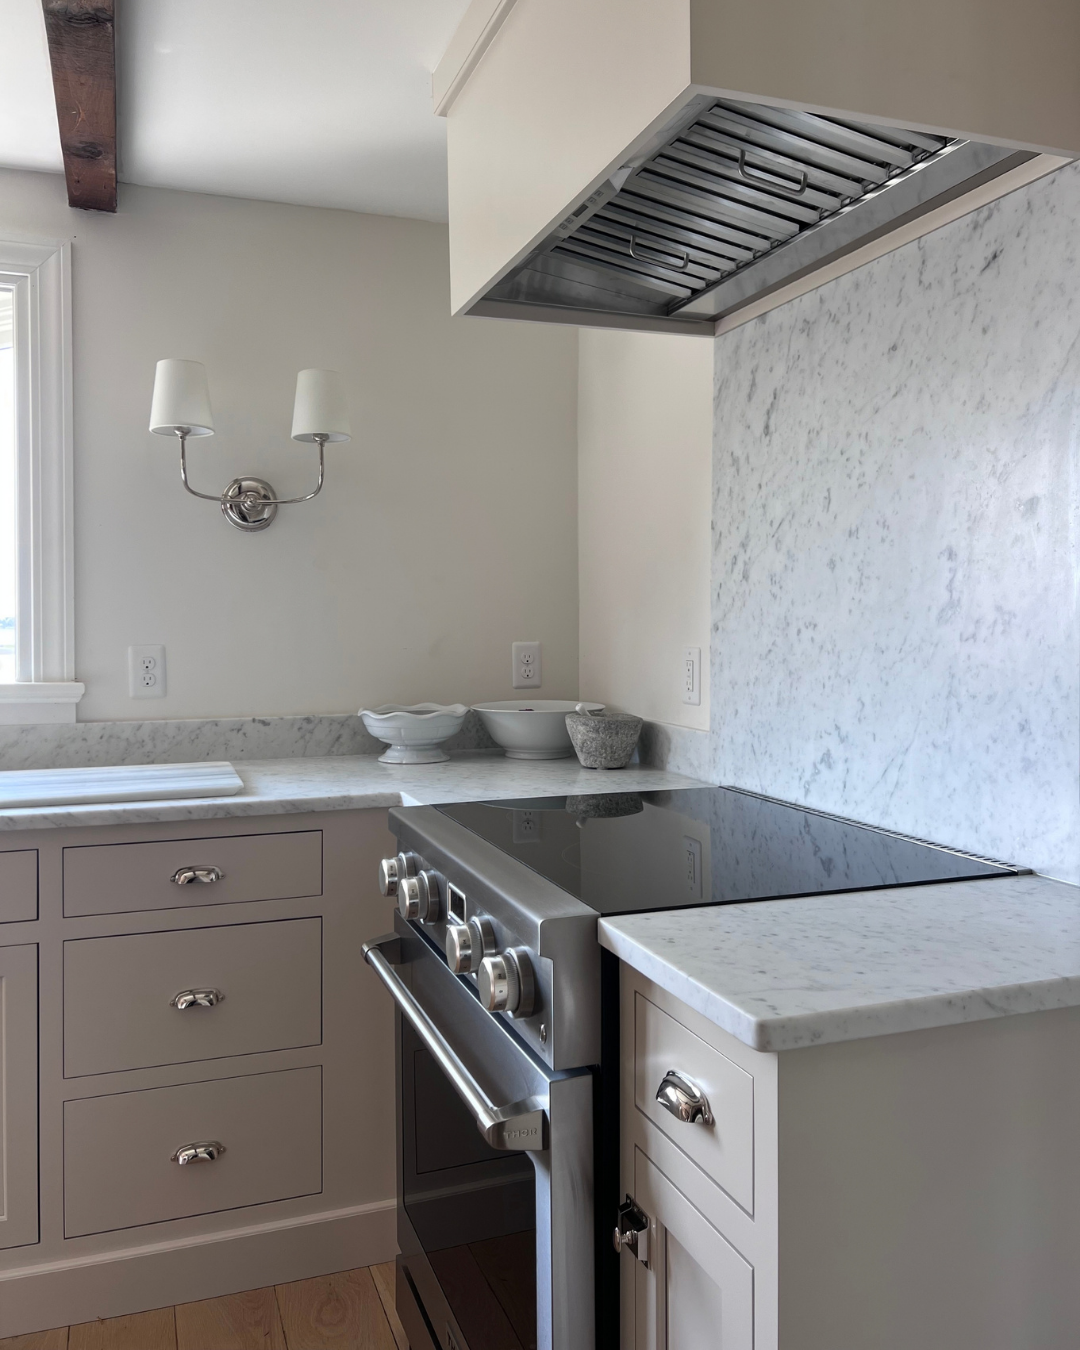
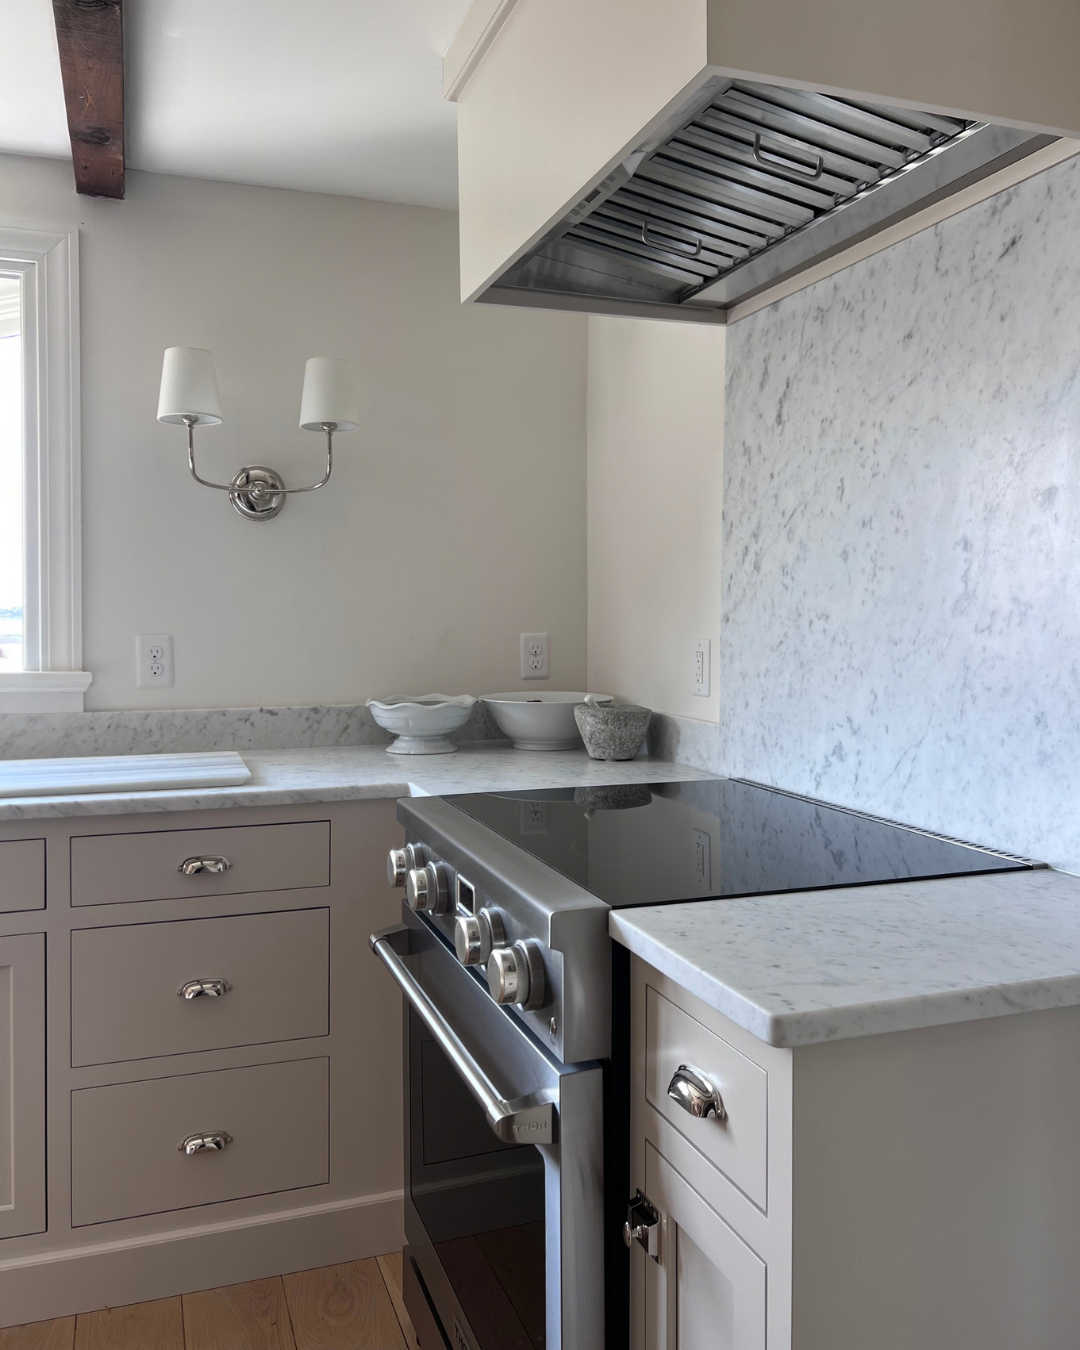
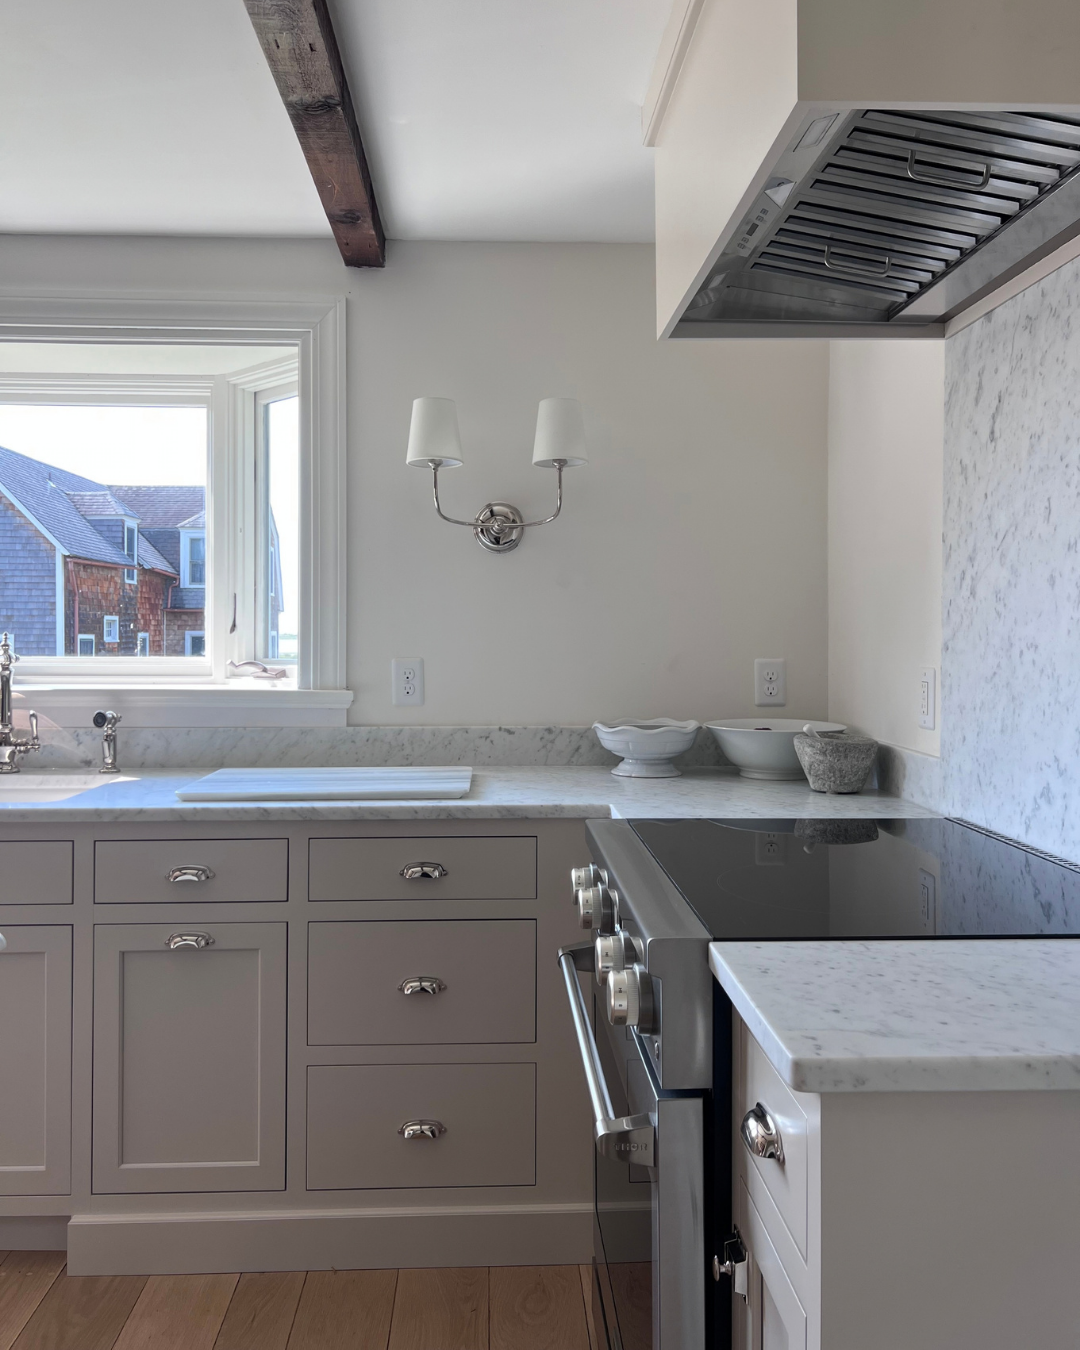
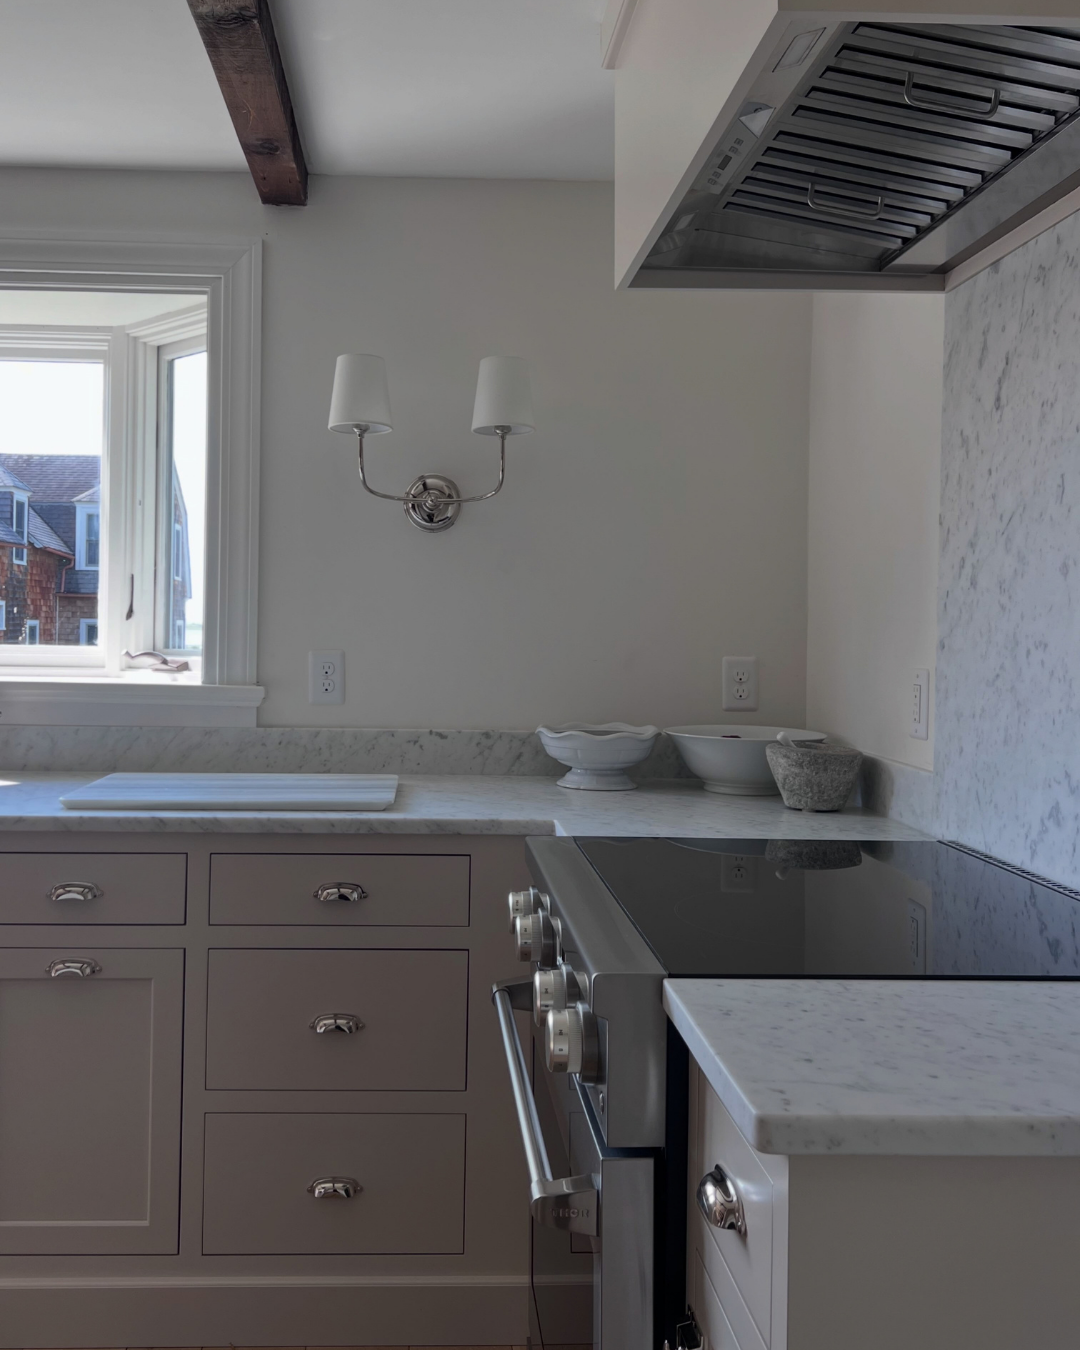
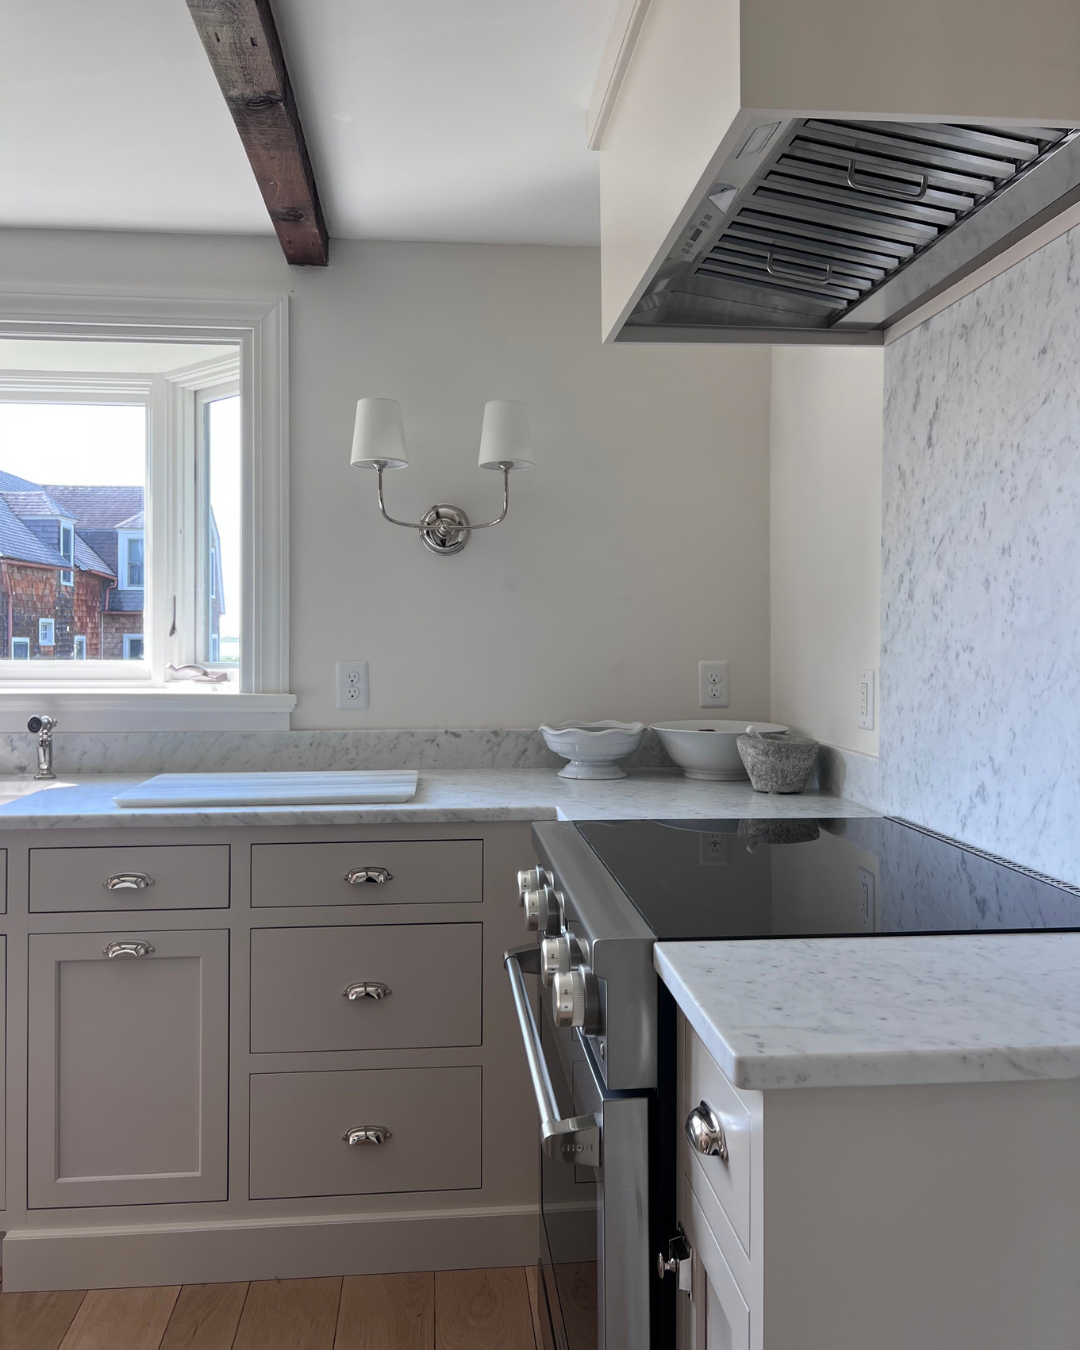
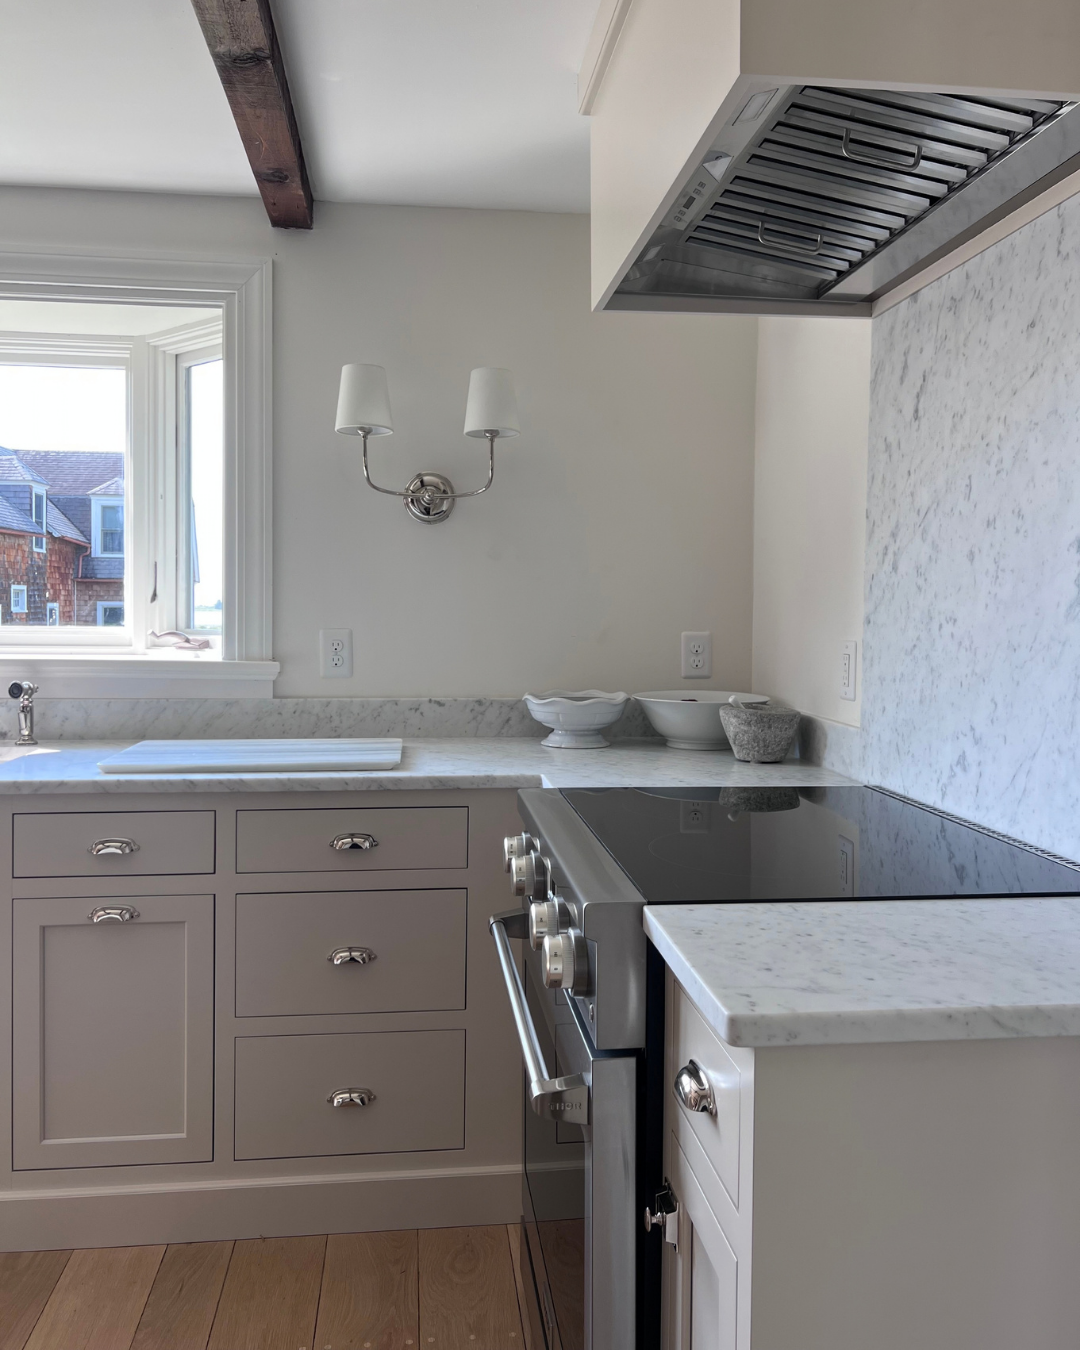
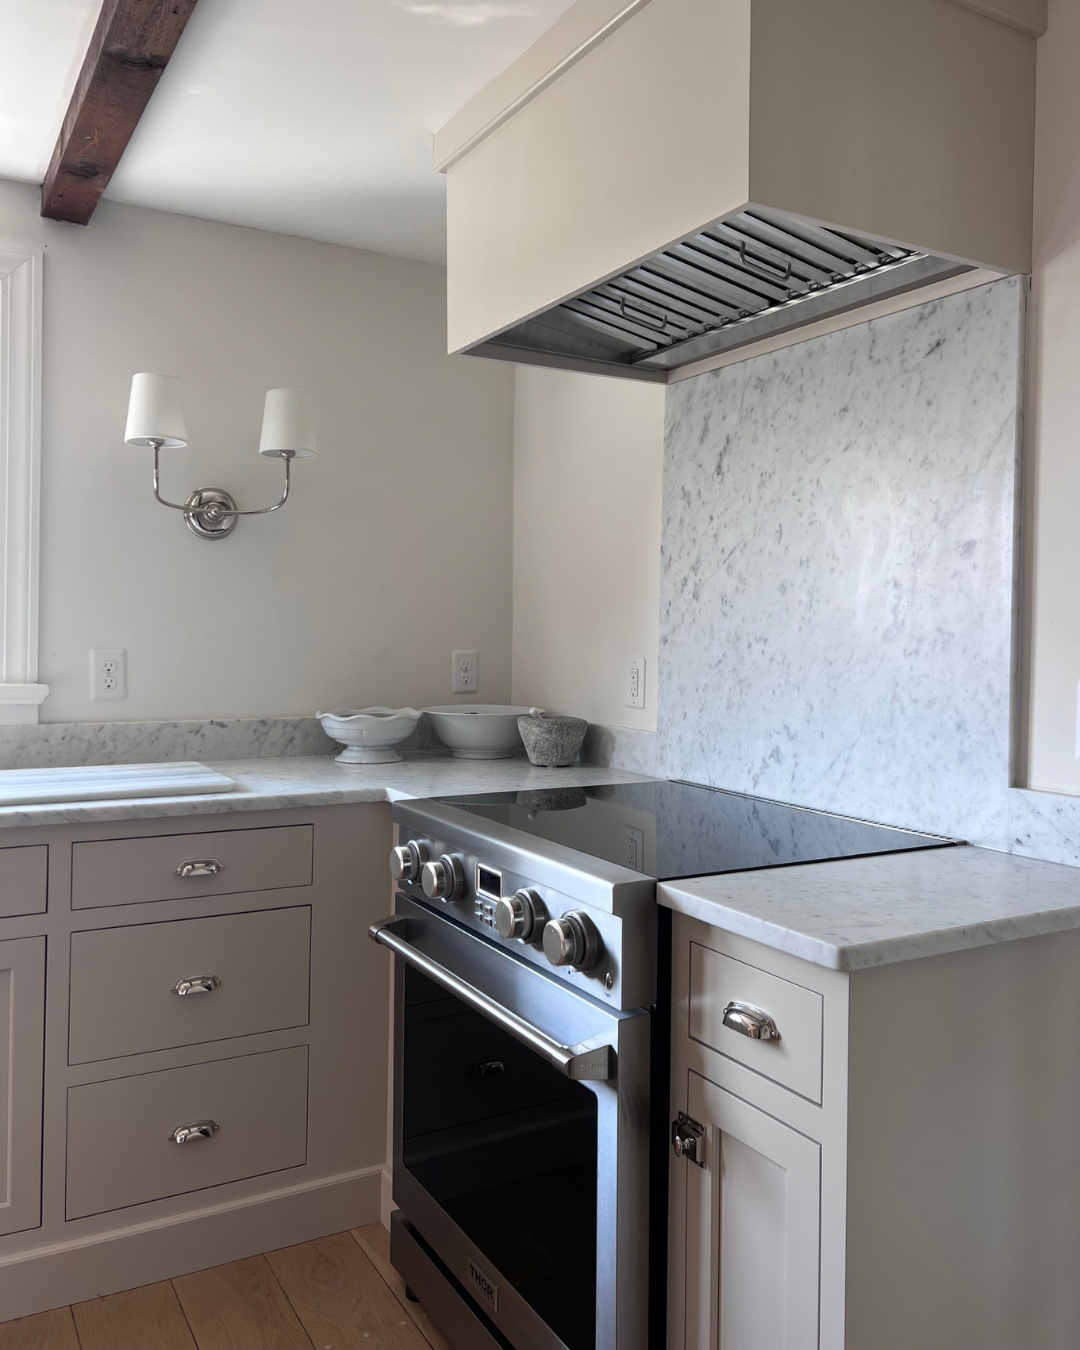
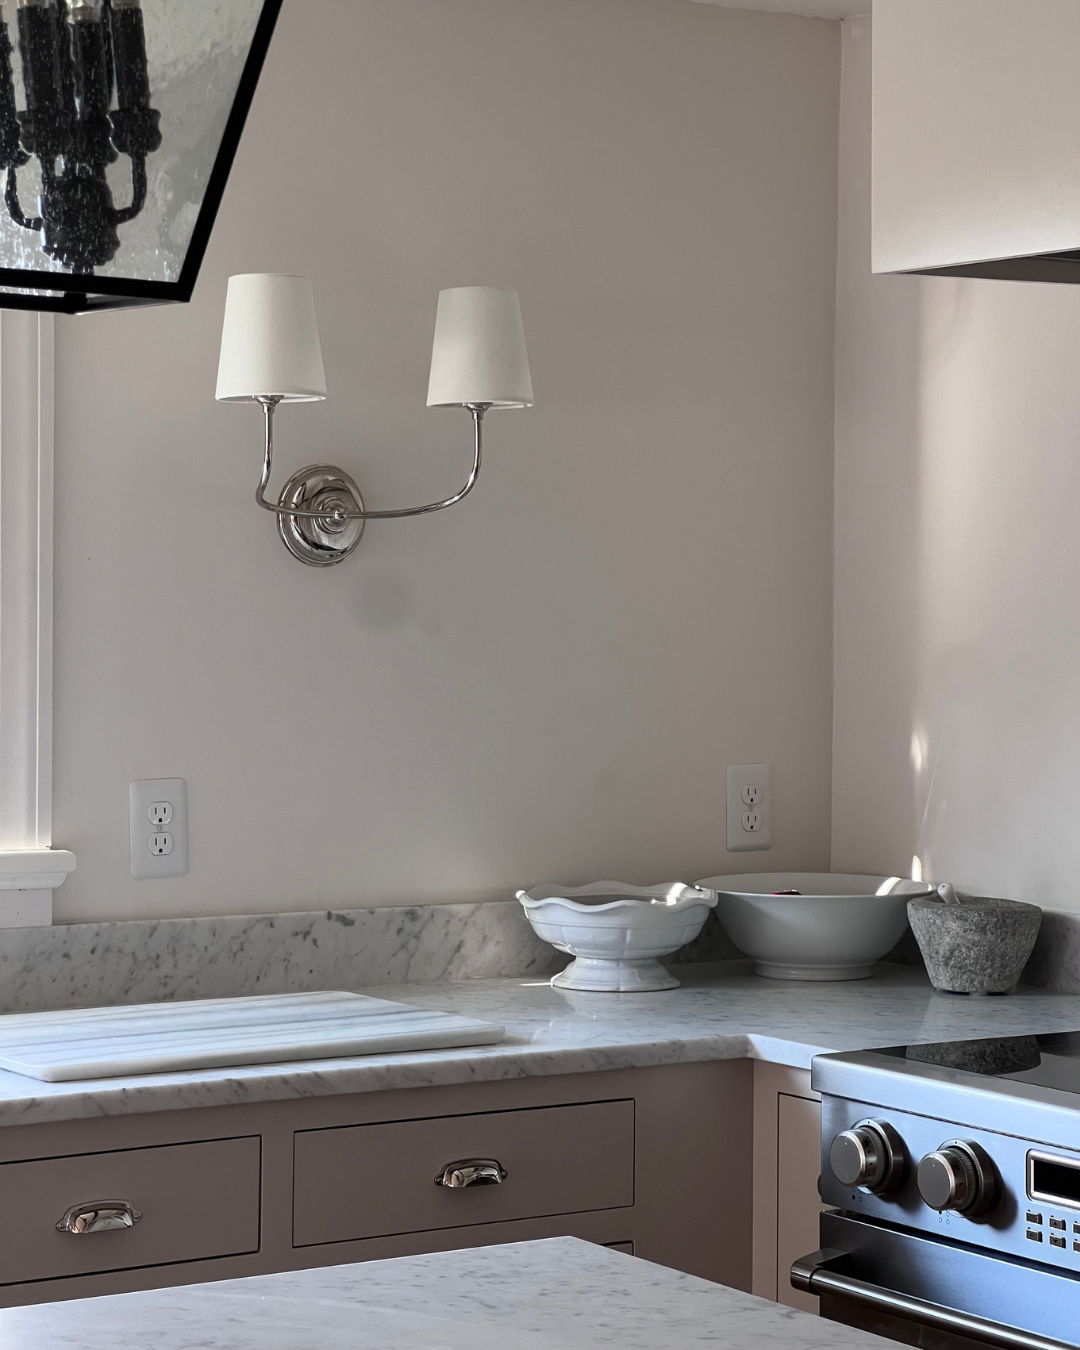
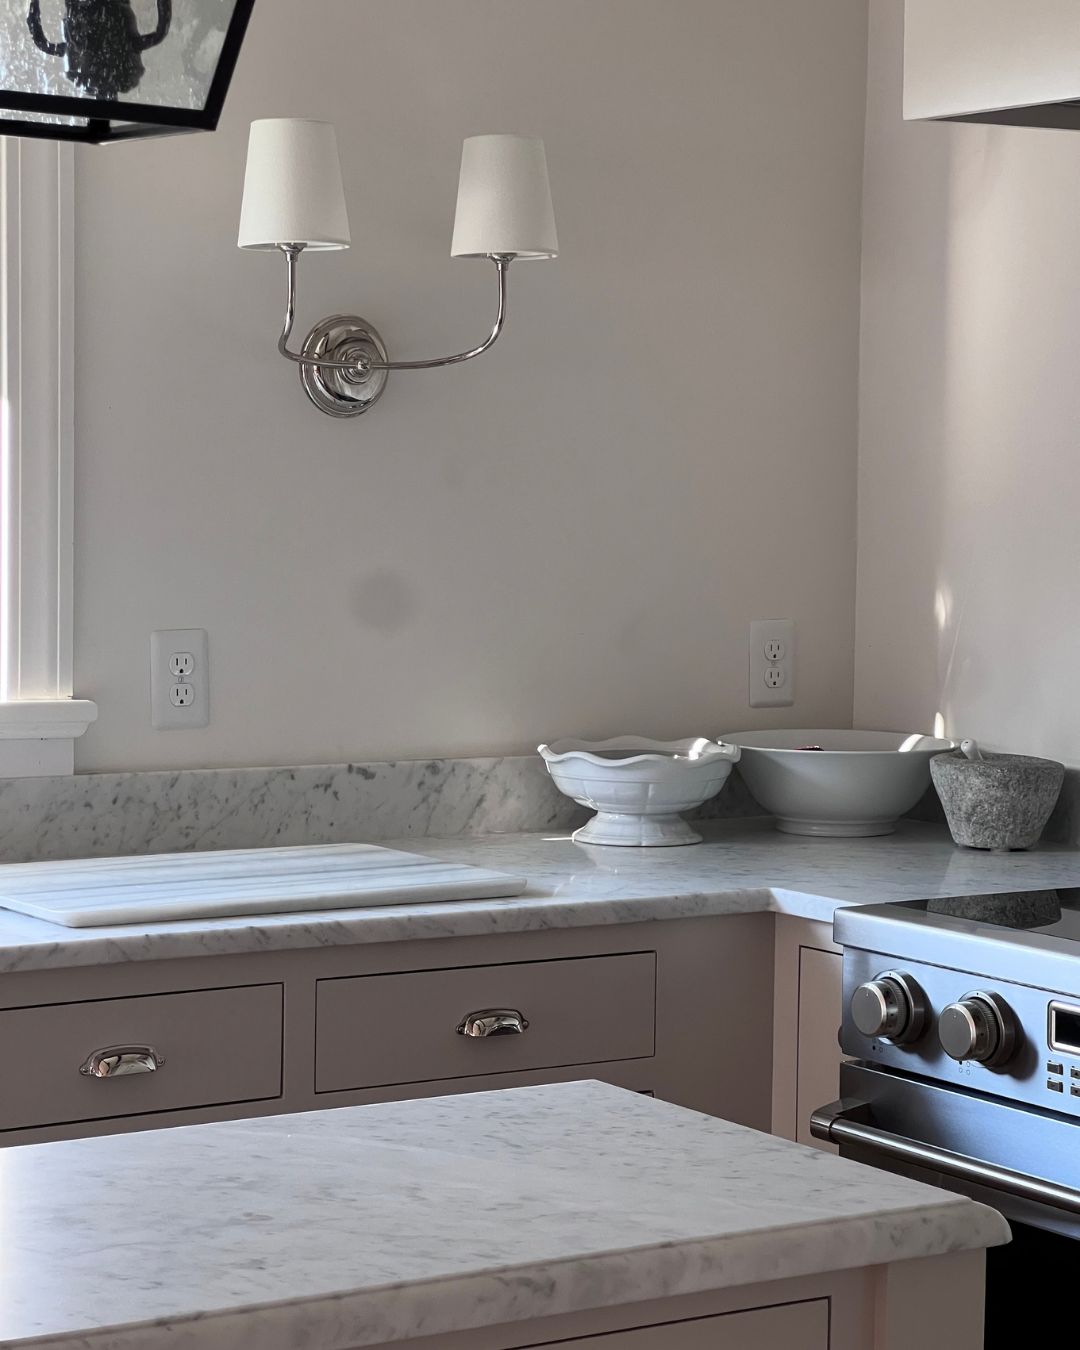
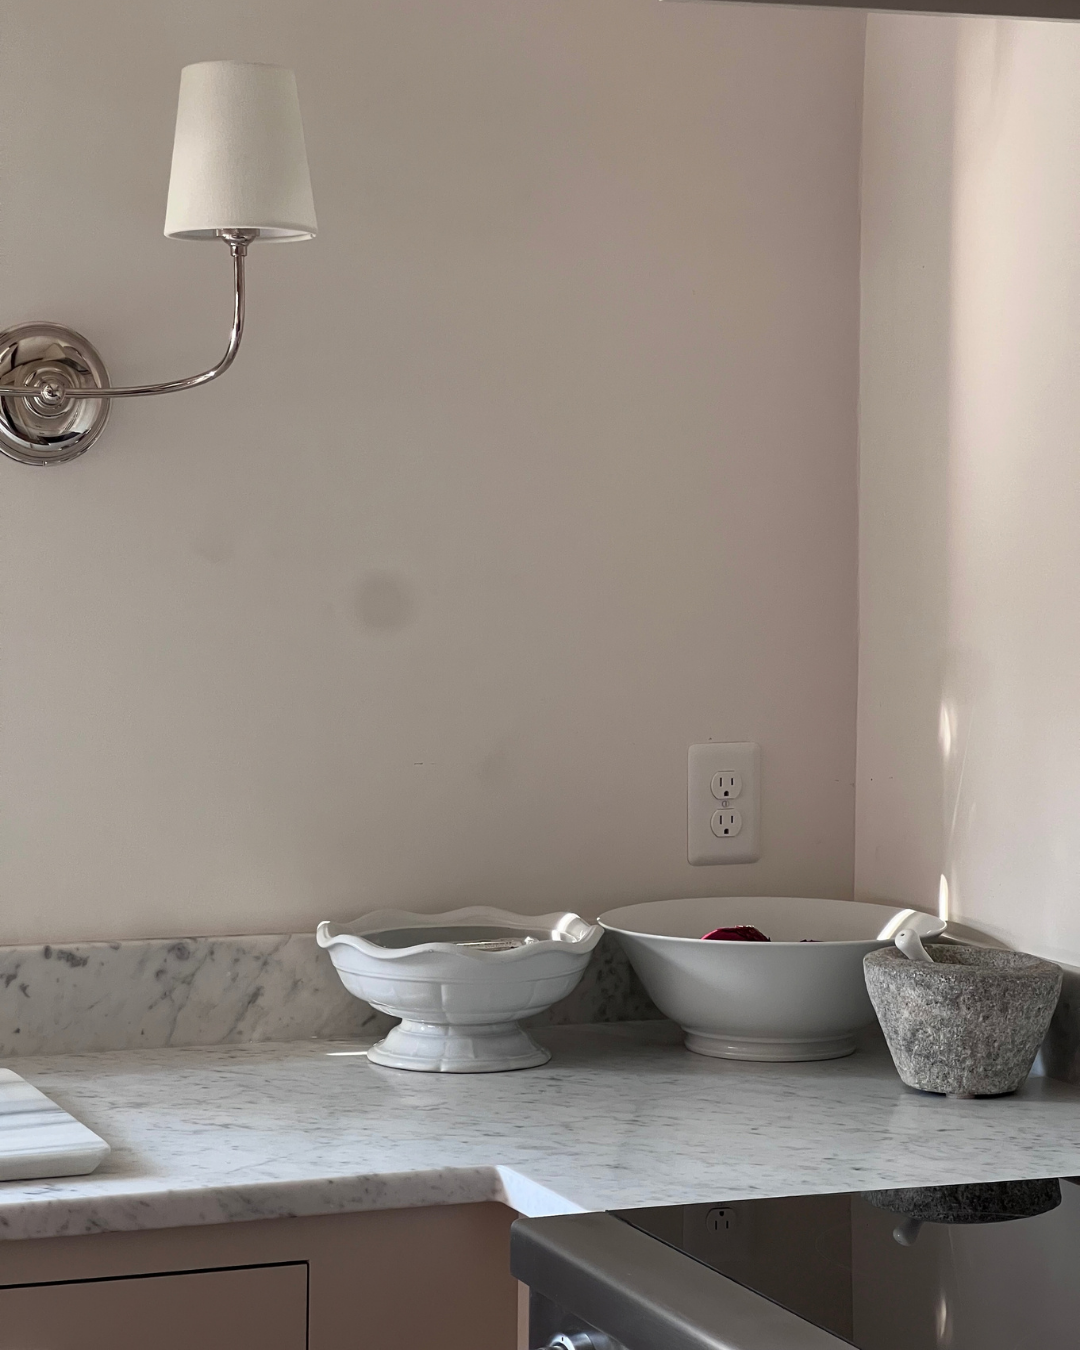
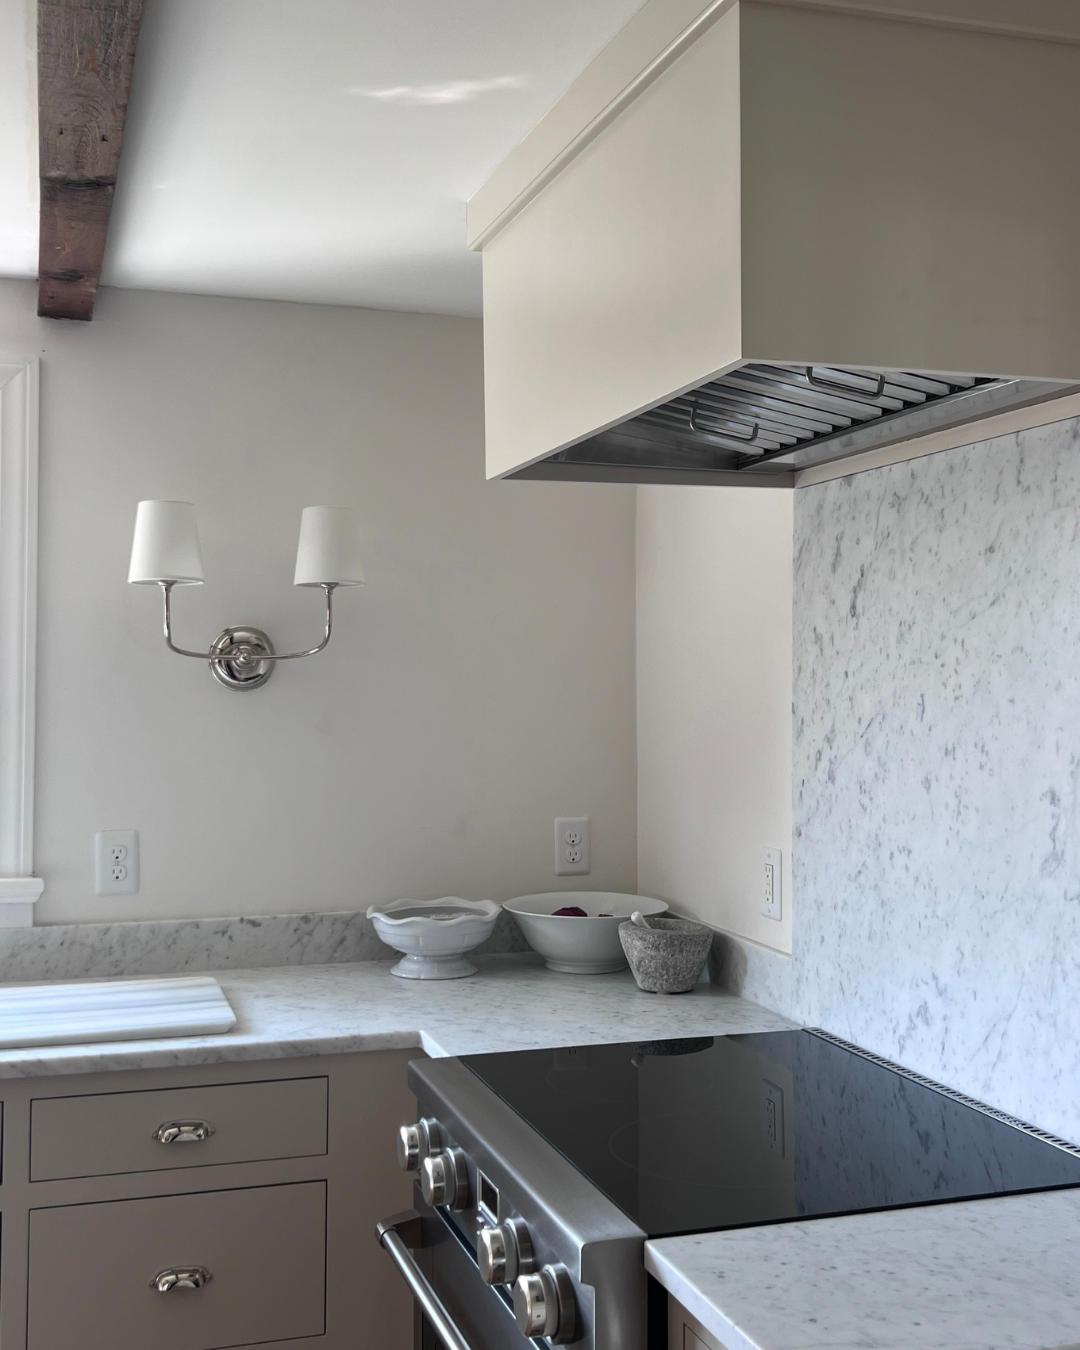
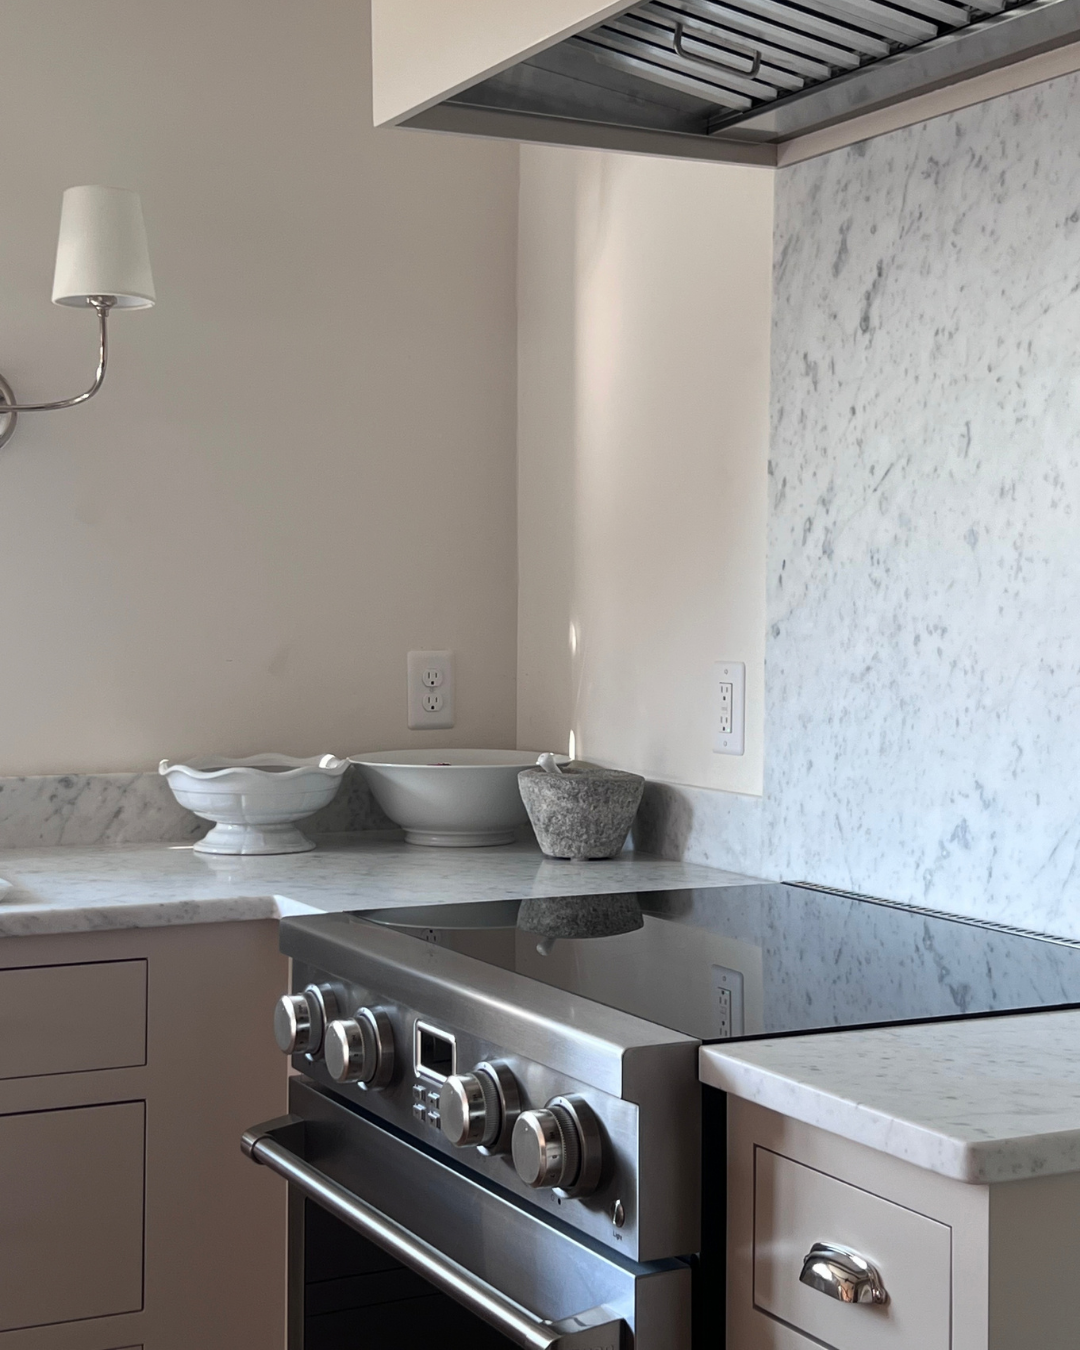
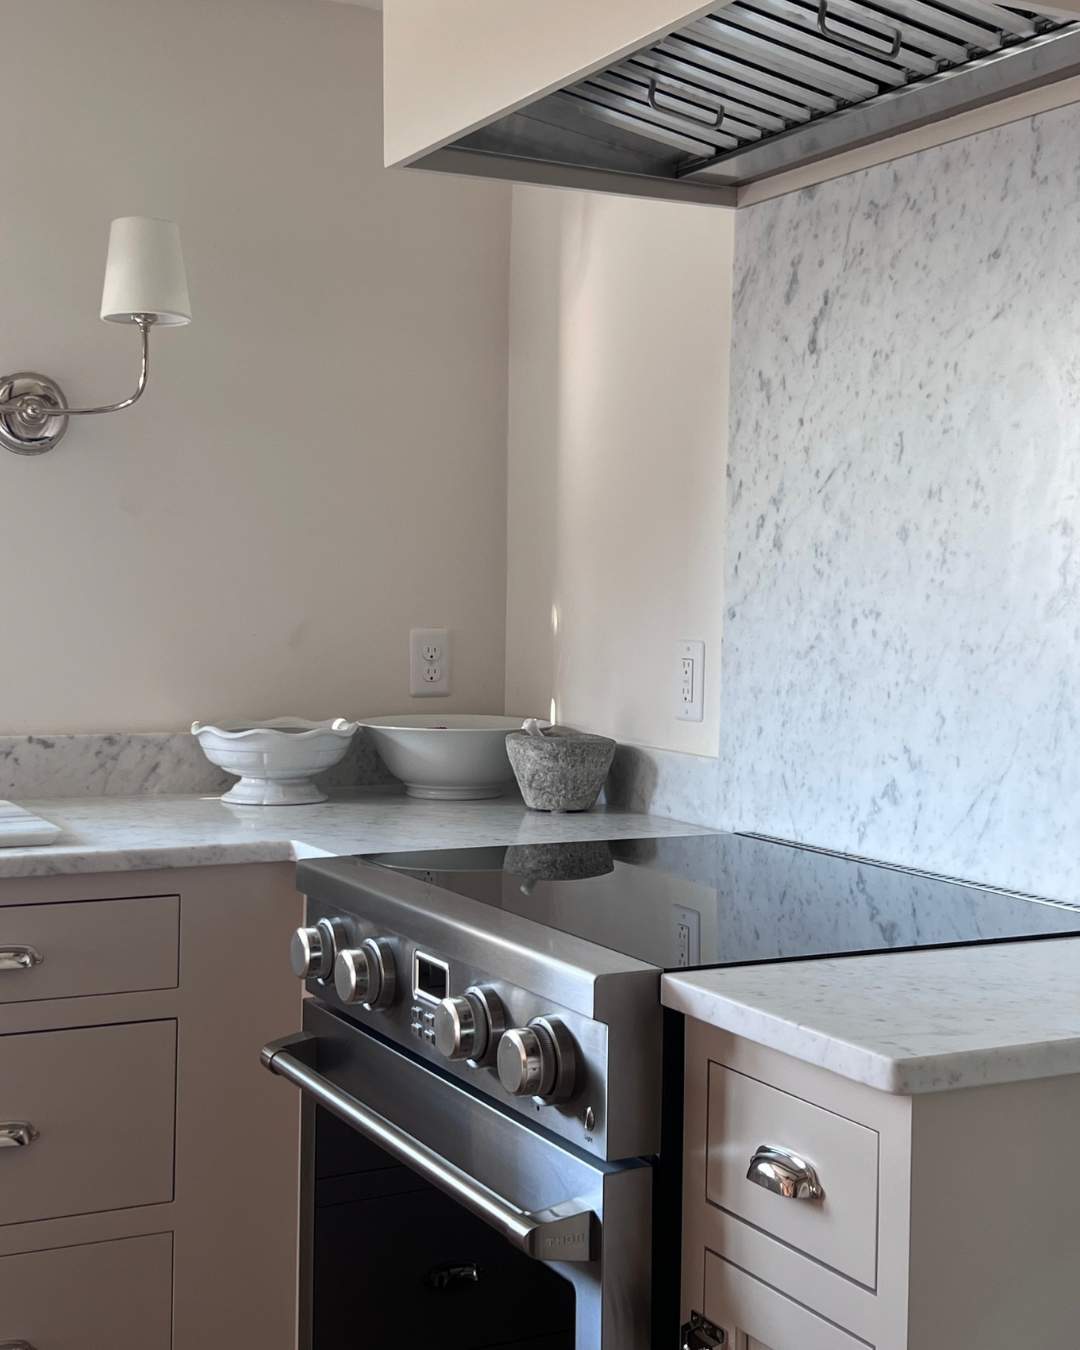
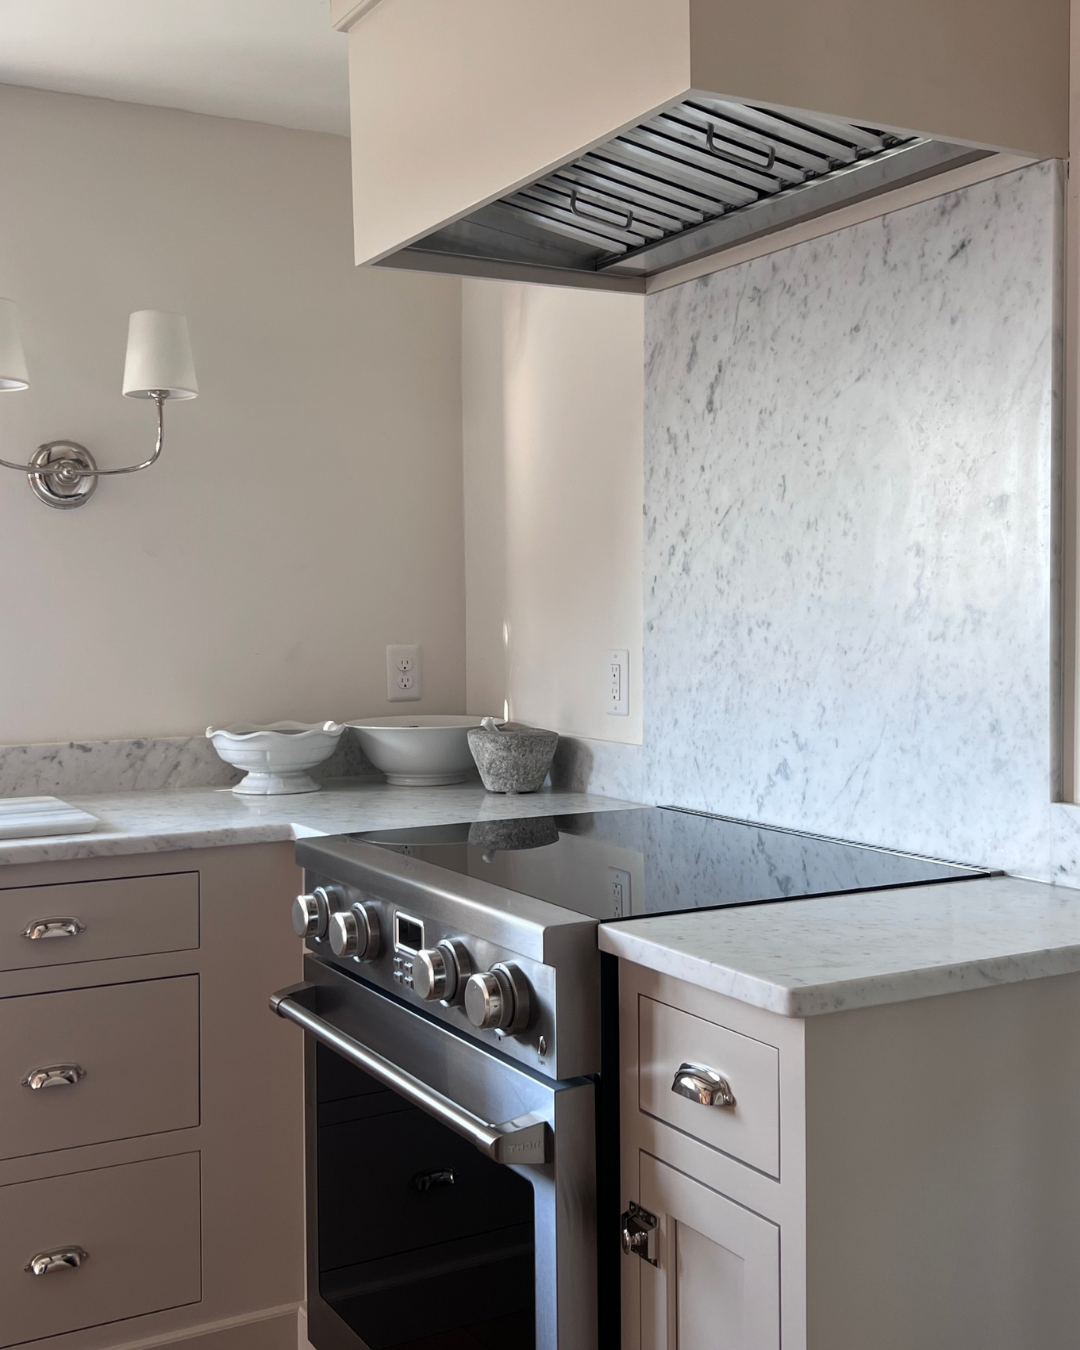
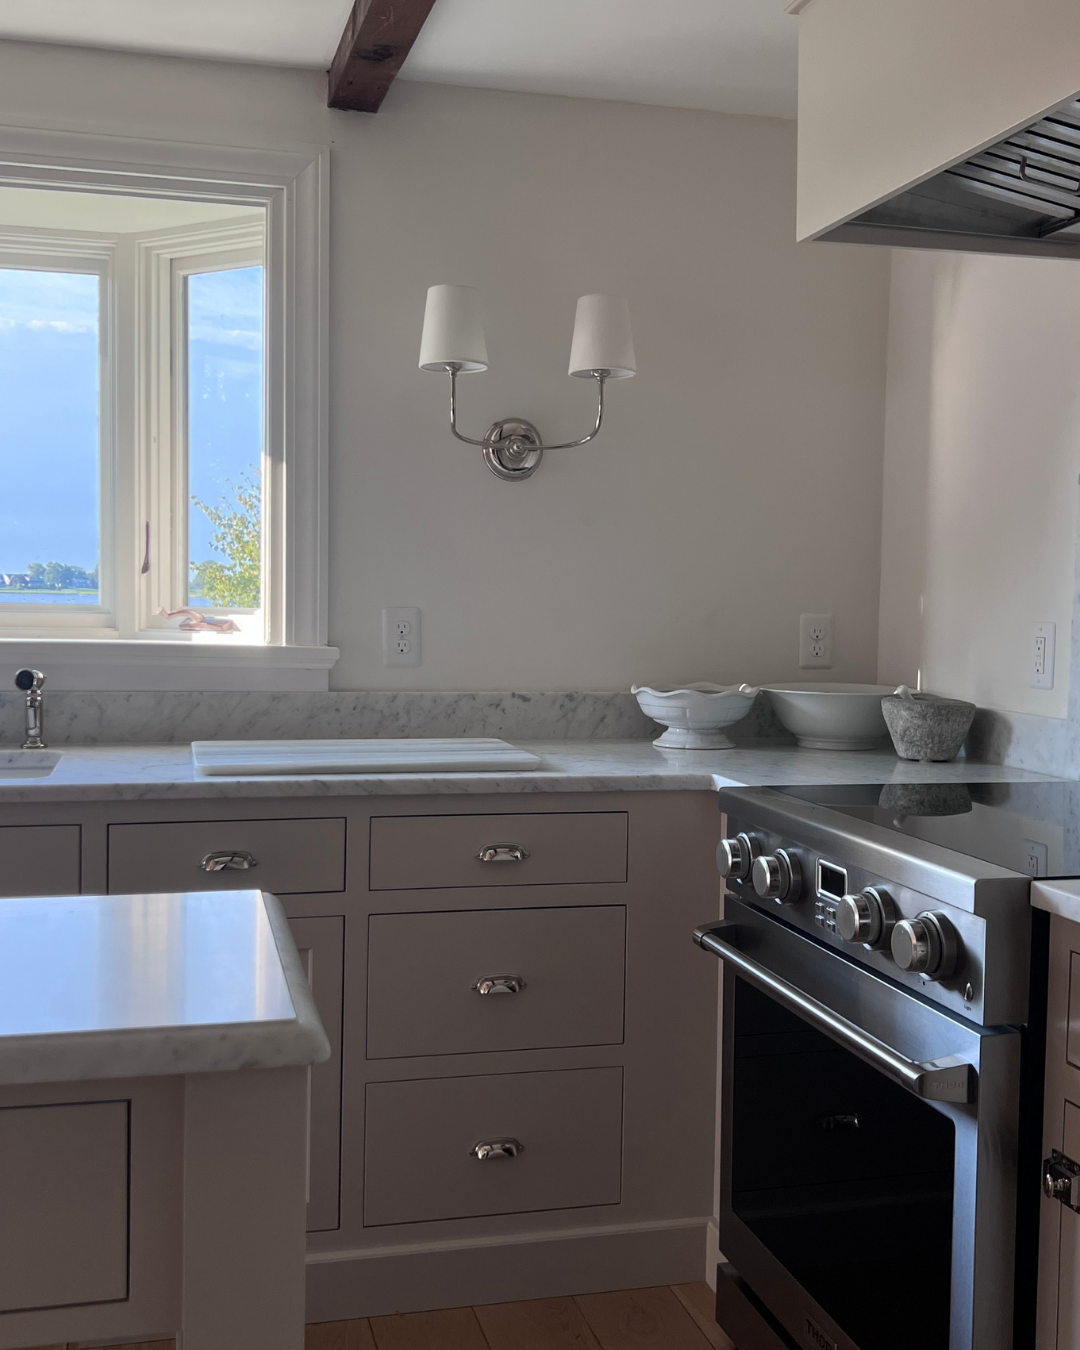
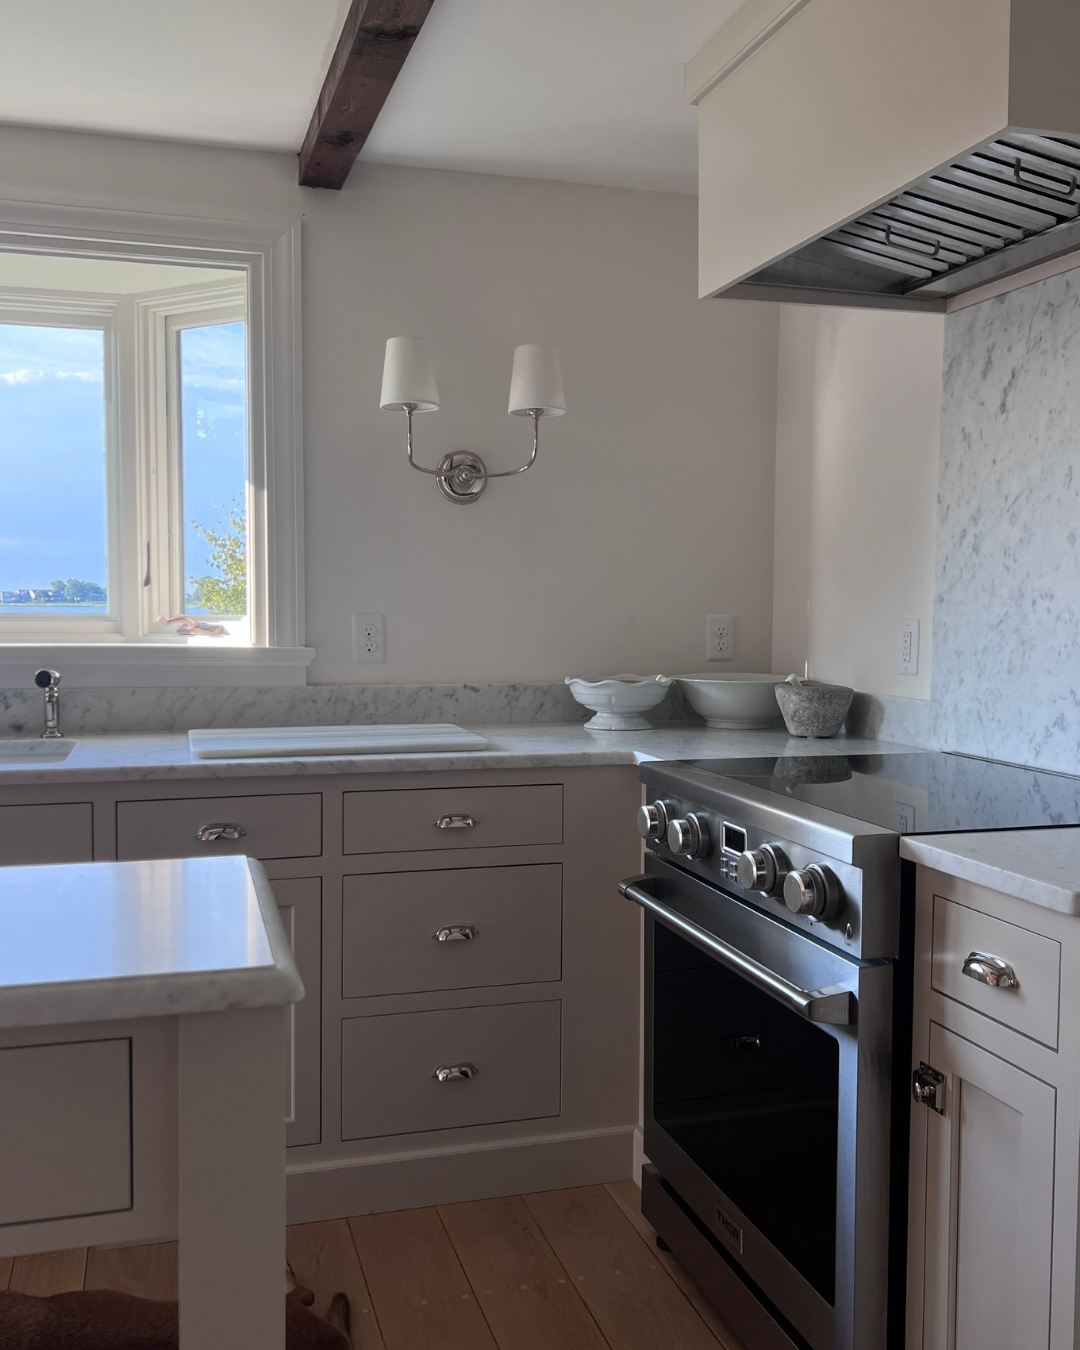
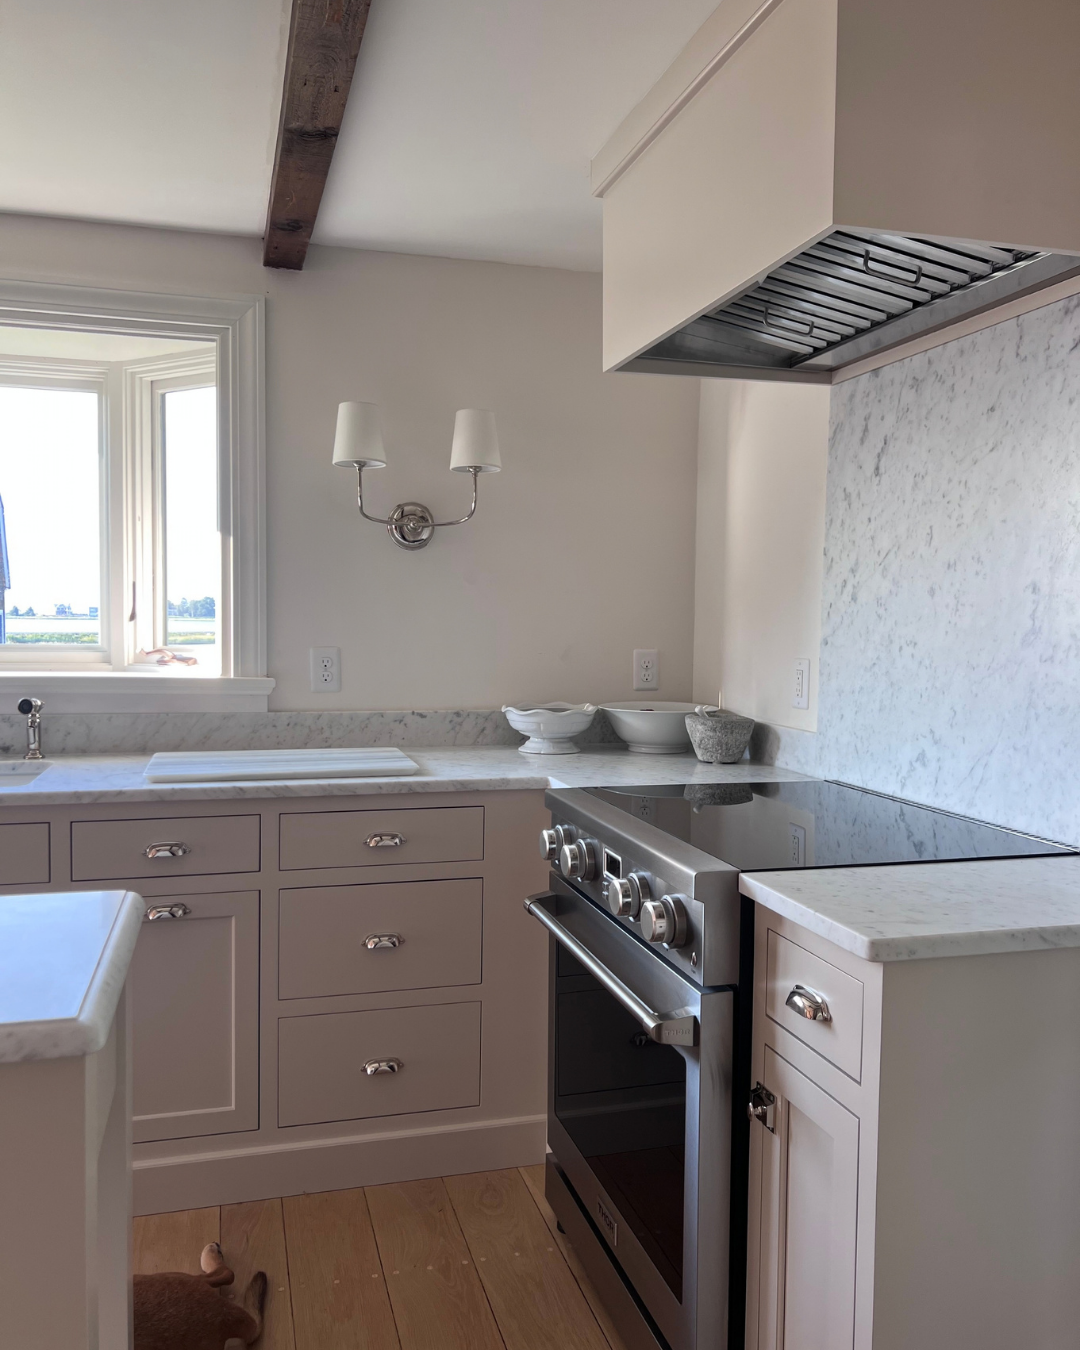
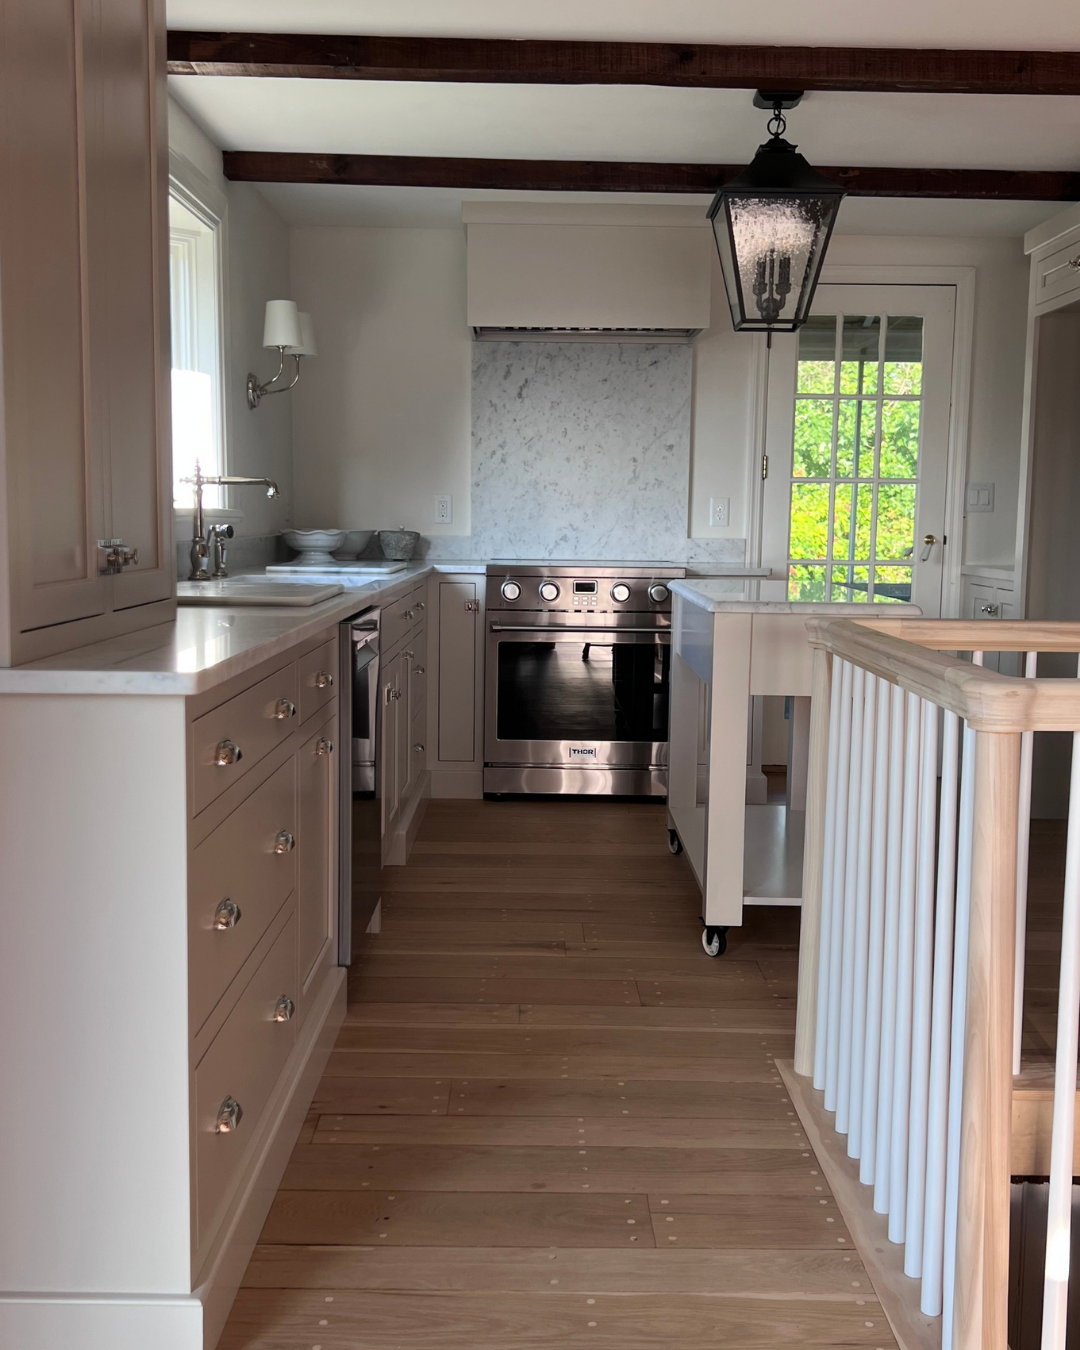
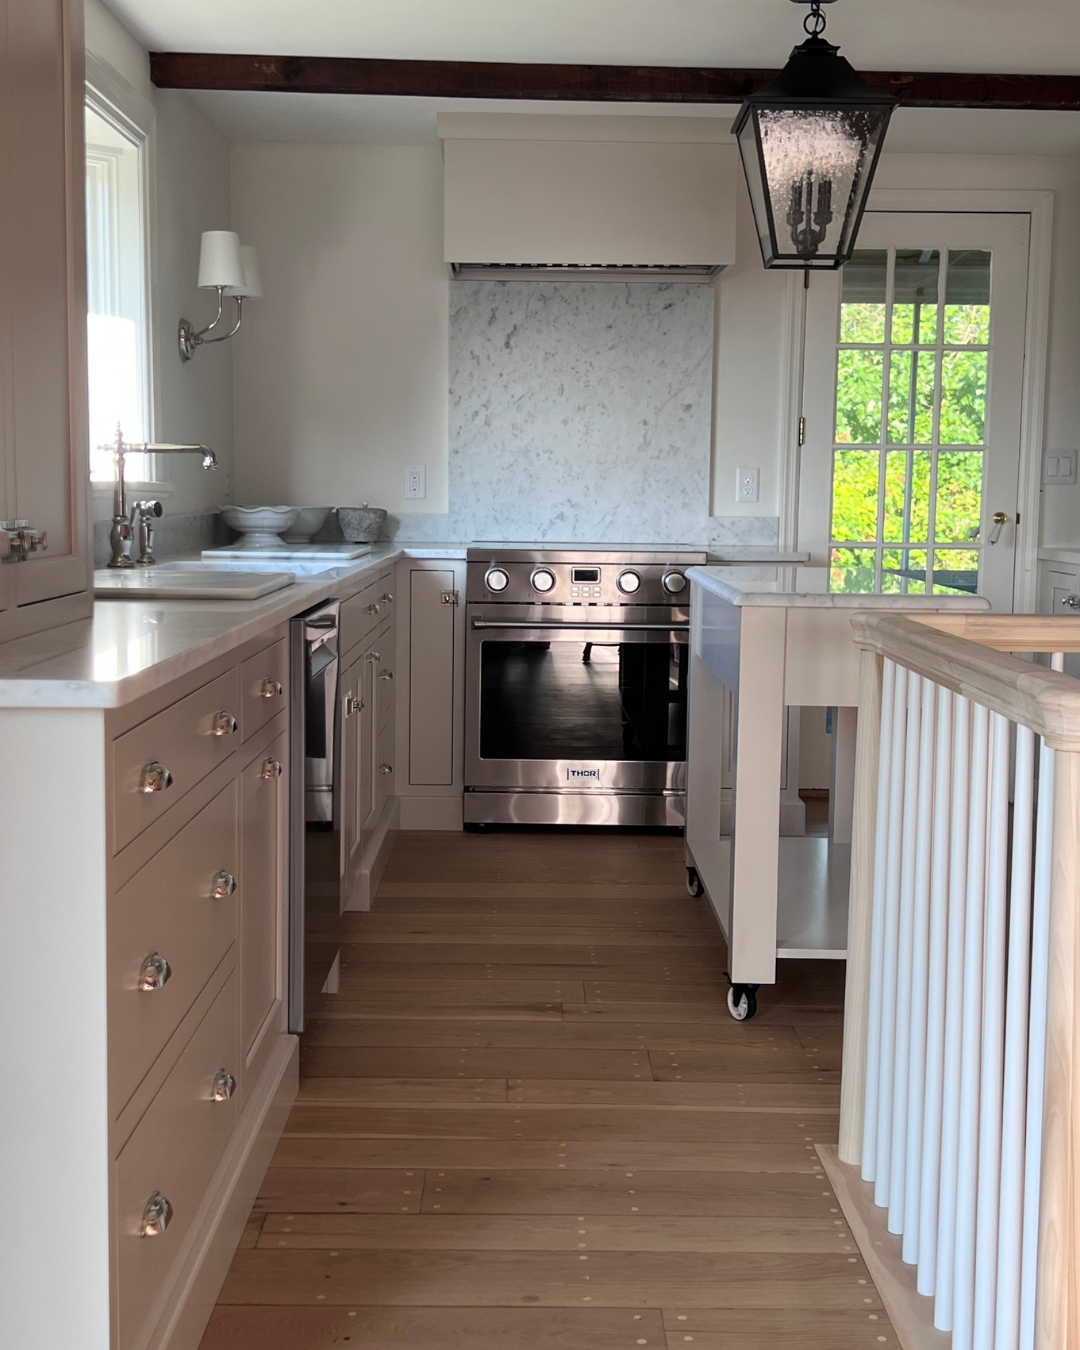
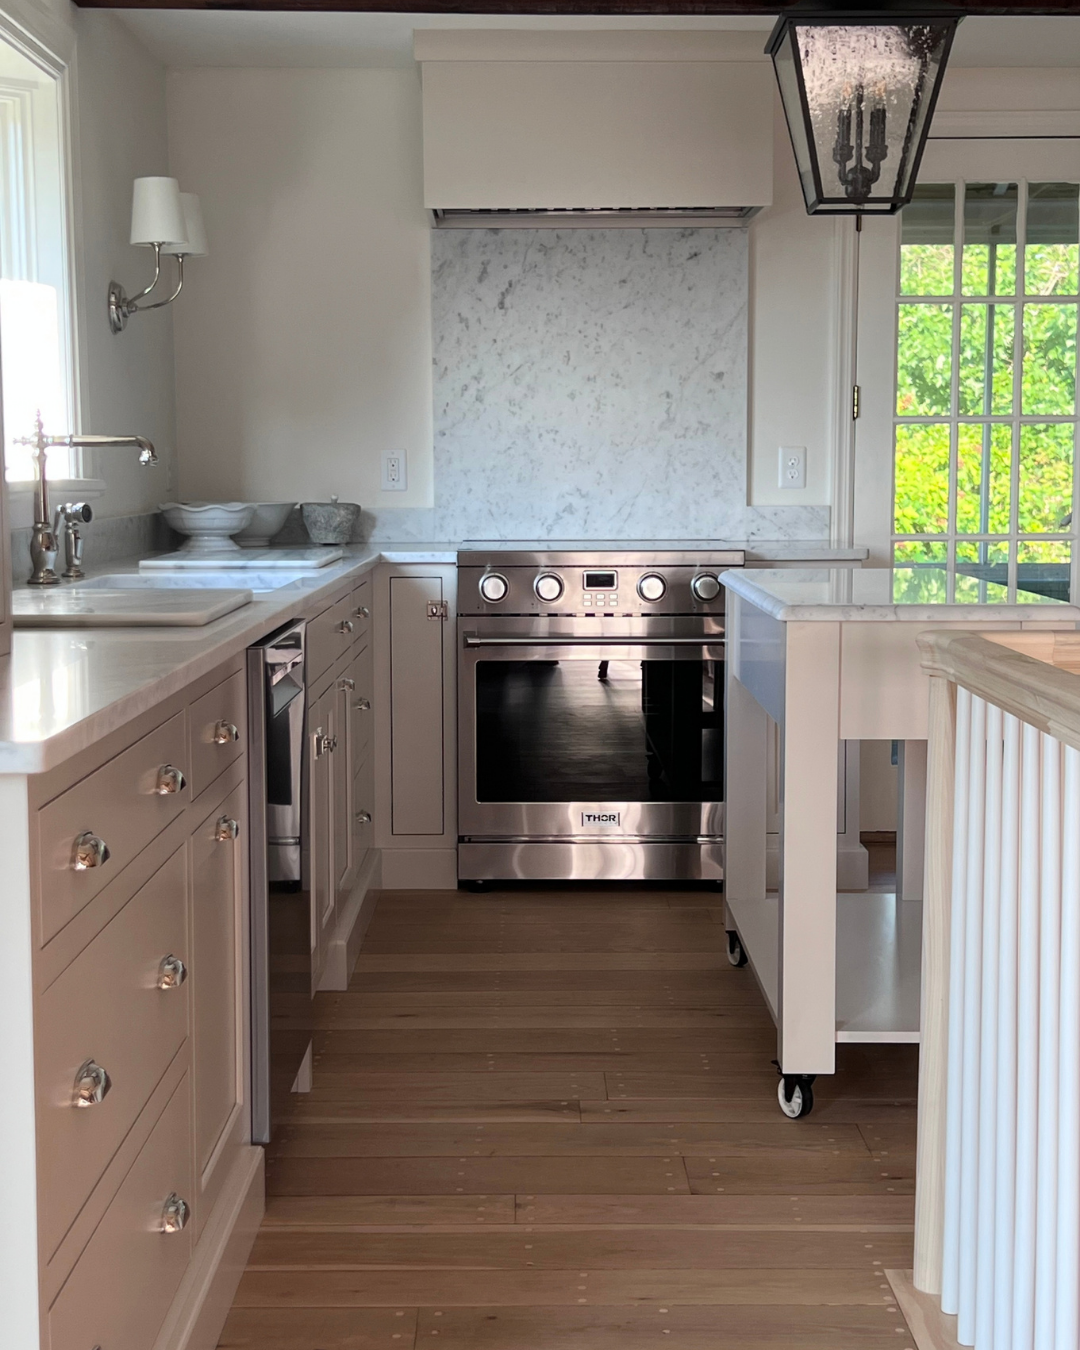
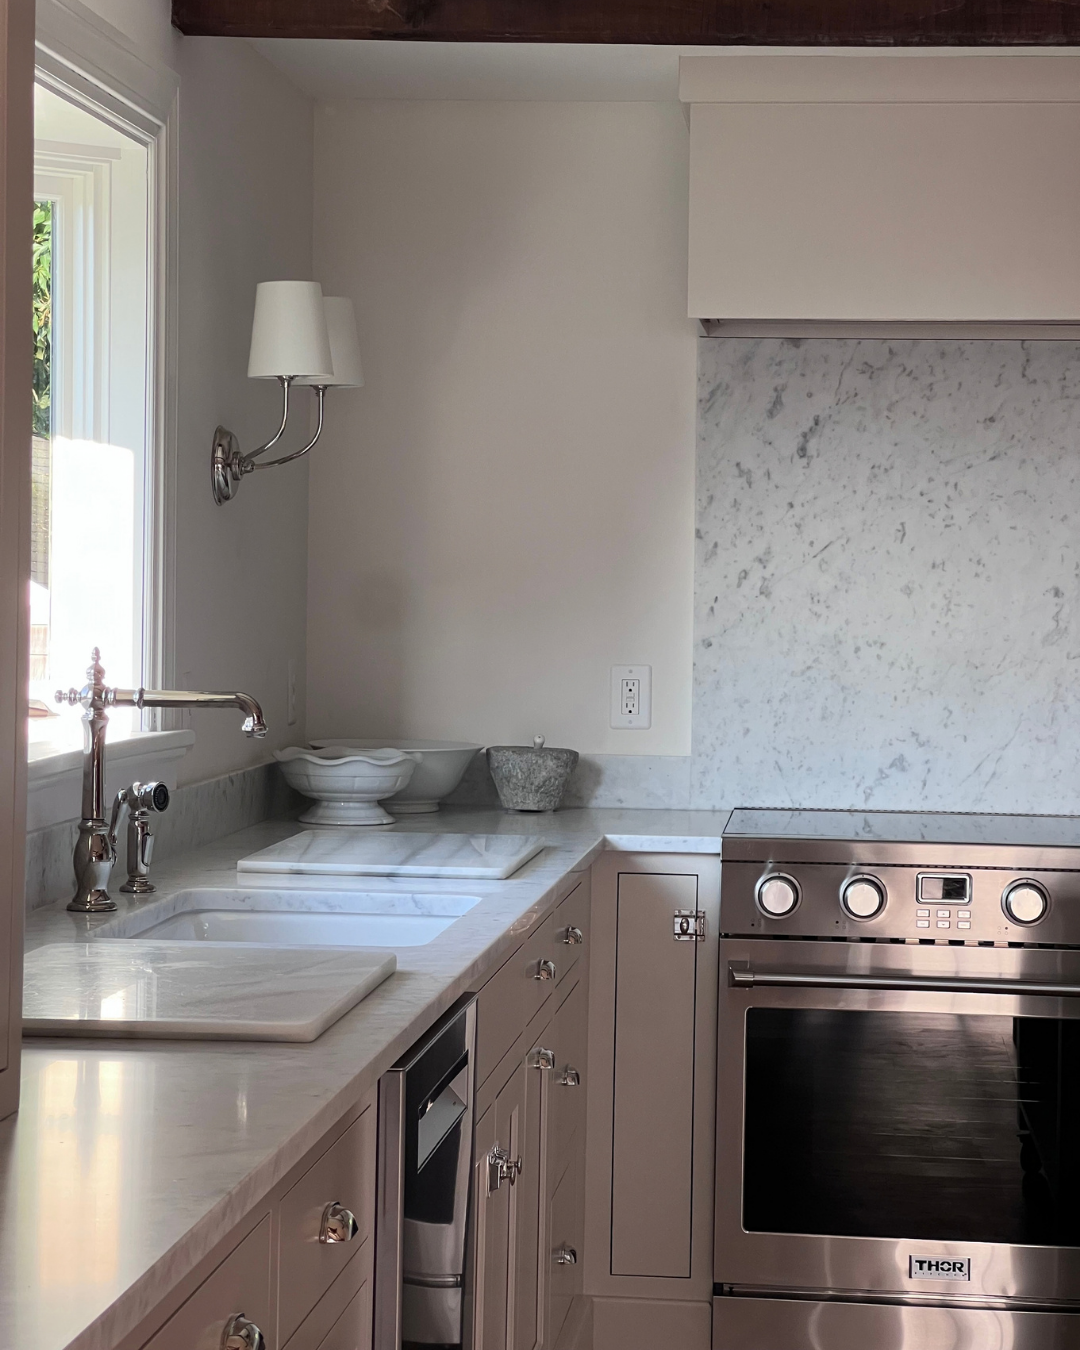
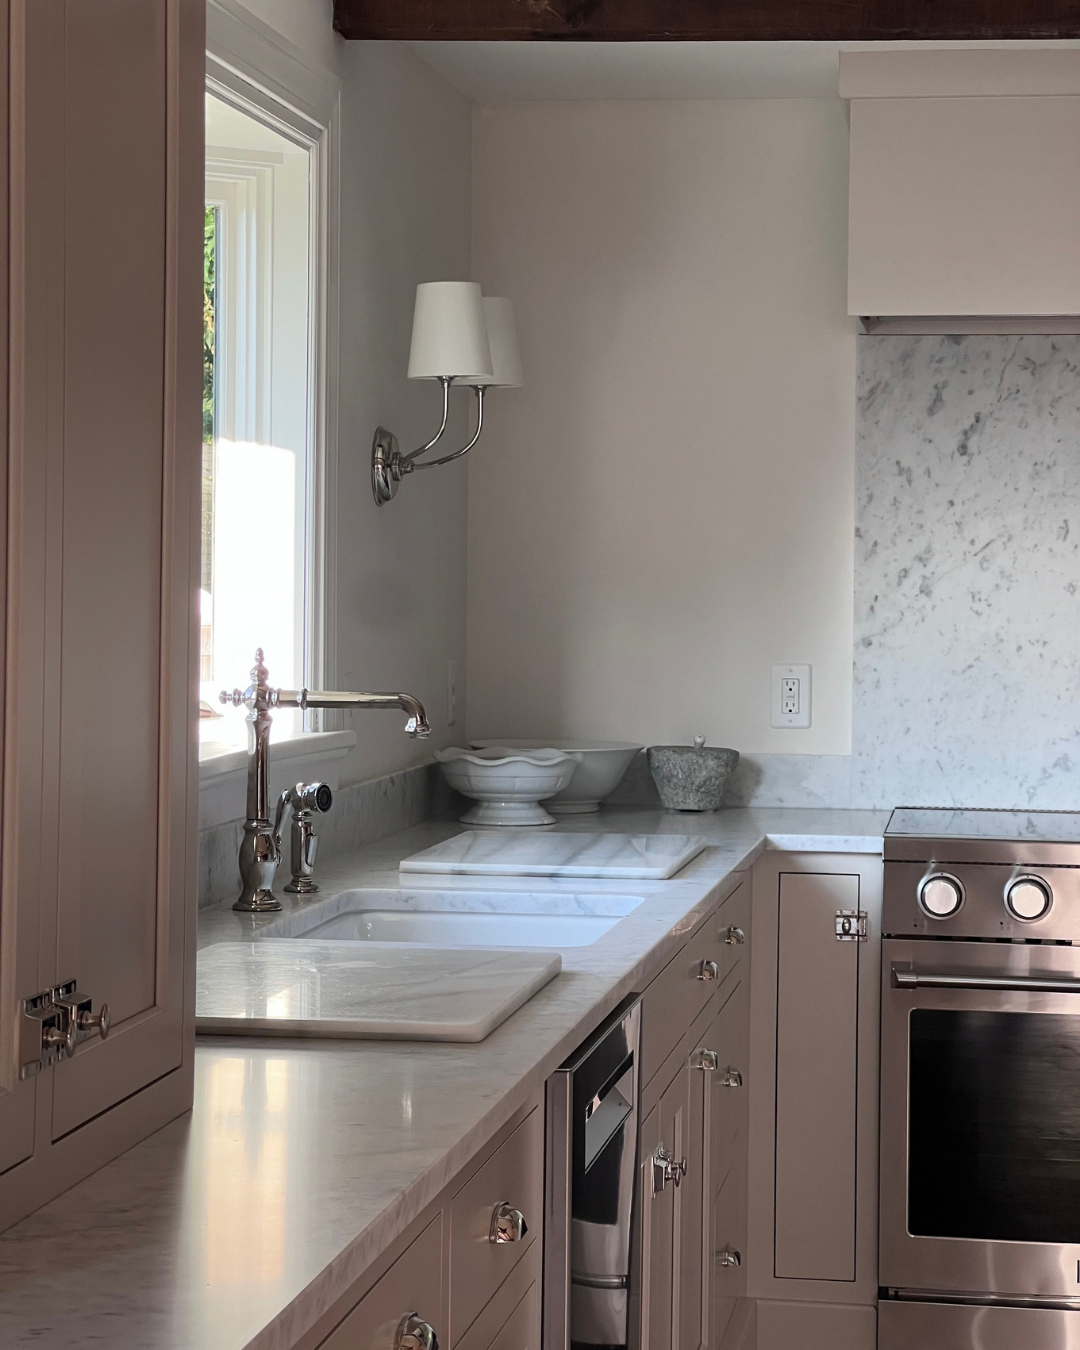
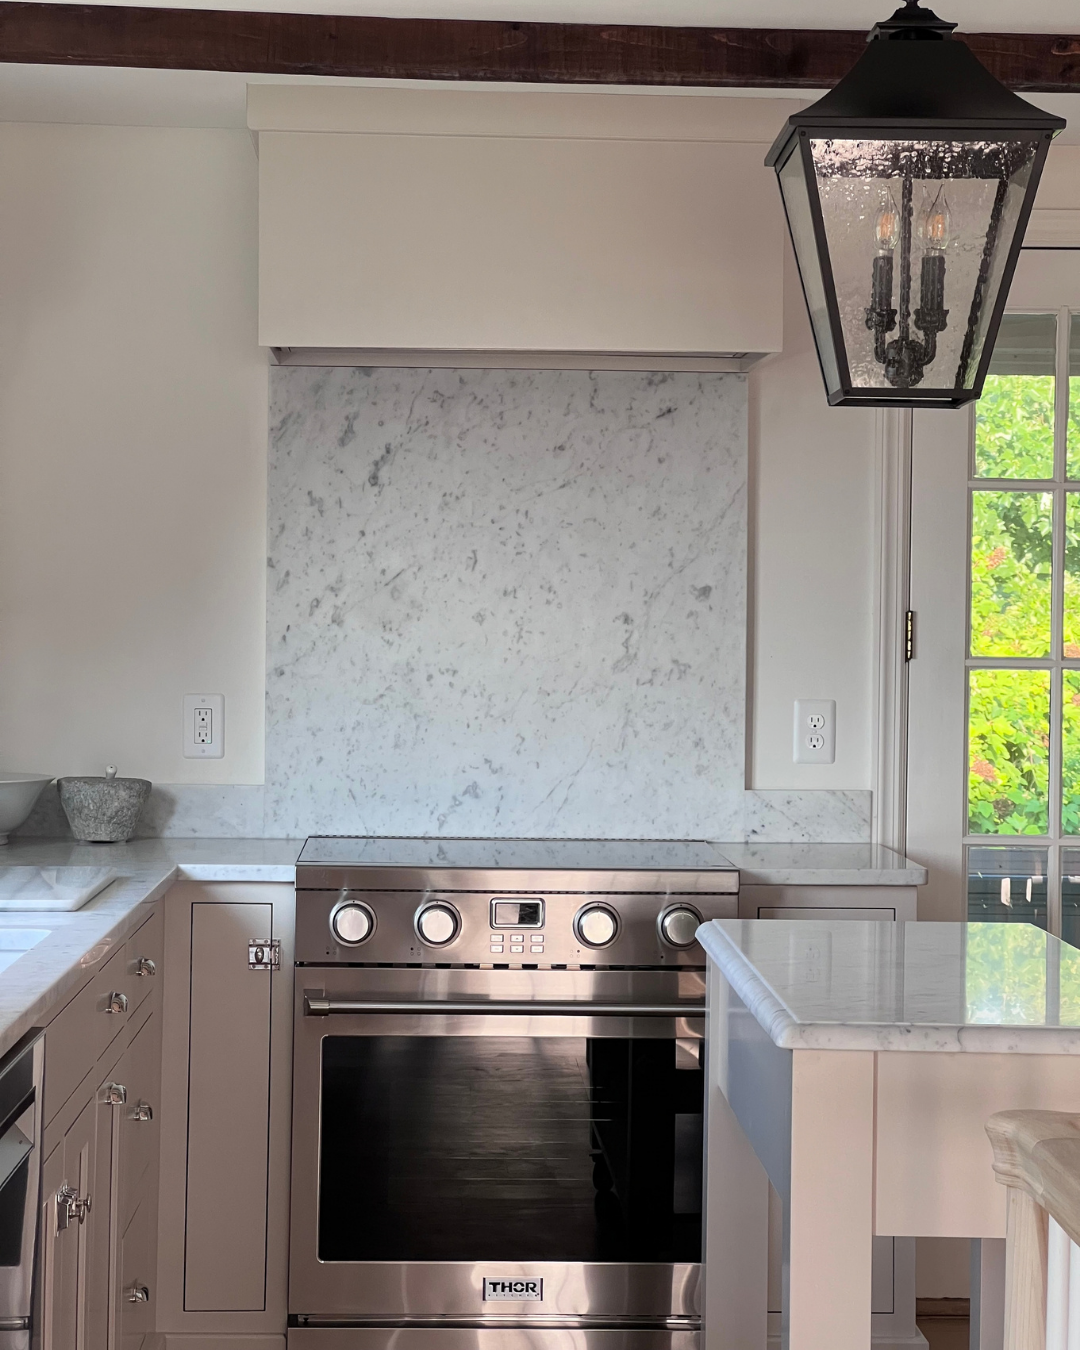
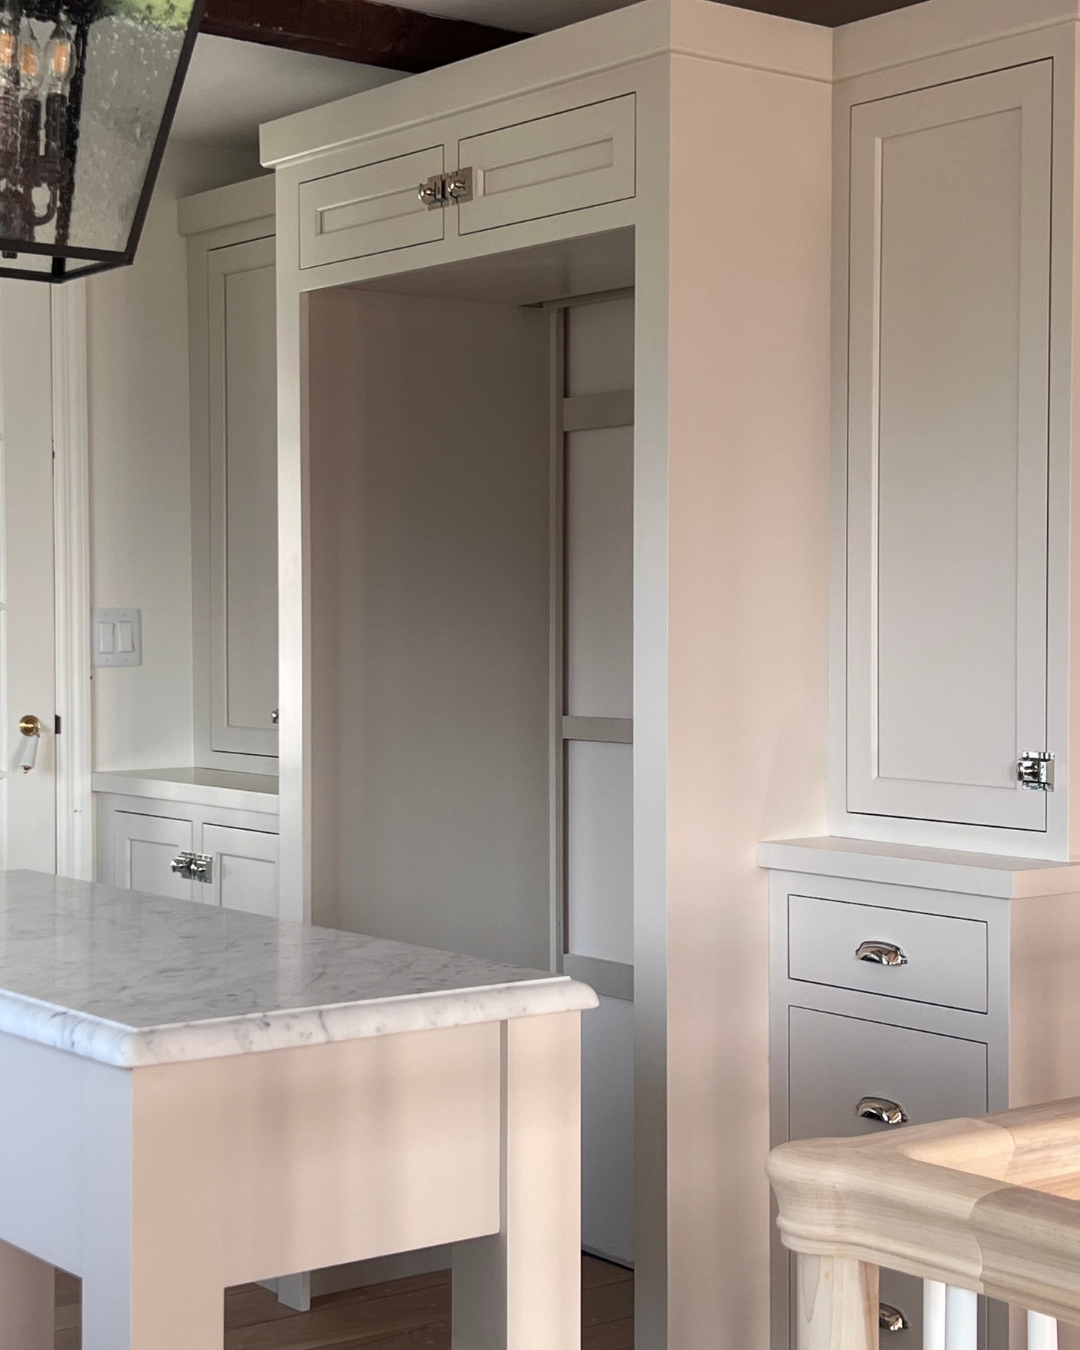
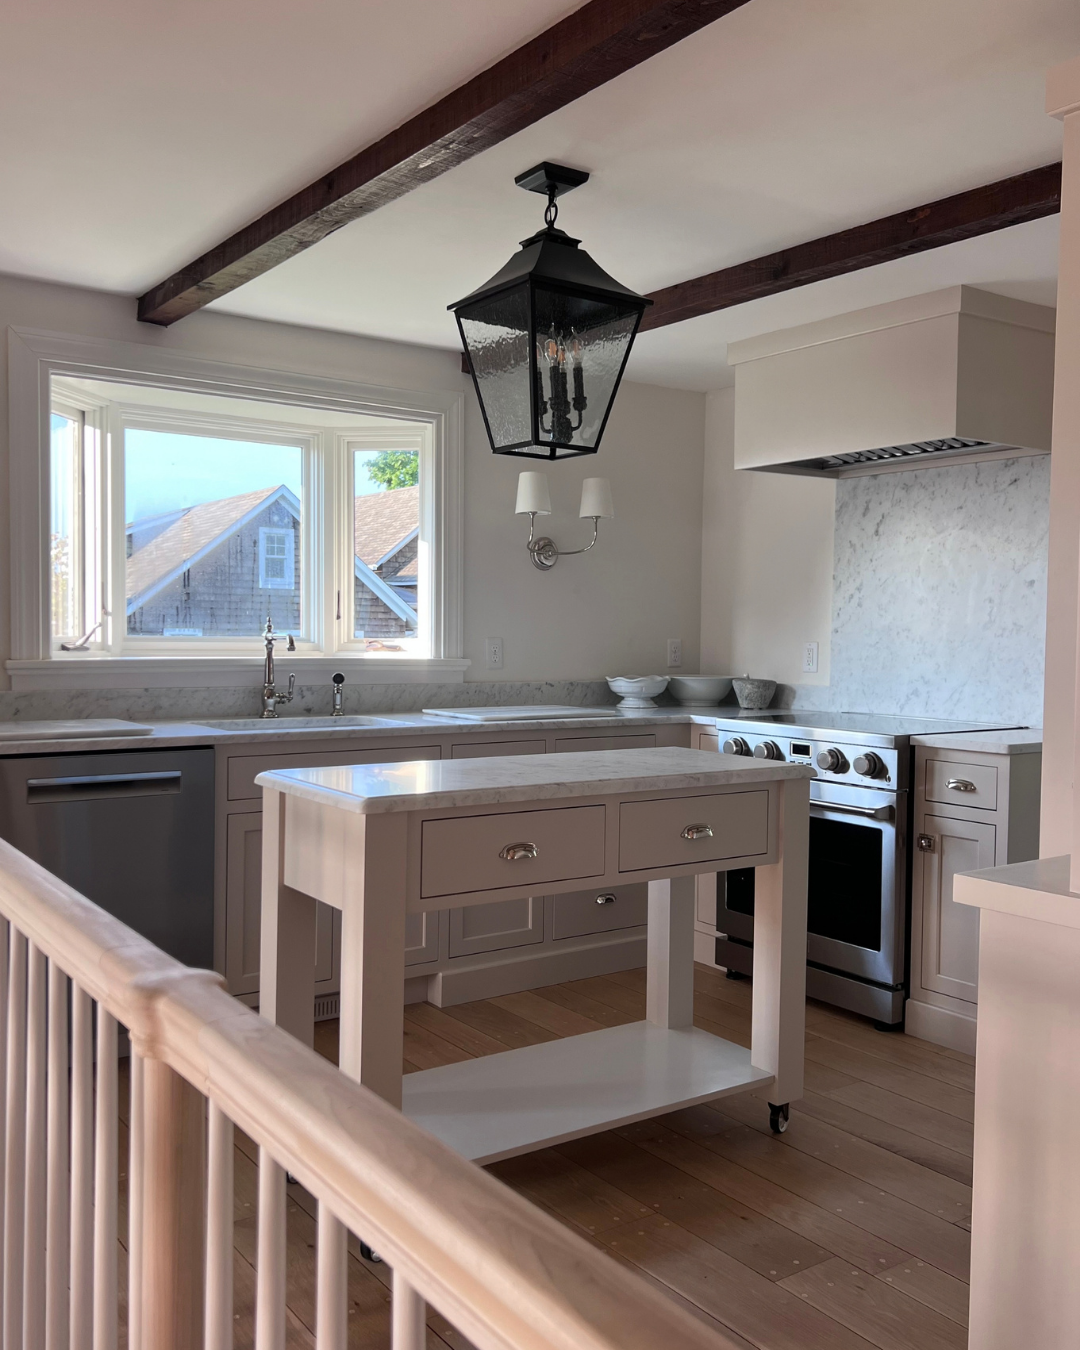
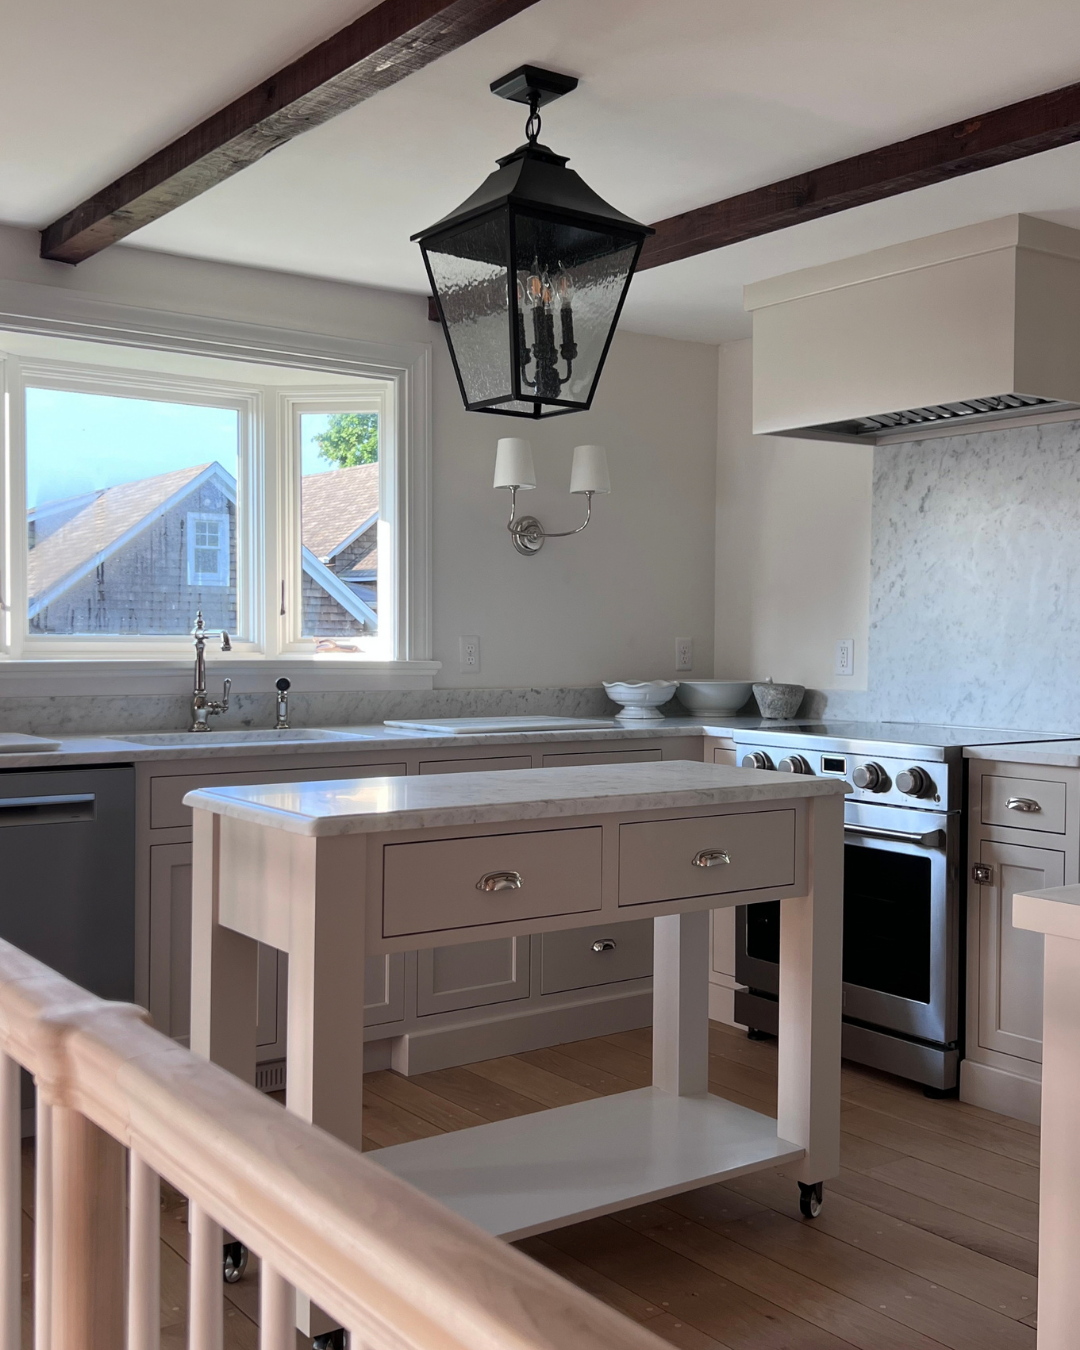
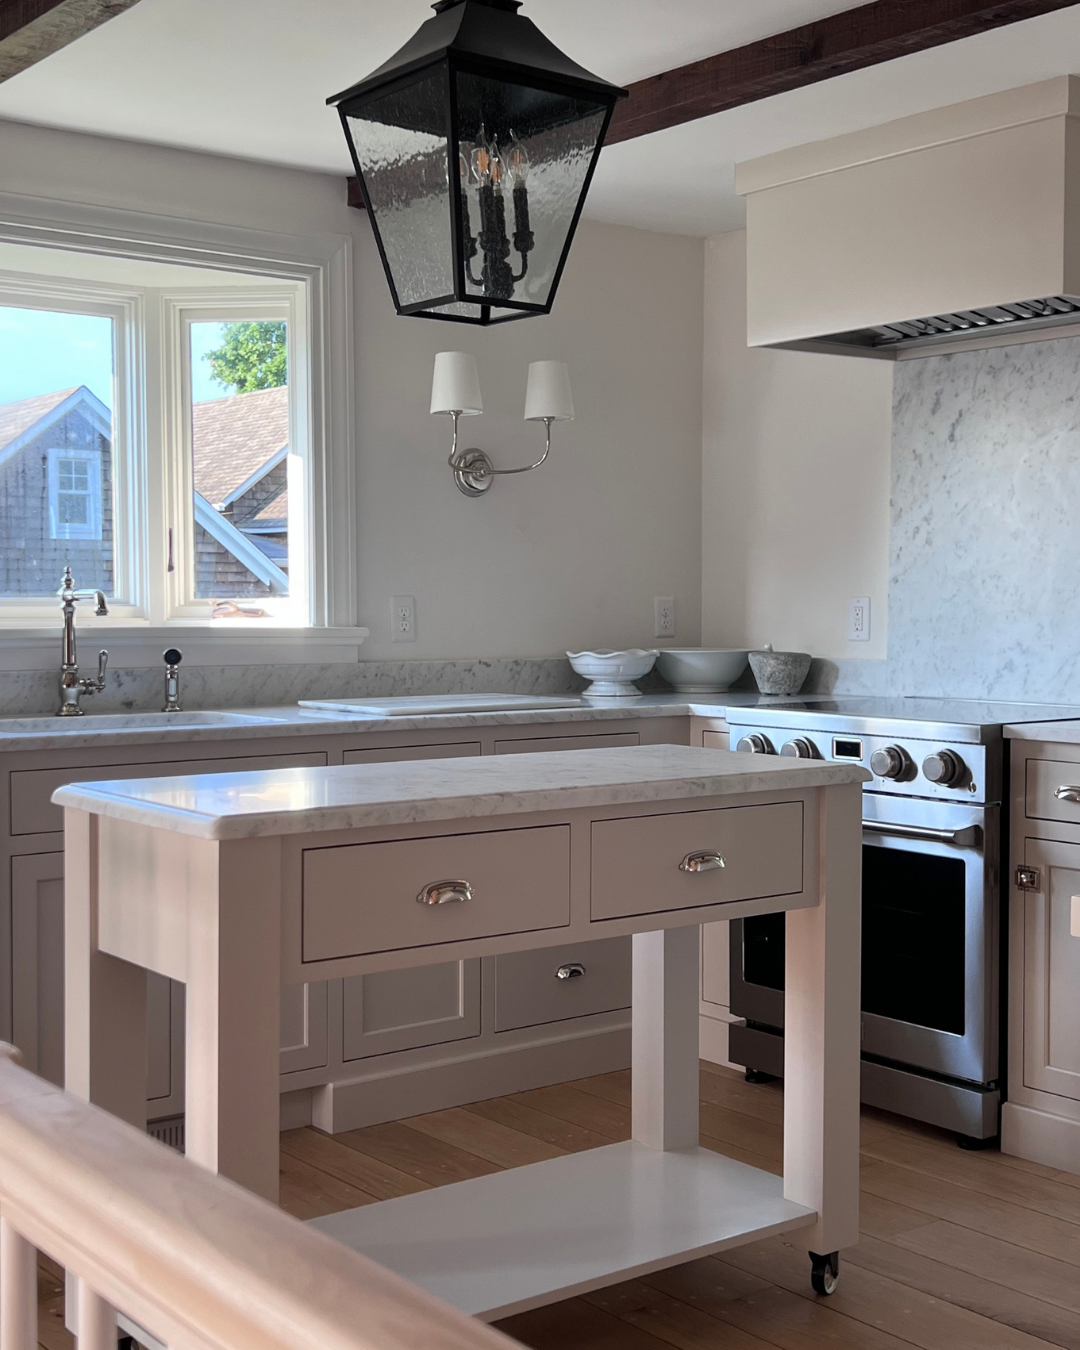
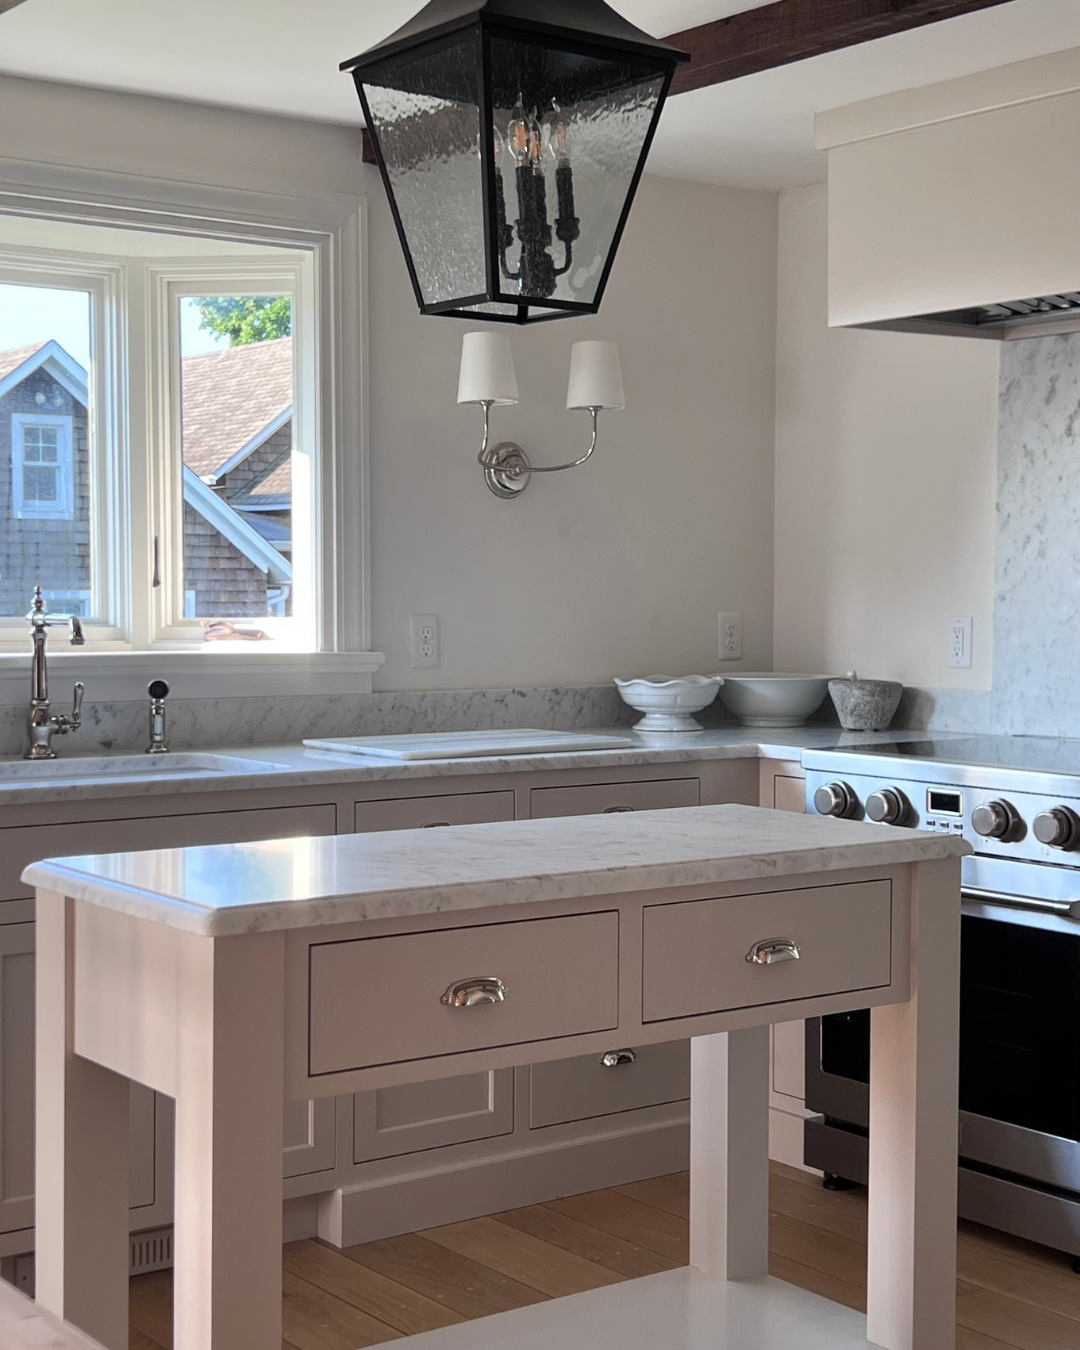
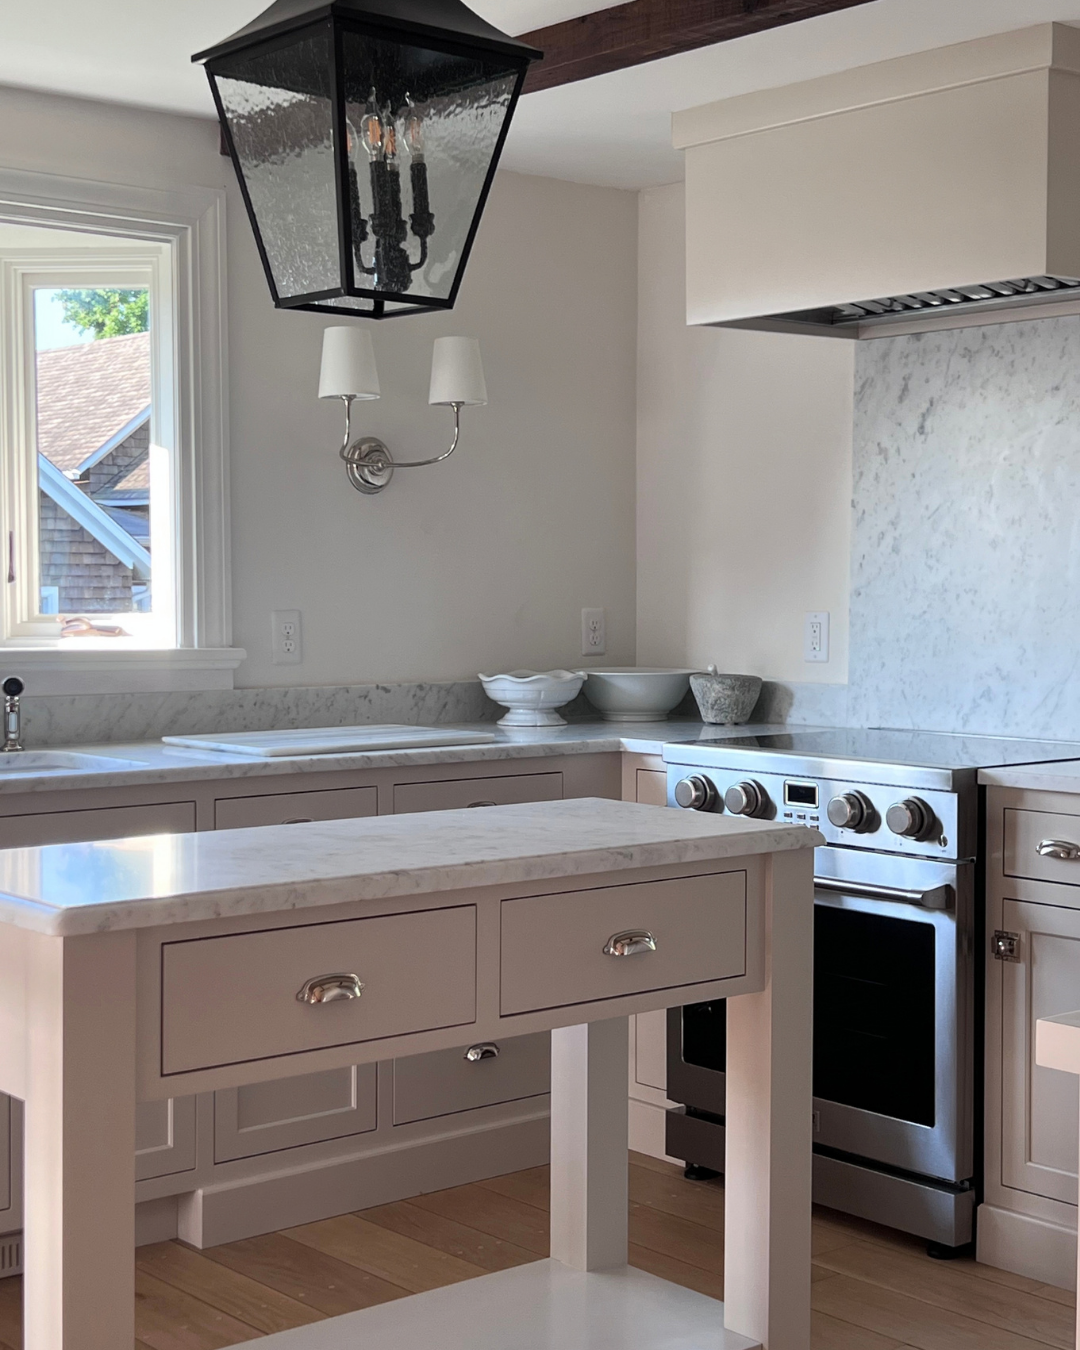
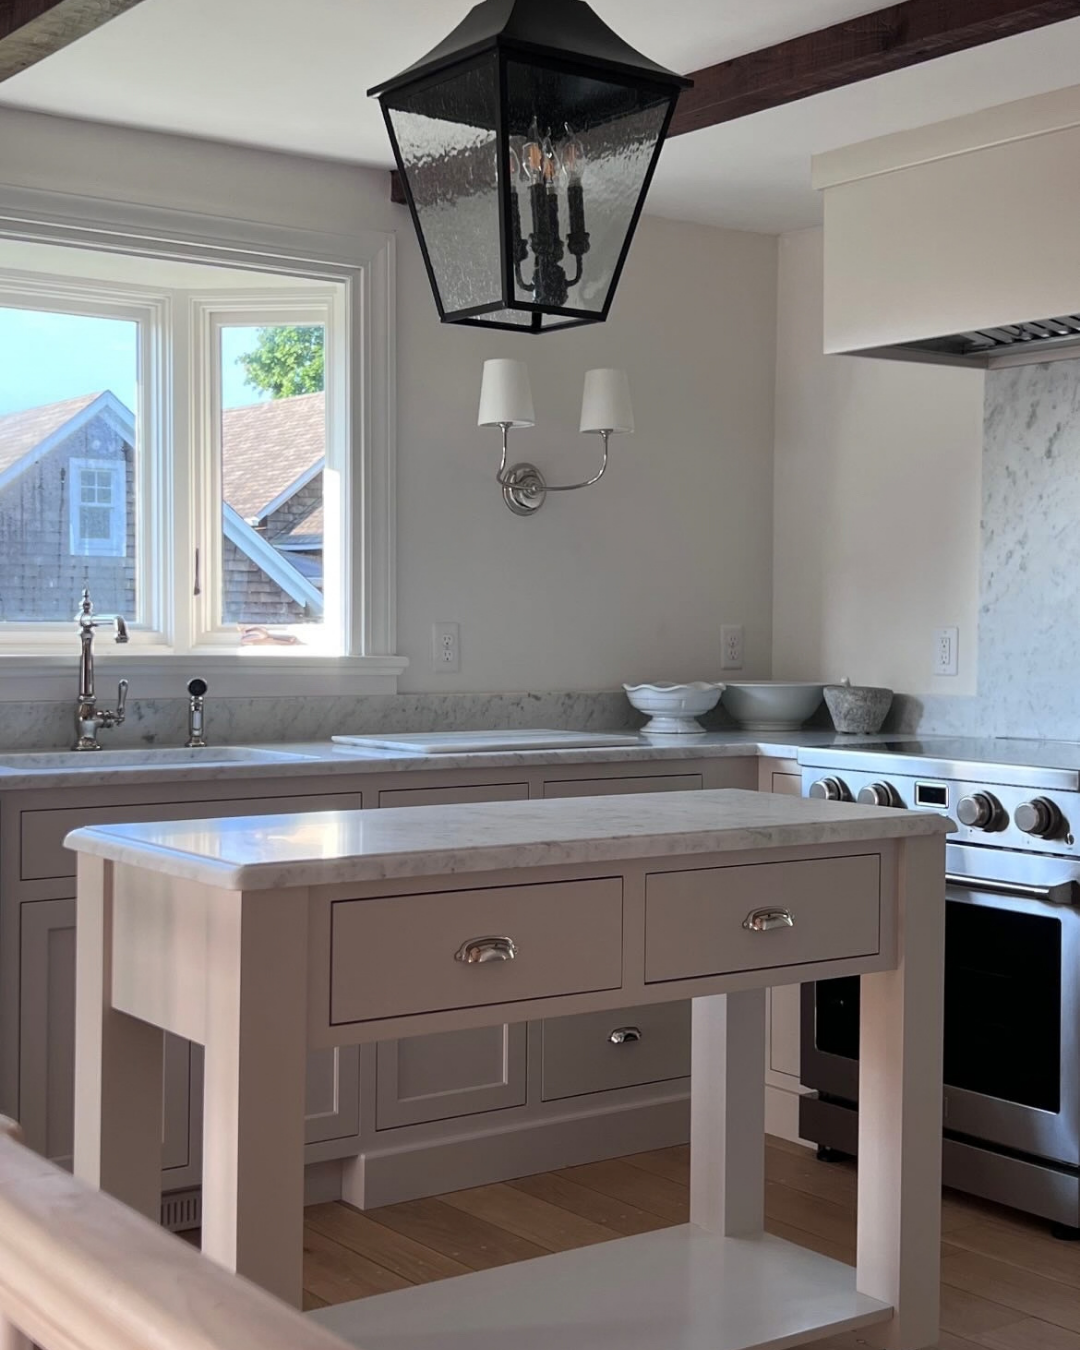
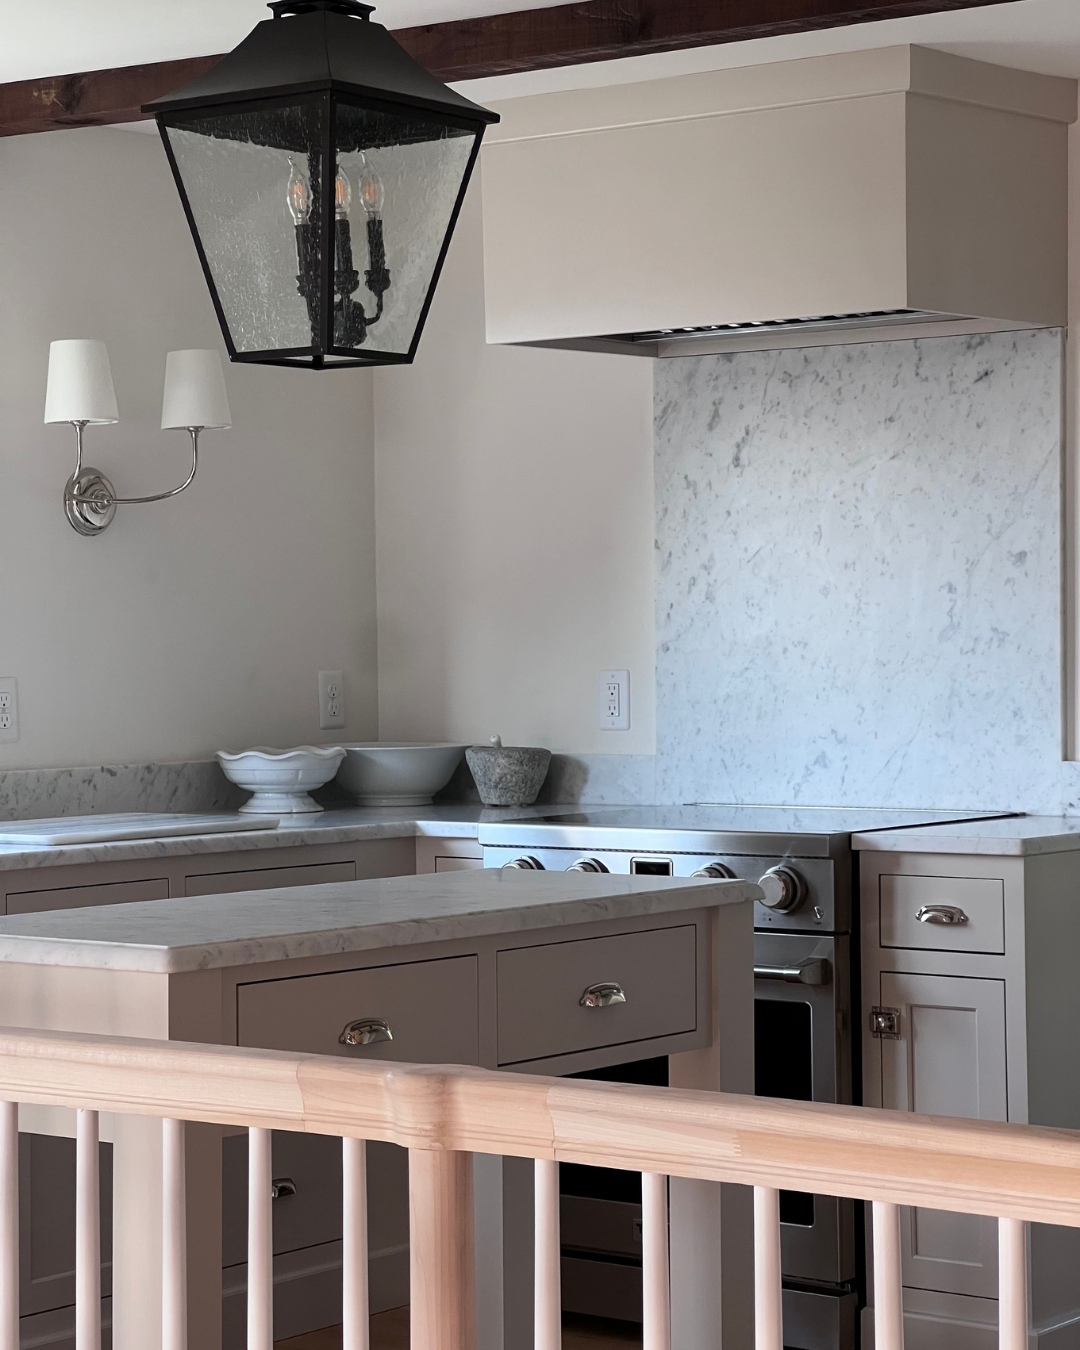
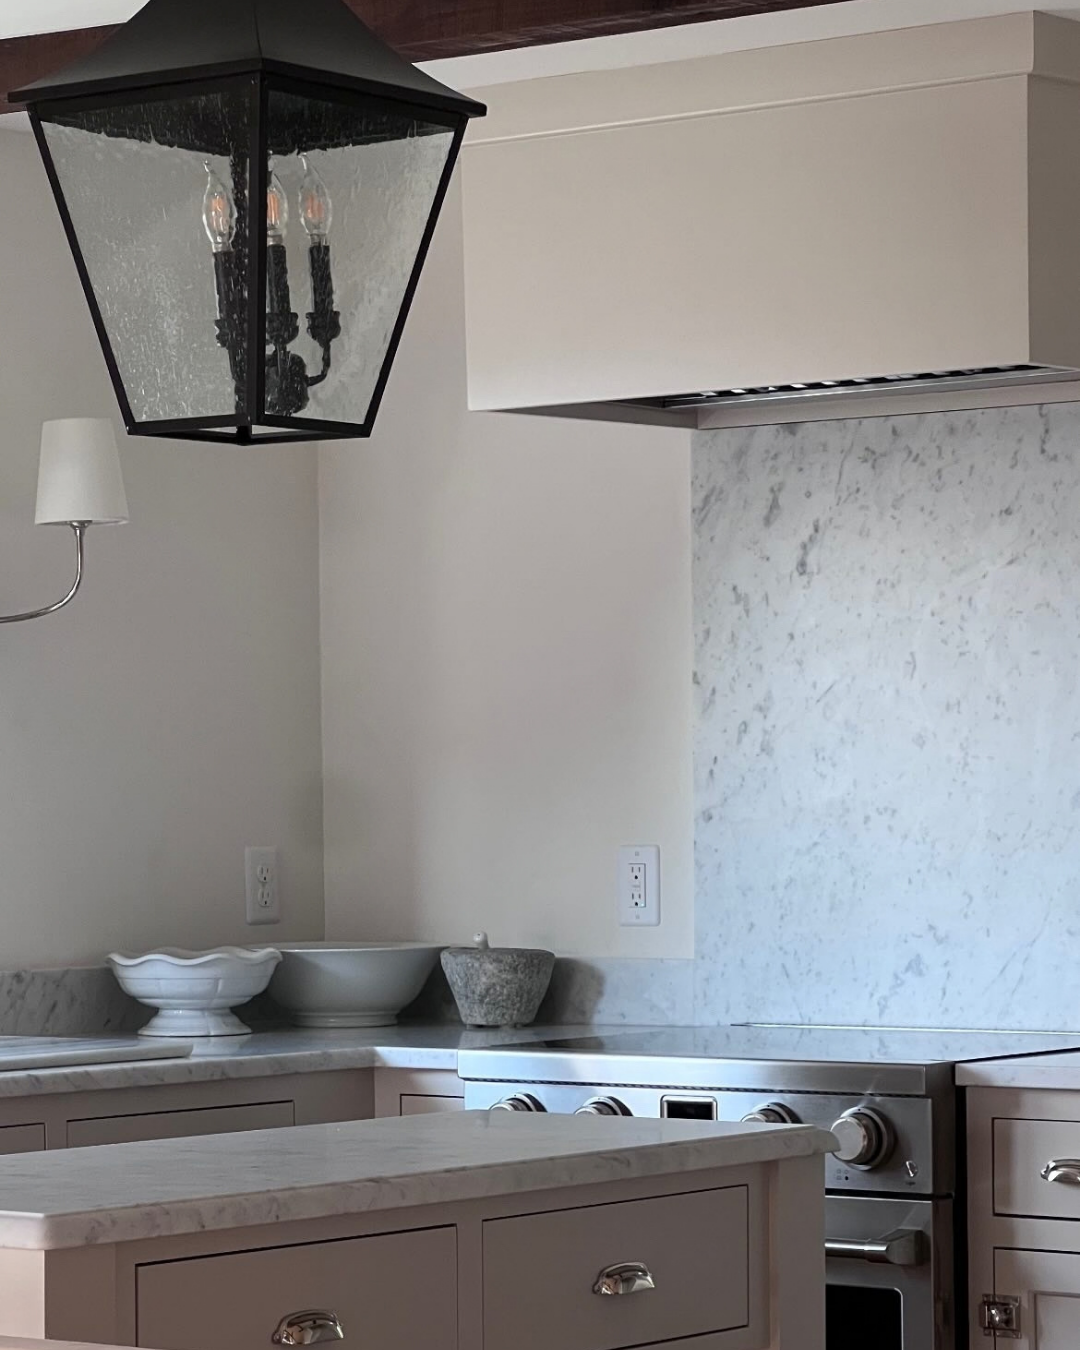
As soon as we went under contract on the house in mid-February, I jumped right into the kitchen design and spent about a week determining the layout and all of the details I wanted to incorporate. At only ~165 square feet, I sought out to make up for its small size with high-quality materials. Pulling from my aforementioned inspiration, the jumping-off point for the design included inset cabinetry, marble countertops and polished nickel fixtures & finishes. The finer details included a beige cabinet color, flat drawer fronts, recessed panel cabinet doors, baseboard toe kick, flat top trim, cabinet latches and cupboard pulls.
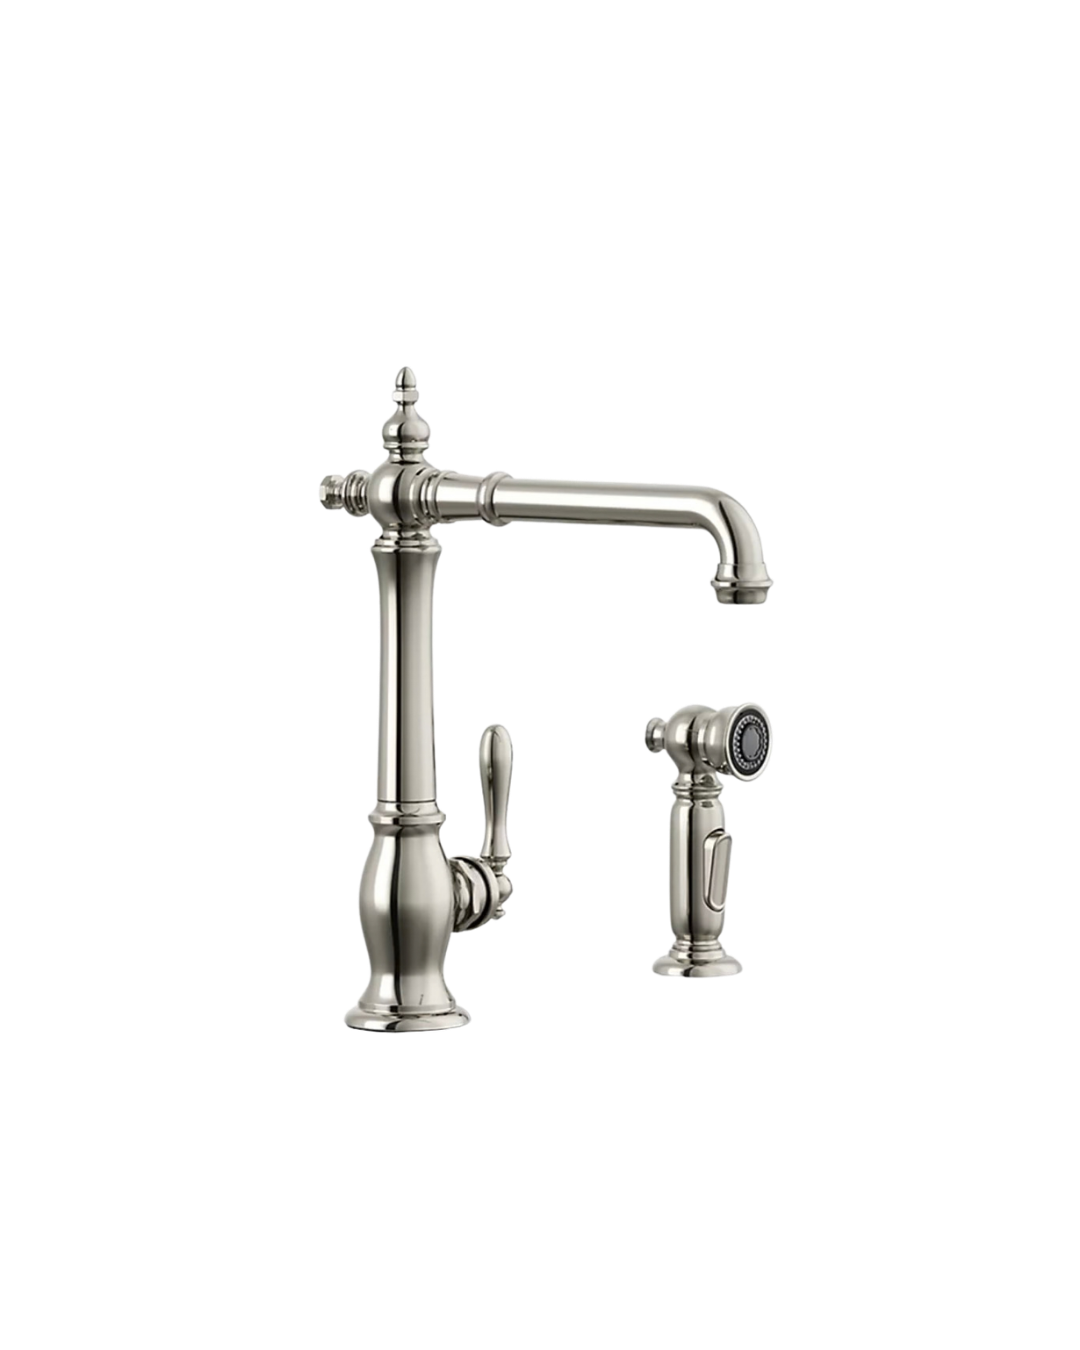
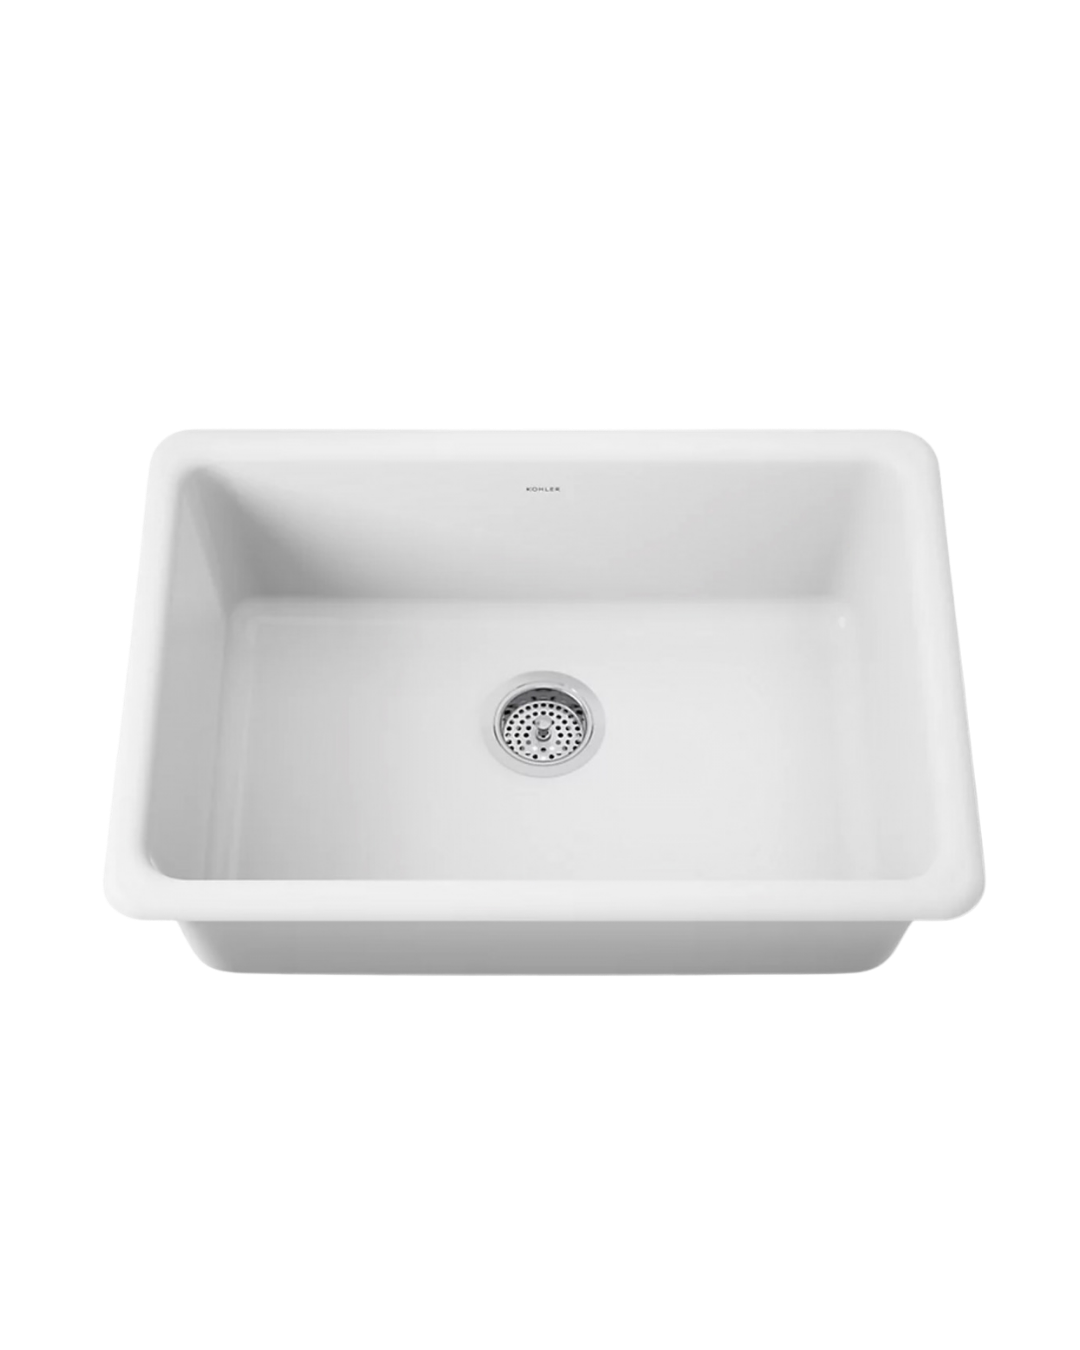
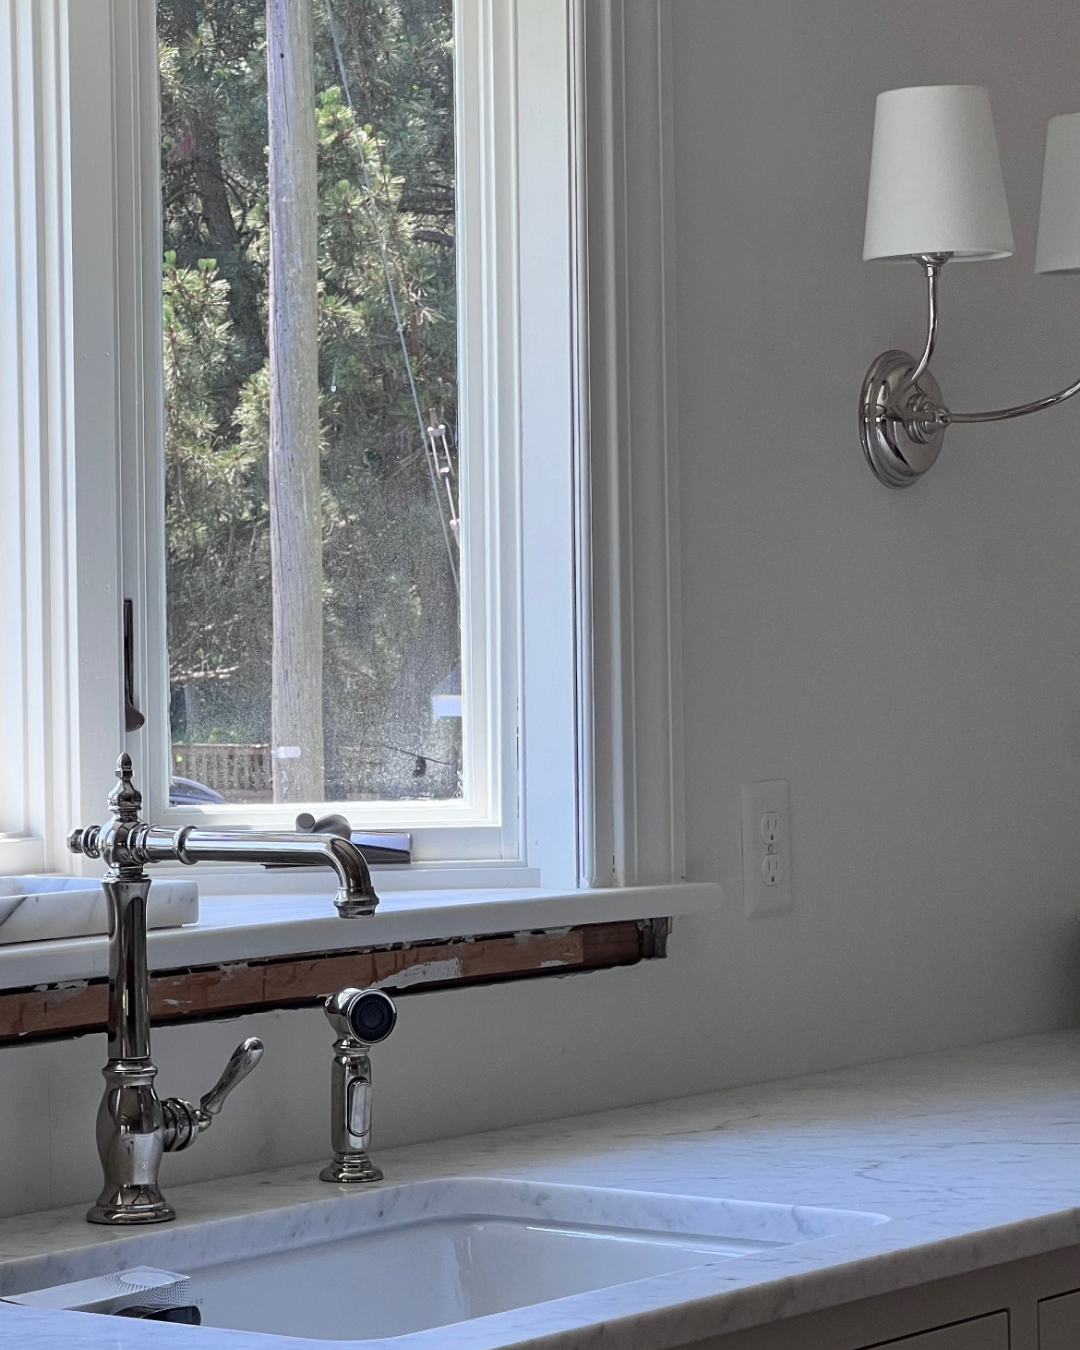
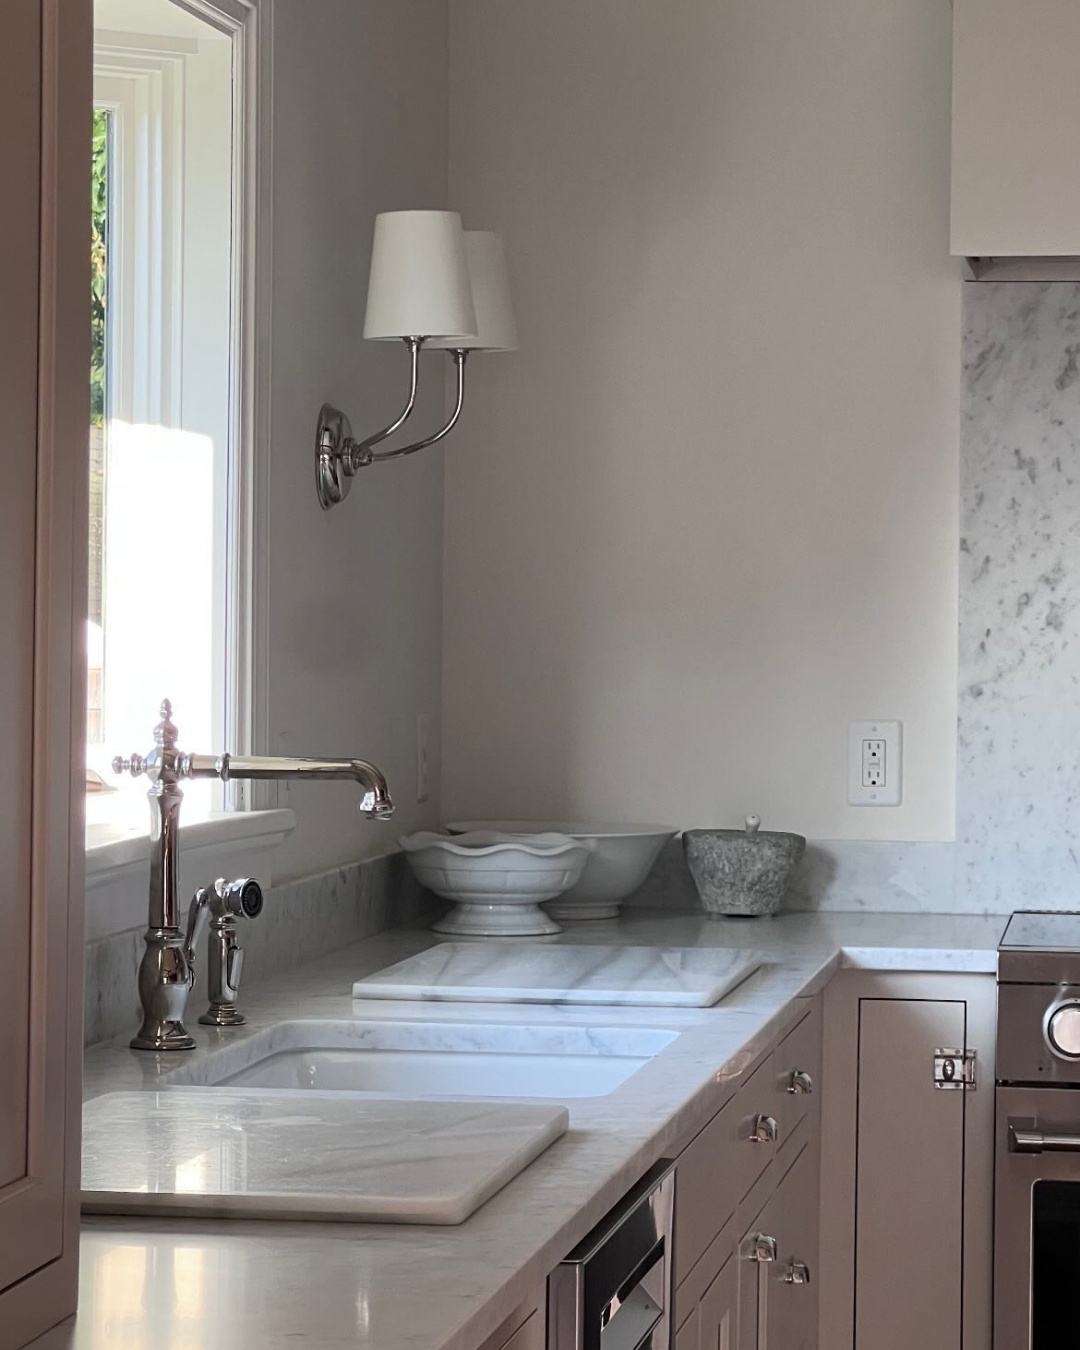
For the plumbing fixtures, I selected an undermount cast iron sink and a single deck-mount swing spout faucet. Both of these selections utilize the classic features of a British kitchen while remaining subdued and restrained; whereas a cast iron sink with an apron front or a bridge faucet, while both inherently beautiful in their details, felt like it would visually overwhelm this particular space.
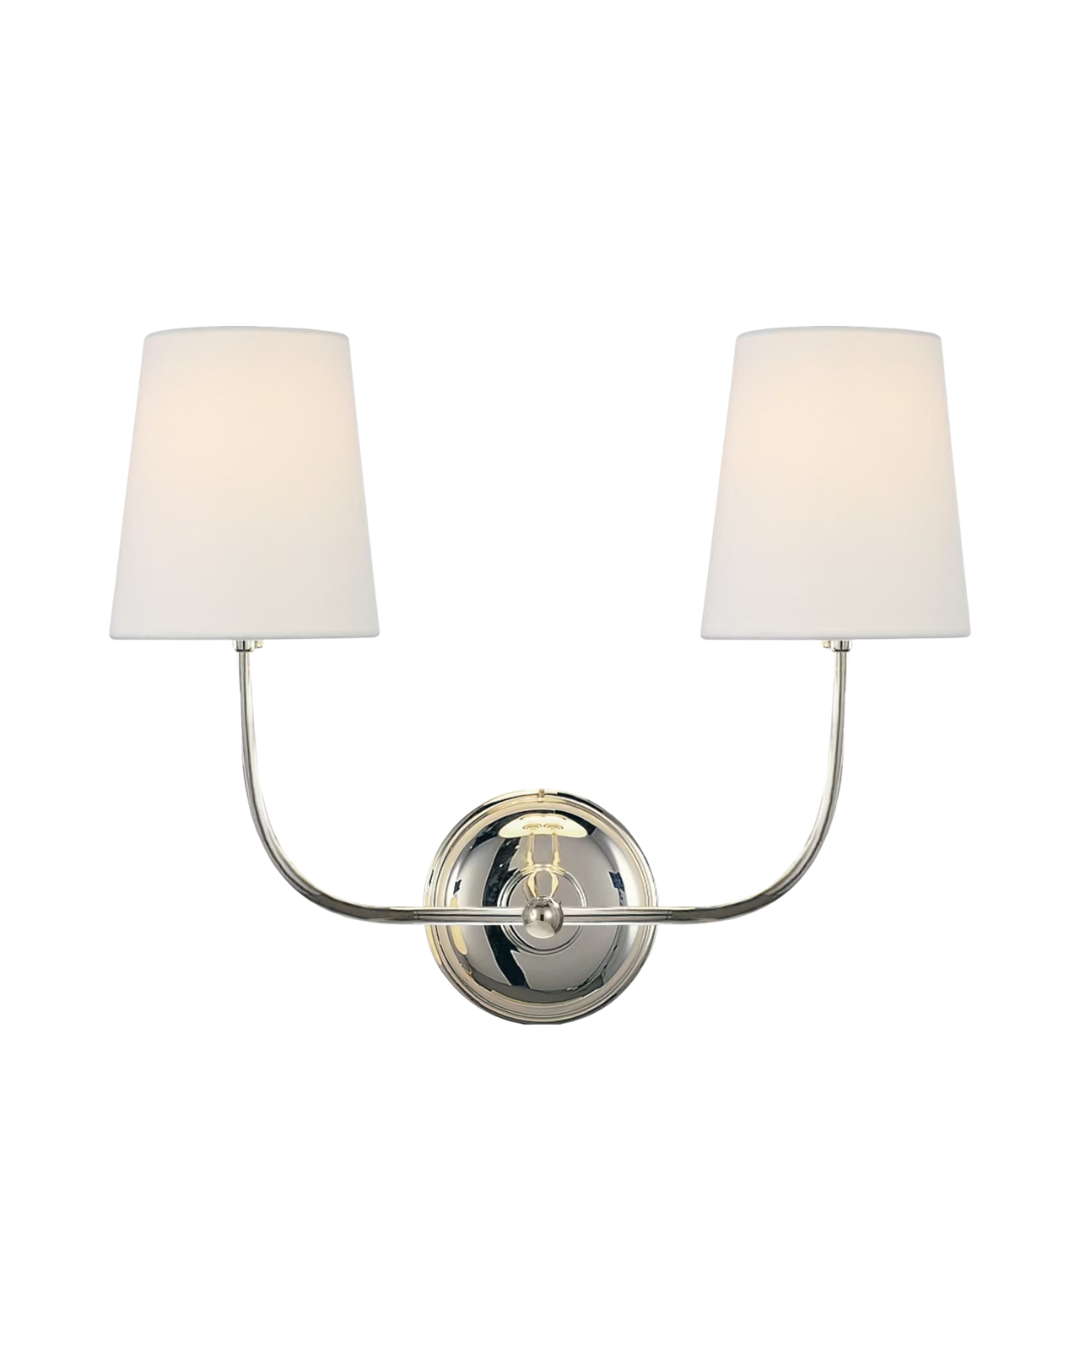
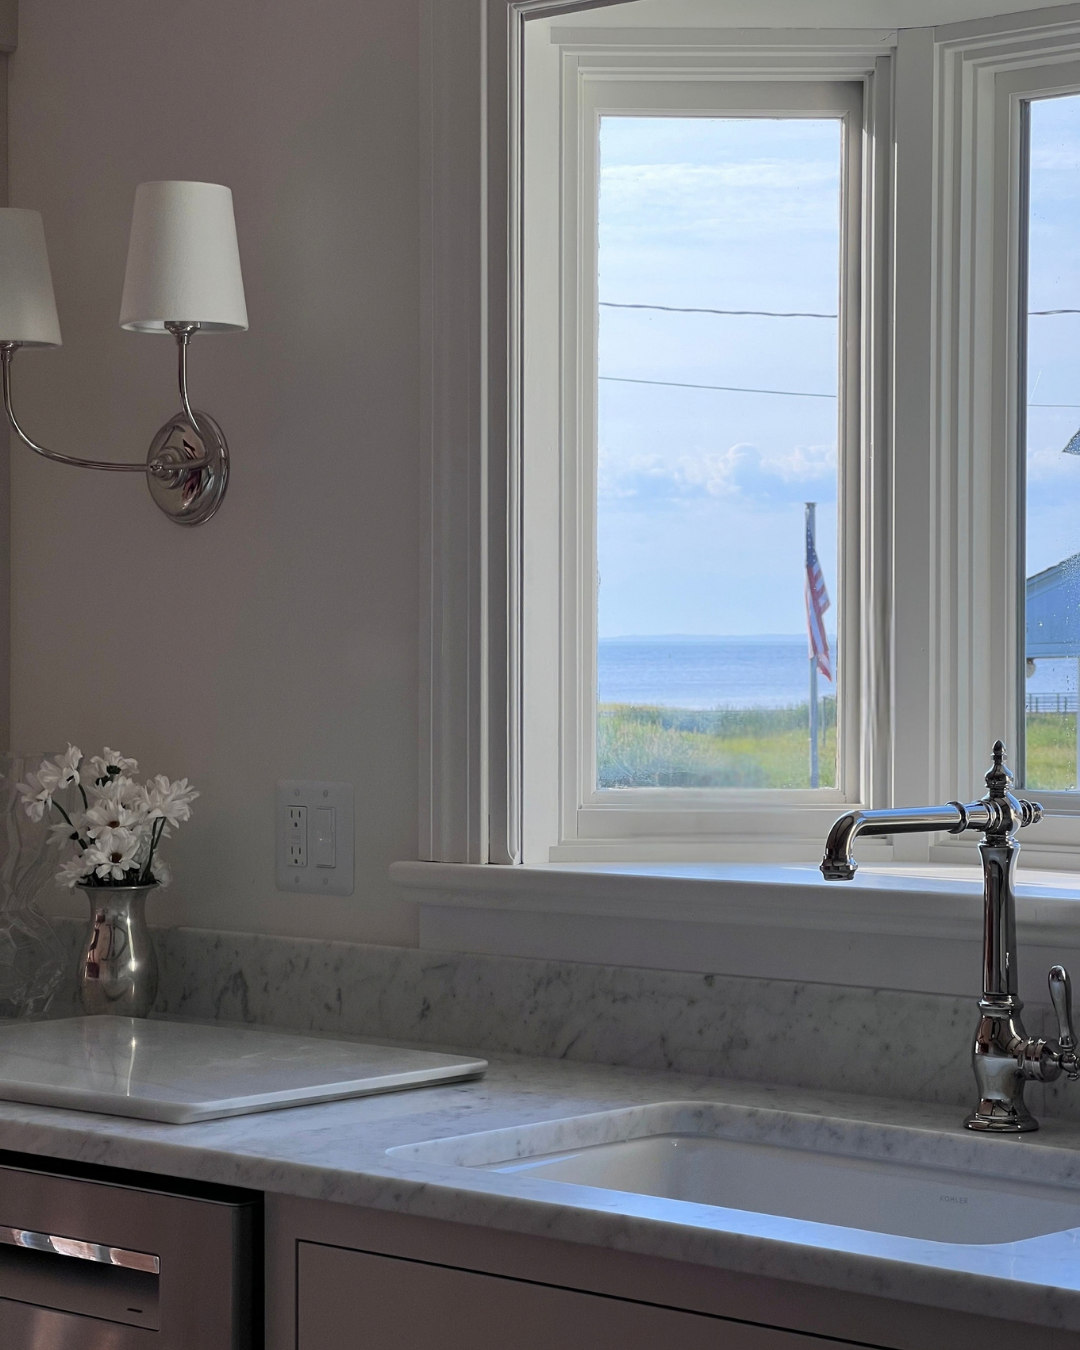
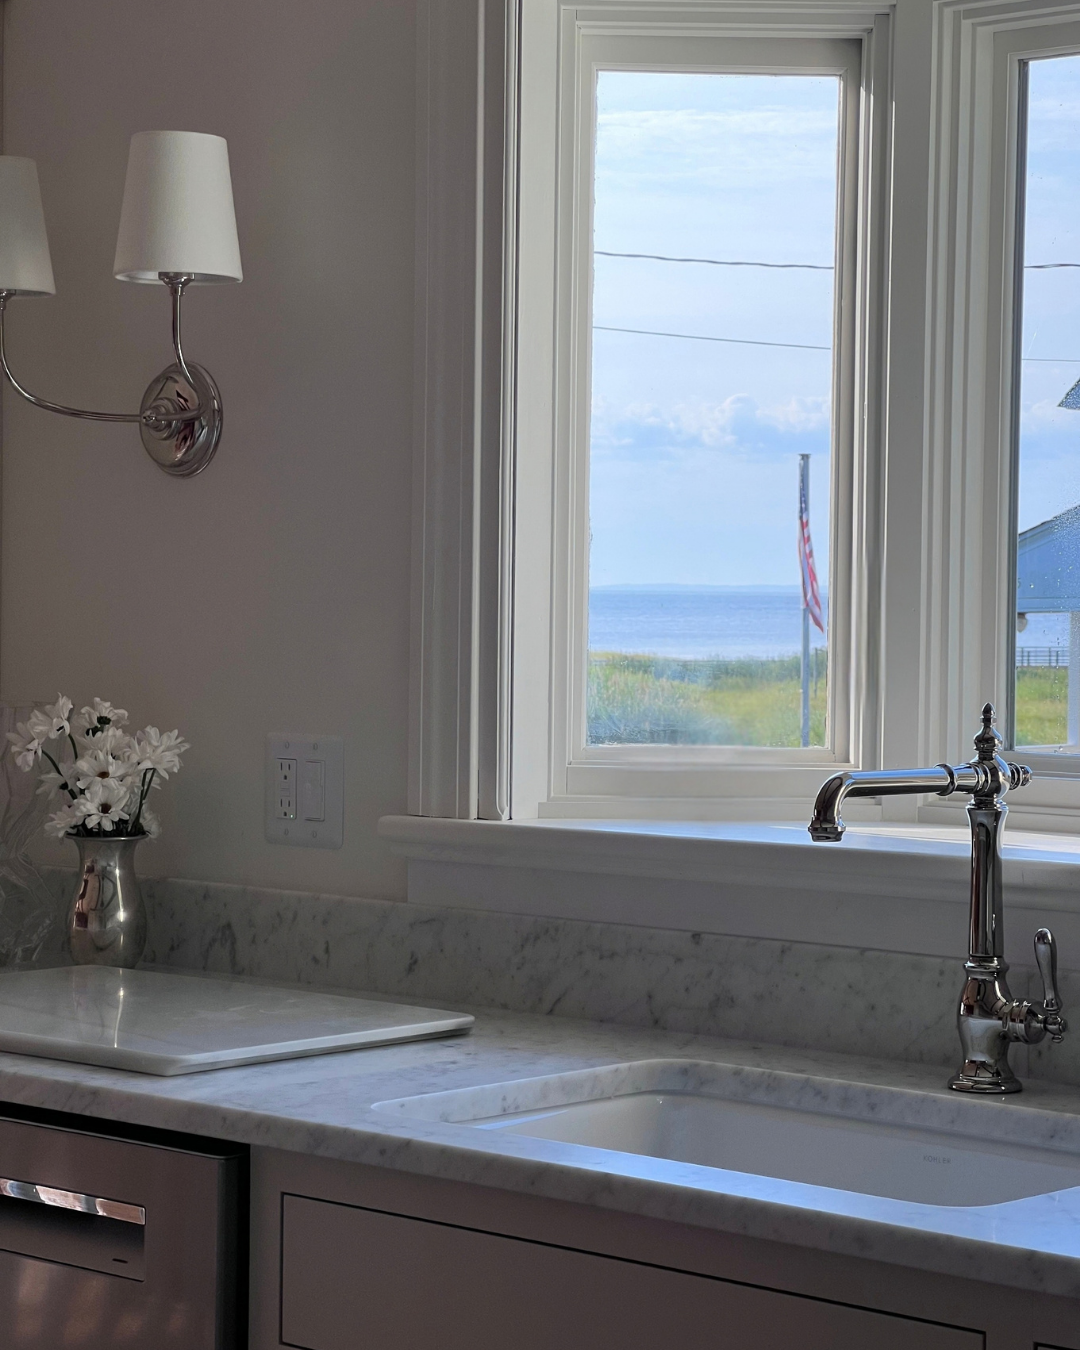
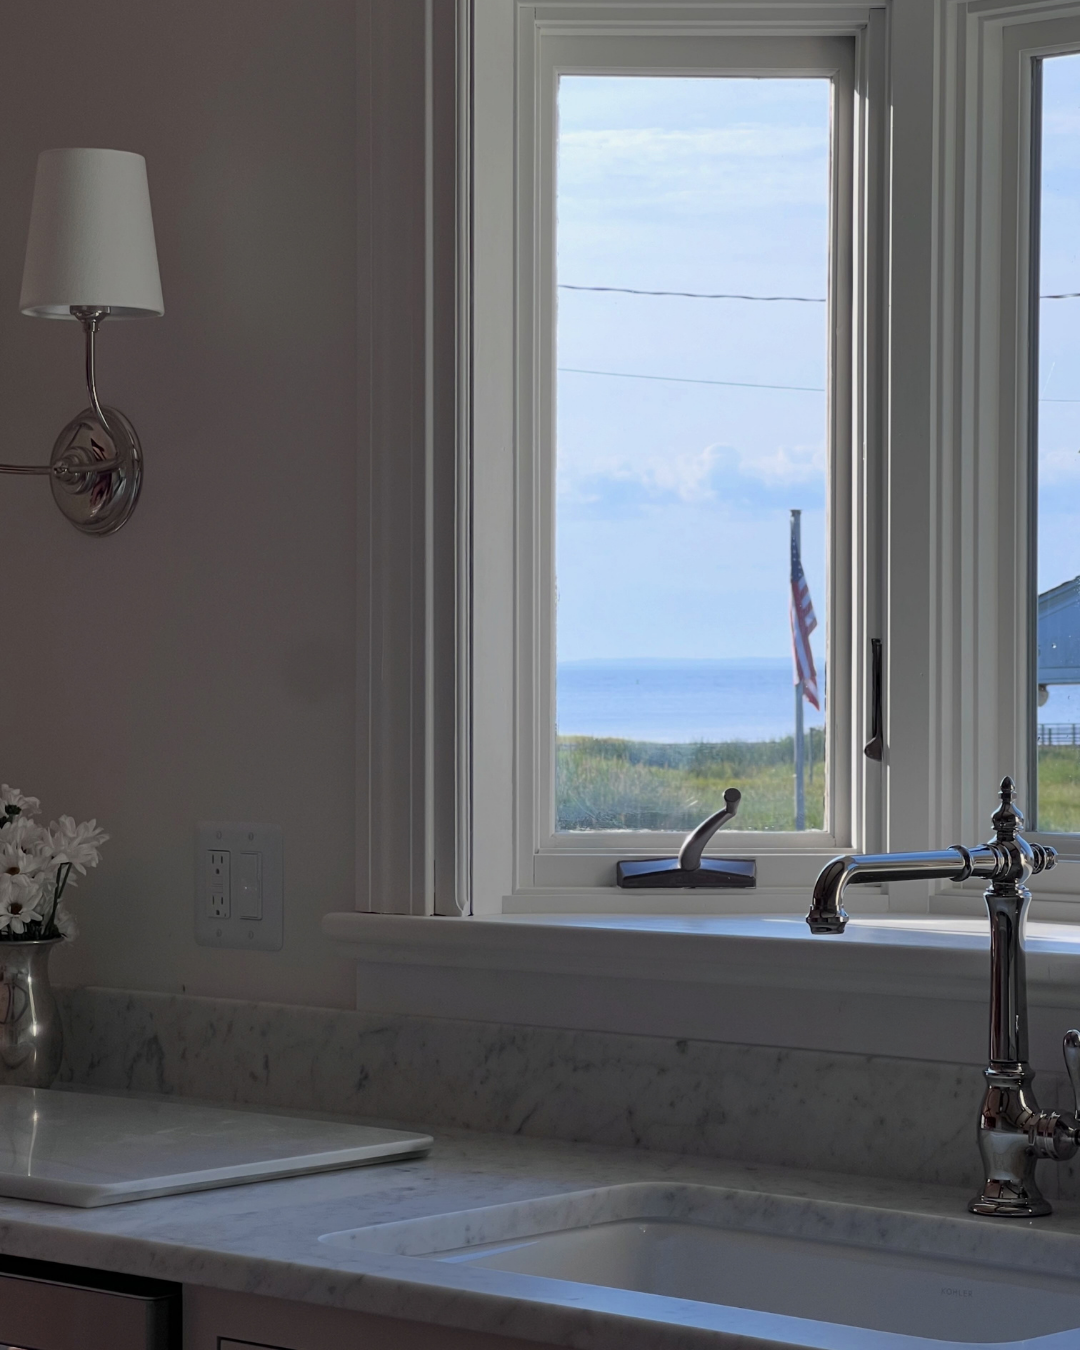
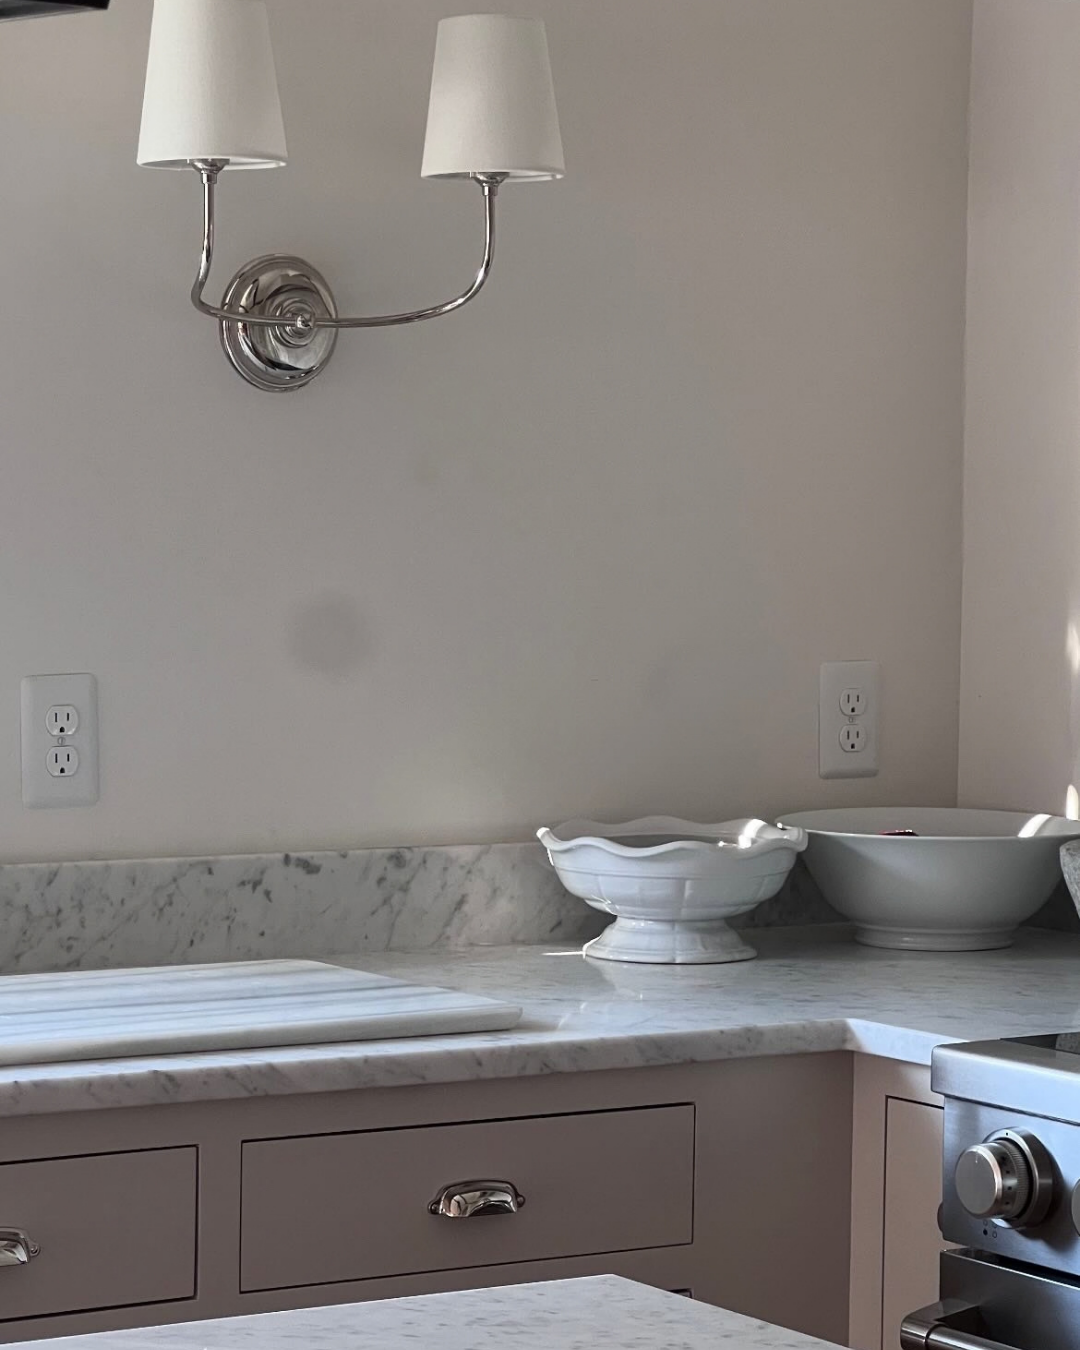
For the appliances, we decided to go mid-range to save some money, knowing that there is opportunity to upgrade down the road, and initially went with Thor’s 36” French Door Counter Depth Refrigerator, 30” Convection Oven Electric Range, and 24” Top Control Smart Dishwasher. (More on those appliances, including a setback we faced during install below!). For the lighting fixtures, I framed the bay window with a pair of Vendome Double Sconces and a pair of vintage-style lantern pendants over both the kitchen island and dining table.
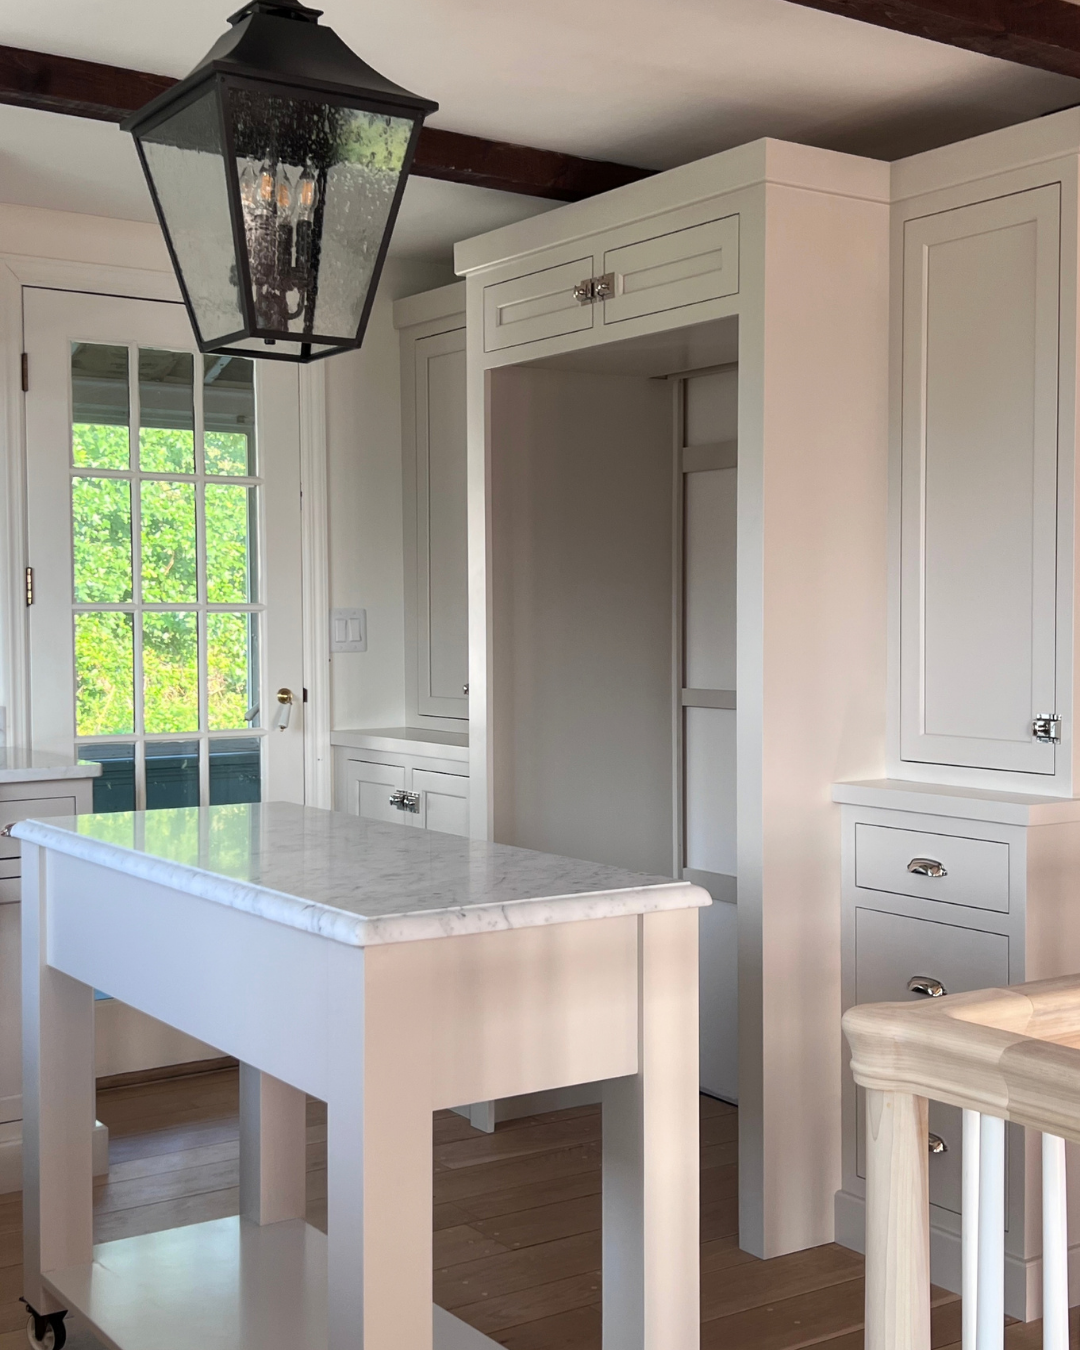
The layout was a little tricky given the size of the space, but I was determined to make it work and very happy with how it turned out. I felt that upper cabinets would cramp the space, so I put a wall of full-height/floor to ceiling cabinets
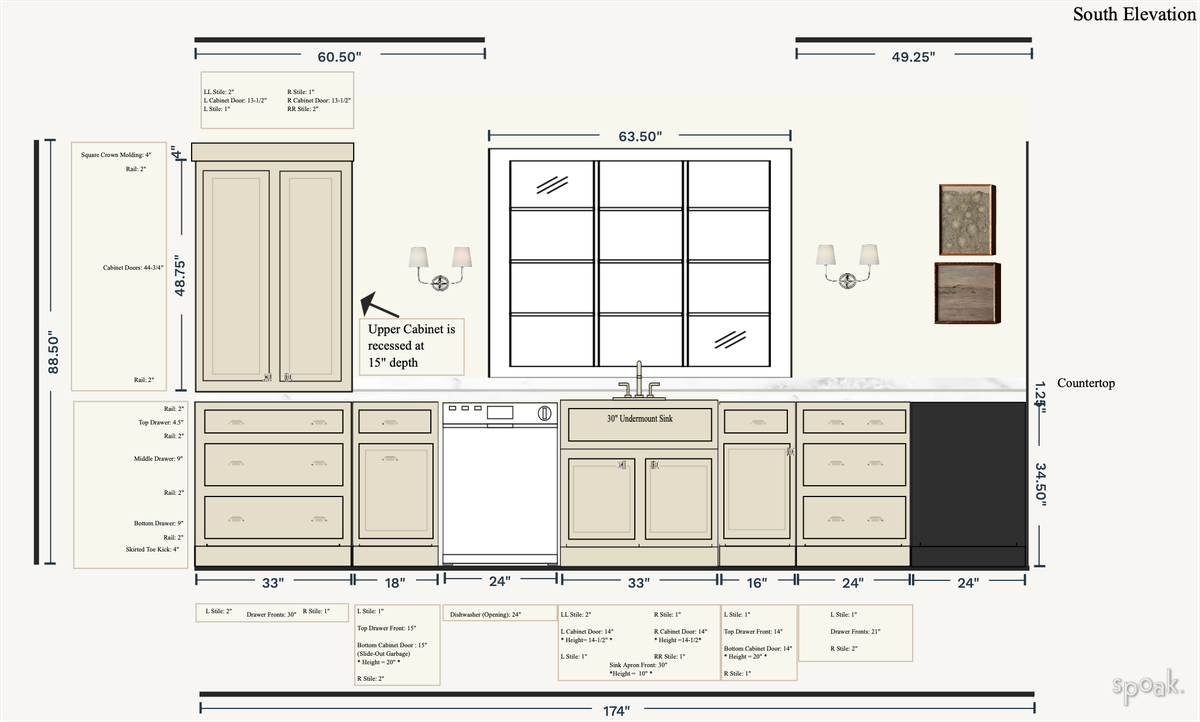
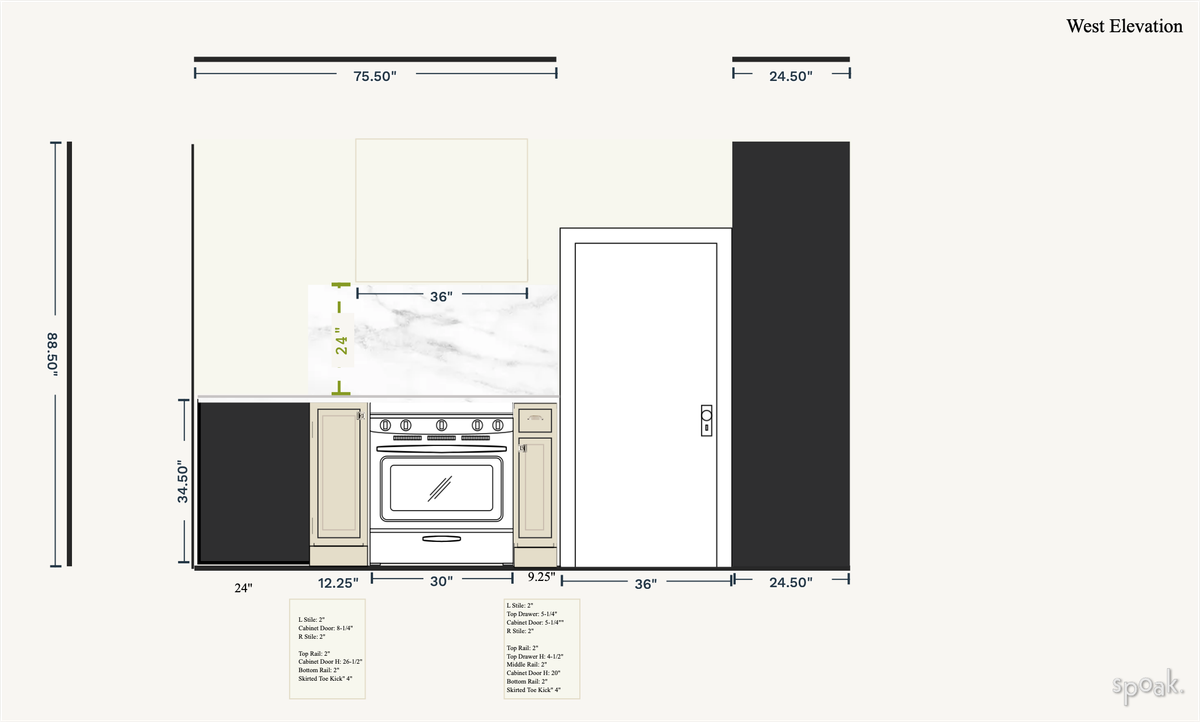
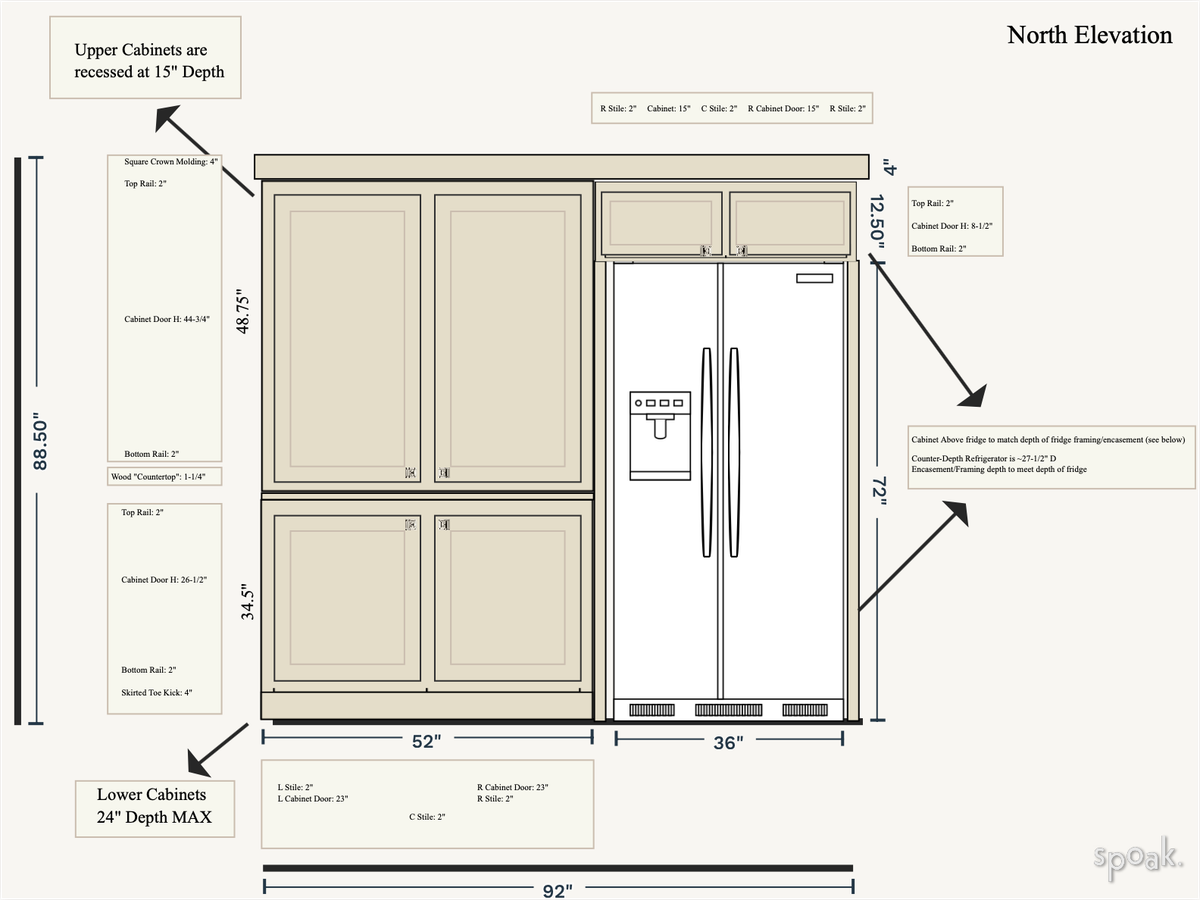
Once I was clear on everything I wanted, I reached out to Hanford Cabinet & Woodworking with my initial elevations and pre-determined design details. I was familiar with Hanford through client projects, but had never had the opportunity to work with them directly. After initial email correspondence with them, the process kicked off with an introductory phone call, followed by our first meeting two weeks later. During our first meeting, we discussed all of the aspects and details of the project and space in great depth. Because I had sent over initial elevations and a solidified design before our first in-person meeting, —. Allie also provided helpful input from the perspective of her cabinetry expertise, which helped us fine-tune the details and alter a few things.
Having an island in our tiny kitchen was an important feature to us, as it added additional workspace and storage, and Allie had
The Selections
Cabinetry Design & Specifications
Cabinet Style: Framed-Inset, No Bead
Exterior Material: Painted Maple
Cabinetry Color: Skimming Stone by Farrow & Ball
Cabinet Door Style: Recessed Panel (simple recessed center panel with defined framing)
Drawer Front Style: Slab
Top Trim: Square, 3-1/4” x 3/4” thick
Toe Kick: Square/Baseboard Moulding, 4” H x 3/4” thick (Recessed at Sink Base)
Finished Side Type: Smooth
Hardware:
Drawers - Charlotte Cup Pull, Polished Nickel (Top Knobs M1301)
Cabinets - 2” Cabinet Latch, Polished Nickel (Top Knobs M1784)
Countertop Specifications
Stone: Bianco Carrara Marble
Thickness: 3cm
Edge: Eased Edge on perimeter; Dupont Edge on island
Shop the AGH Kitchen


The Process, Timeline & Install
(Pre-Project)
2/18 Reach out to Hanford; 3/6 First Design Meeting
3/14 Order Appliances
Week 1: 3/29- 4/4
Dumpster Delivery
Kitchen Demo, Wall Demo, Bathroom/Pantry Demo (Self-Performed)
Week 2: 4/5- 4/11
Floor Refinishing (Artistic Hardwood Floors)
Sign-Off on Cabinet & Countertop Order (Hanford Cabinetry & Woodworking)
Week 3: 4/12- 4/18
Floors Curing
Week 4: 4/19- 4/25
Floors Curing
Week 5: 4/26- 5/2
MOVE-IN!
Other non-kitchen related work done on house (exterior repairs, interior carpentry, landscaping)
Week 6: 5/3-5/9
Plumbing Rough-Ins for Kitchen, Pantry & Laundry Room (William’s Plumbing)
Week 7: 5/10-5/16
Support Beam Install (J P Marconi & Sons)
Electrical Rough-Ins for Kitchen & re-routing wires from demo-ed walls (Faulkingham Electrical Services)
Week 8: 5/17-5/23
Finish Rough-Ins for Kitchen & Pantry (William’s Plumbing)
Drywall Install in Kitchen & Pantry (Drywaller)
Other non-kitchen related work done on house (exterior repairs and carpentry)
Week 9: 5/24-5/30
Drywall Install in Kitchen & Pantry (Drywaller)
Other non-kitchen related work done on house (electrical, exterior and interior repairs and carpentry)
Week 10: 5/31-6/6
Install new trim on kitchen window, french door; build new window sill on bay window (Carpenter)
Prime and paint kitchen walls, trim, and ceiling (self-performed)
Week 11: 6/7-6/13
Ductwork installed for toe kick vent under sink cabinet base (KMK Mechanical)
Cabinets delivered on 6/10 (Hanford Cabinetry & Woodworking)
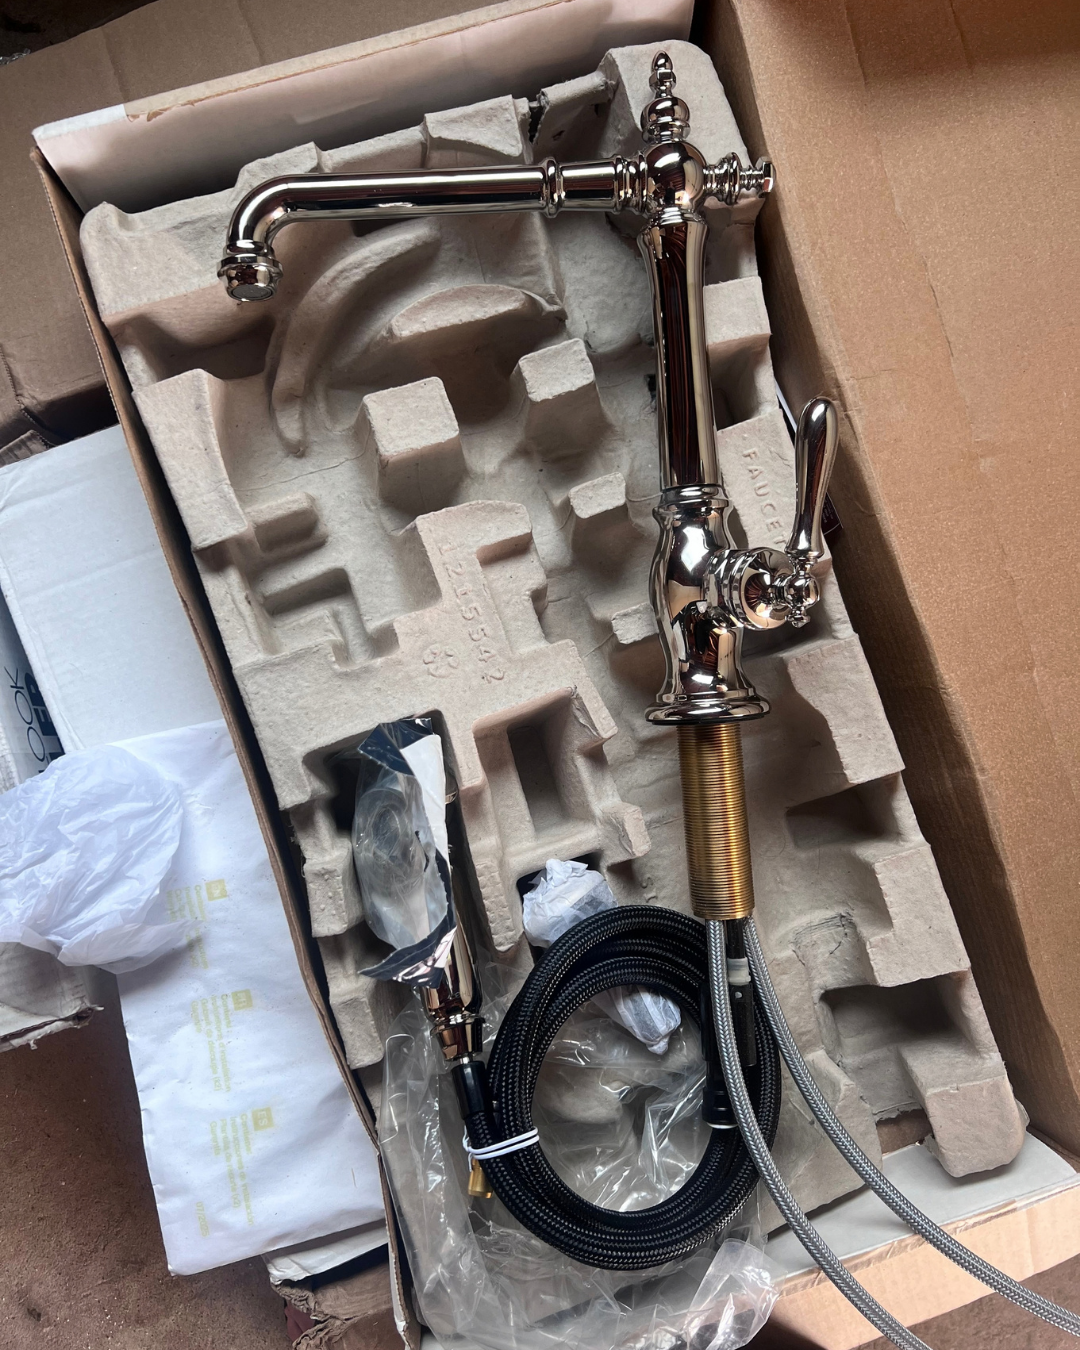
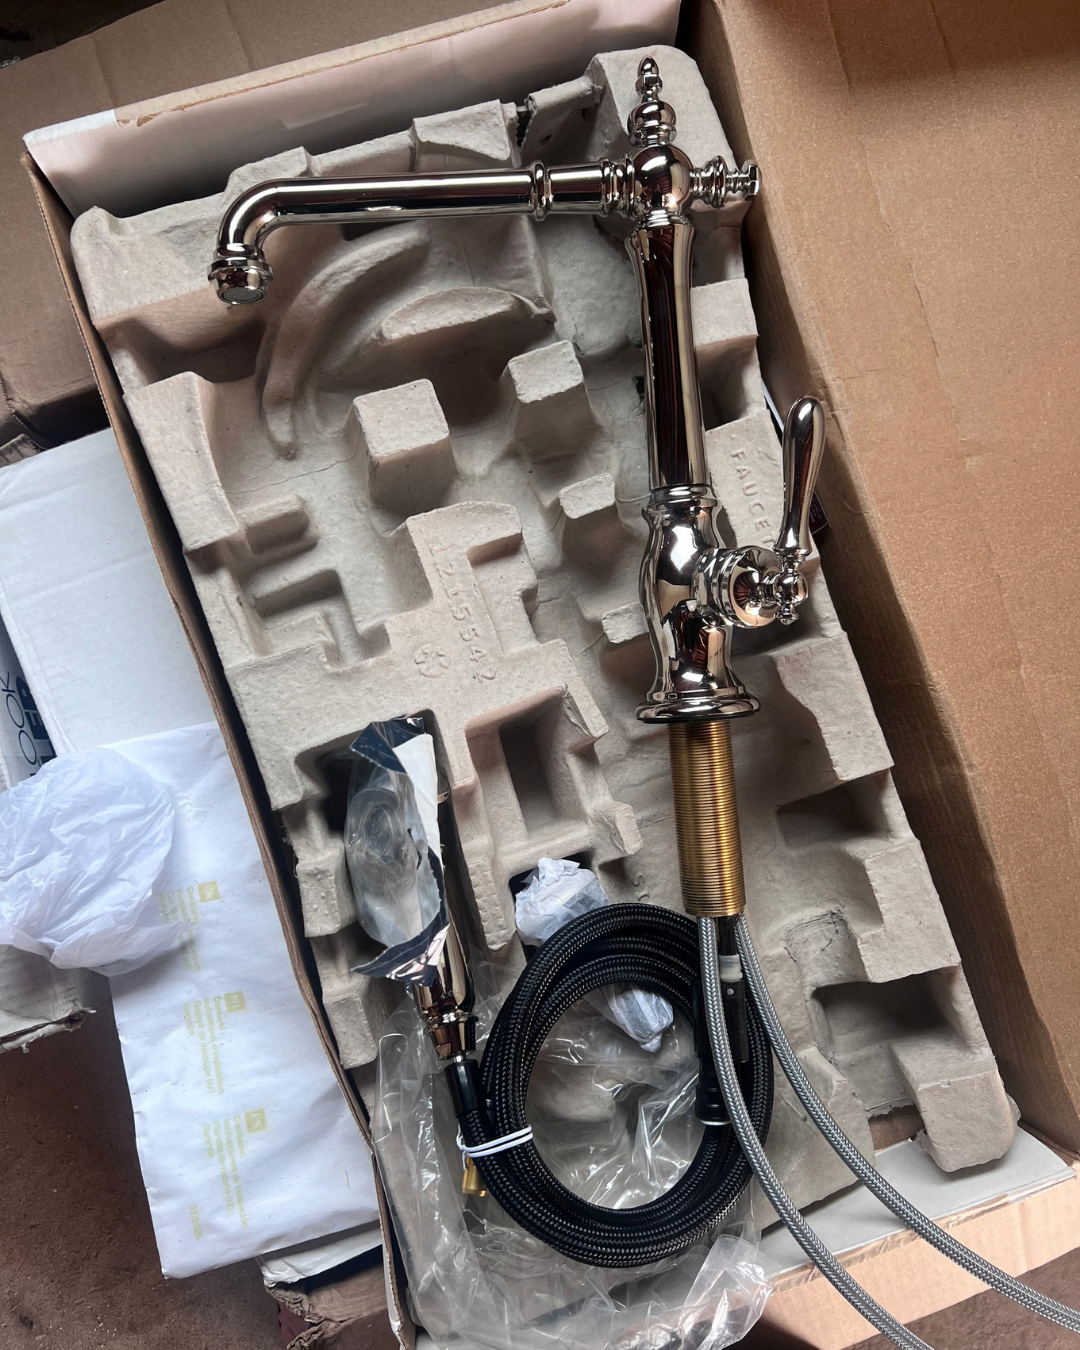
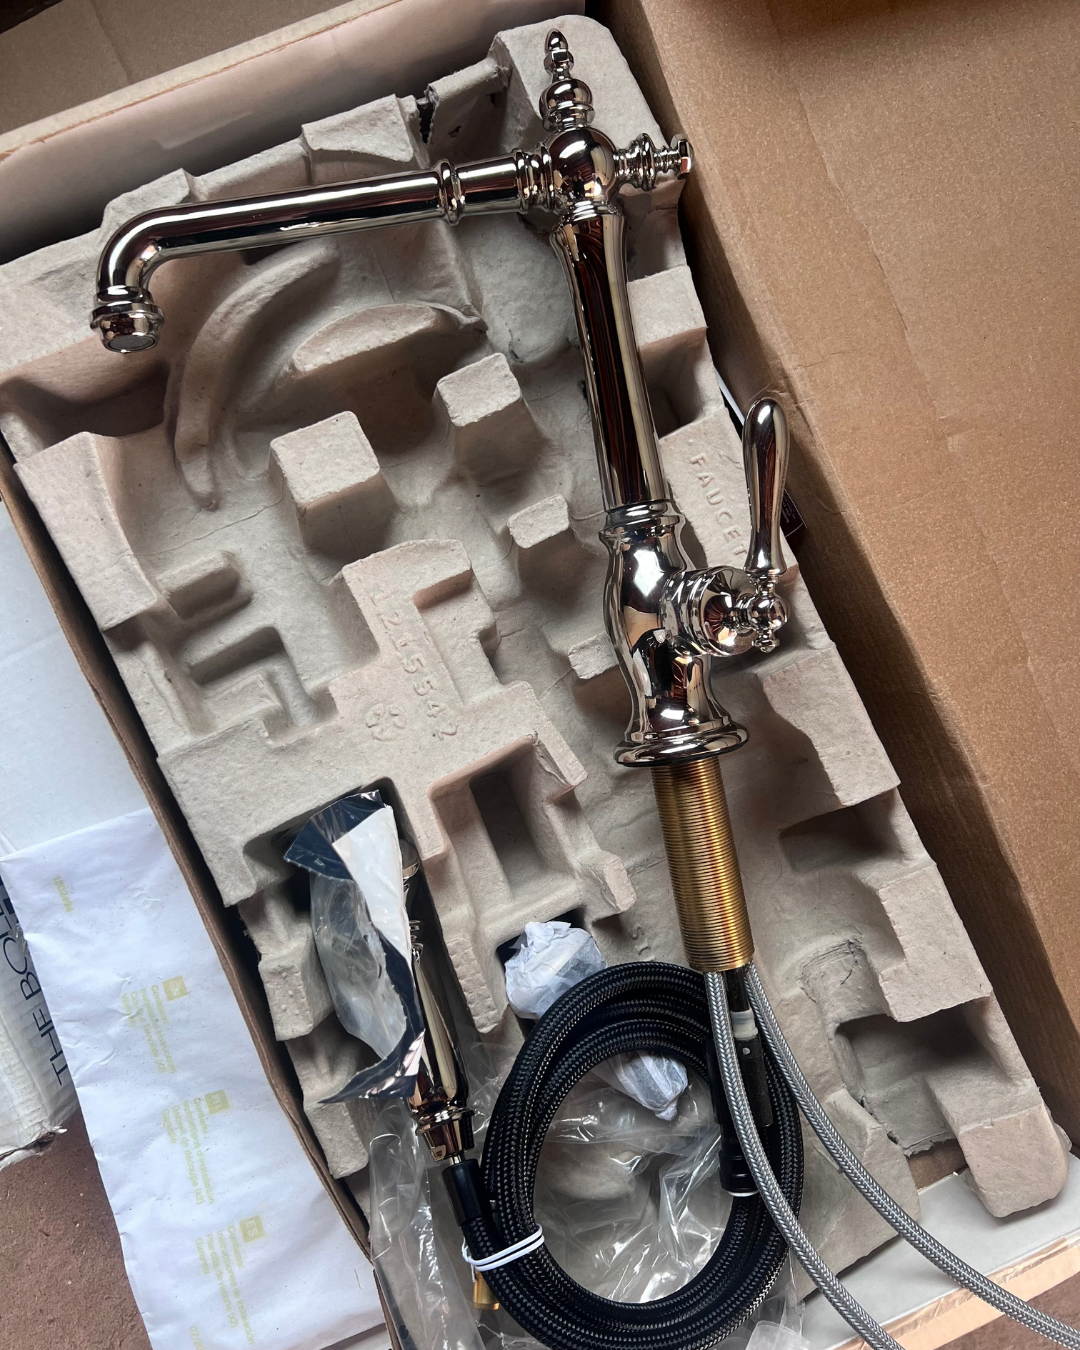
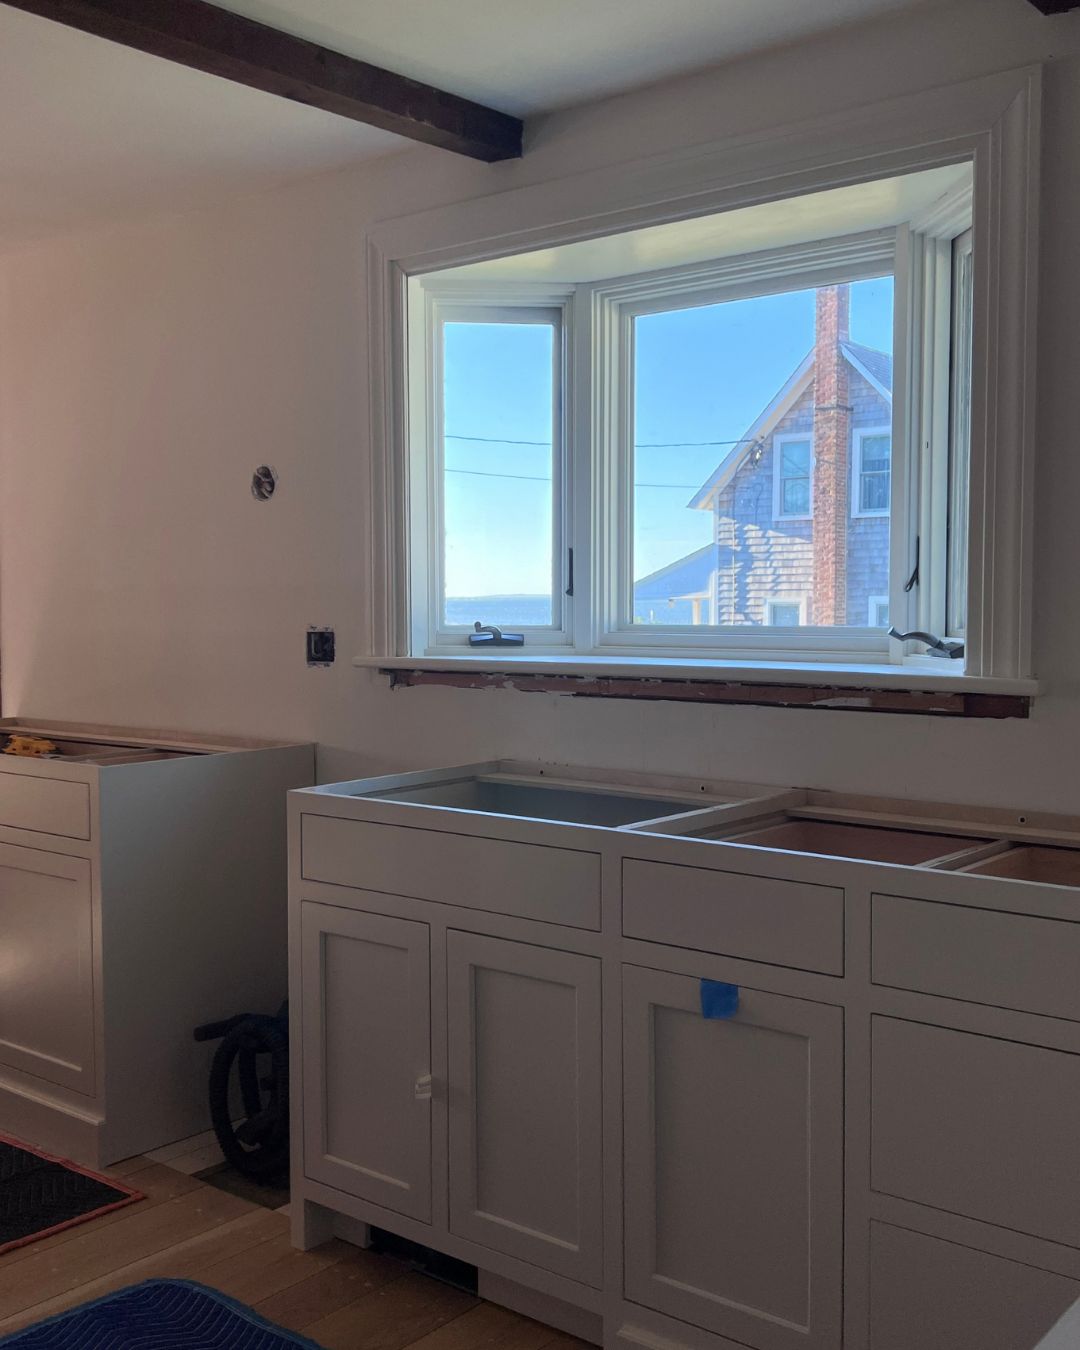
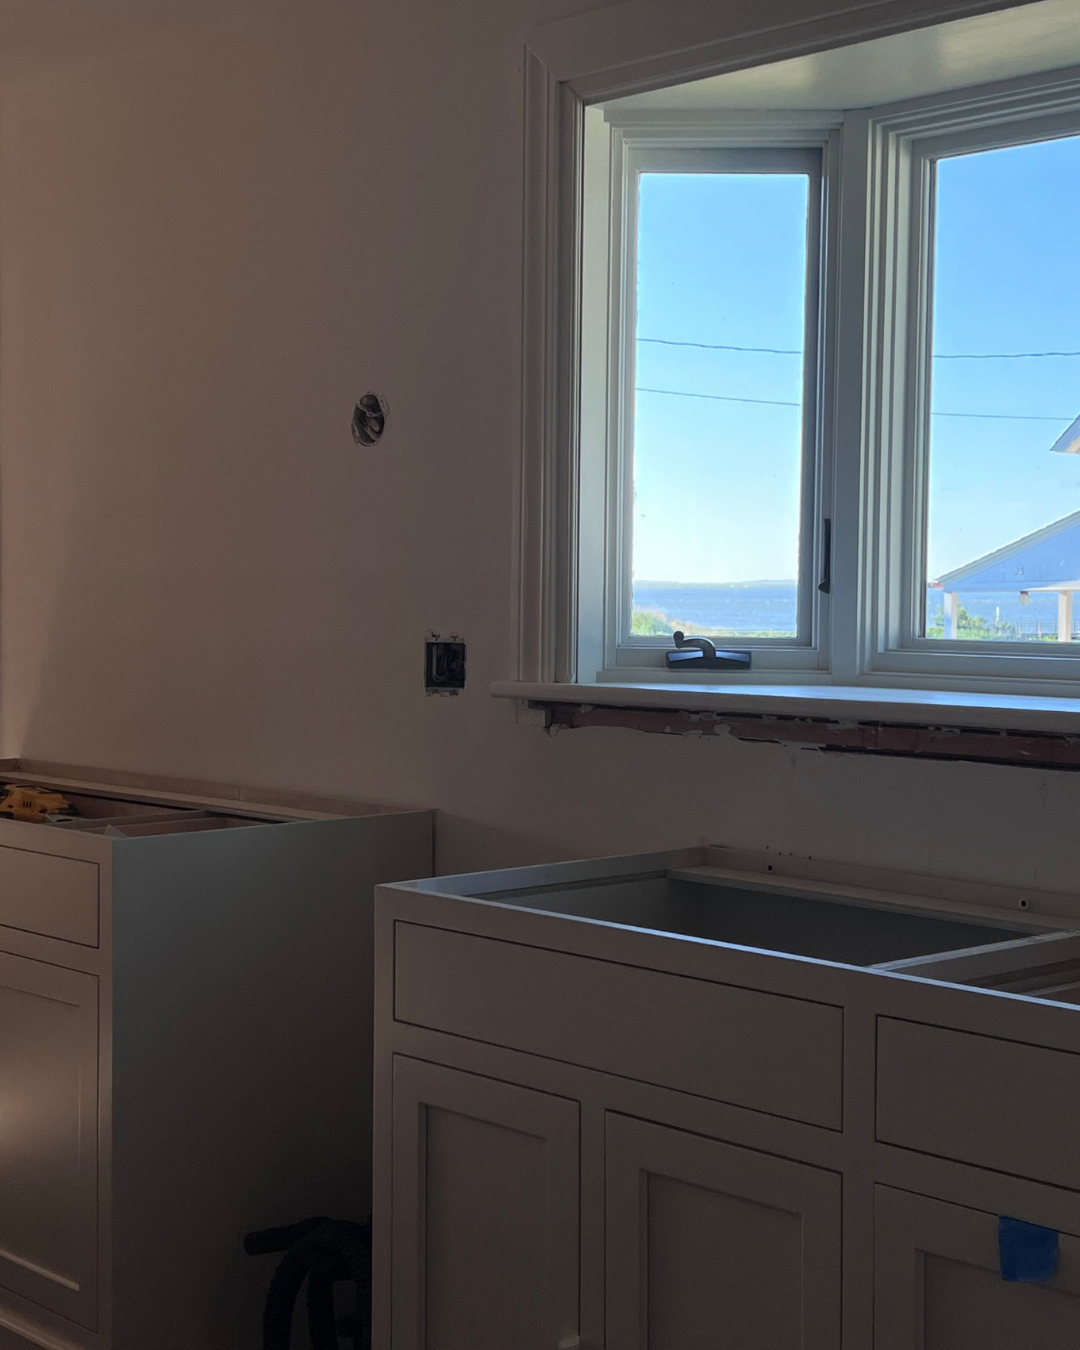
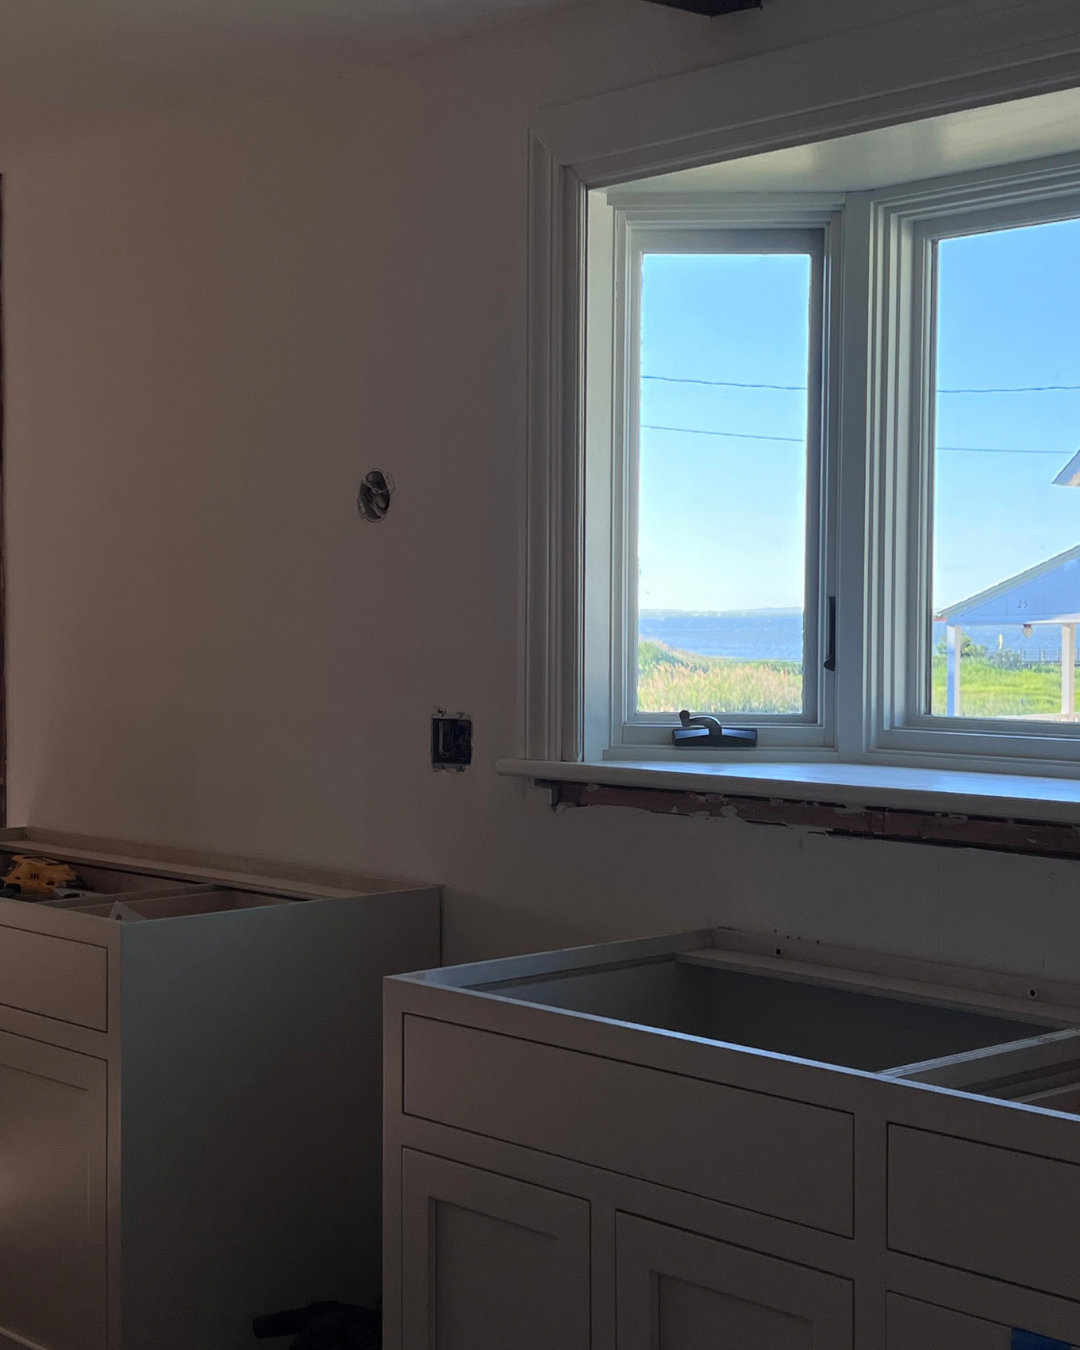
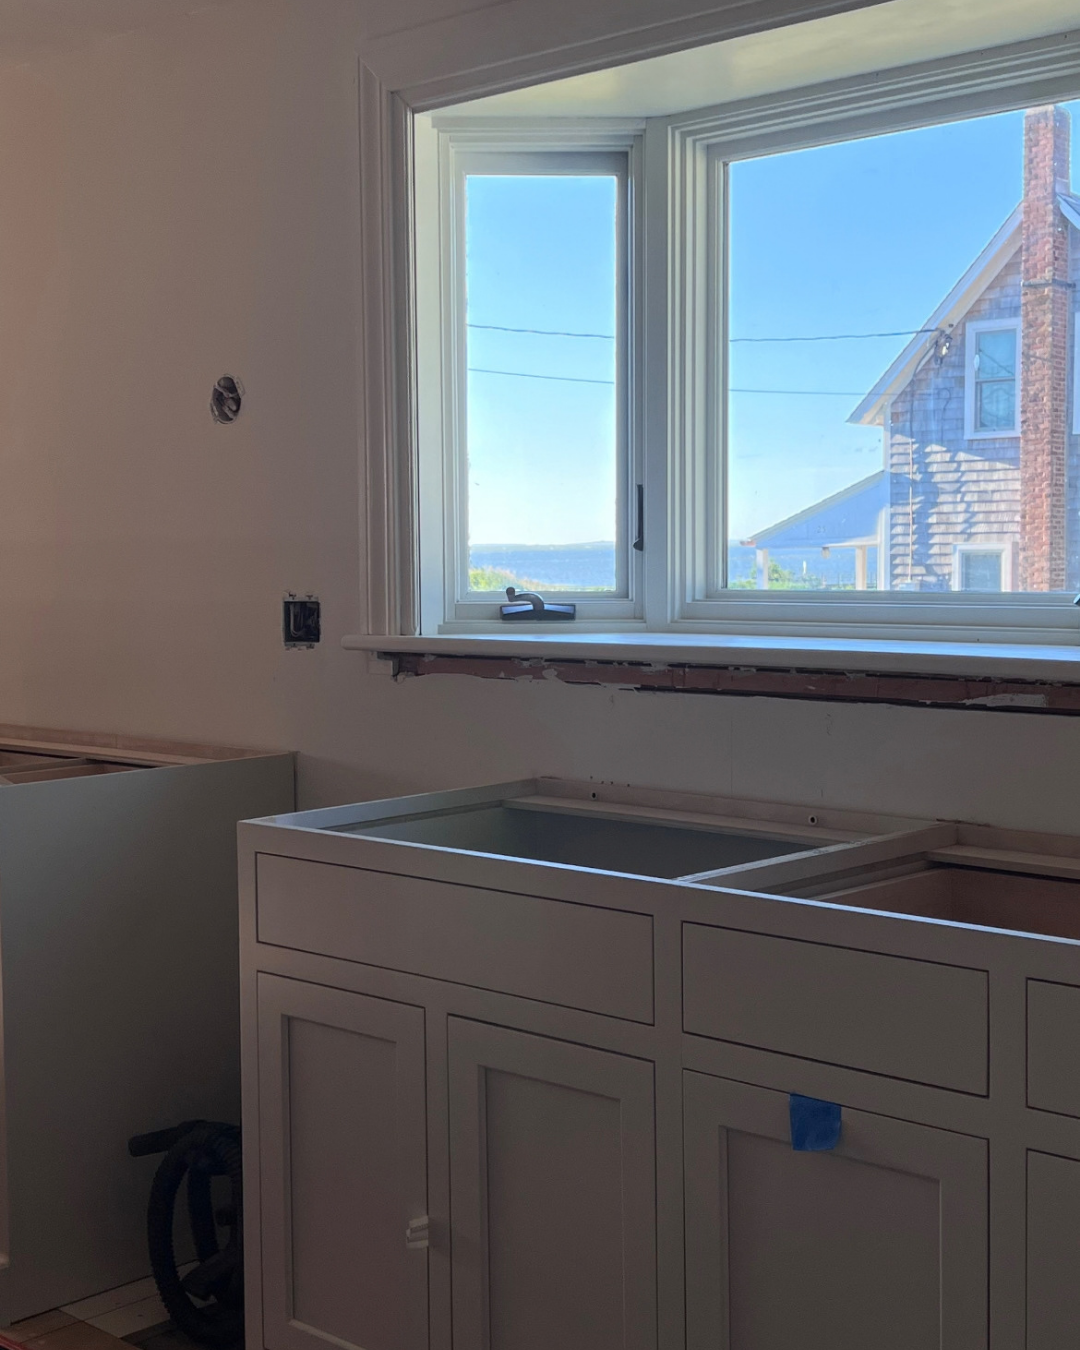
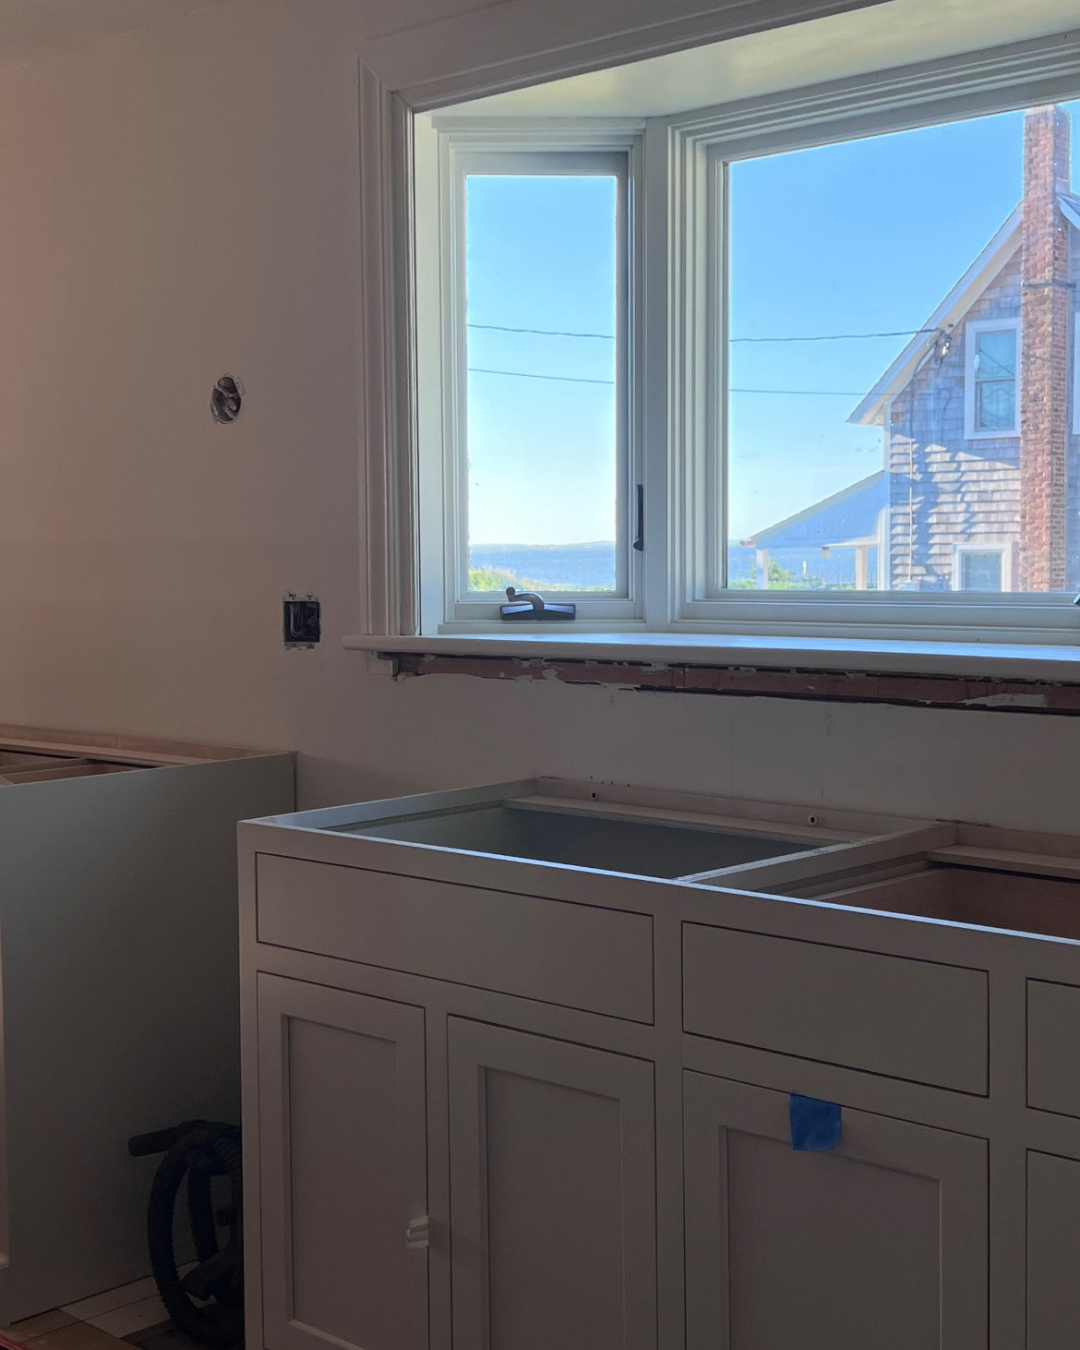
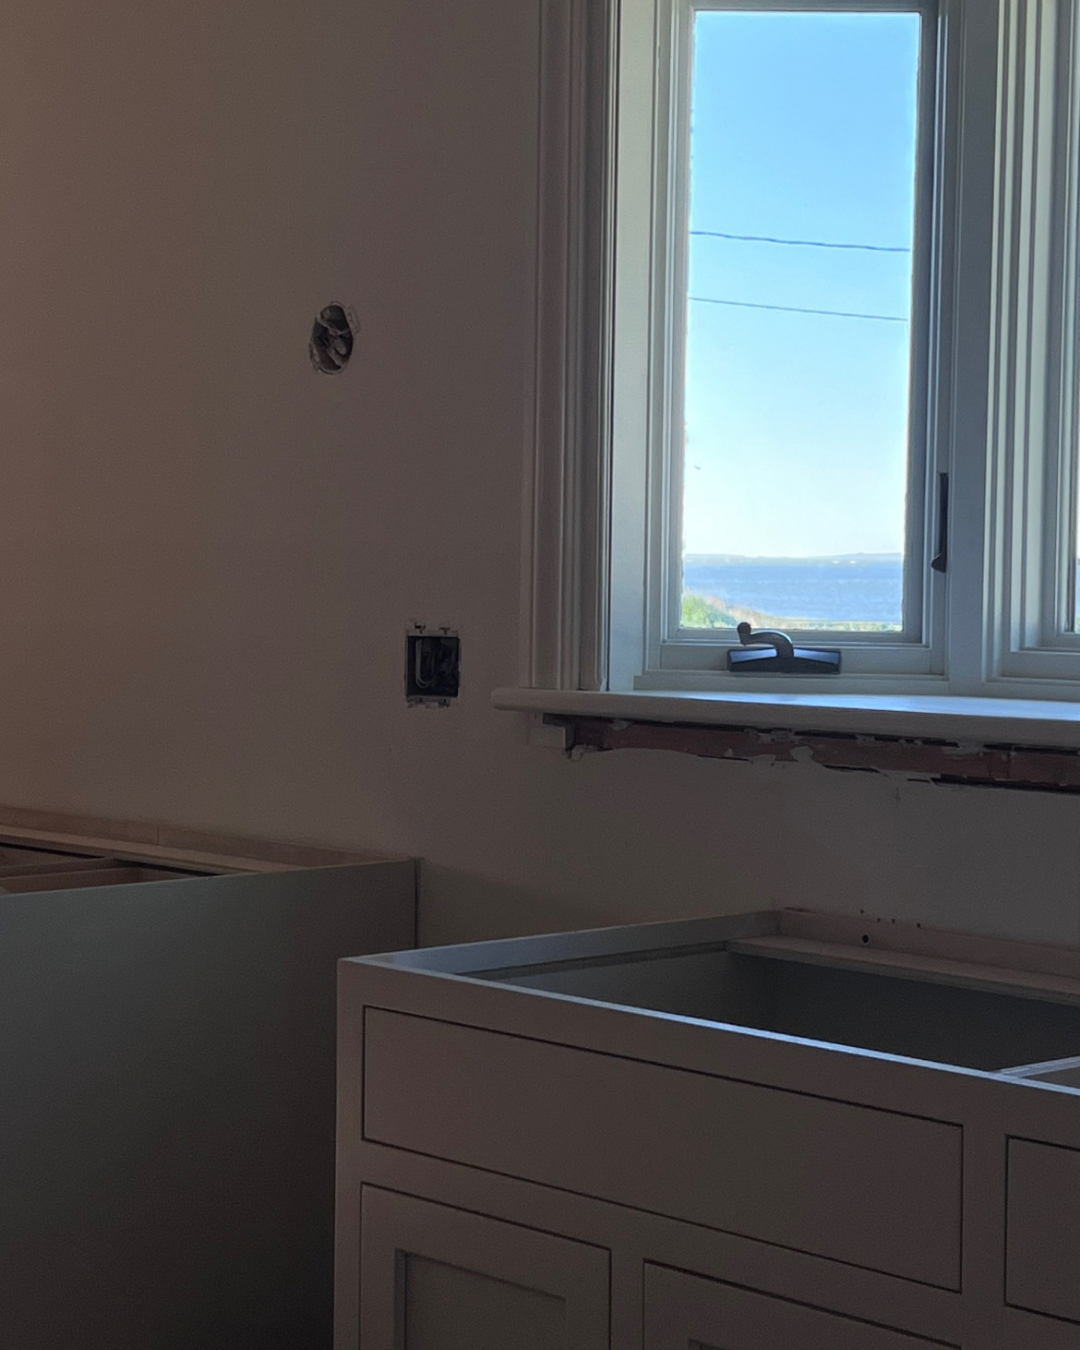
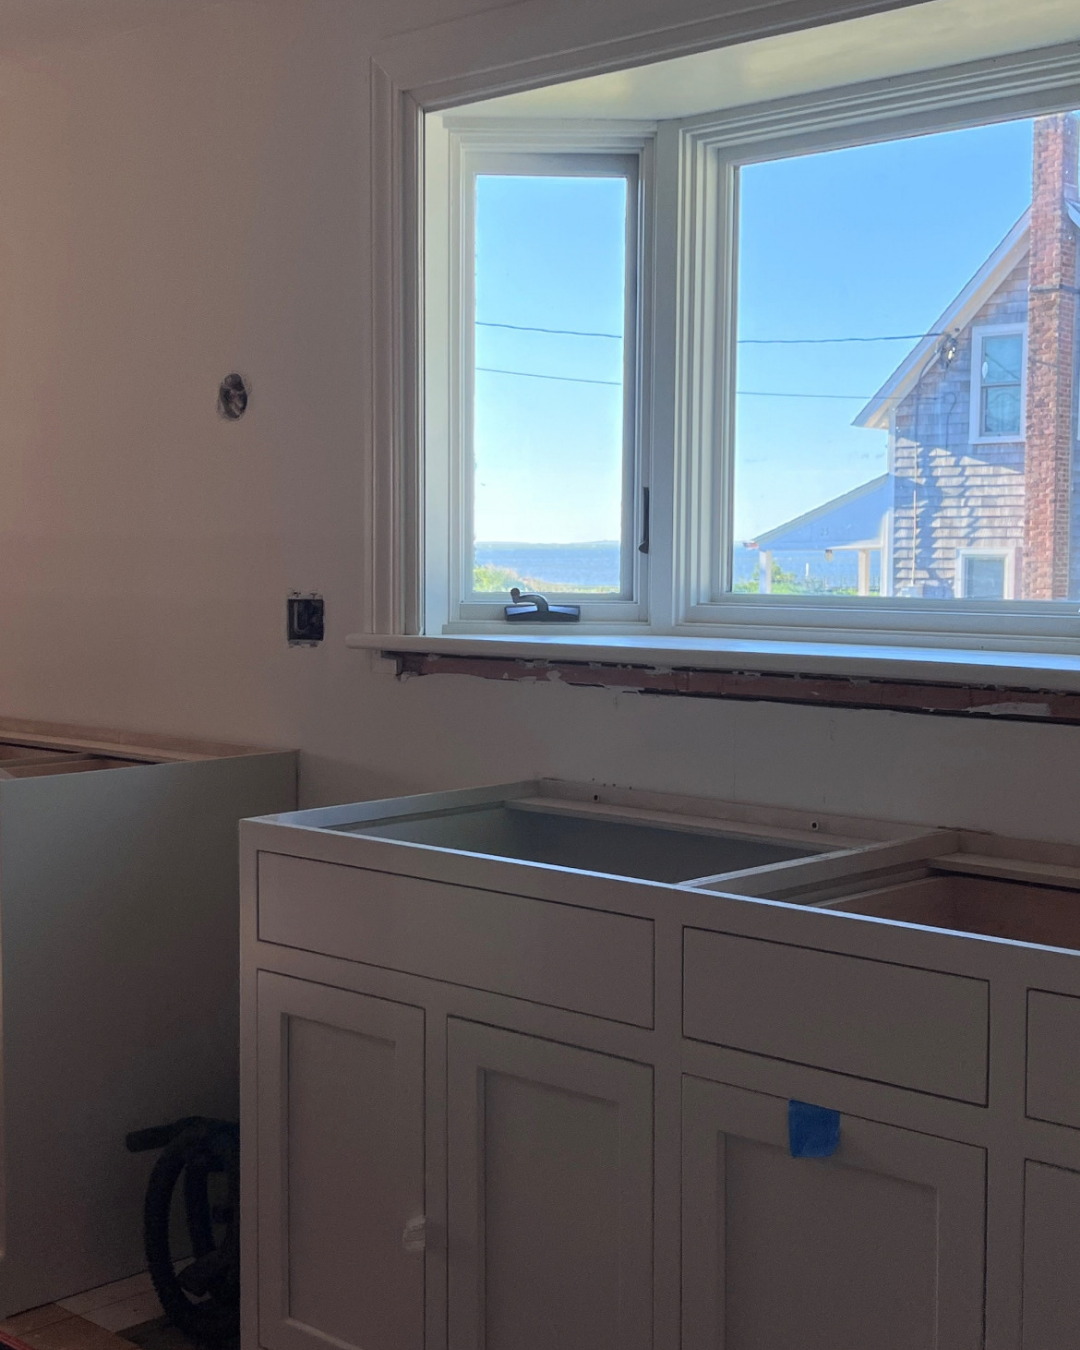
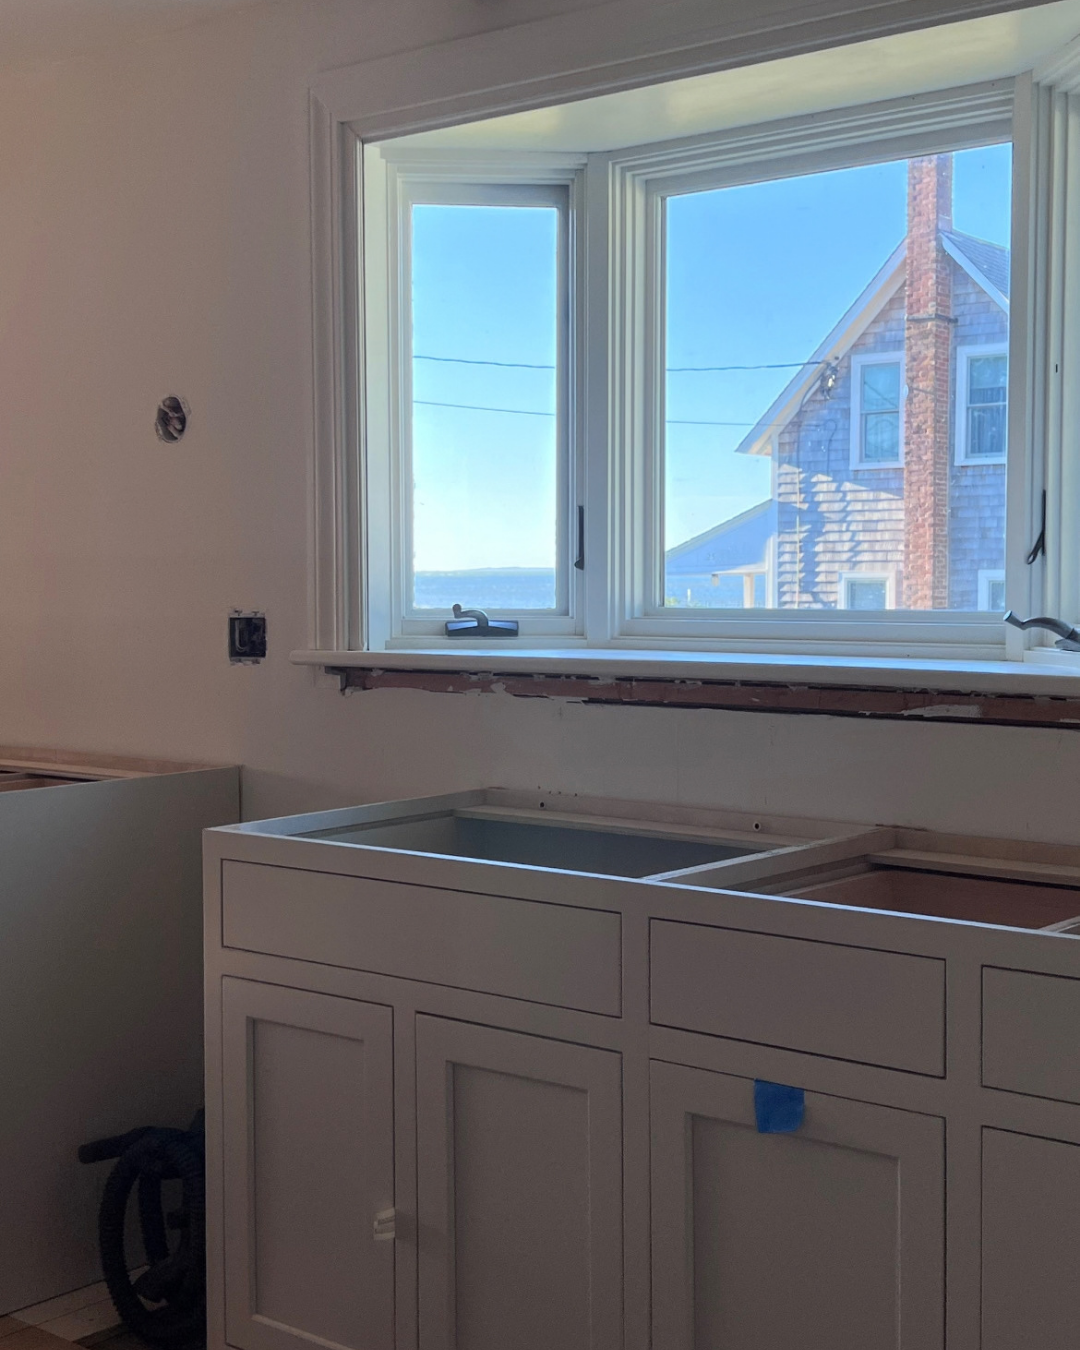
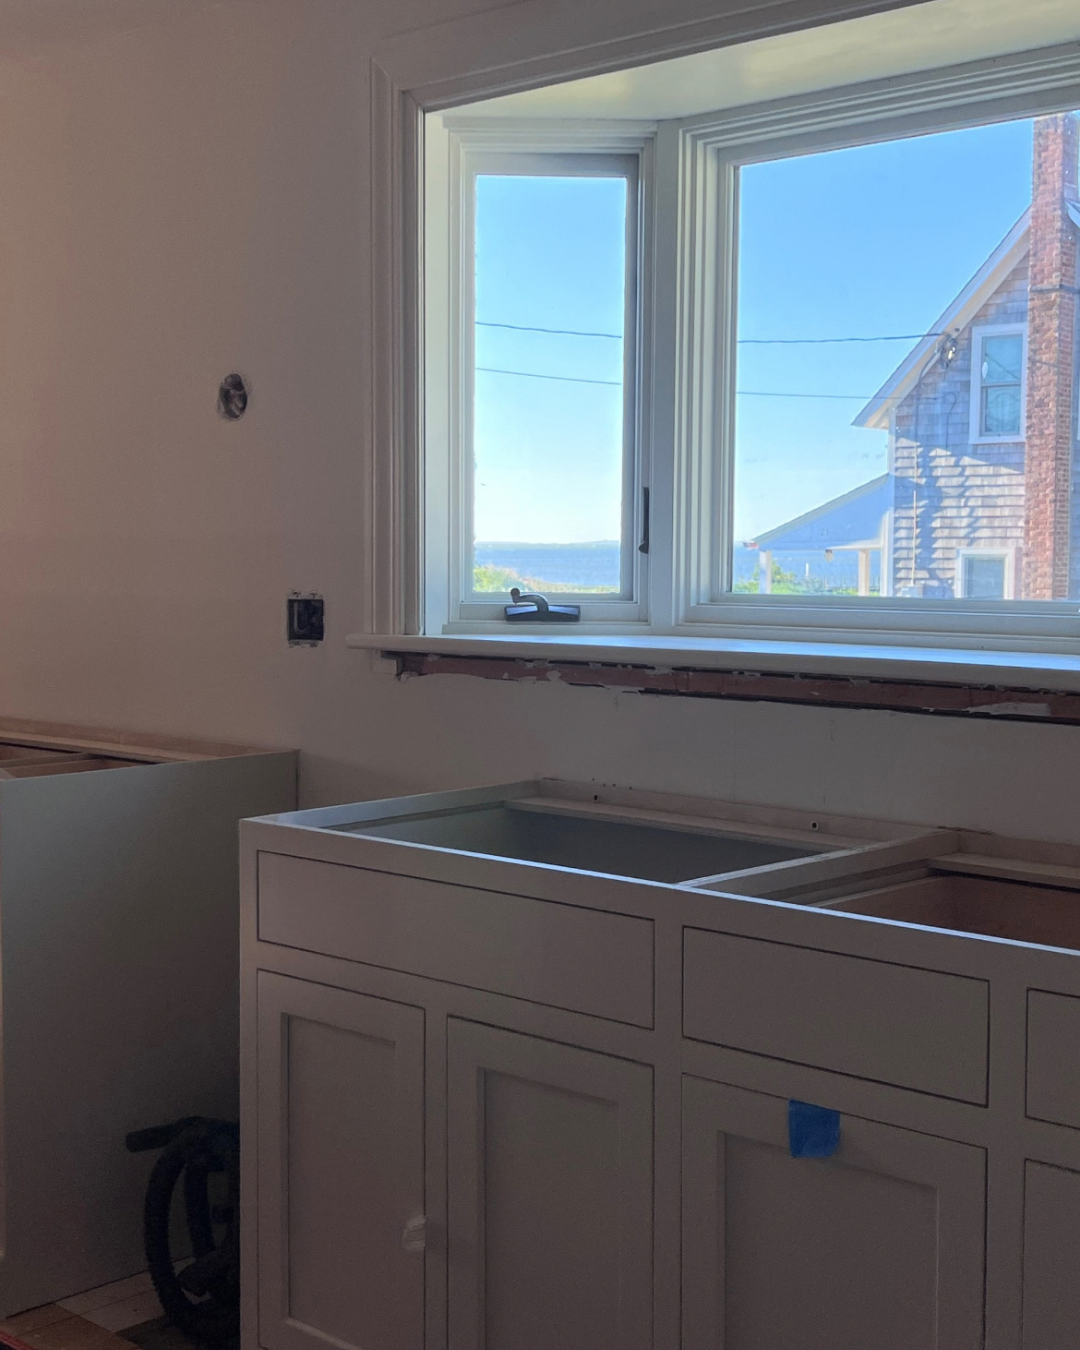
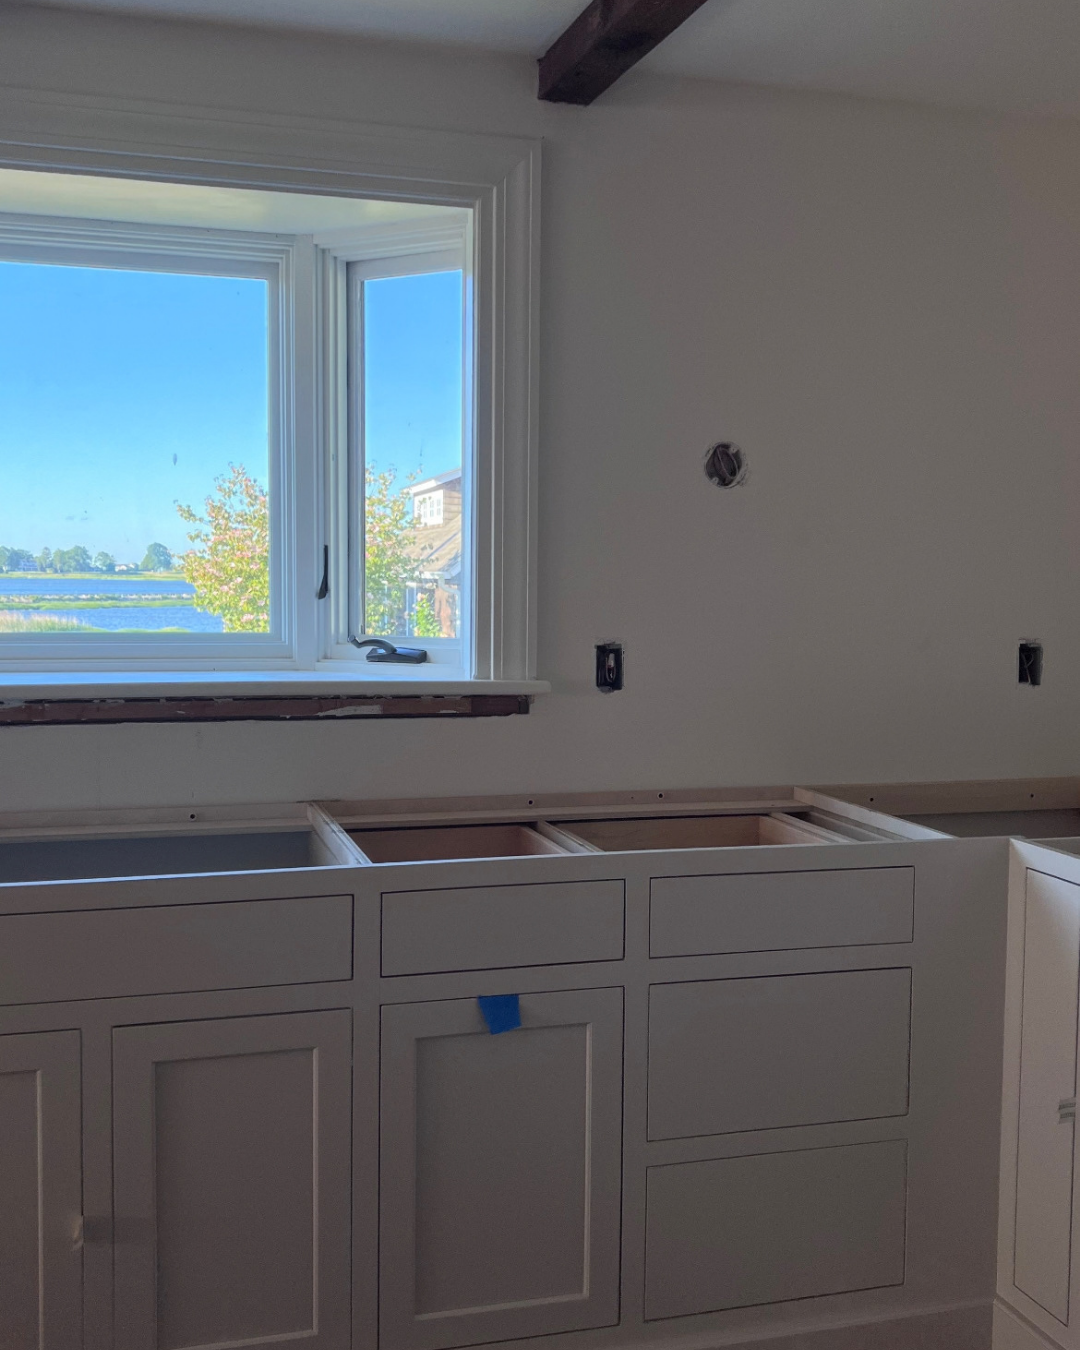
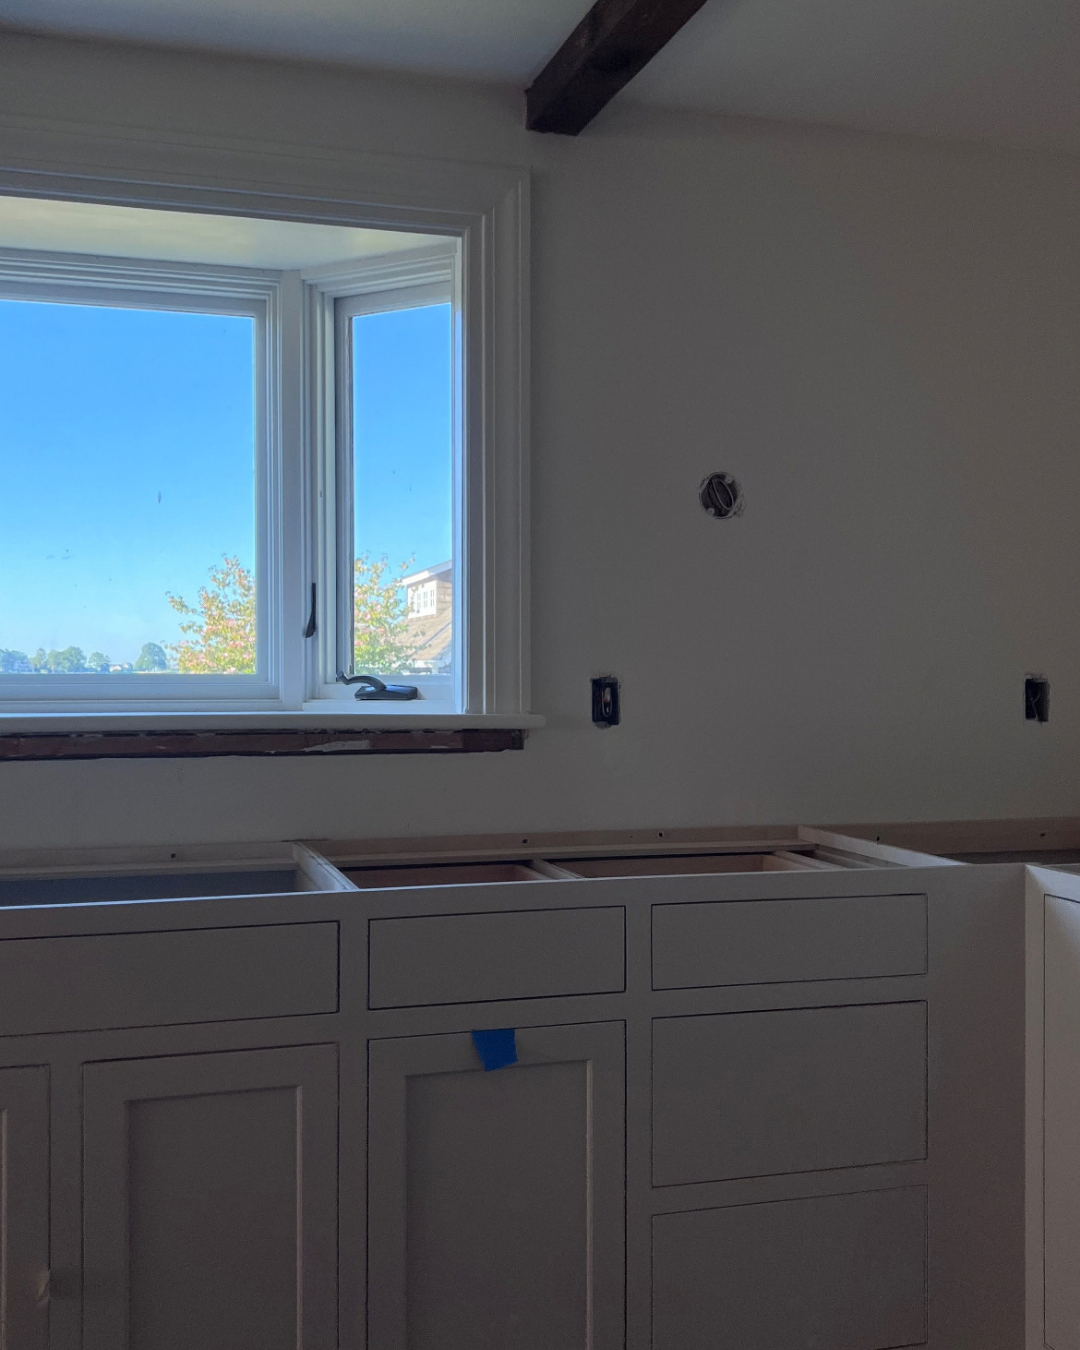
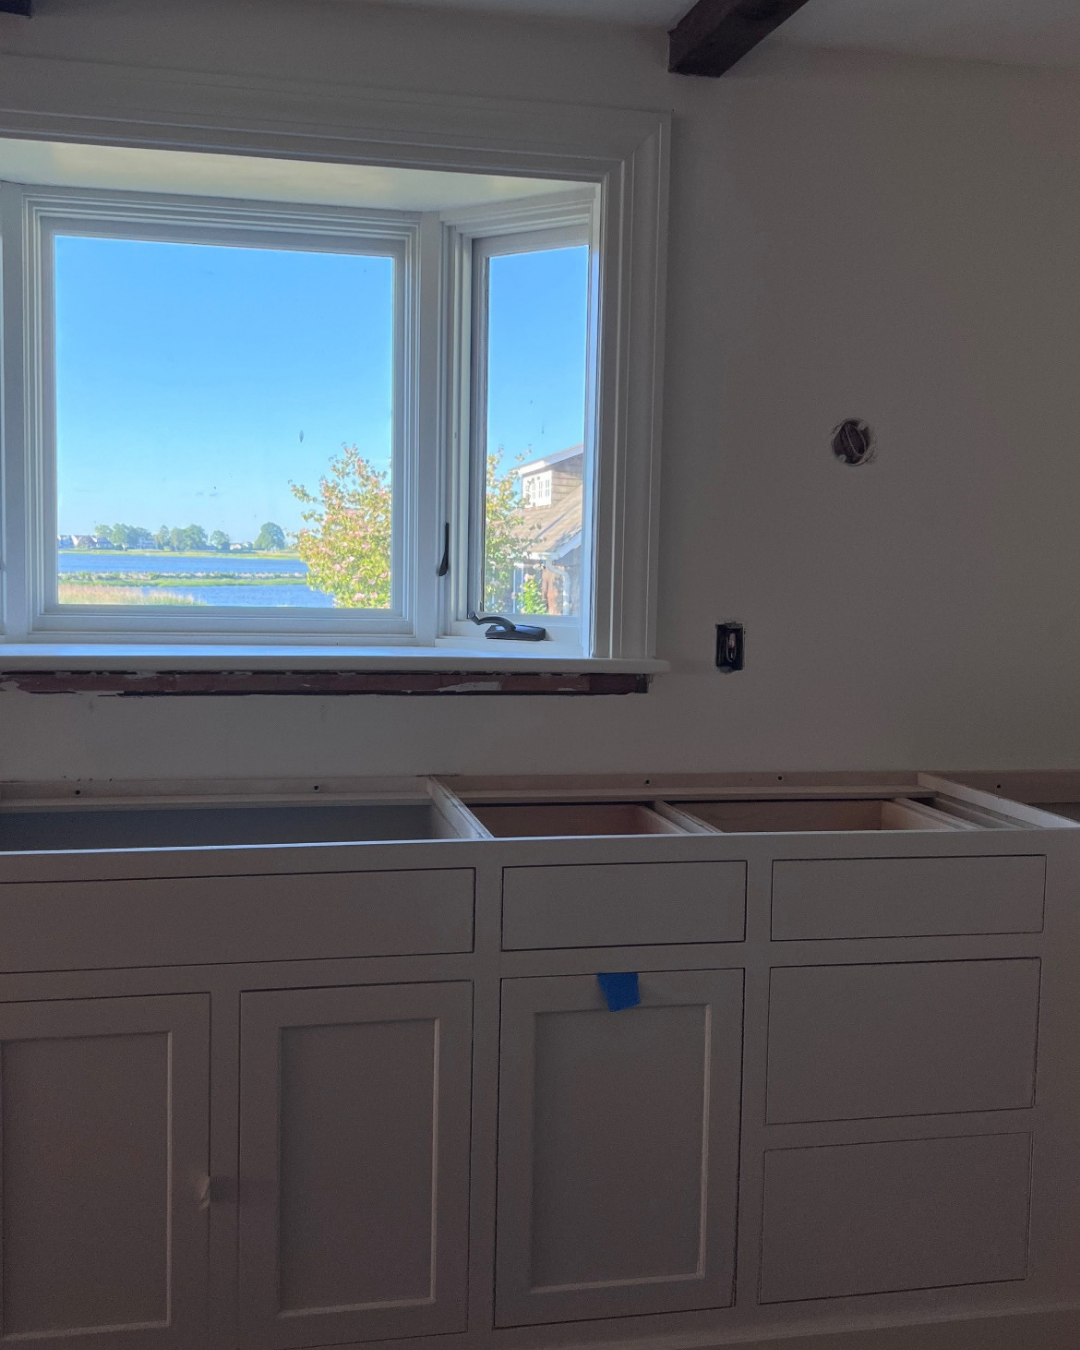
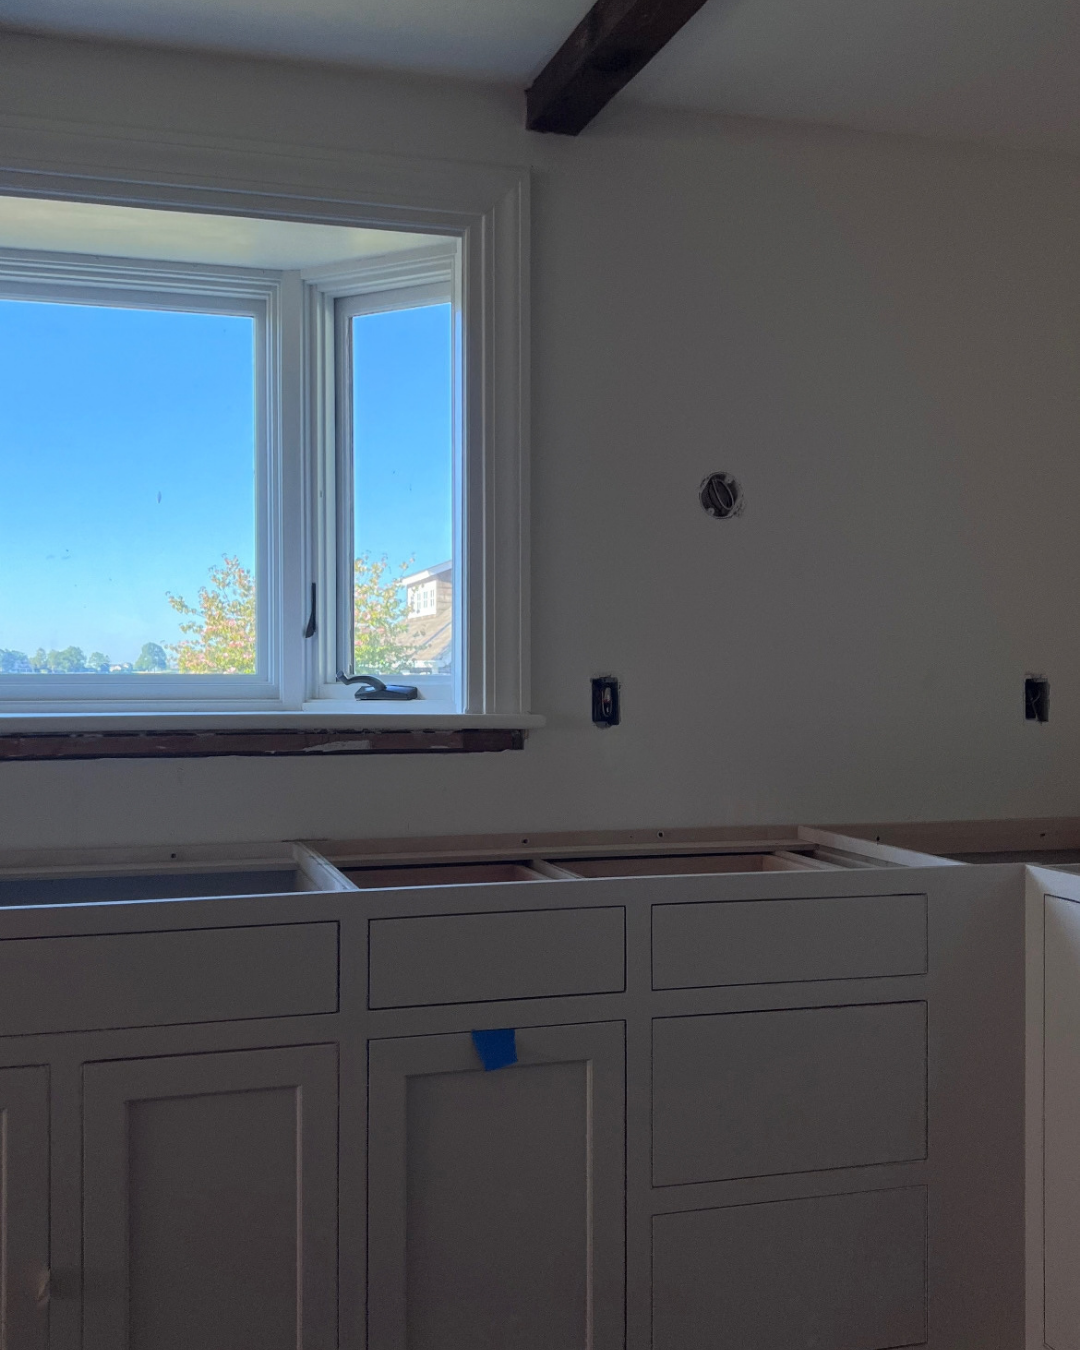
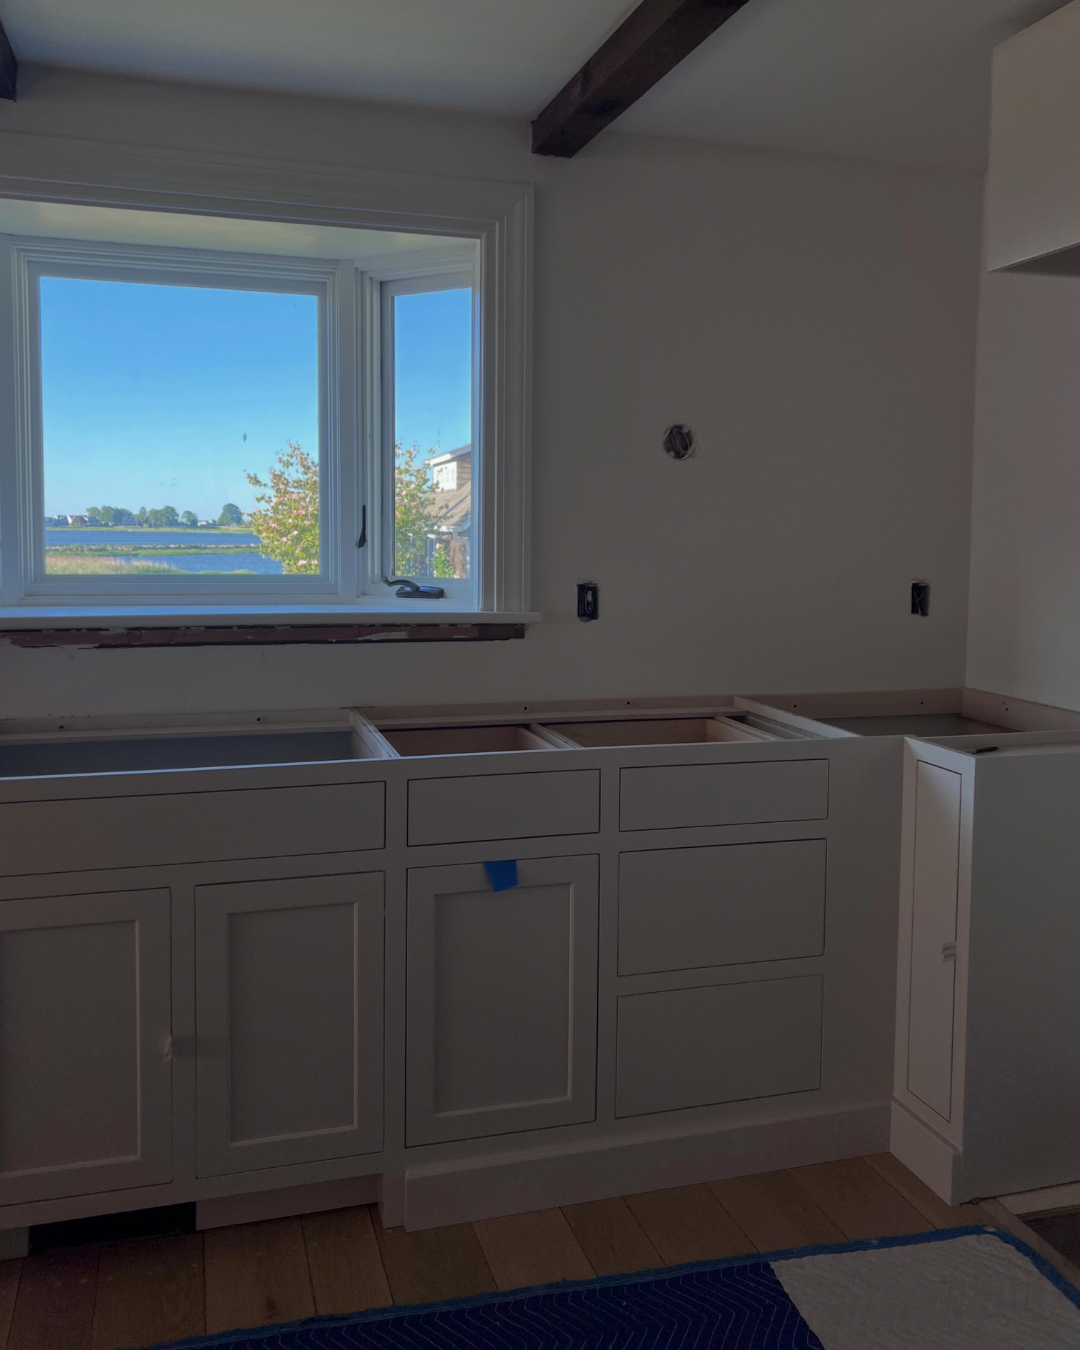
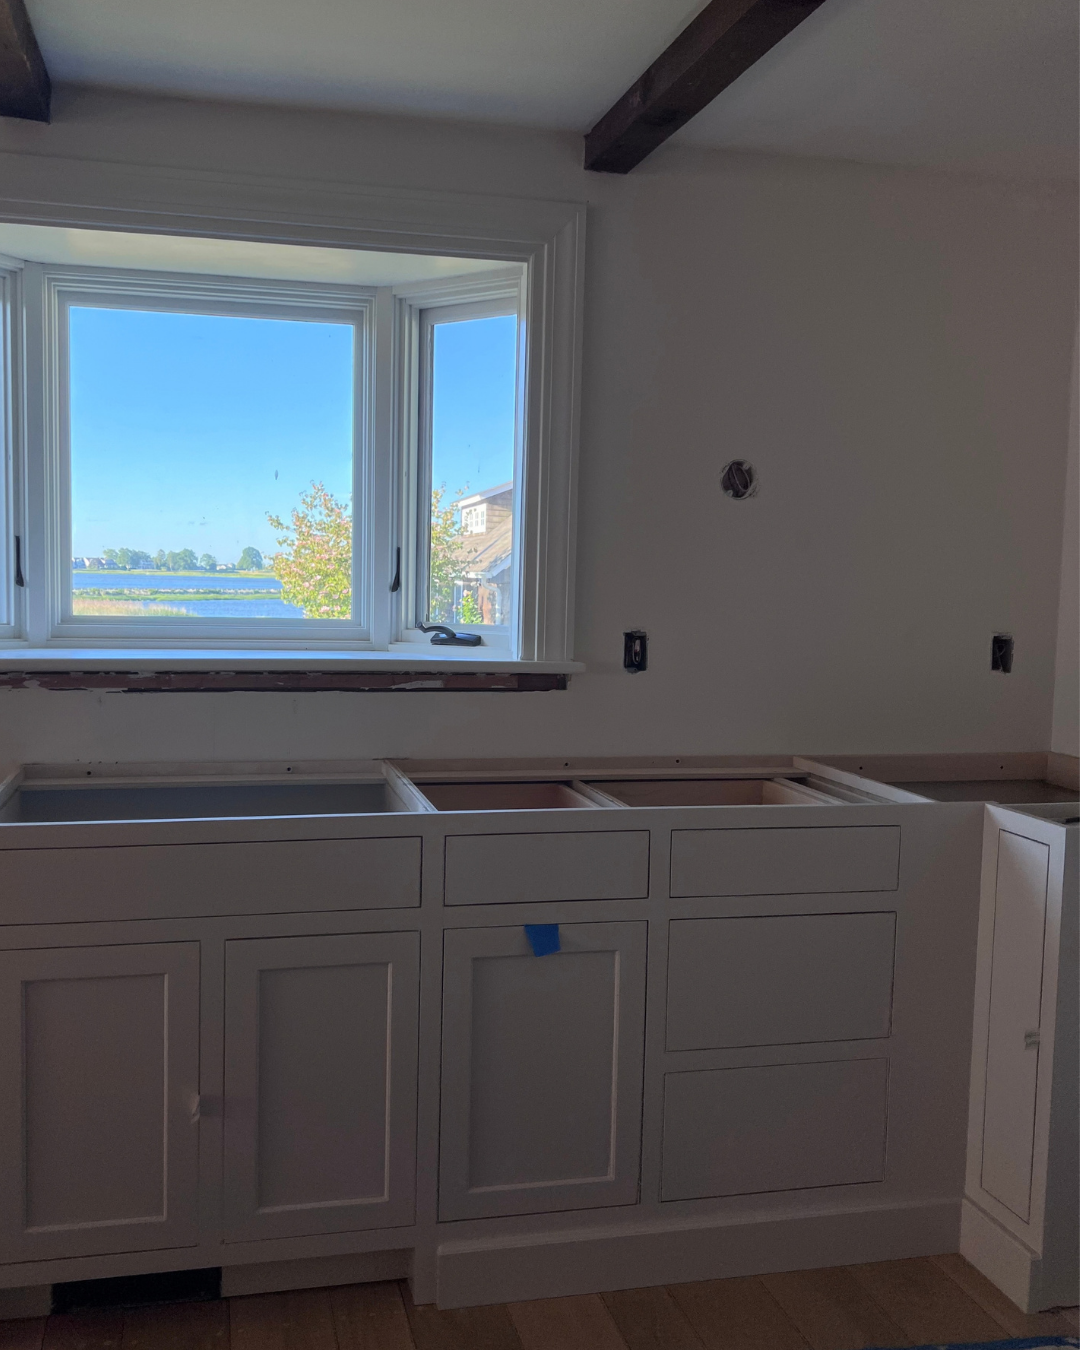
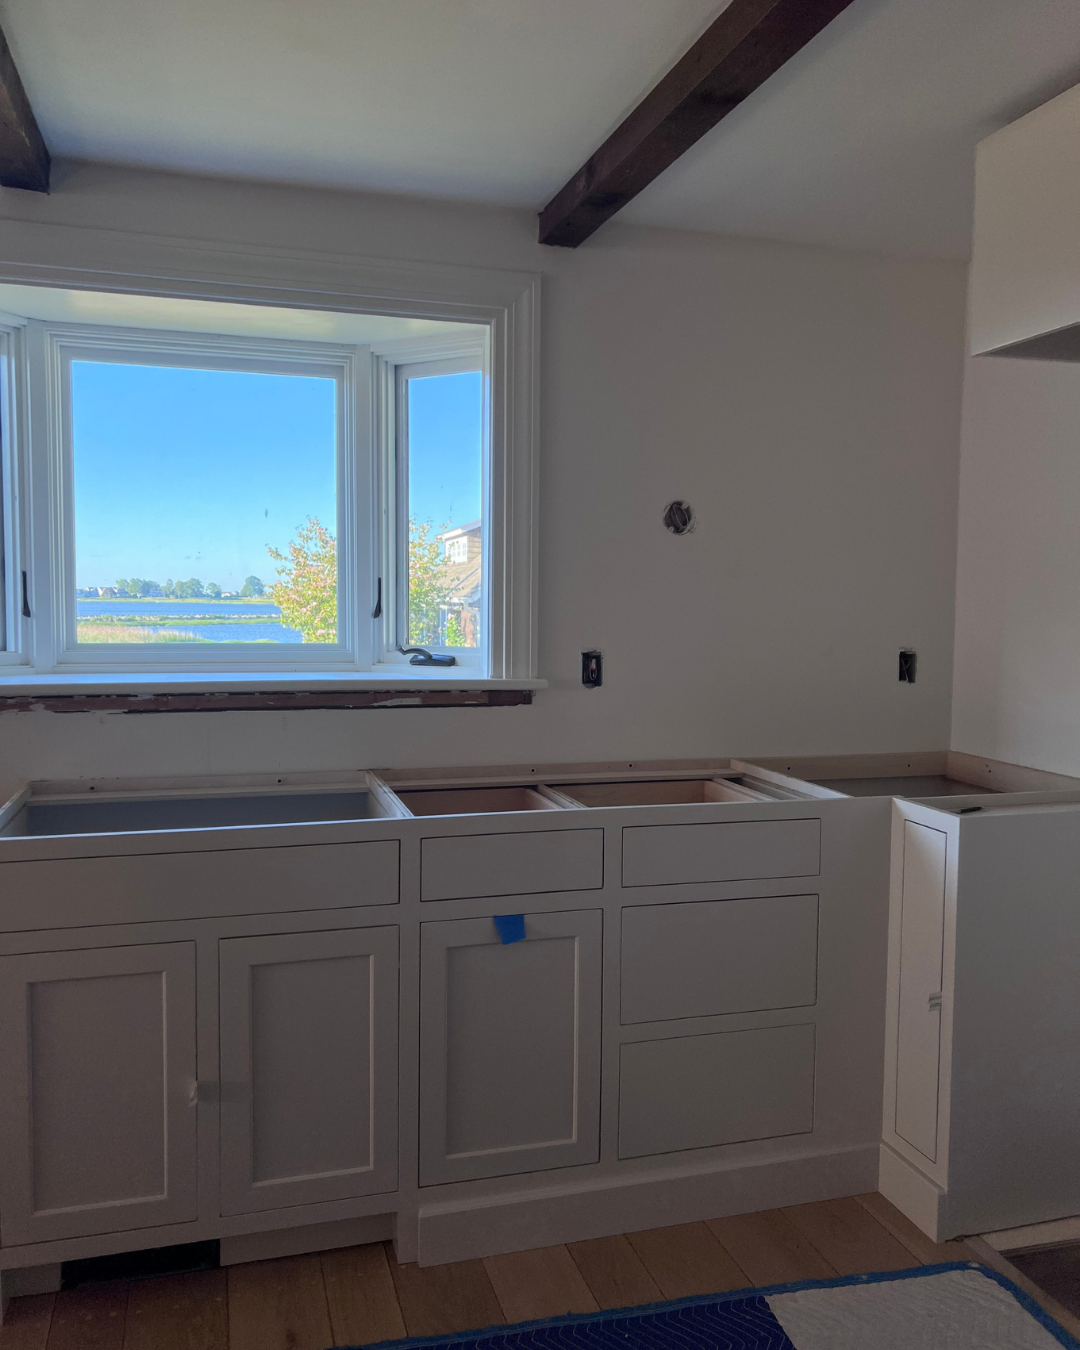
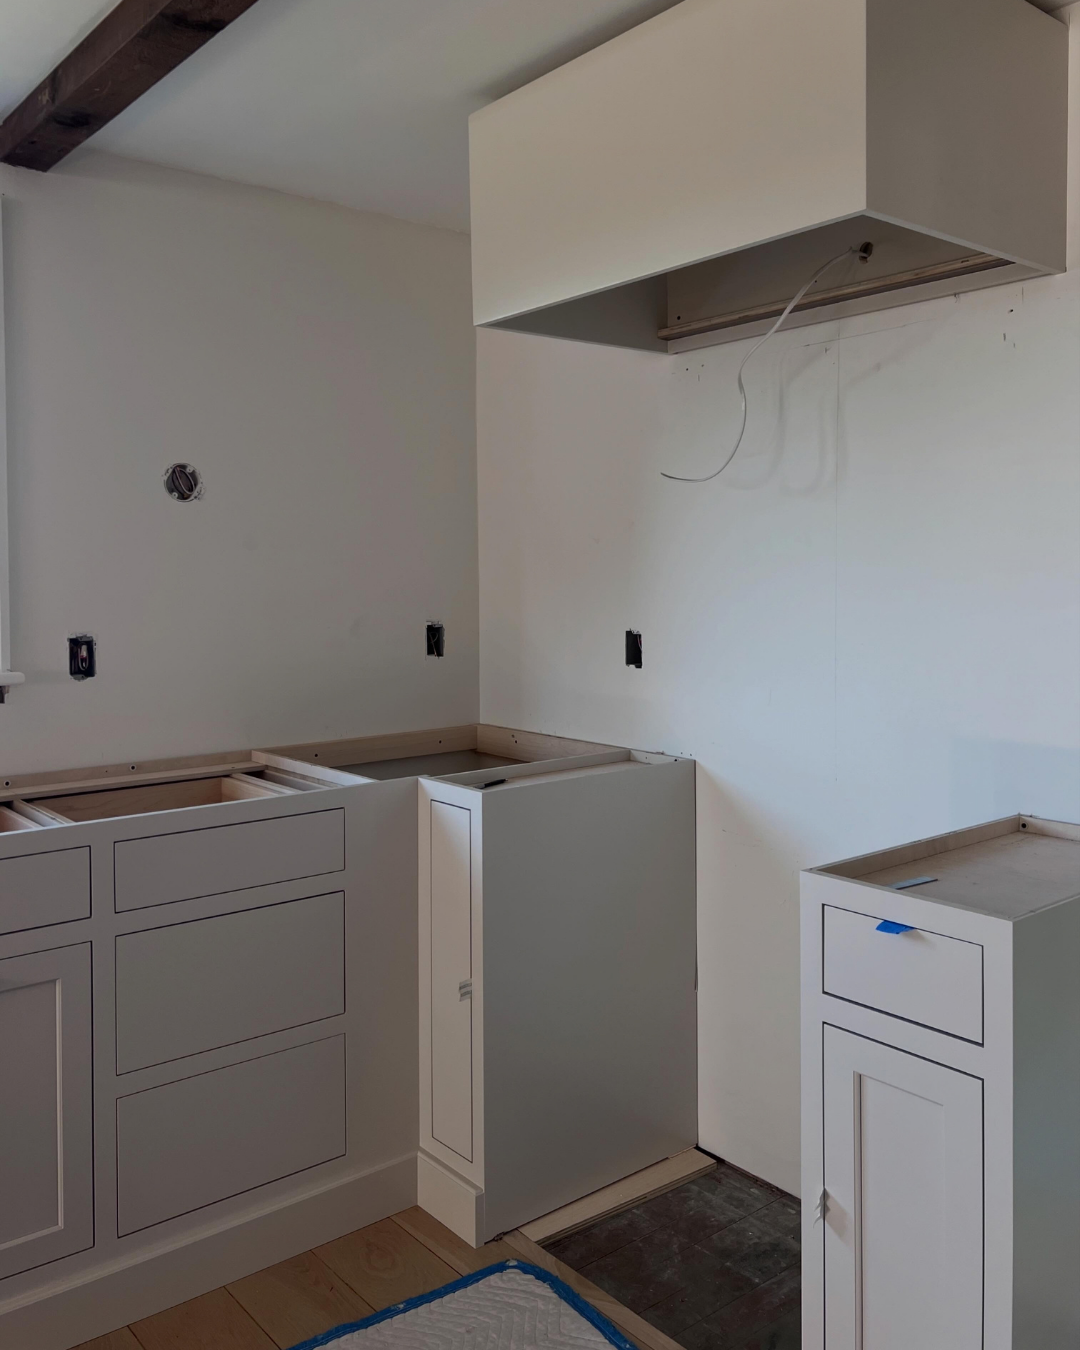
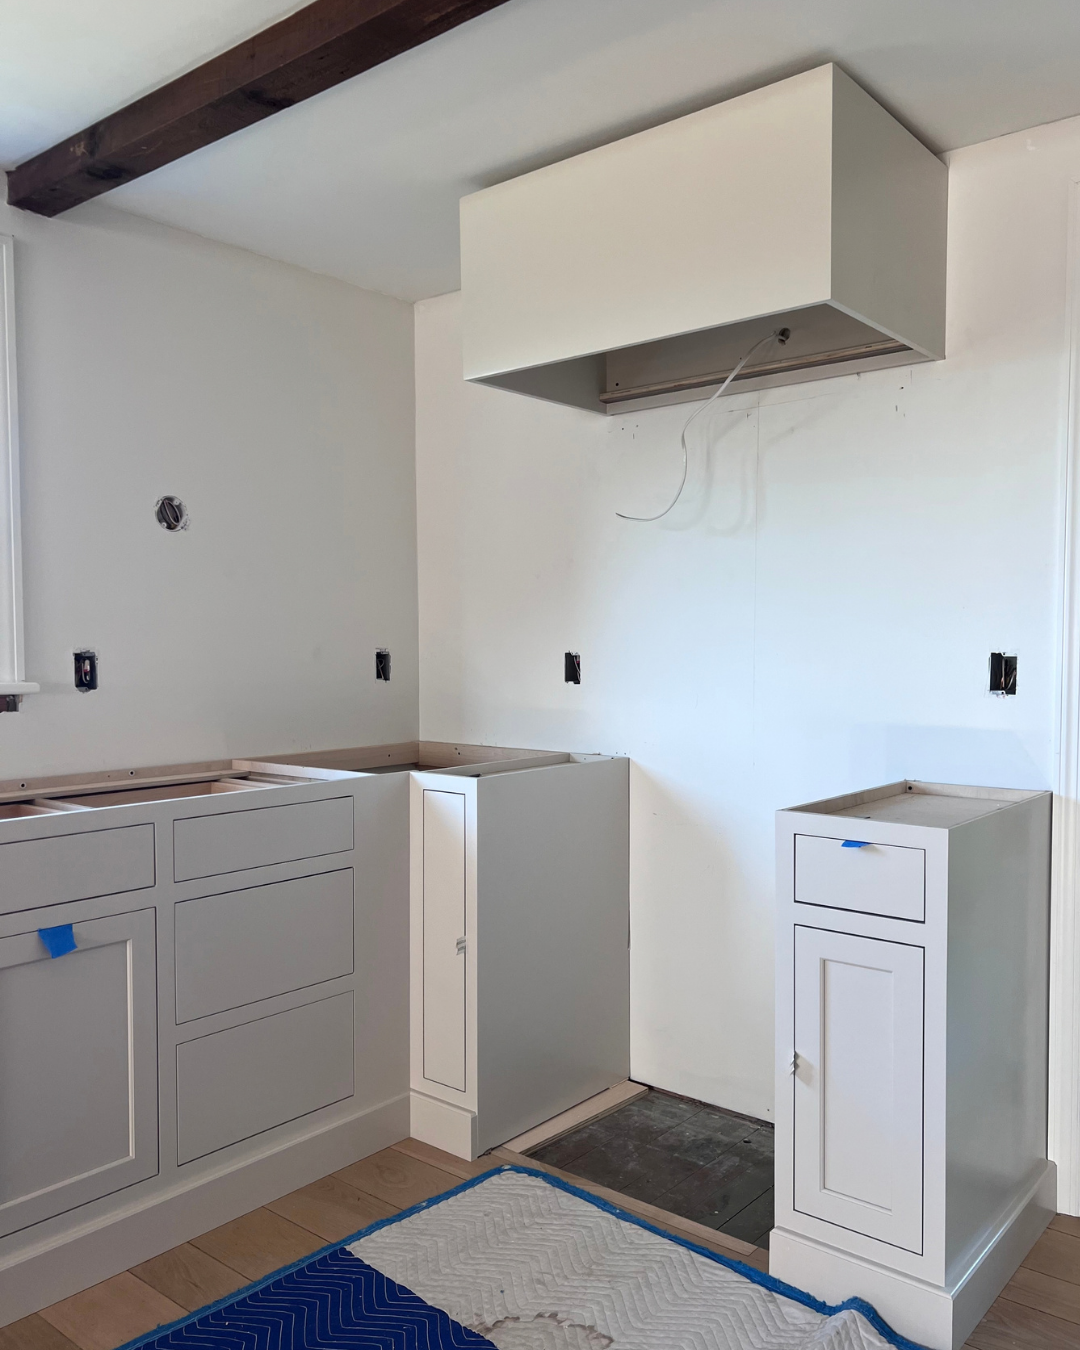
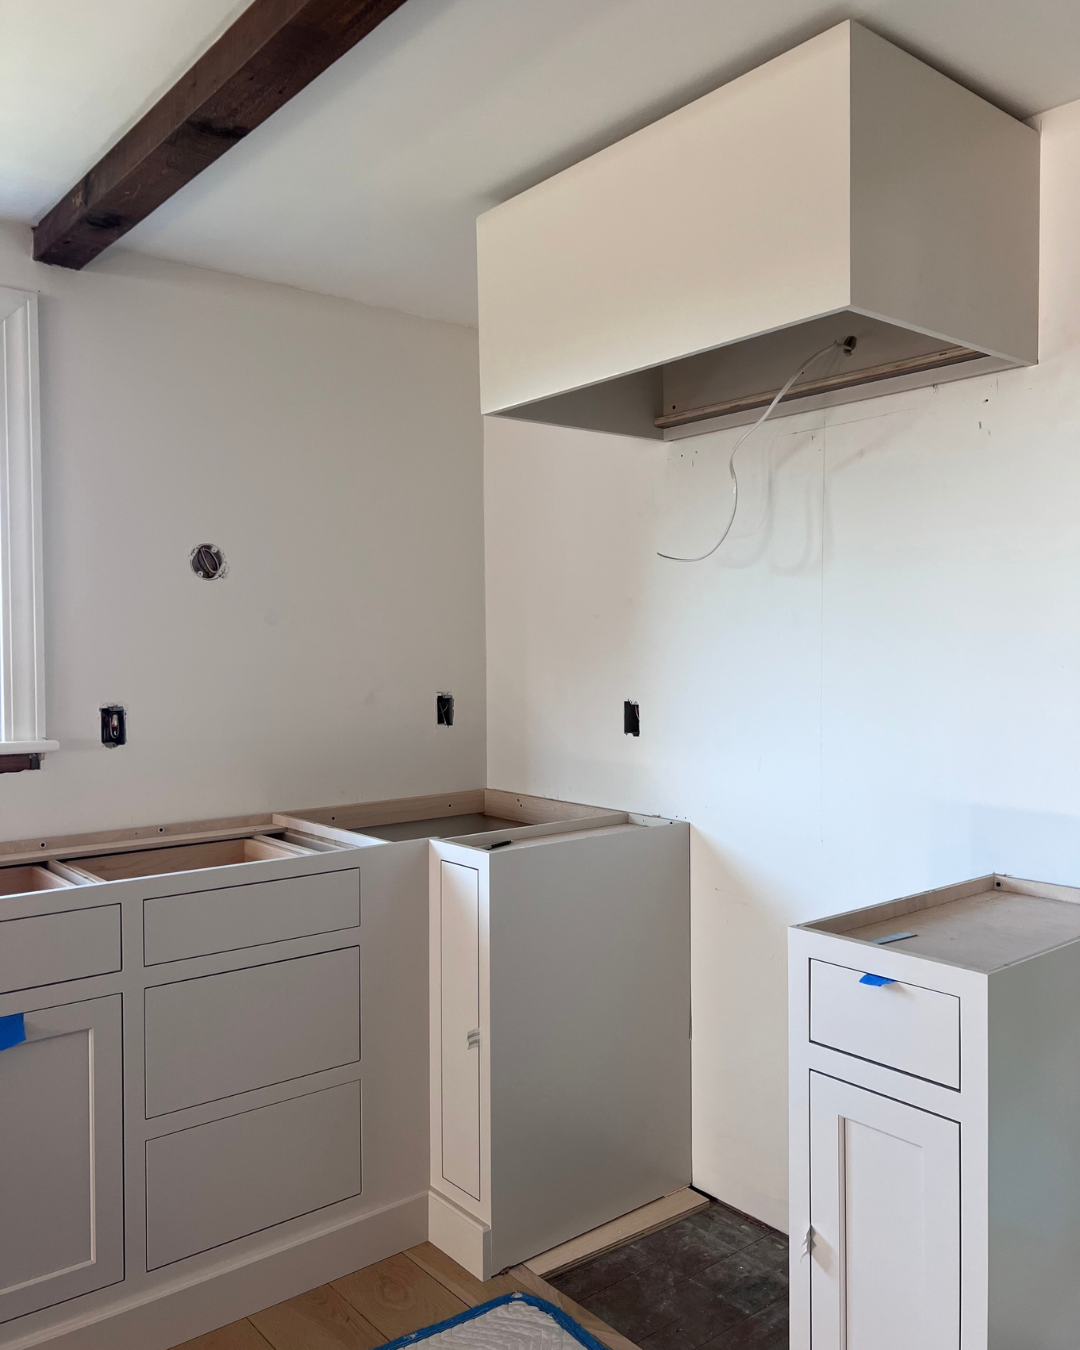
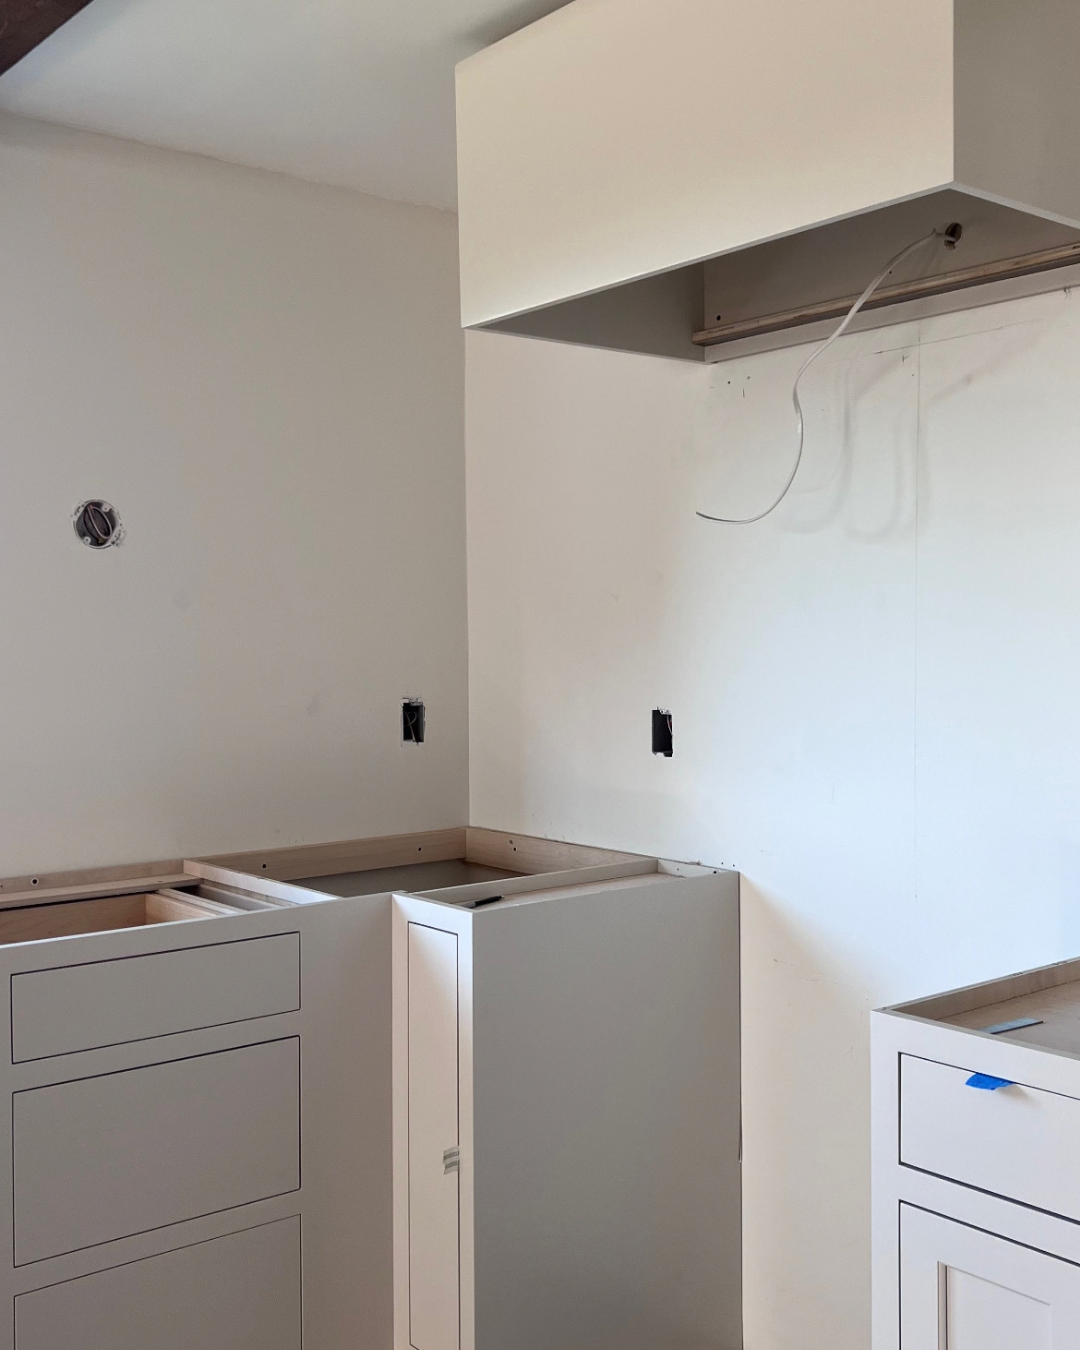
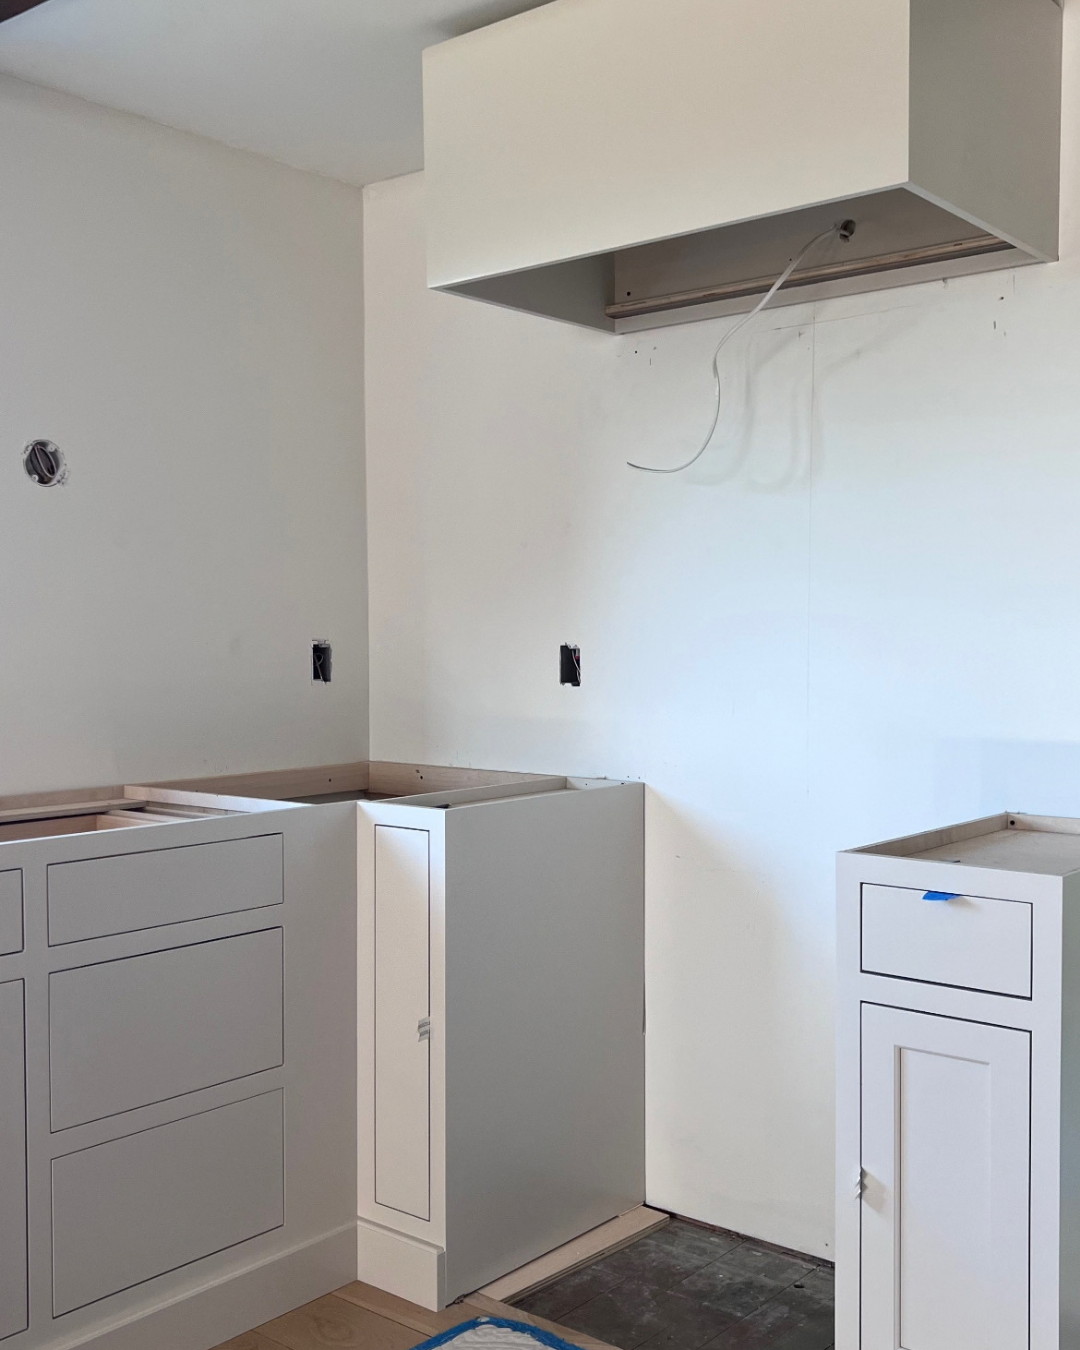
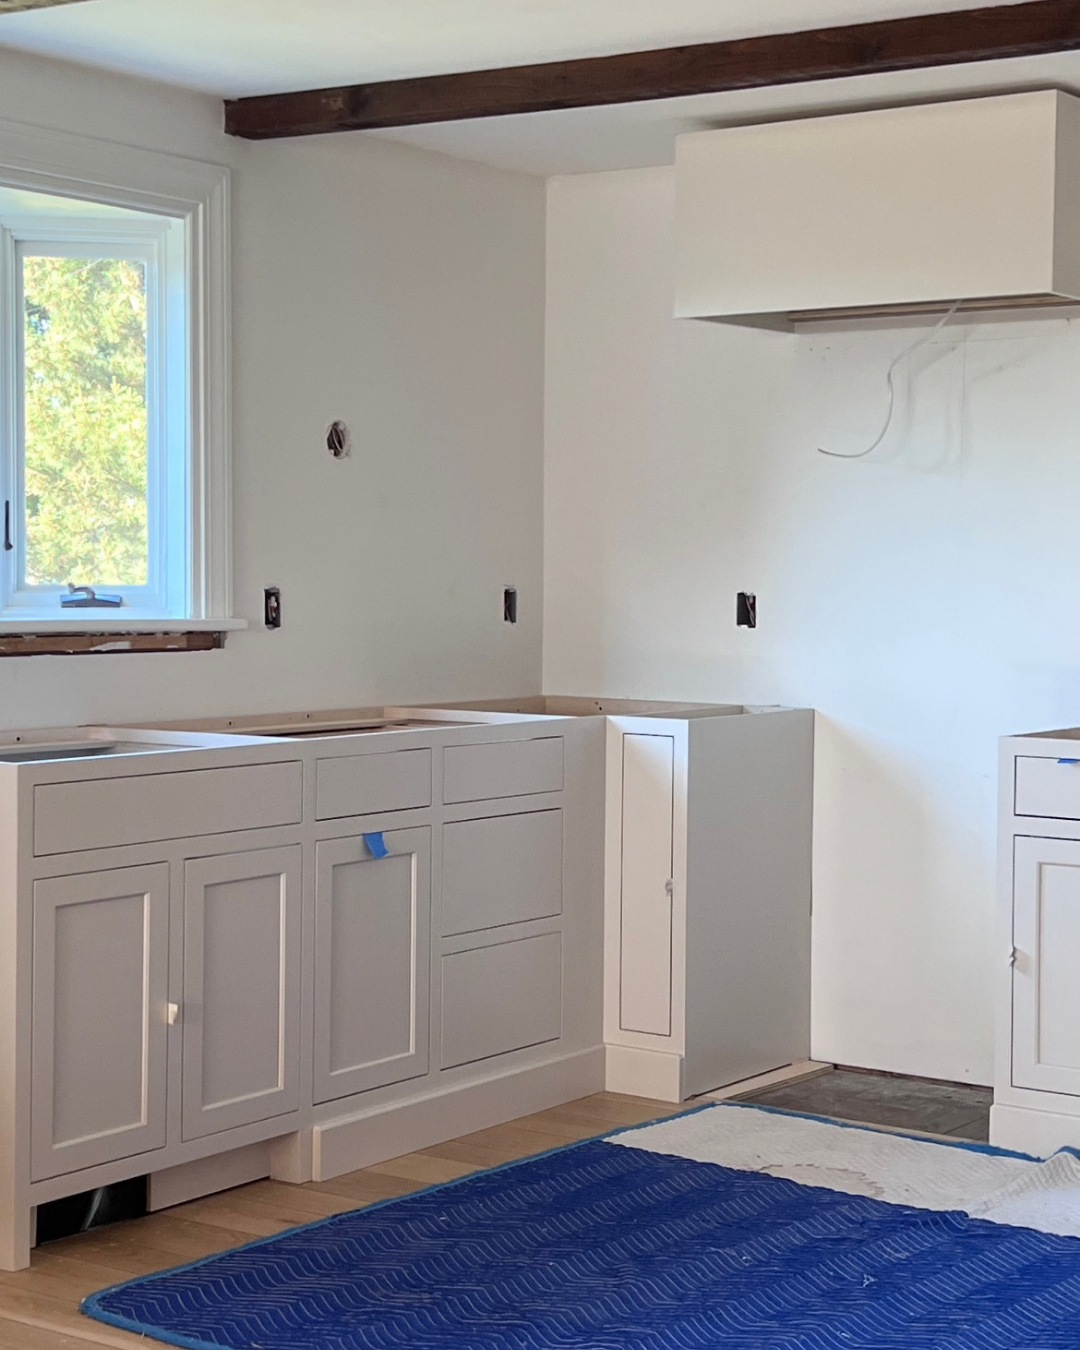
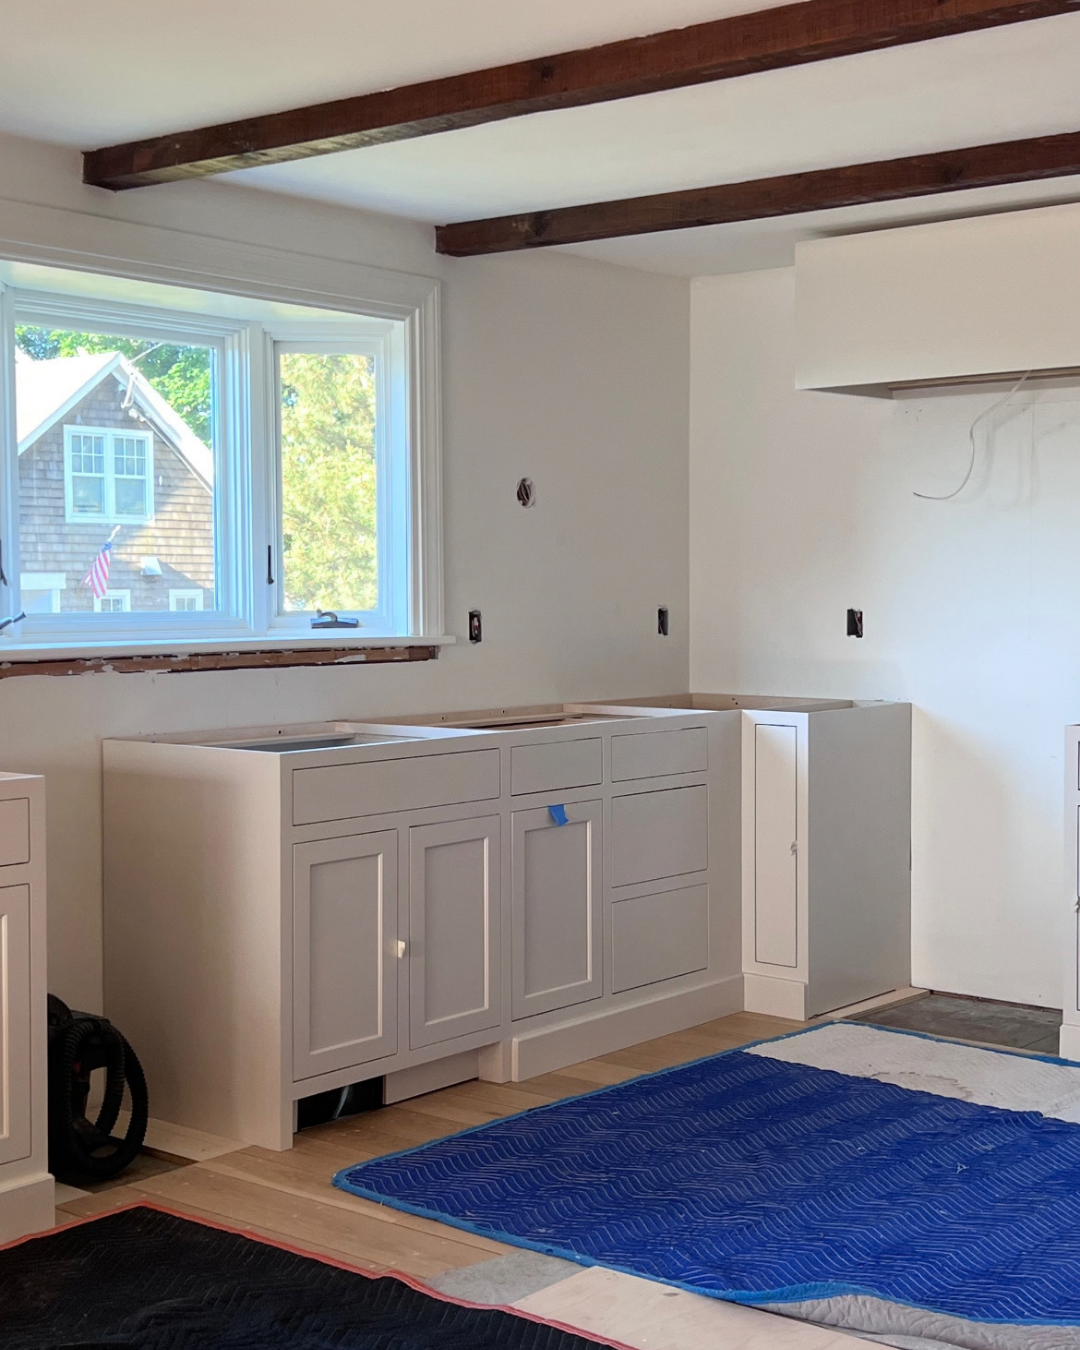
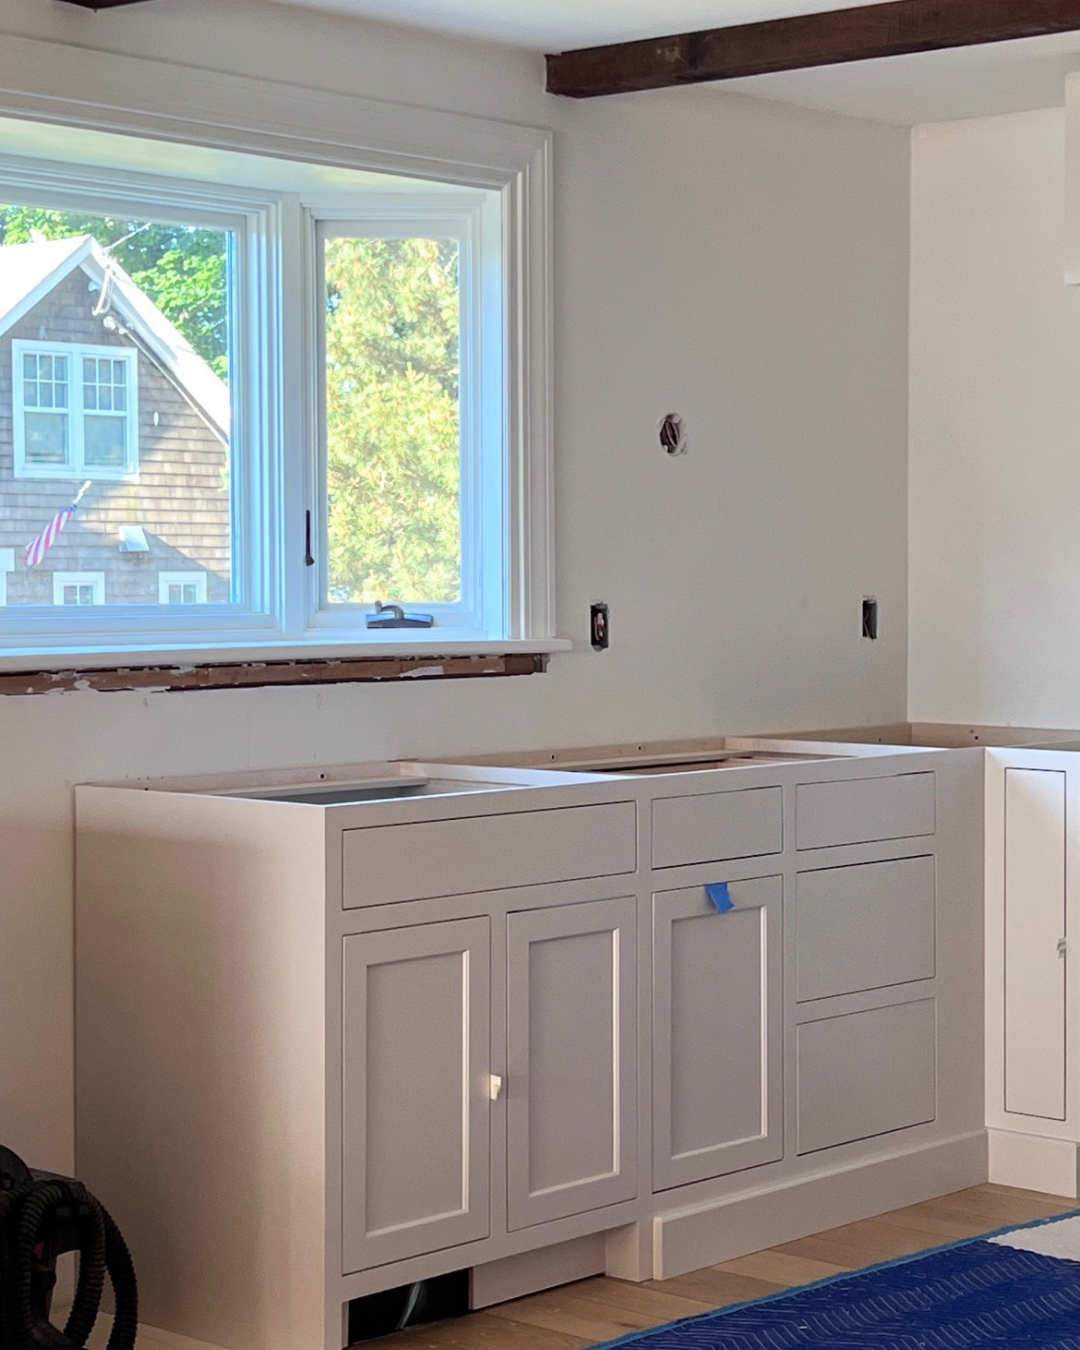
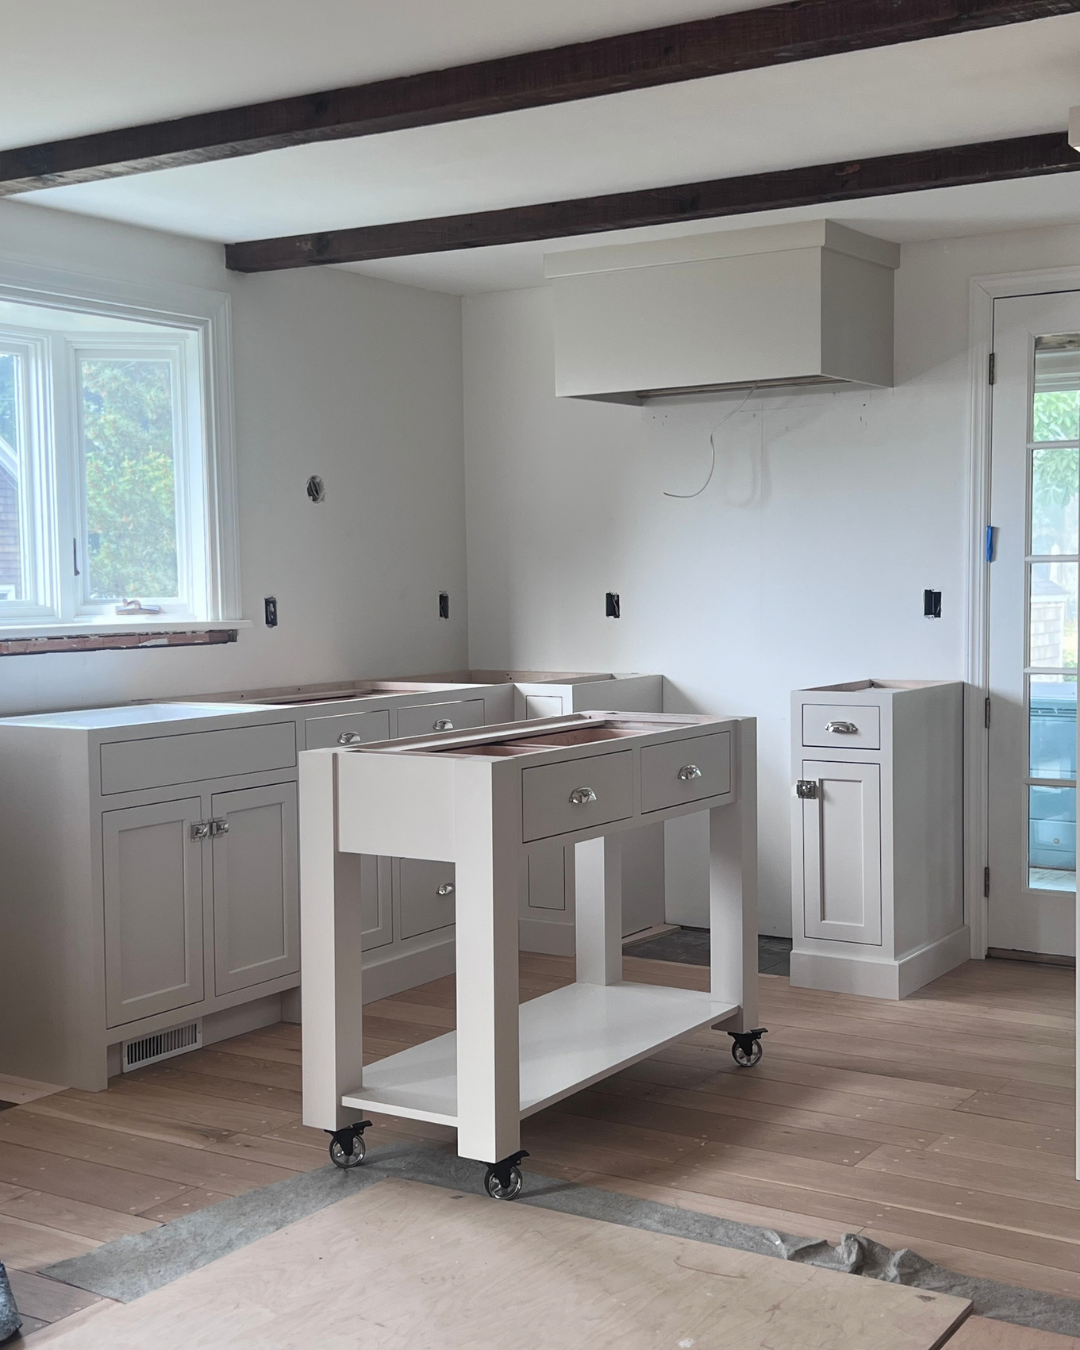
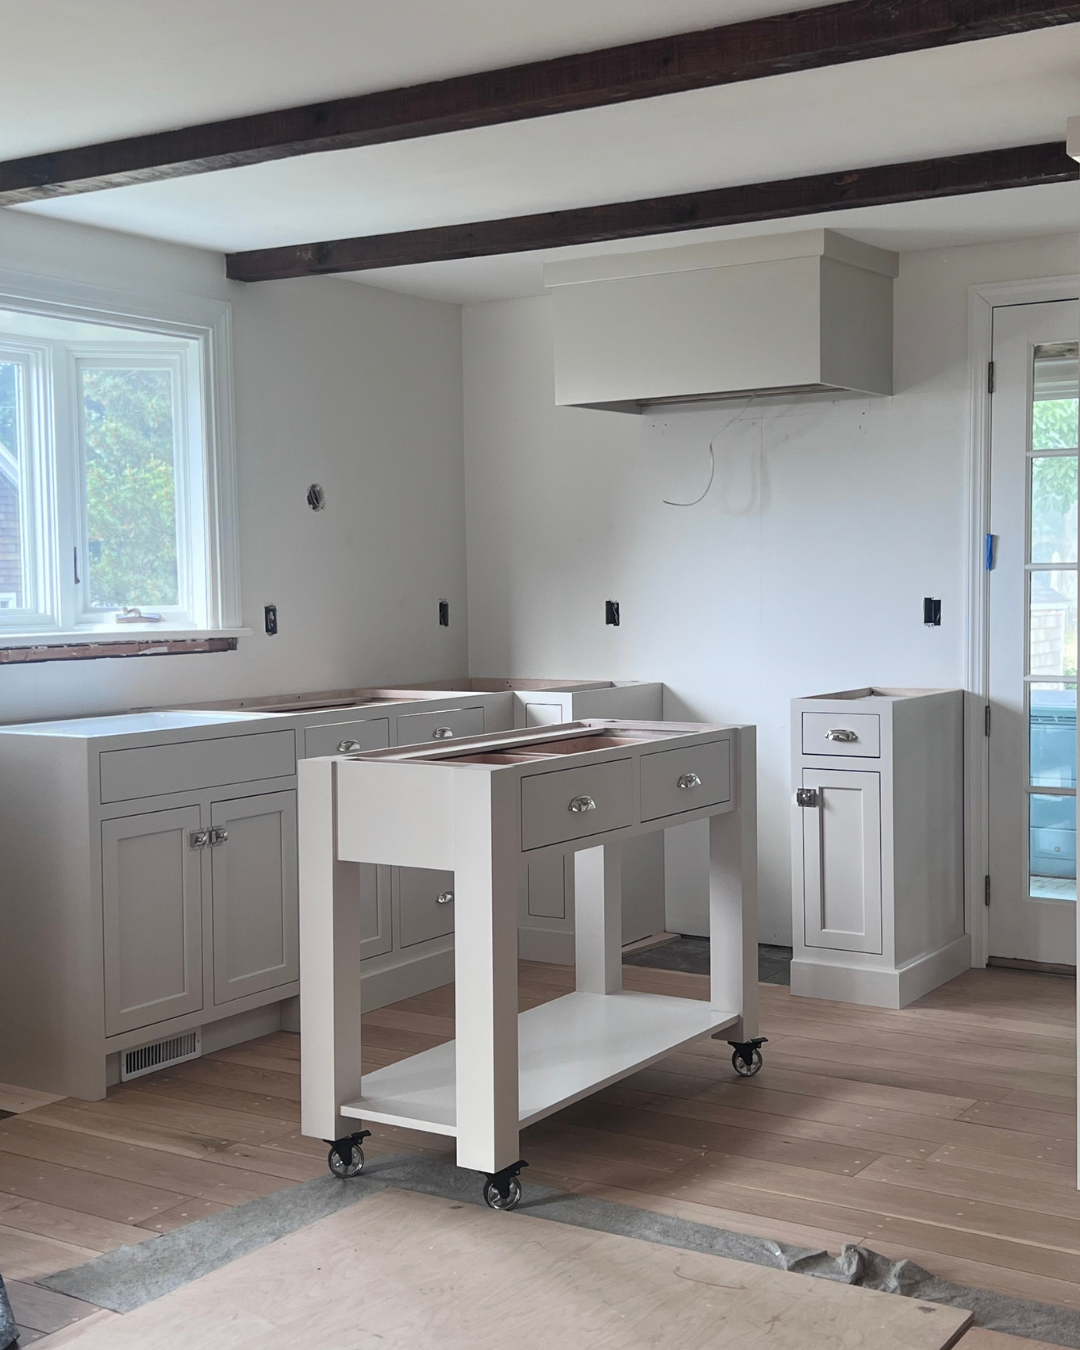
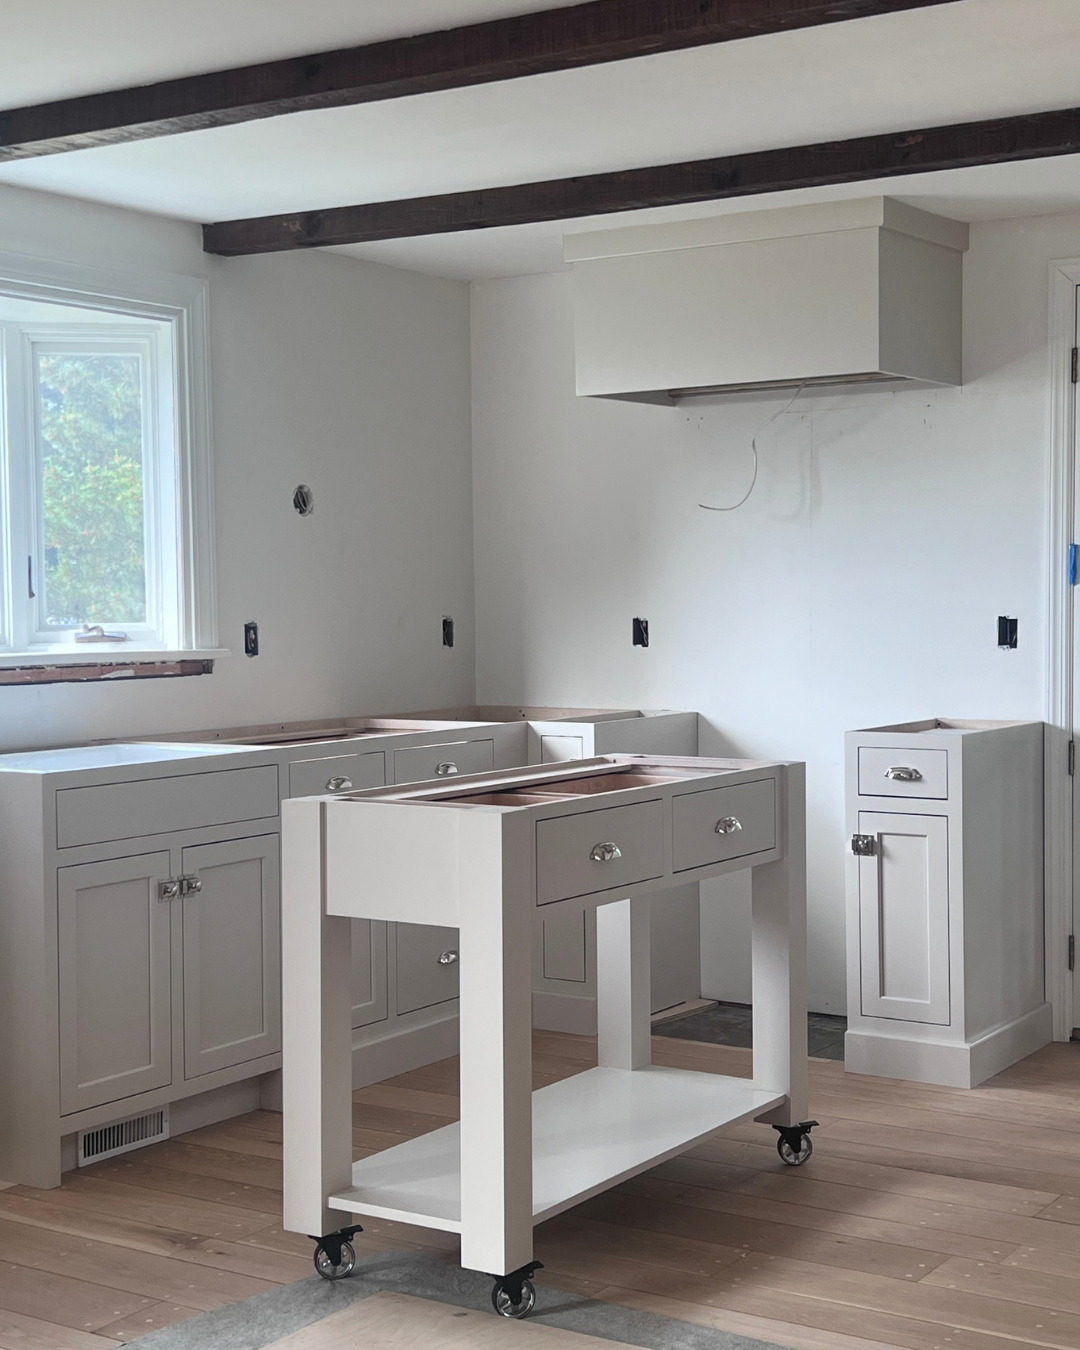
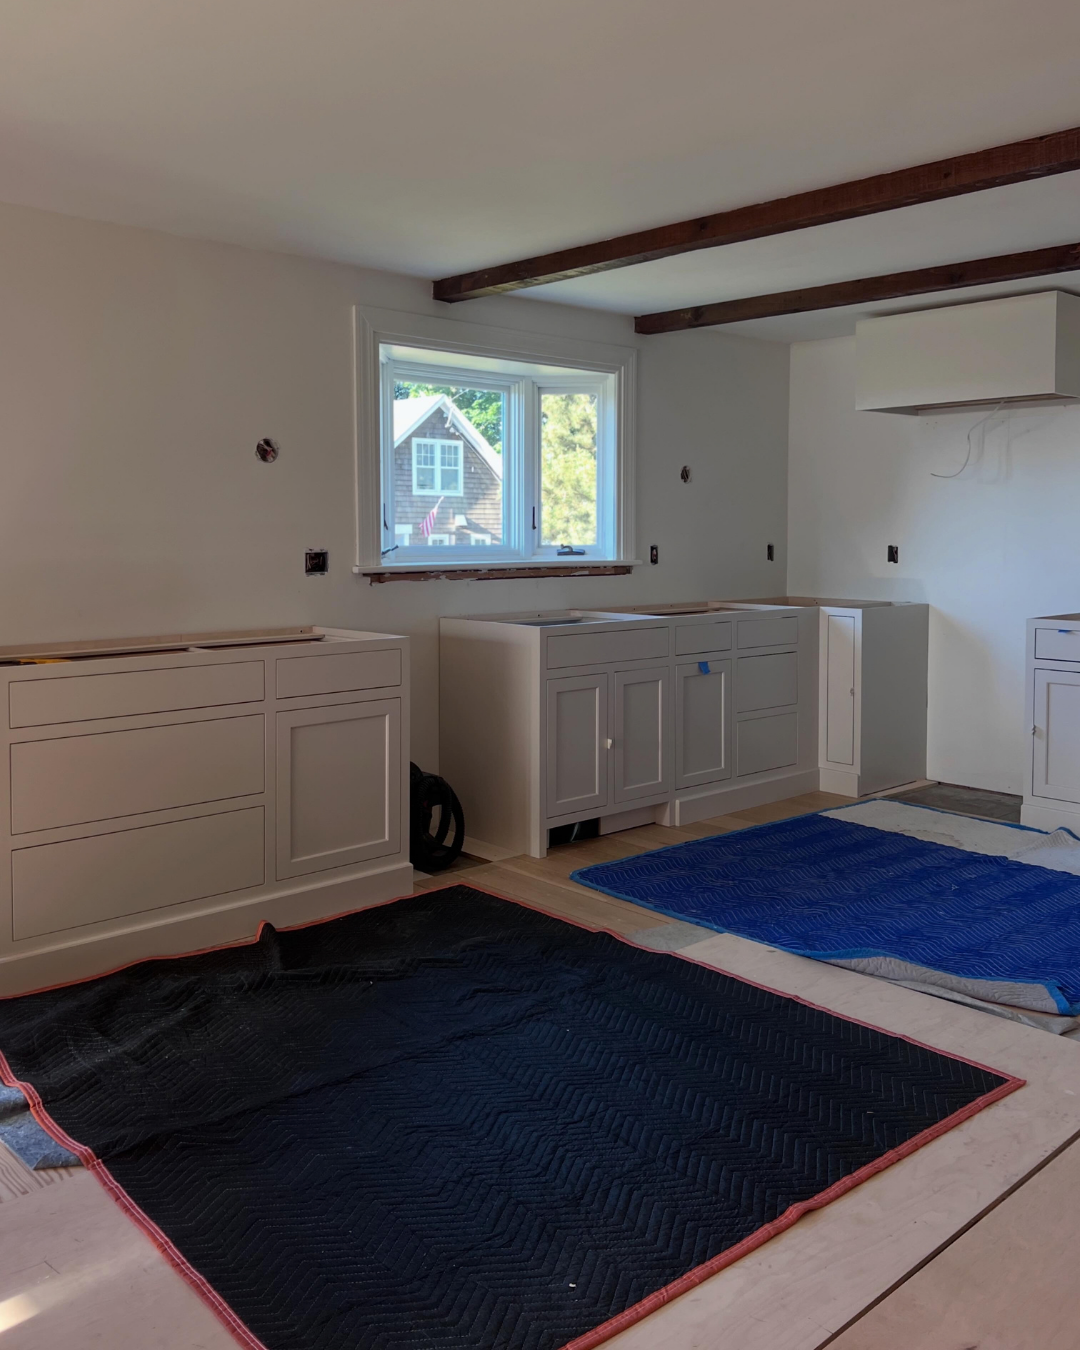
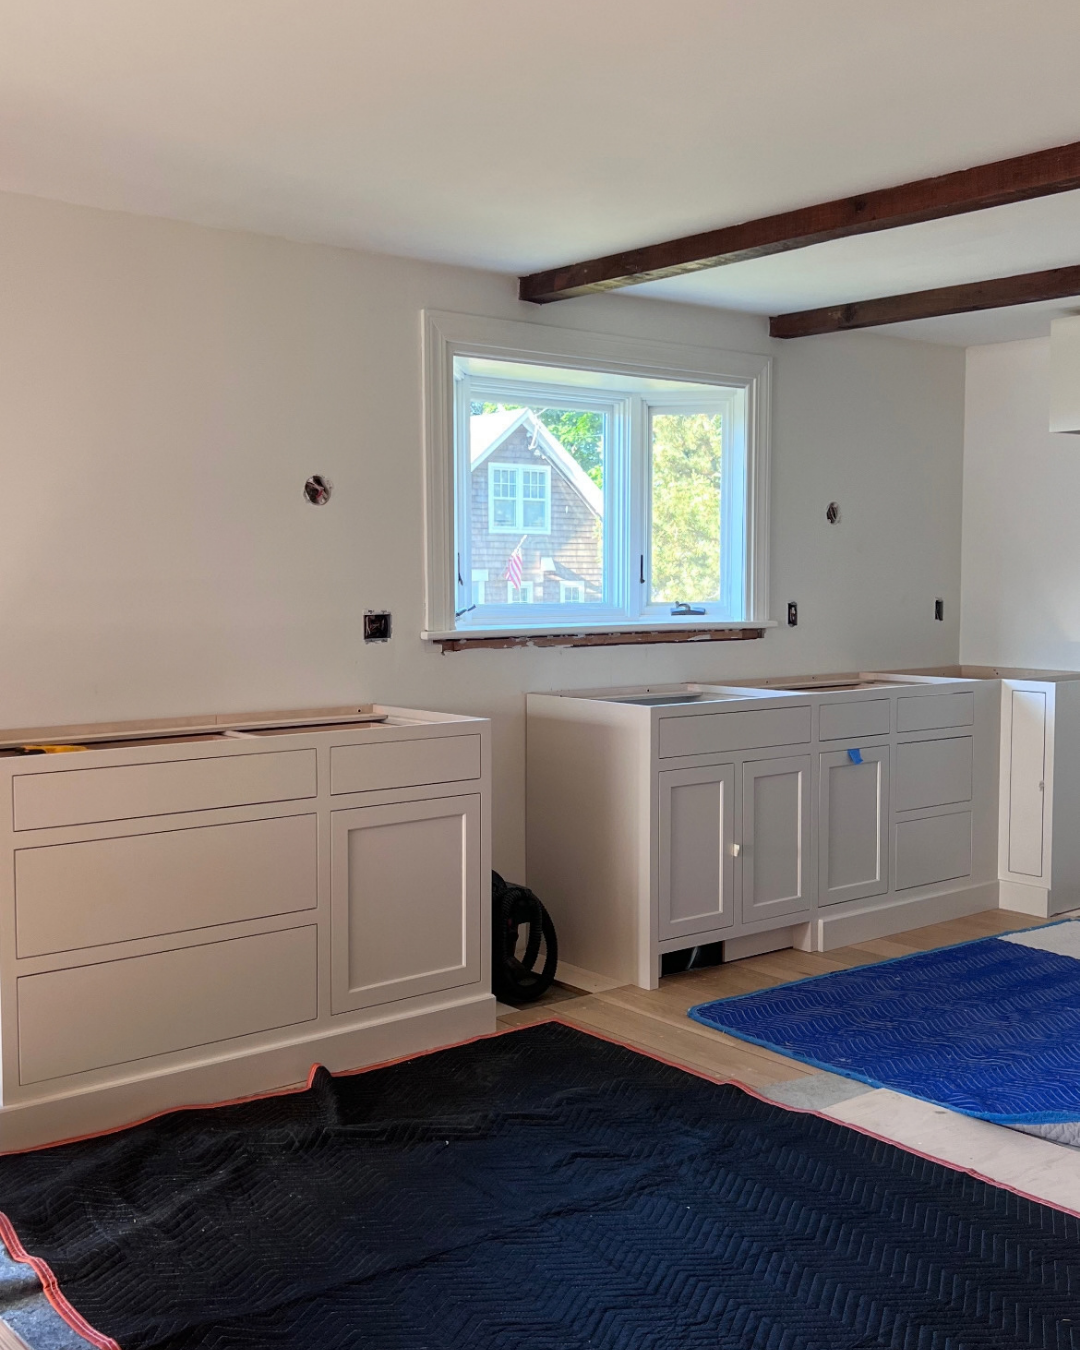
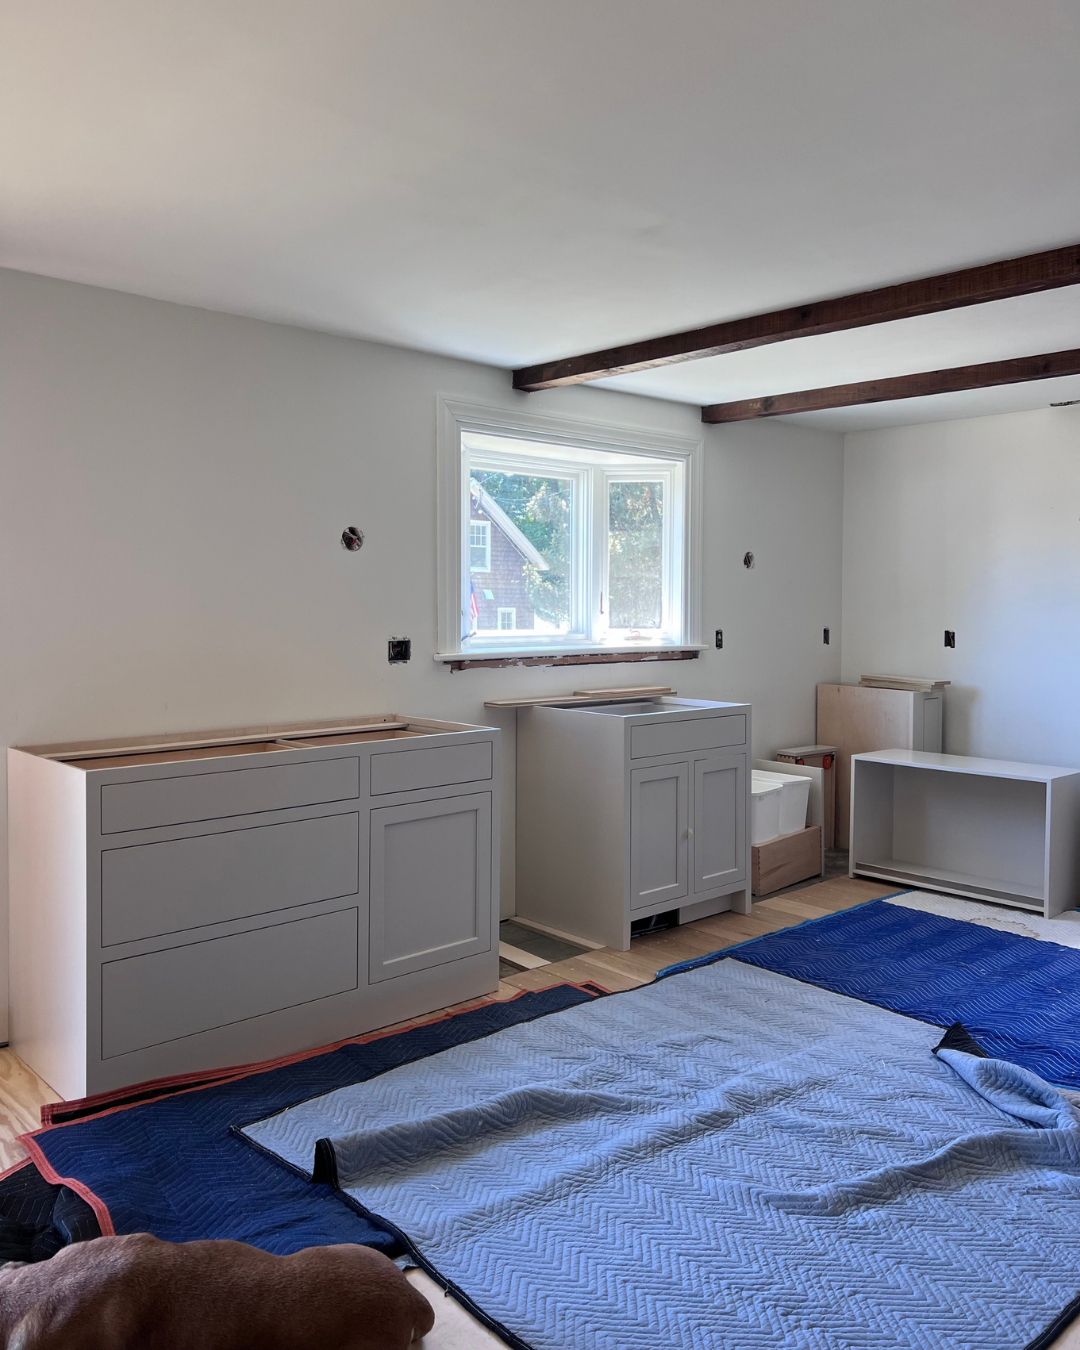
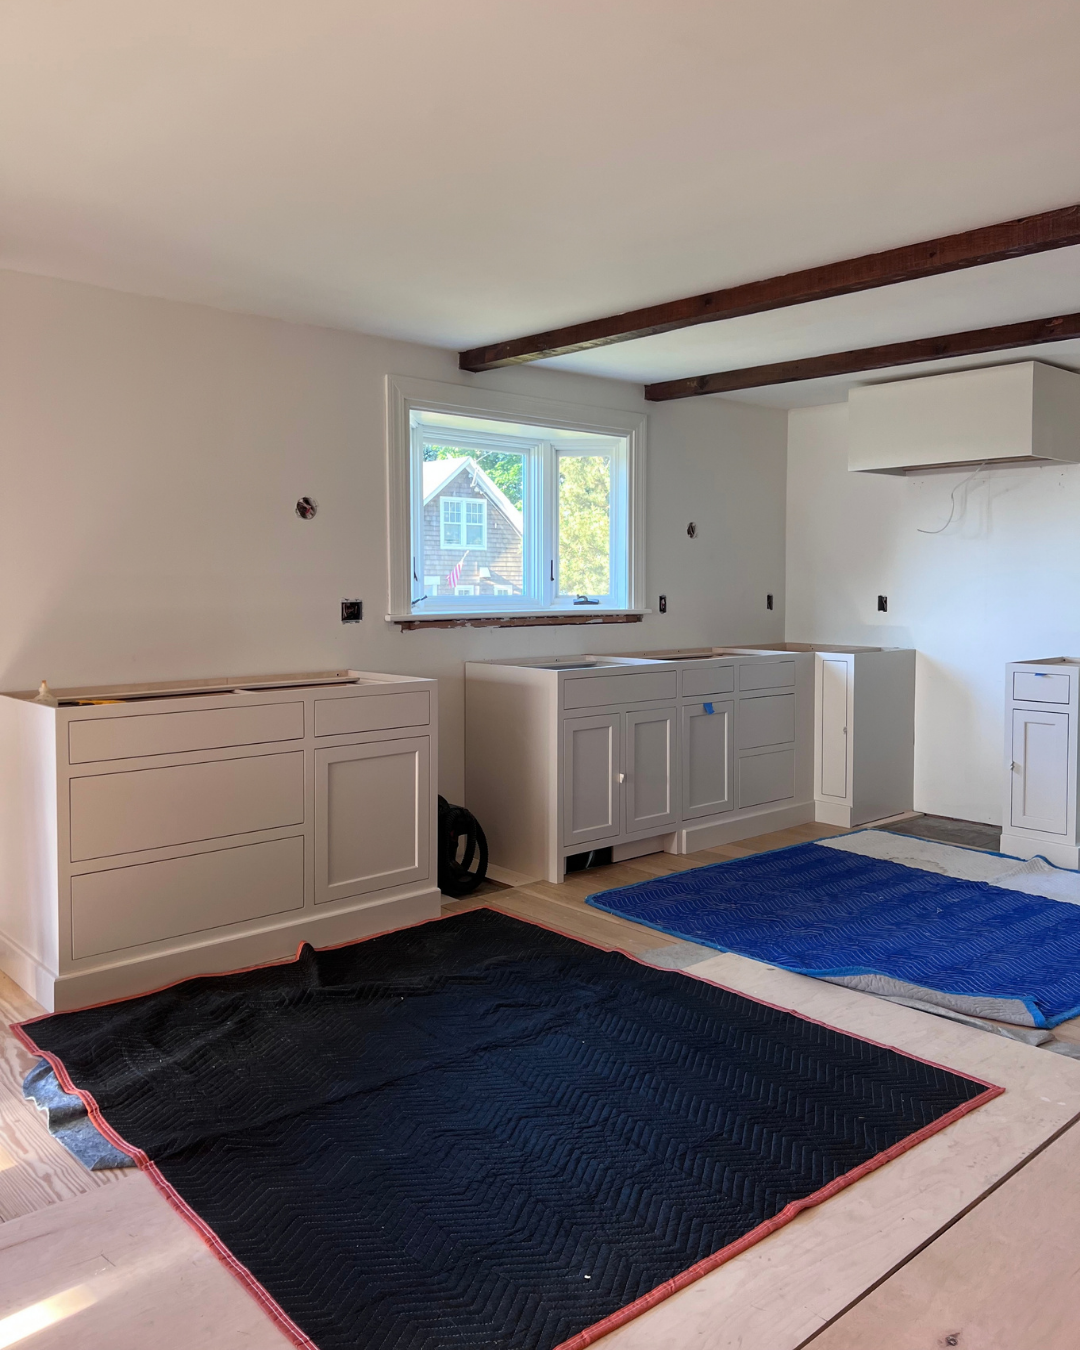
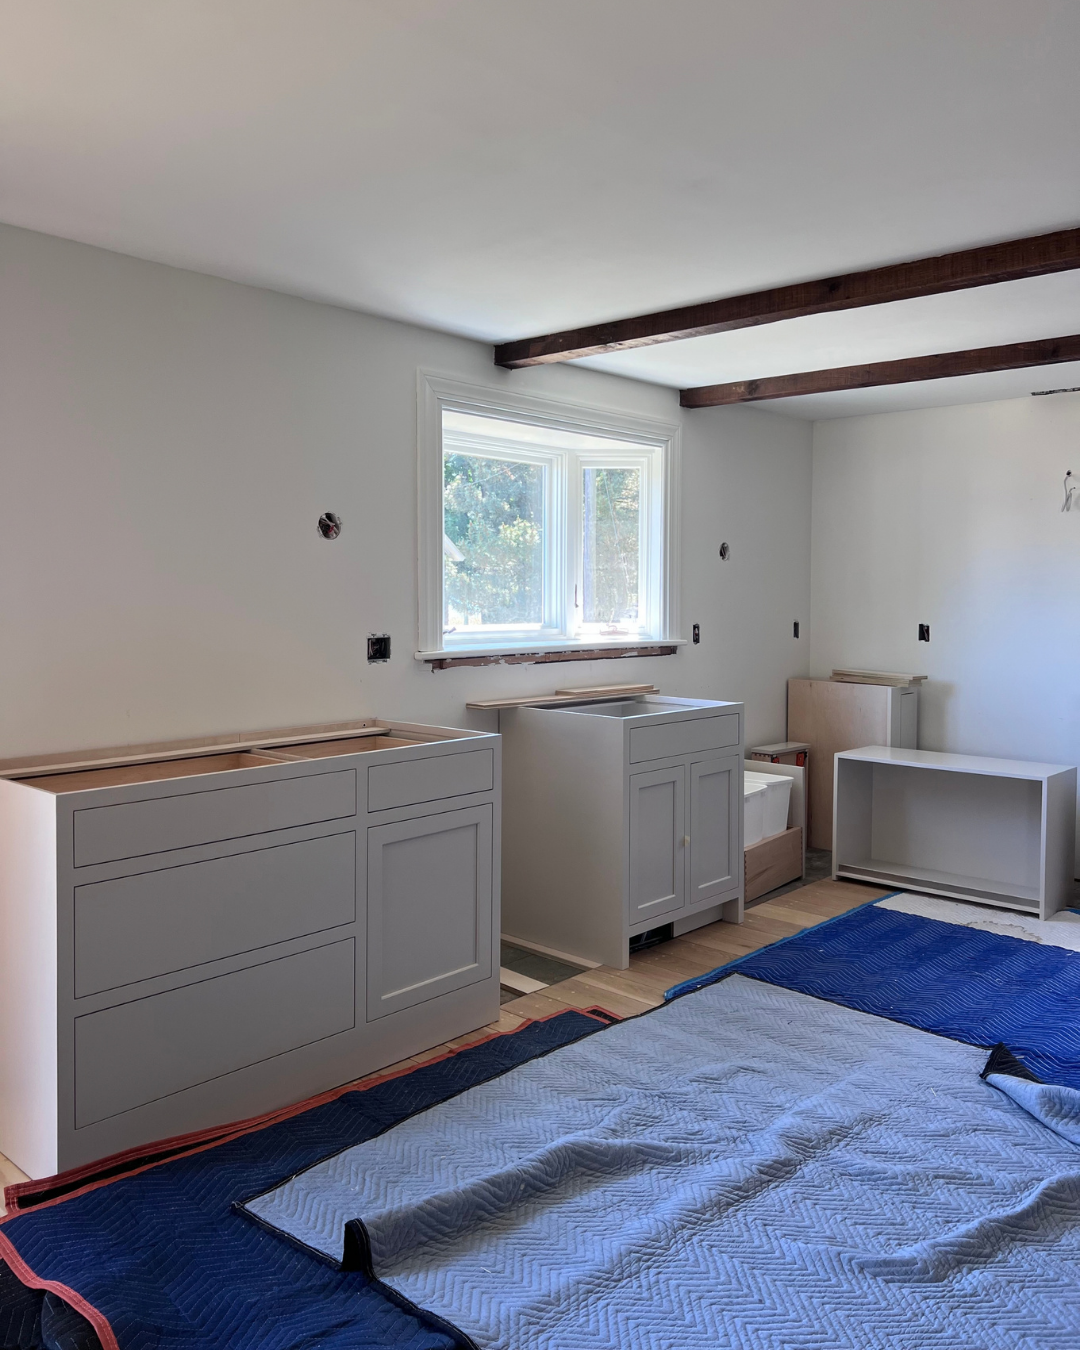
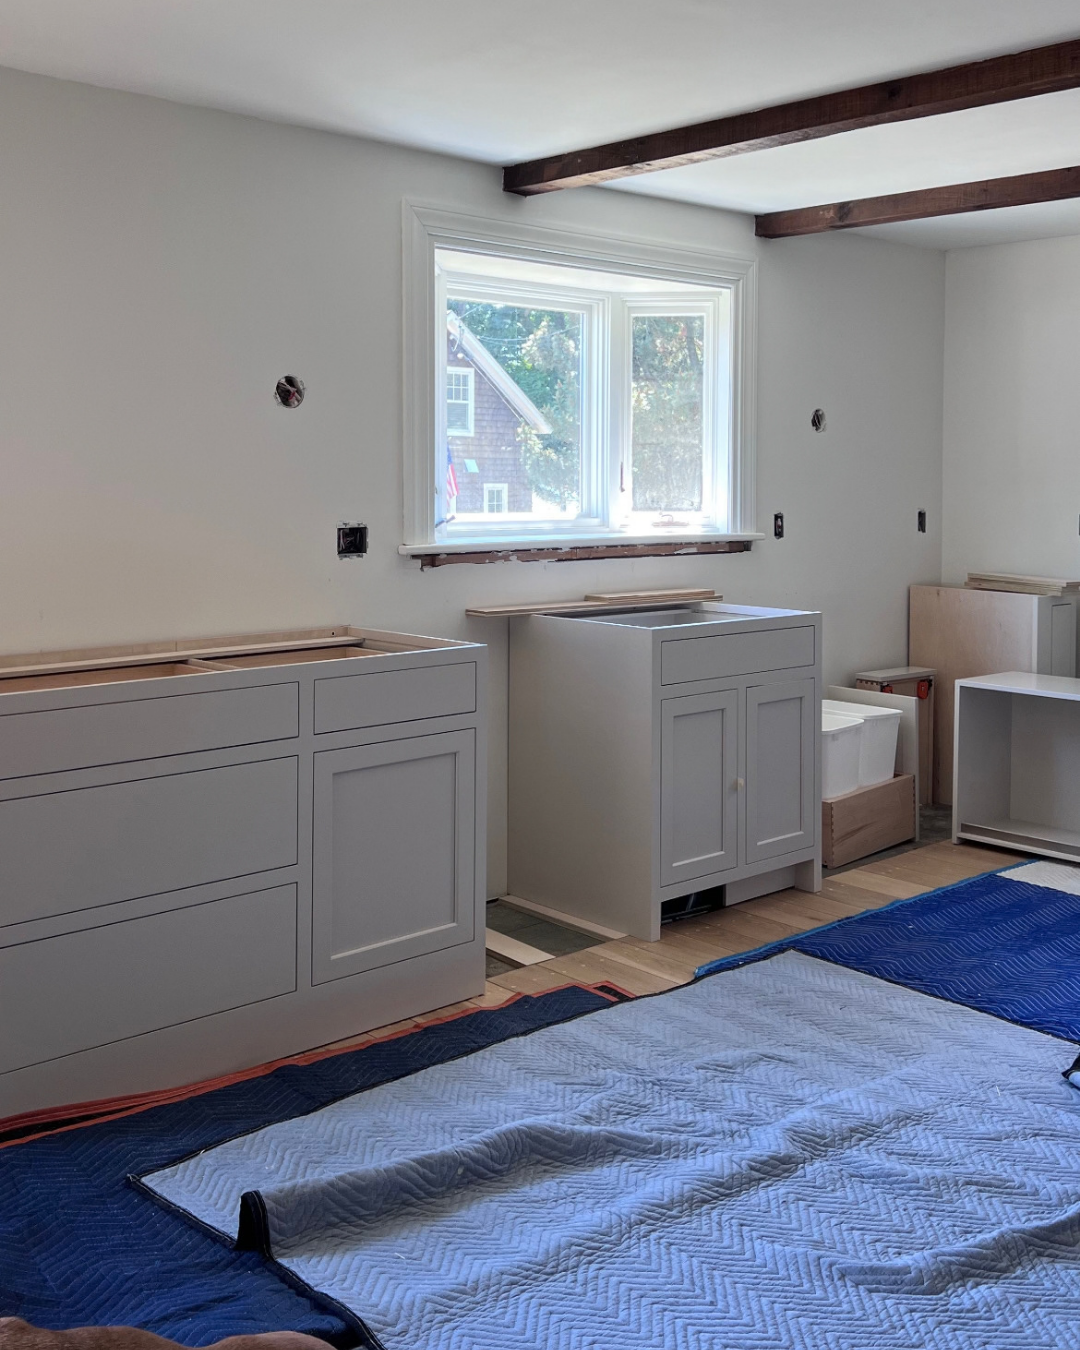
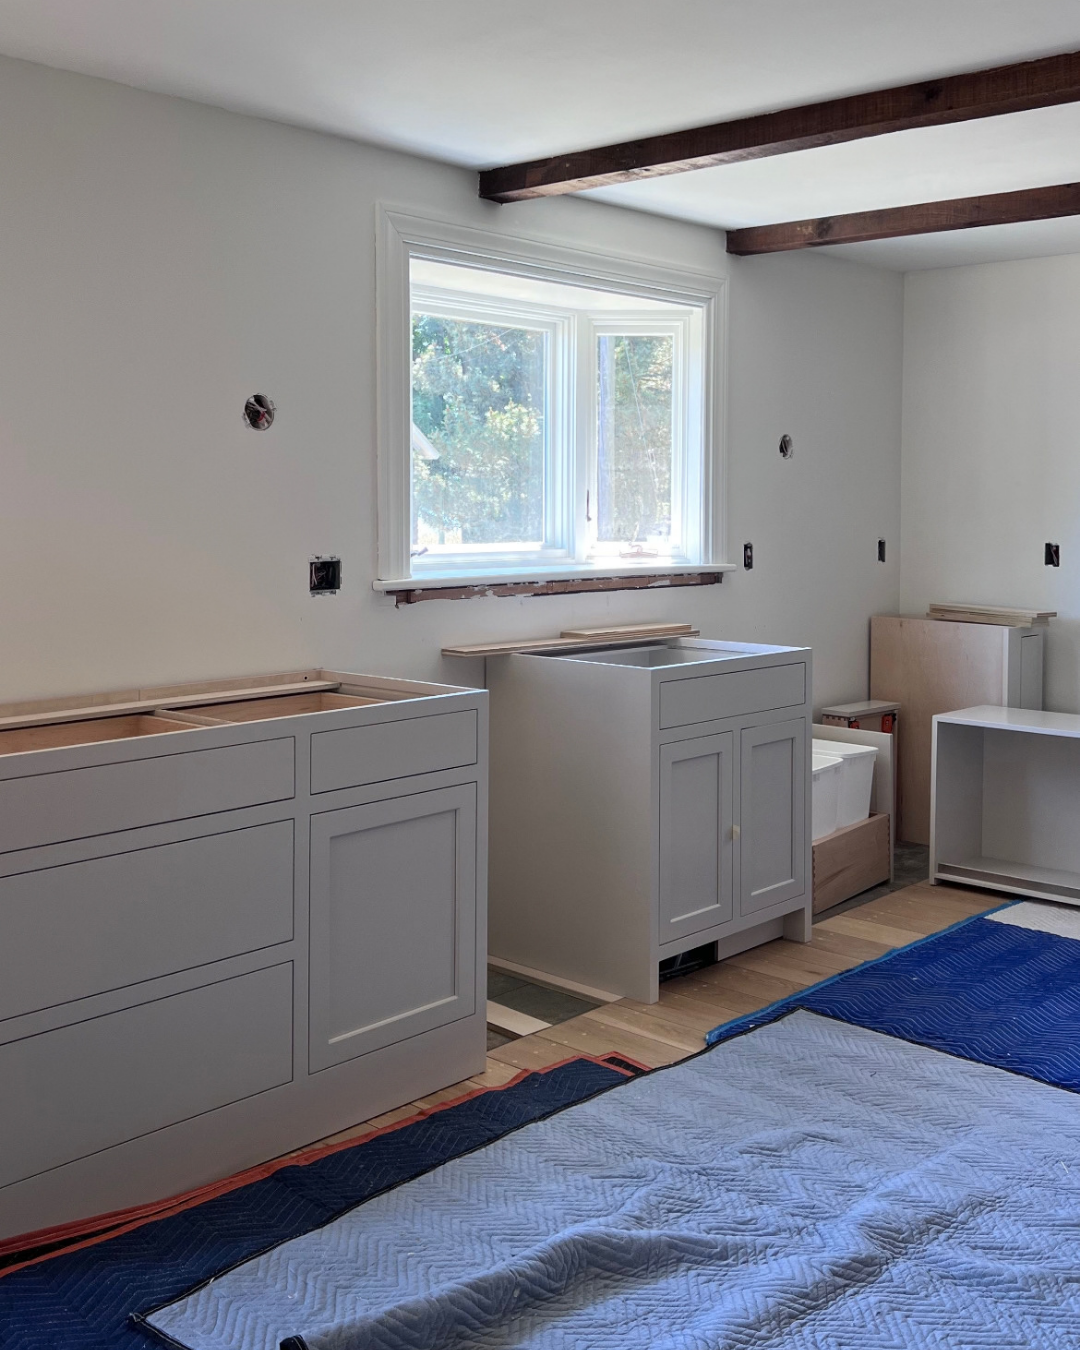
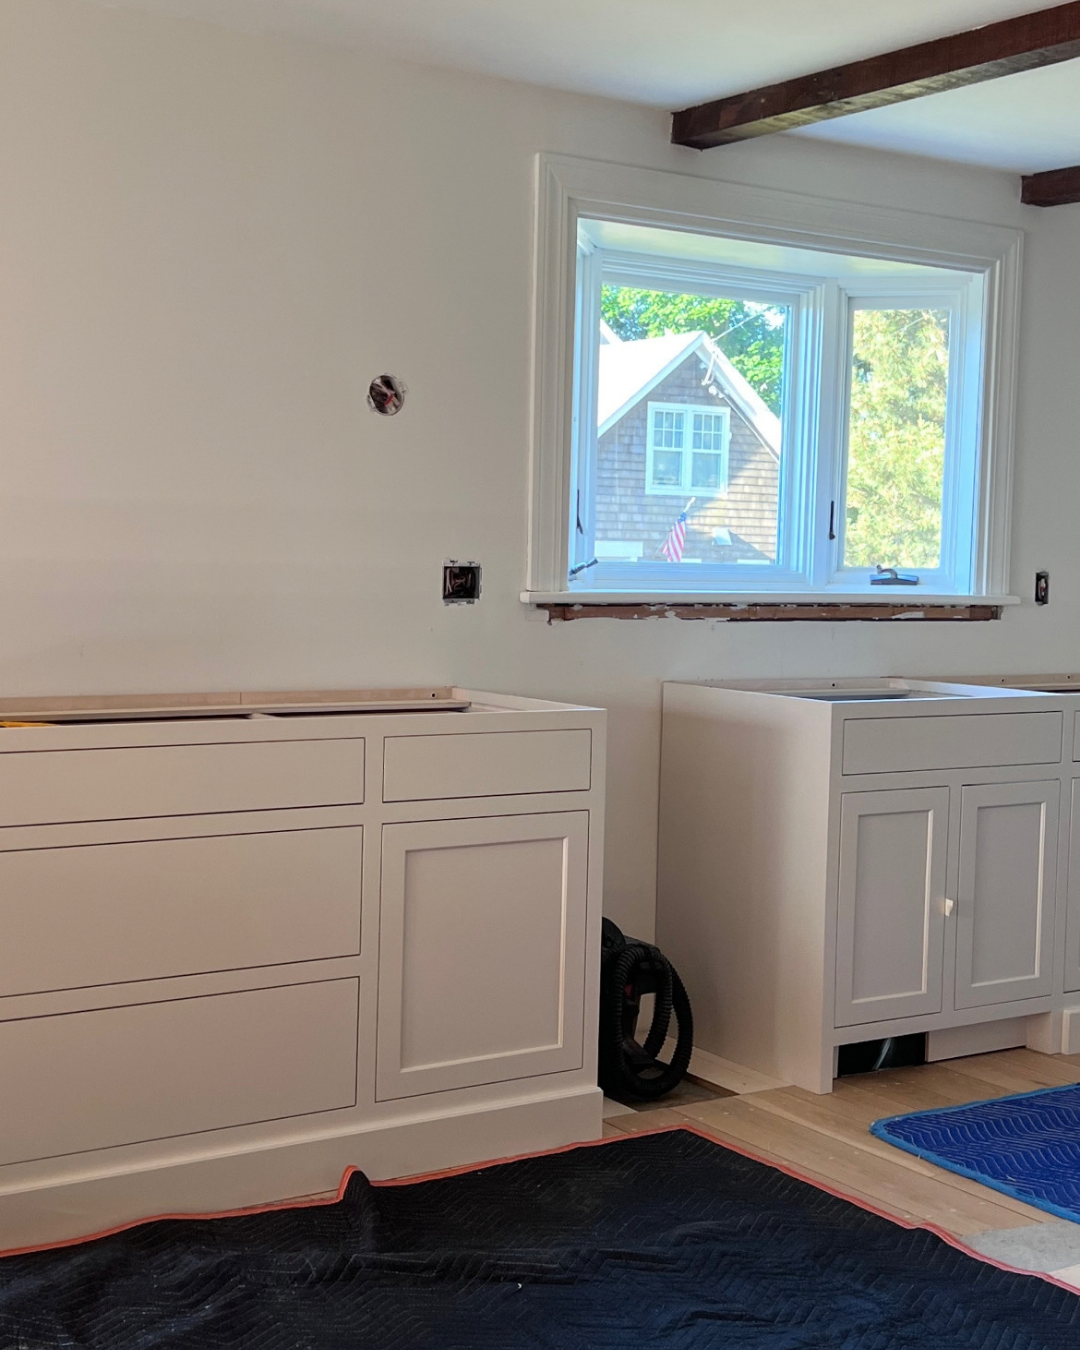
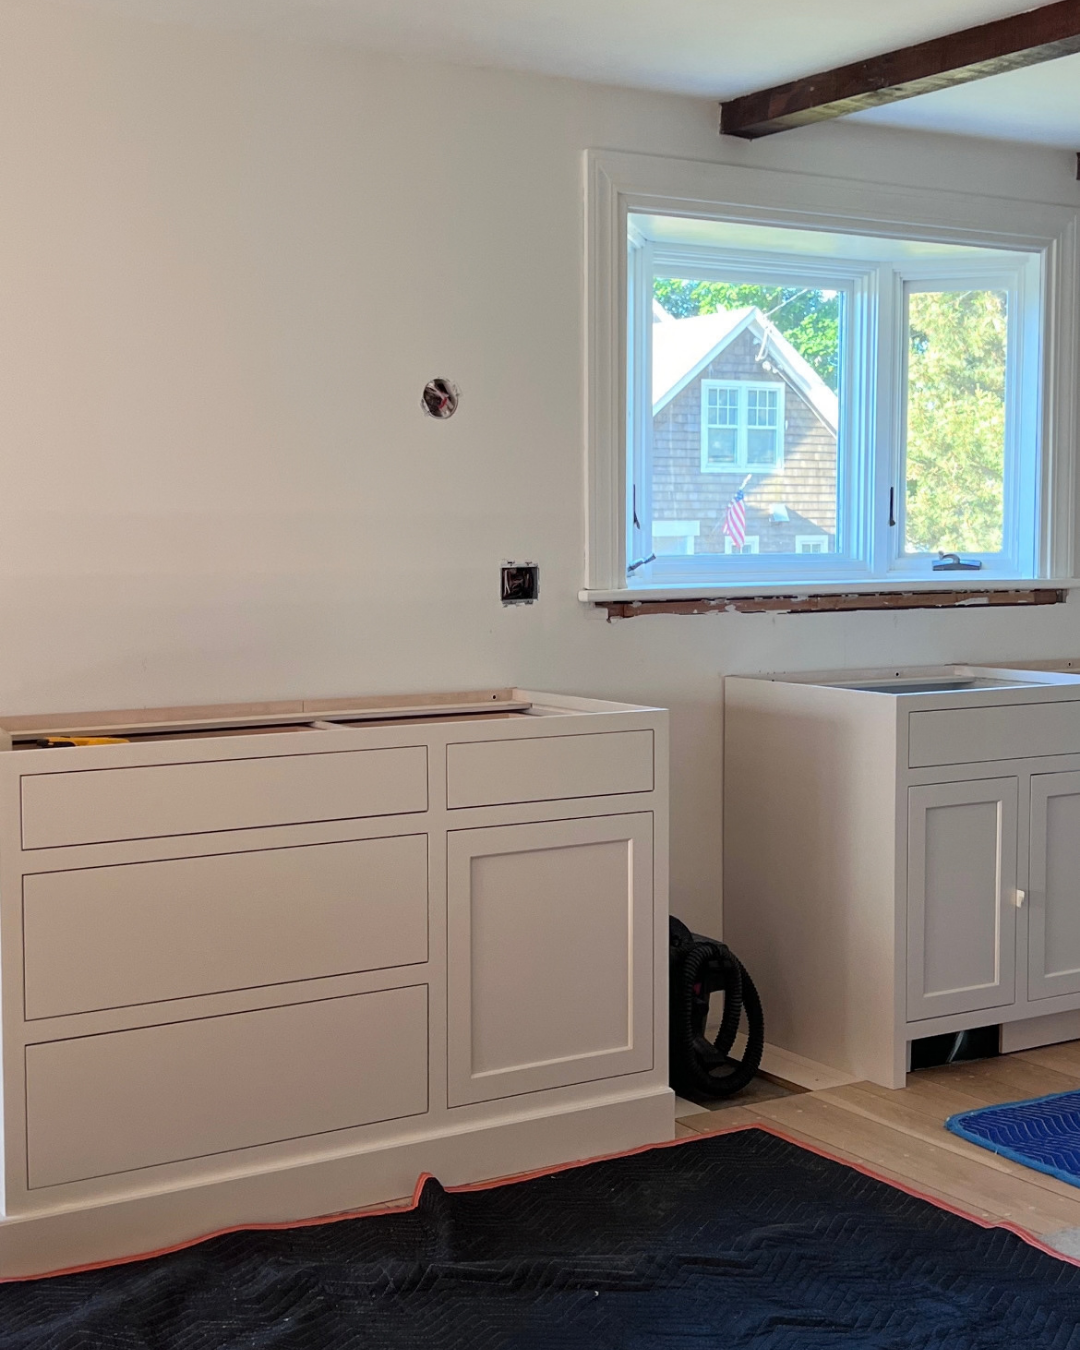
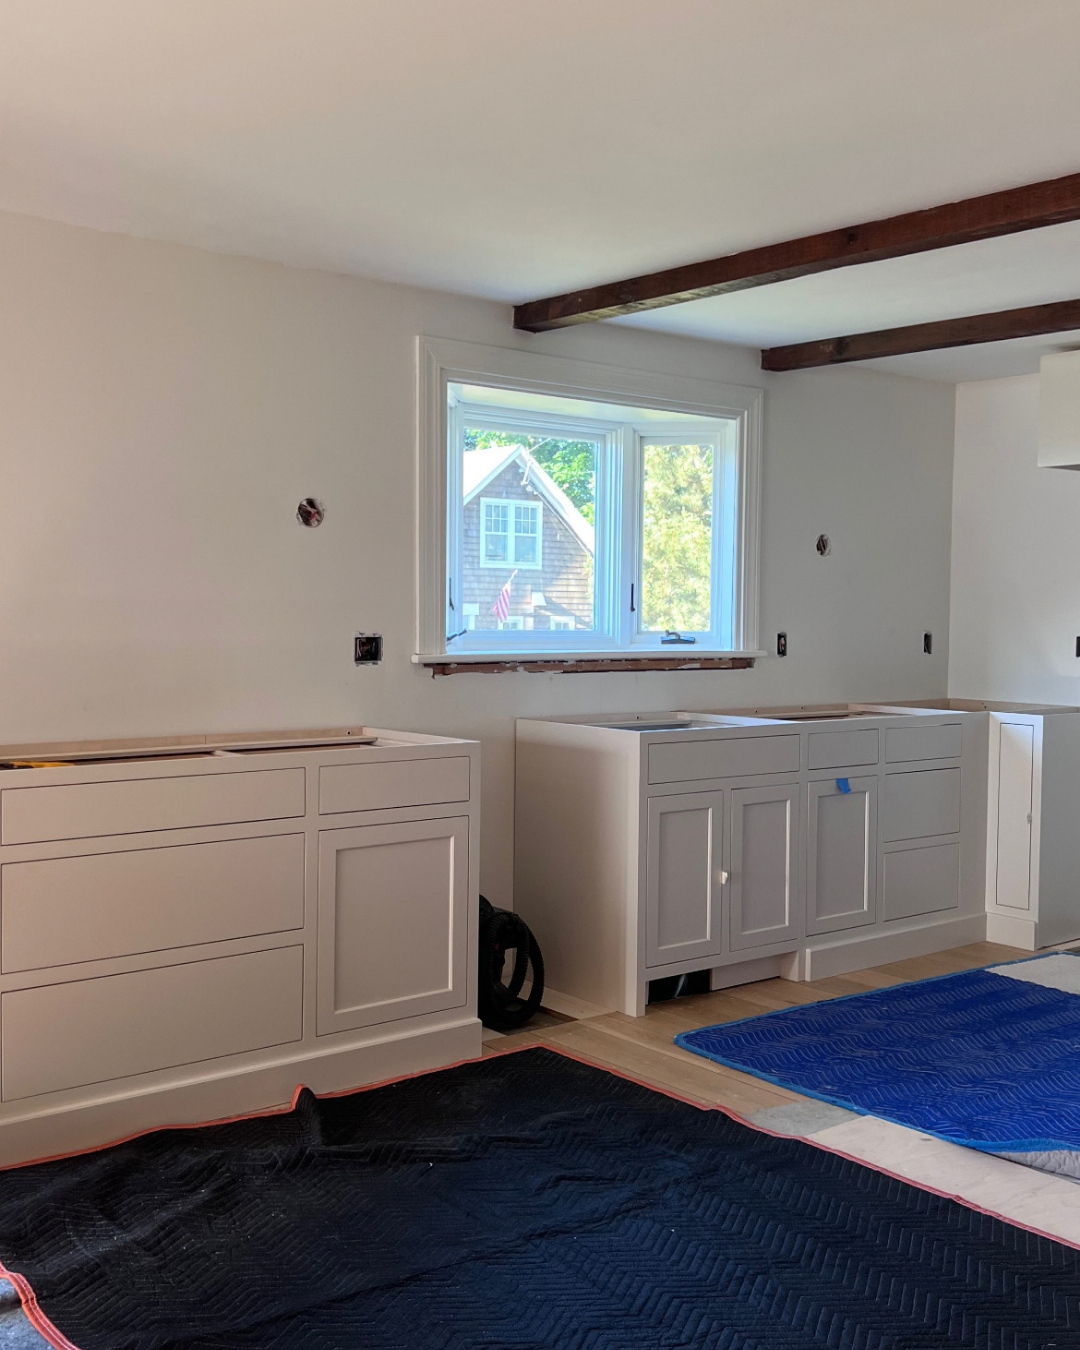
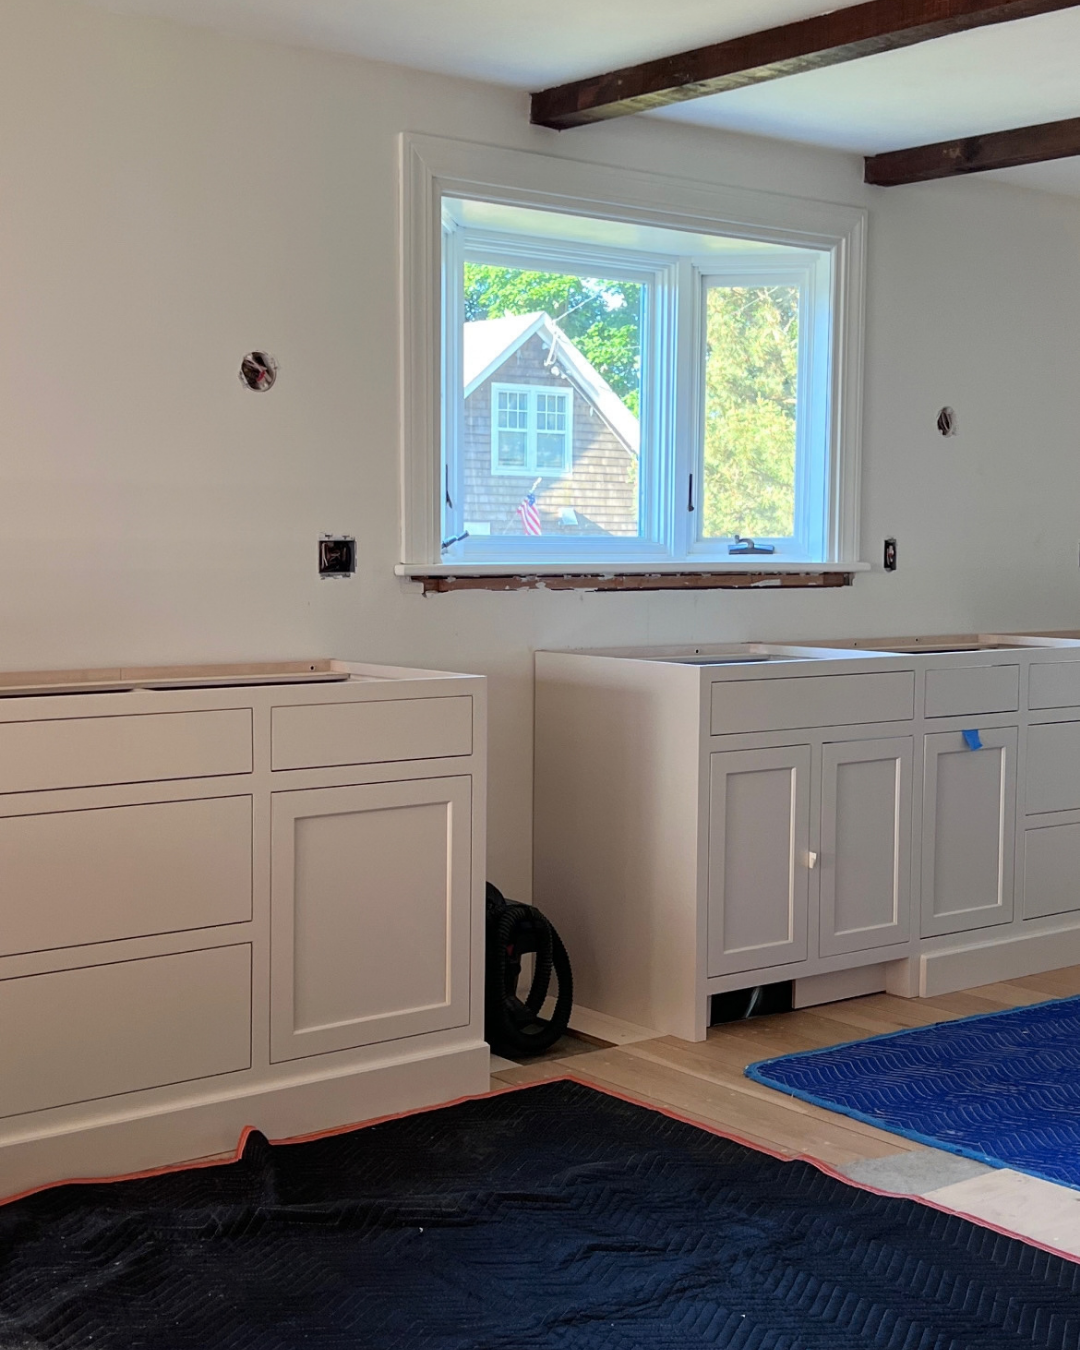
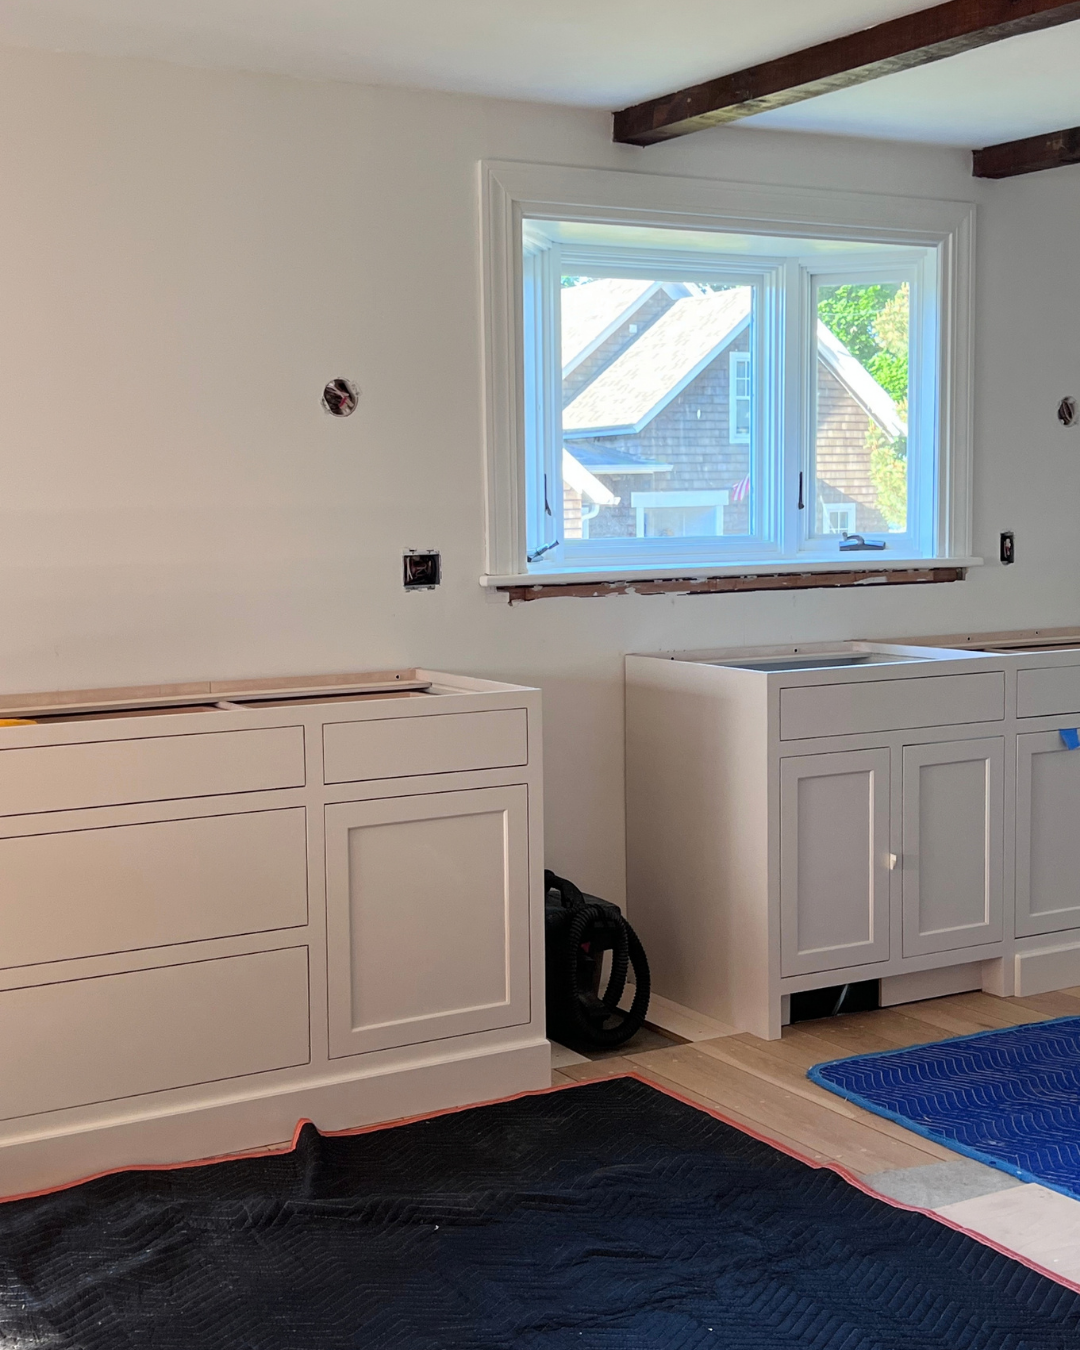
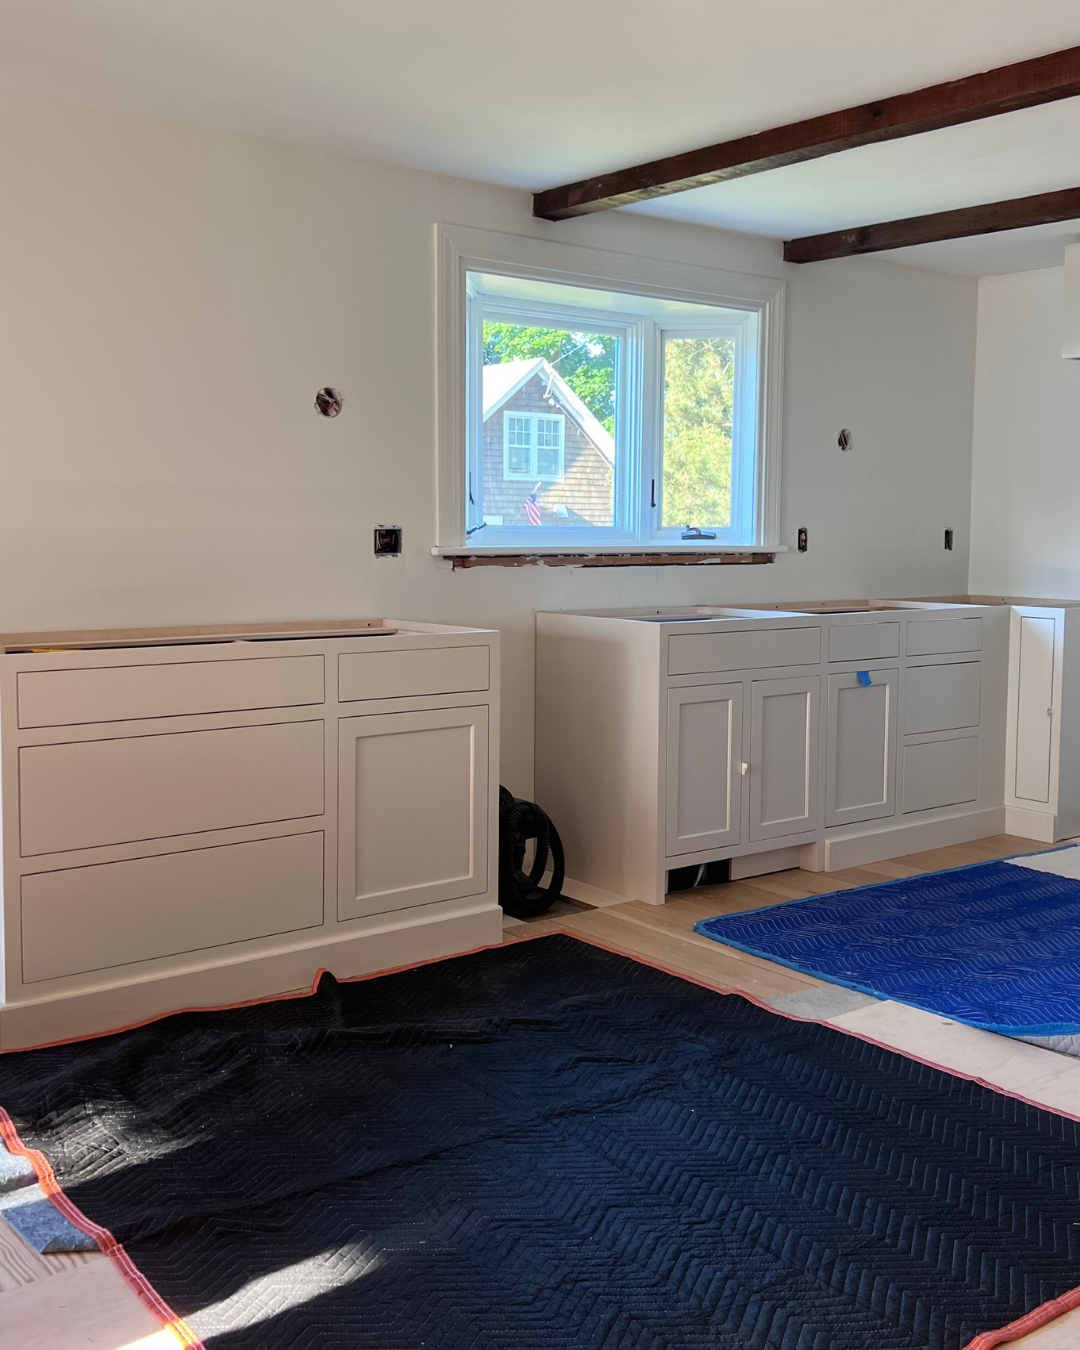
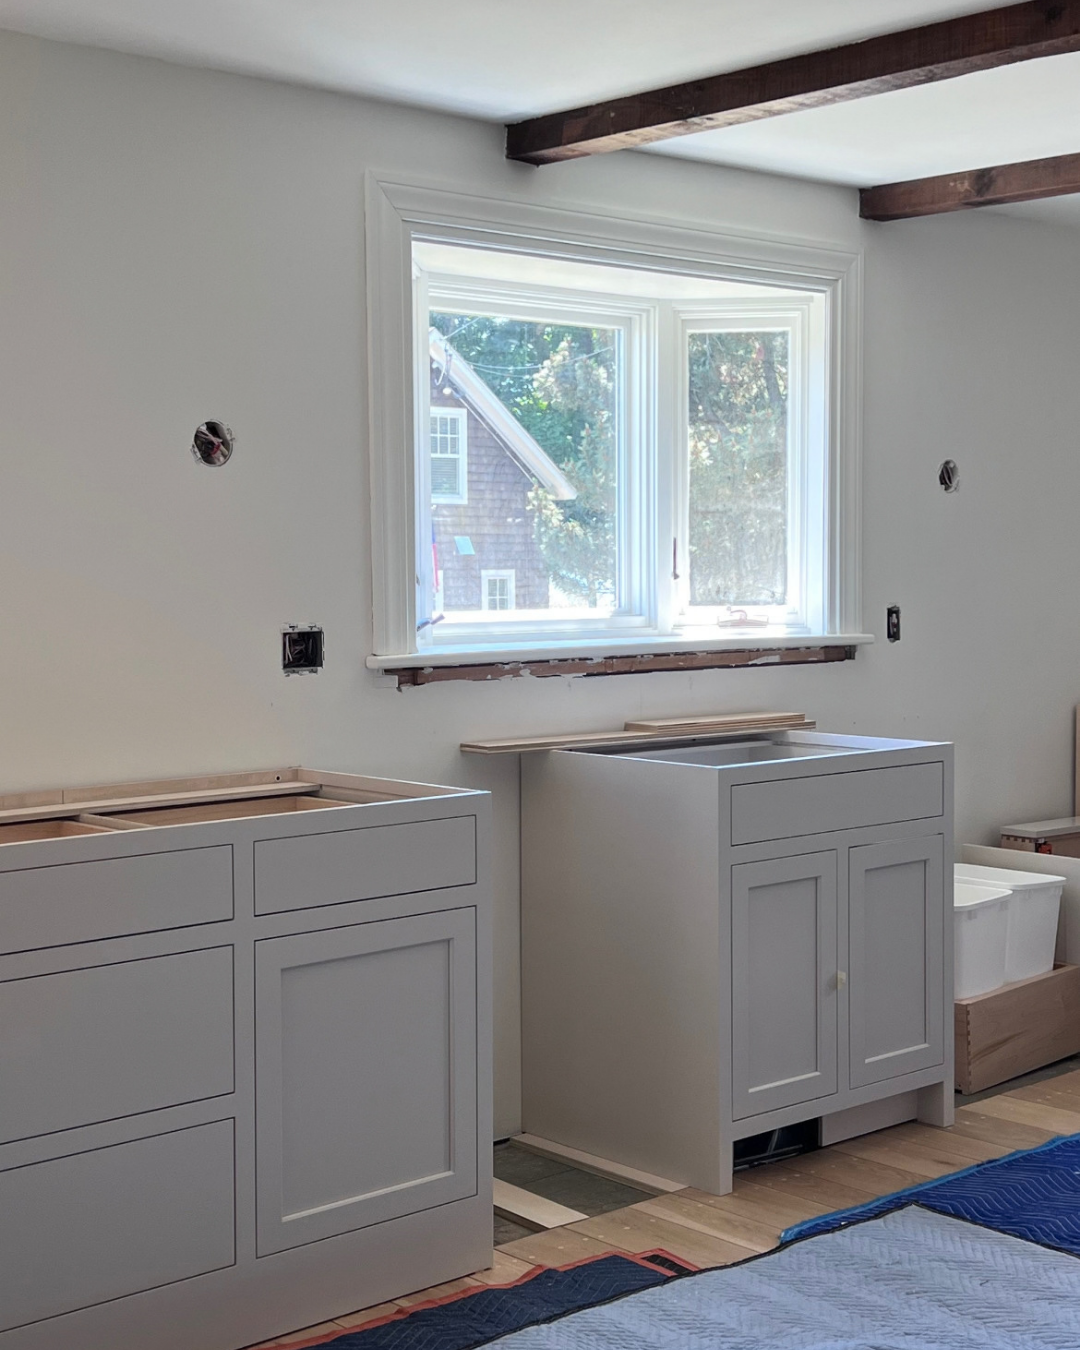
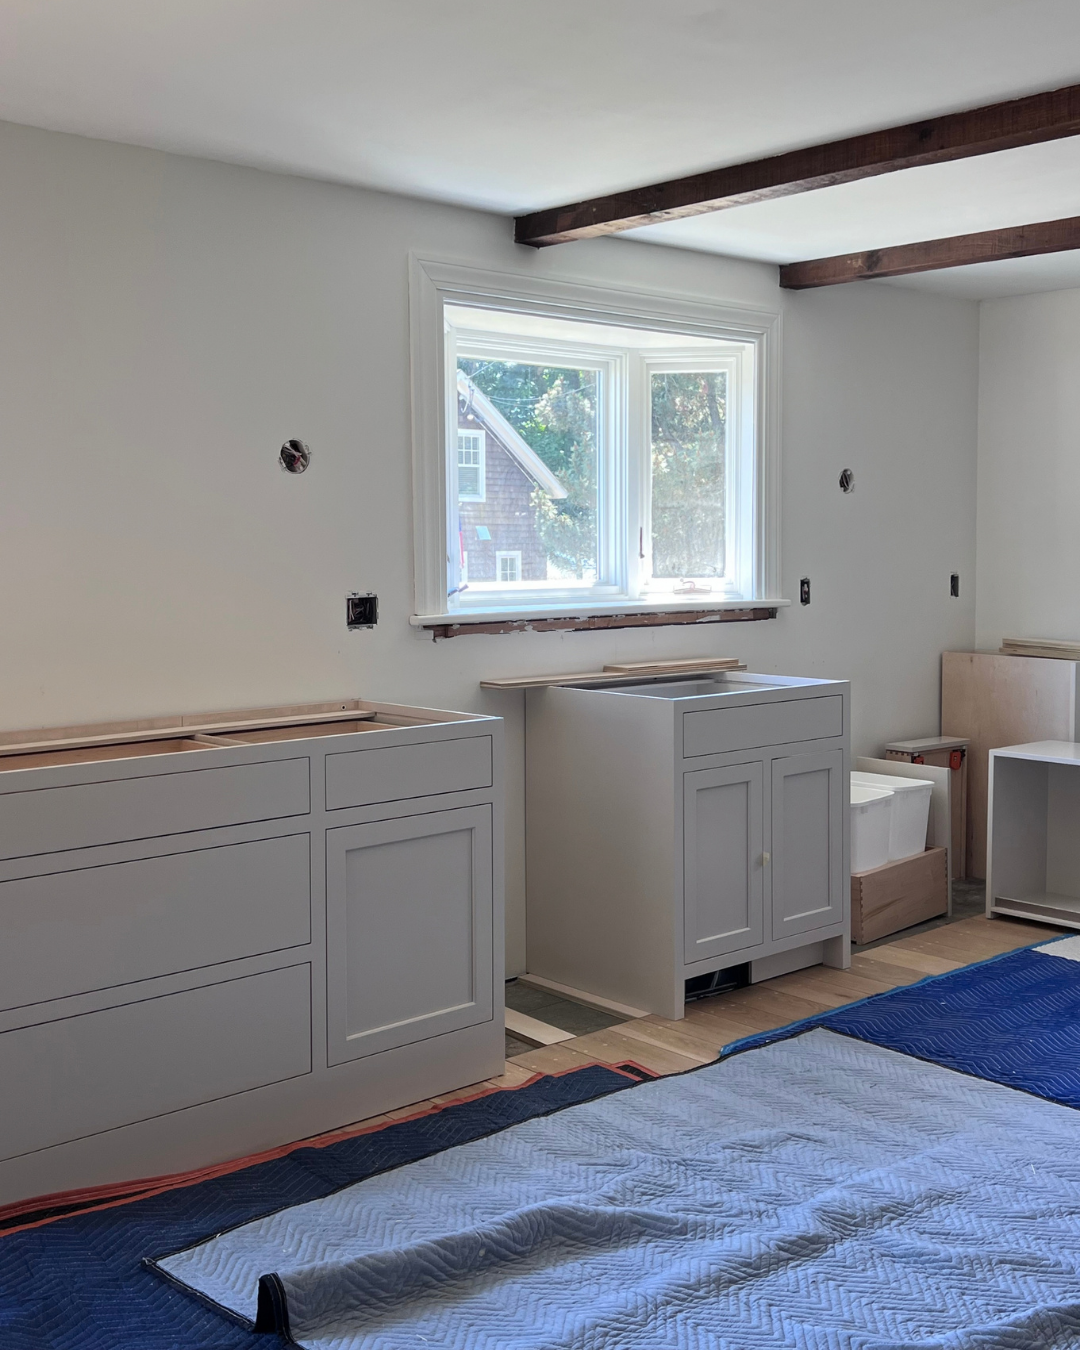
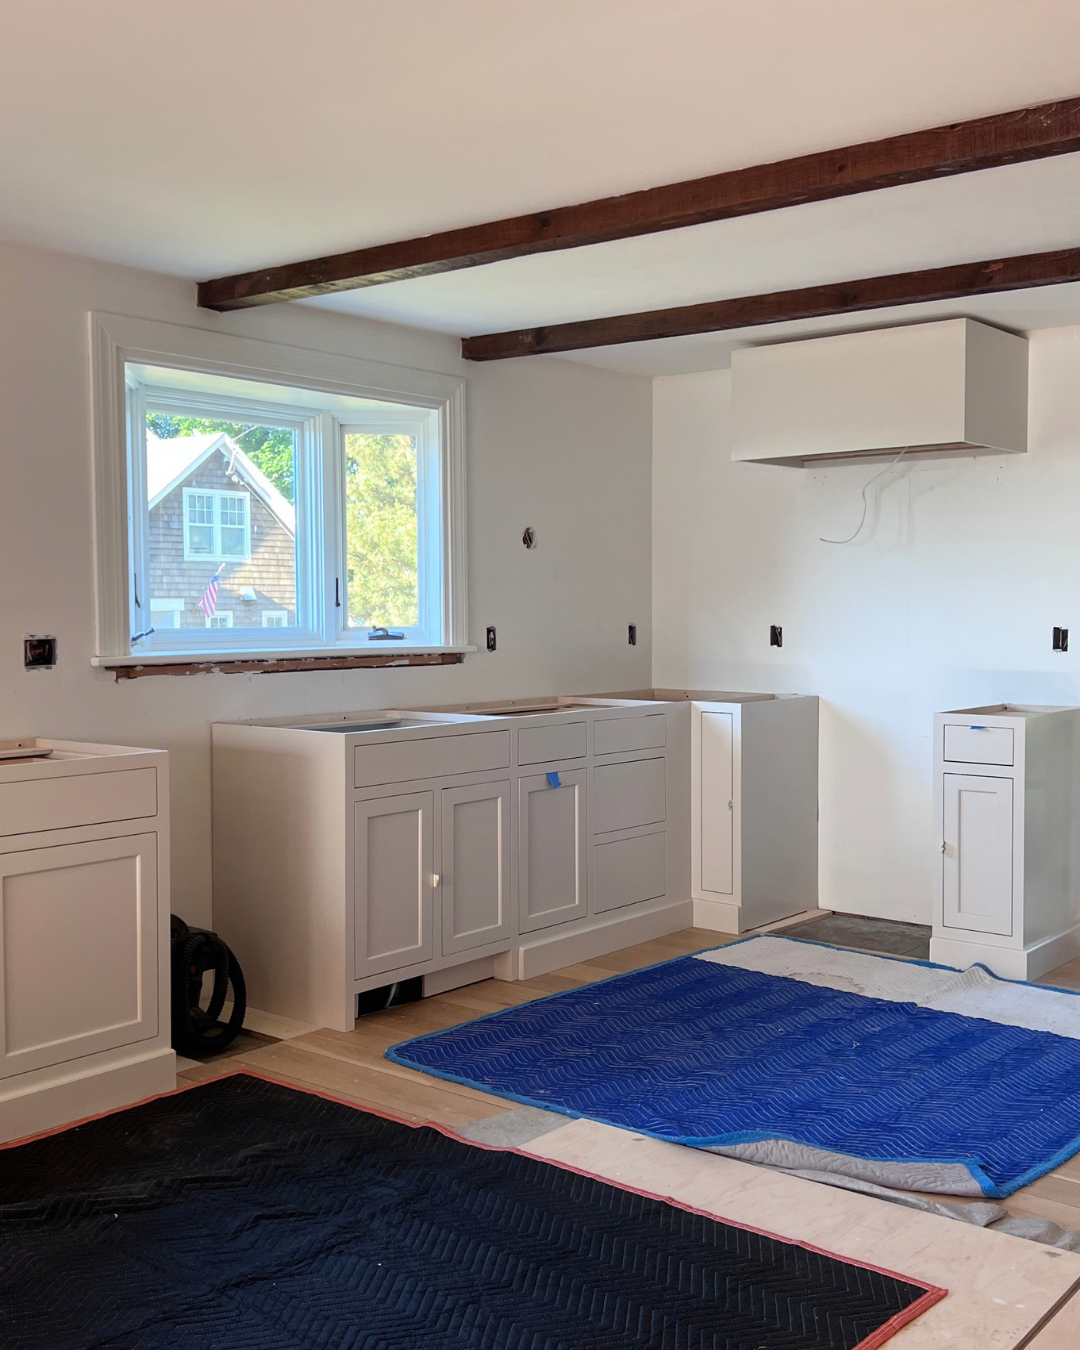
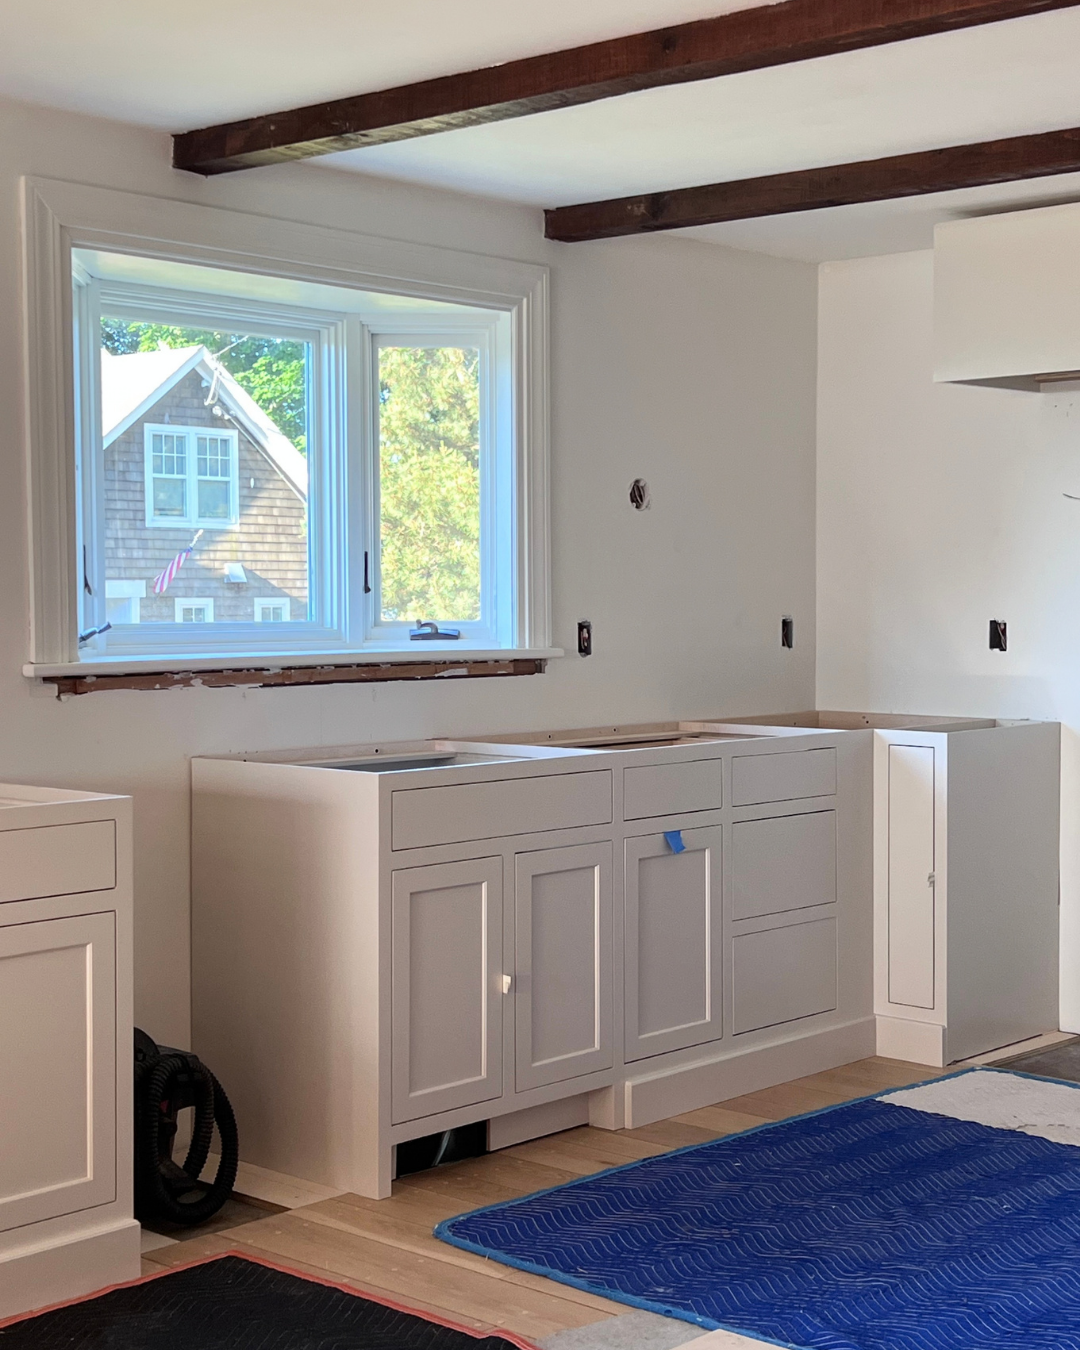
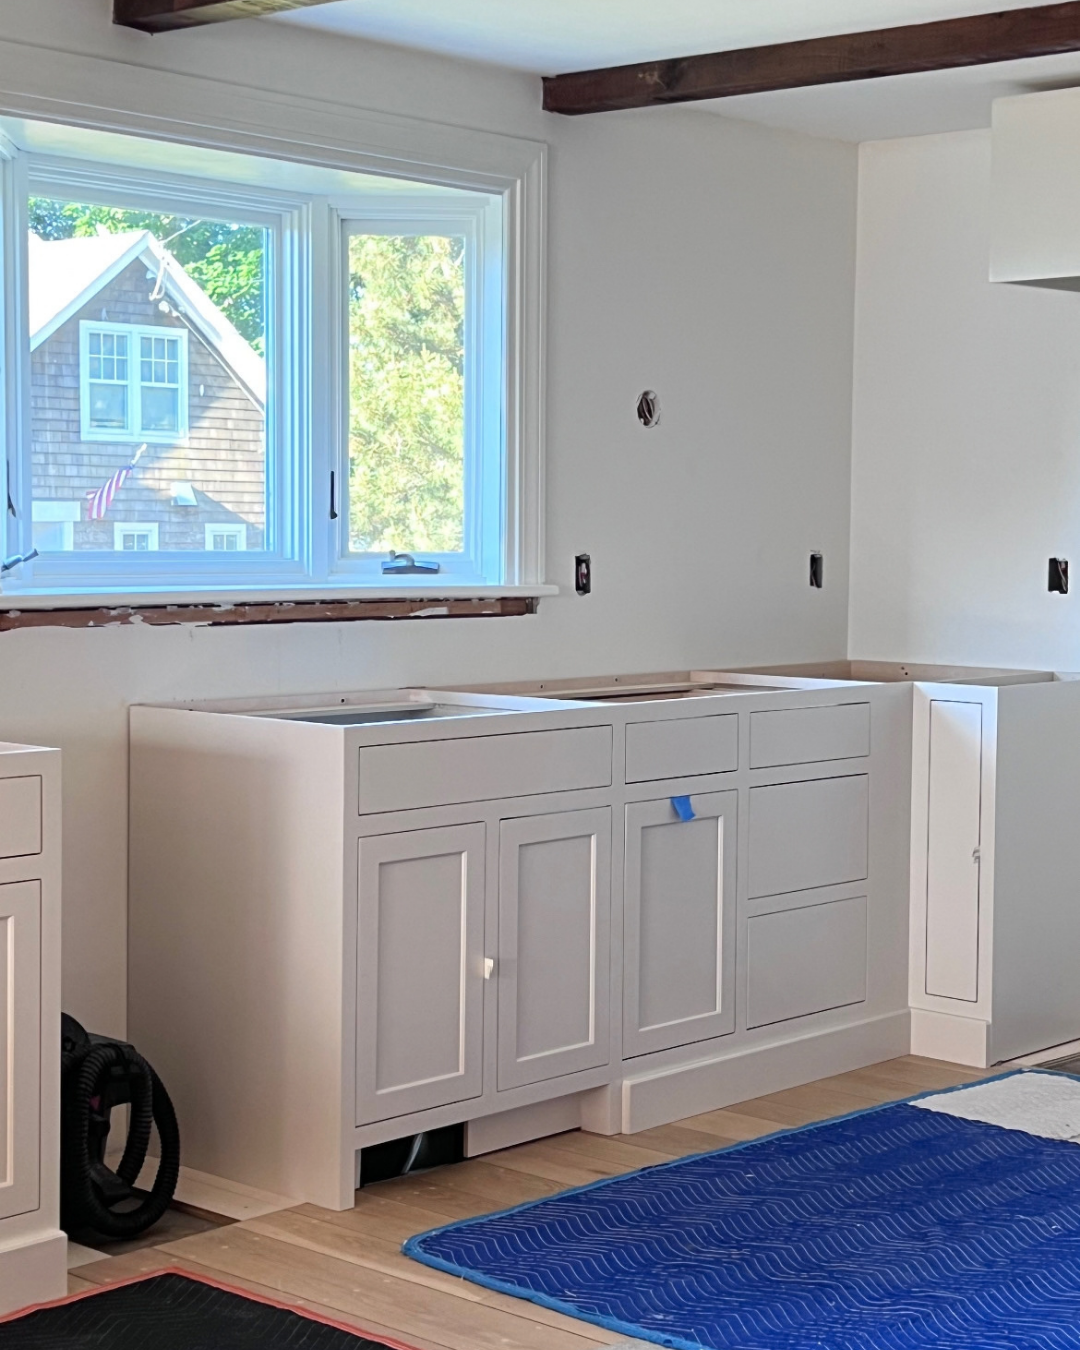
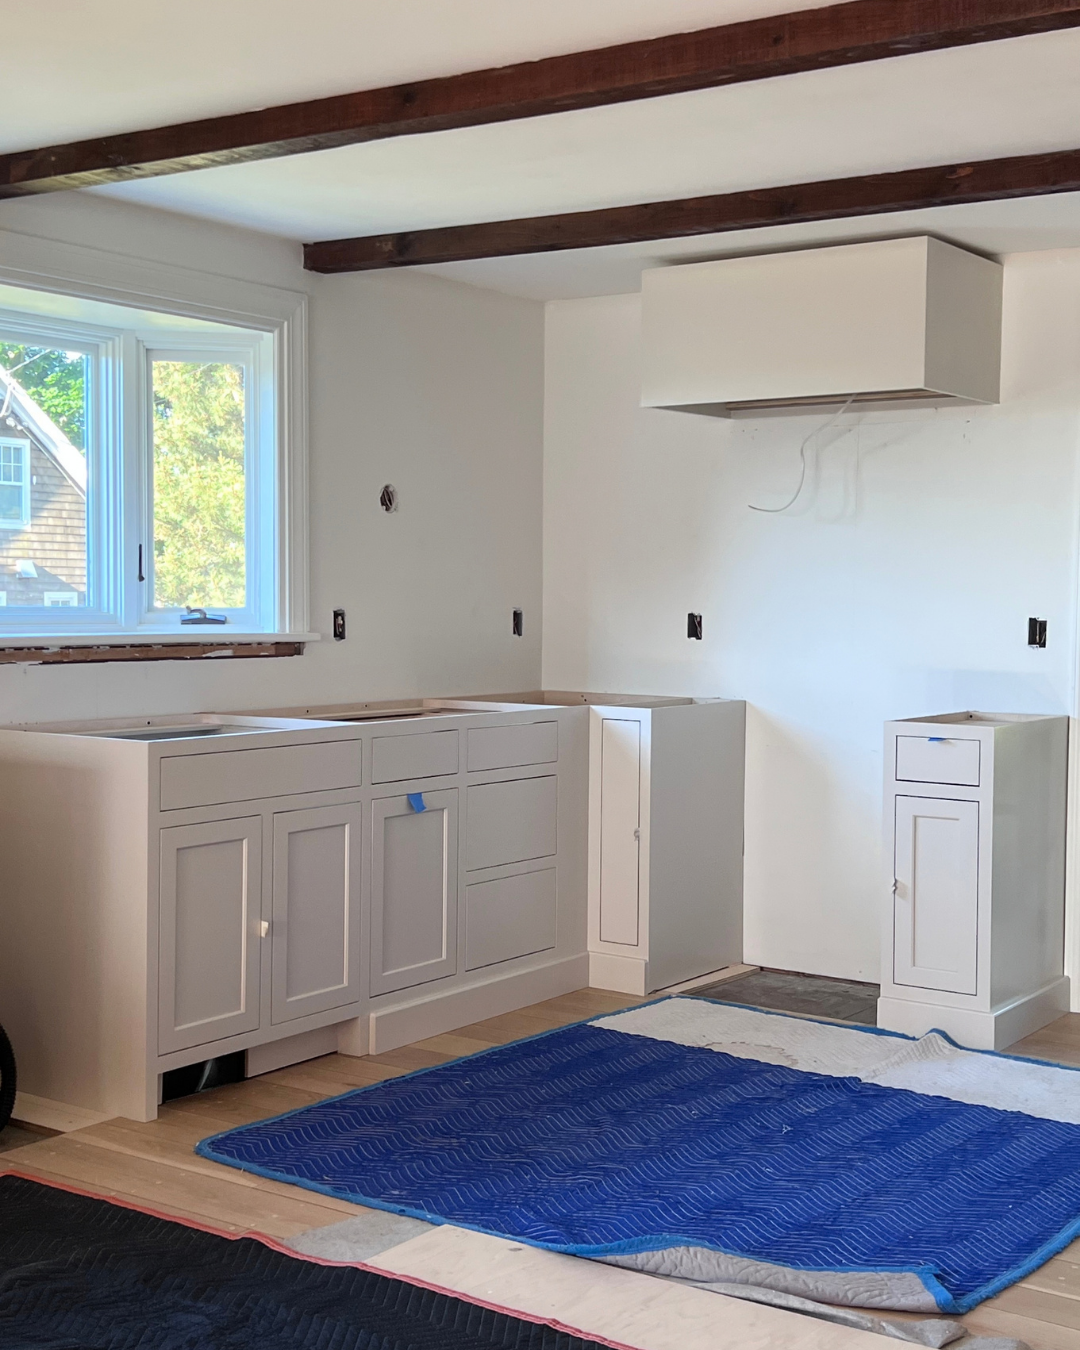
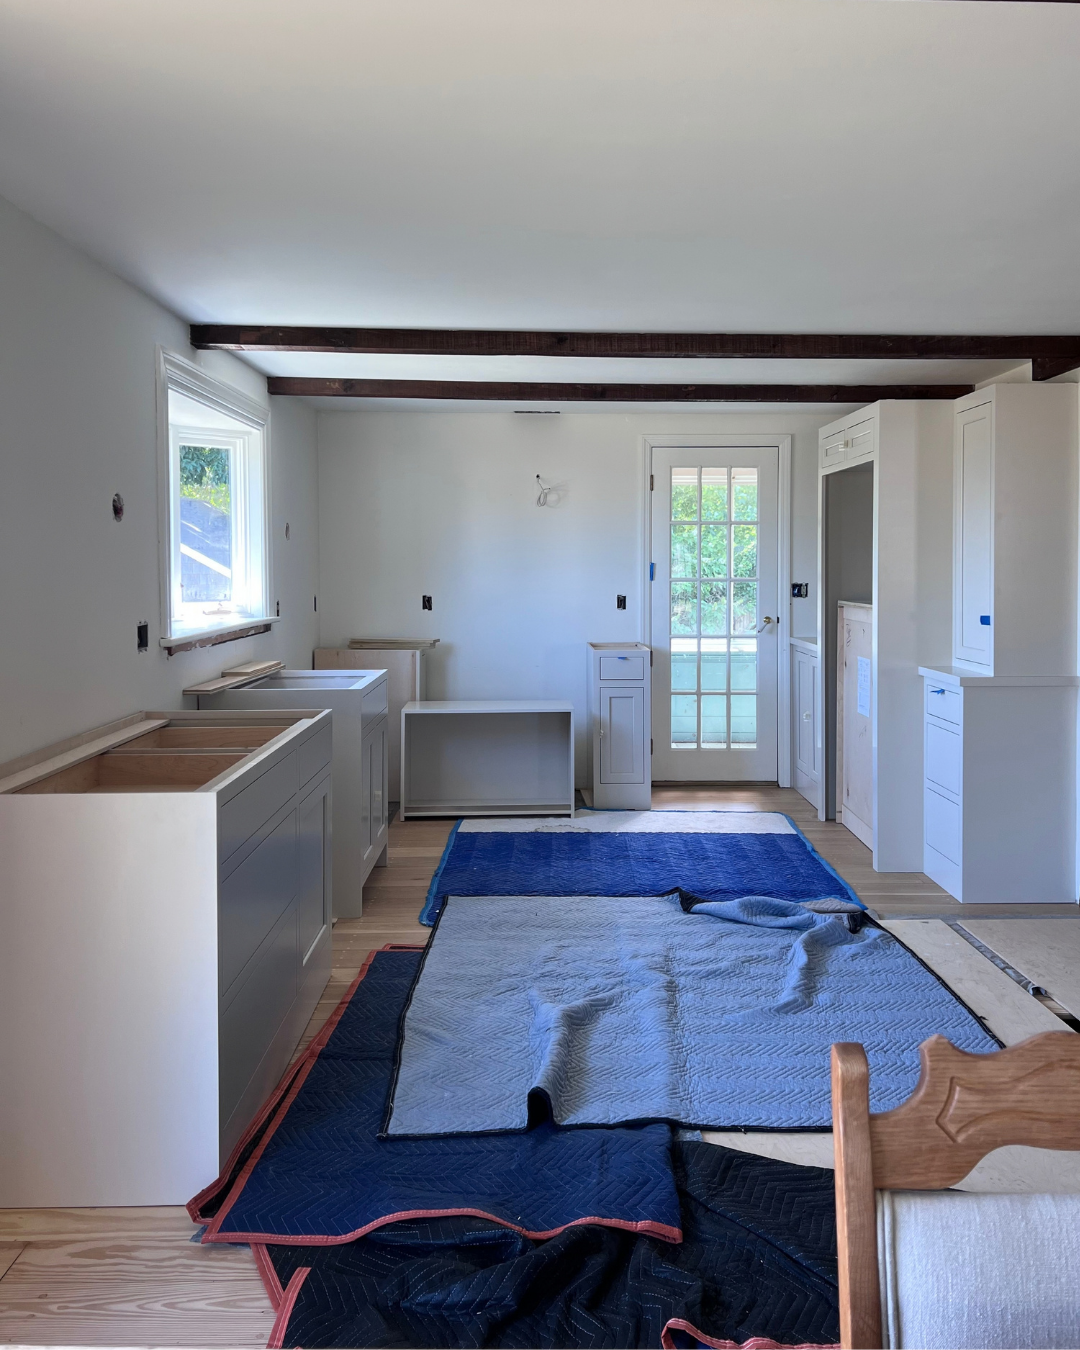
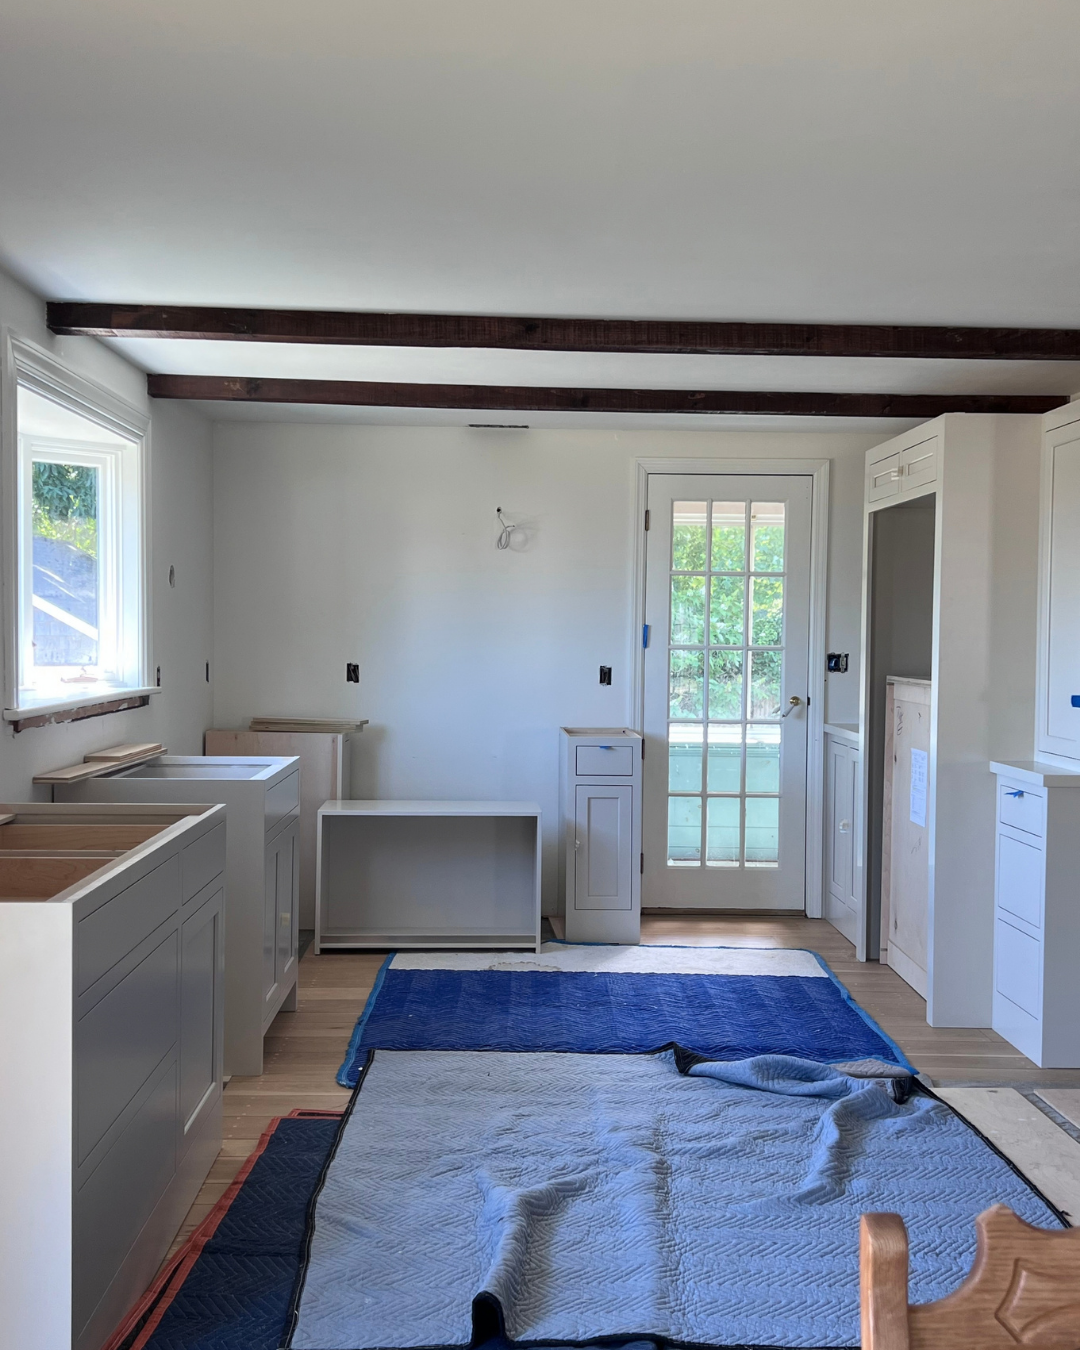
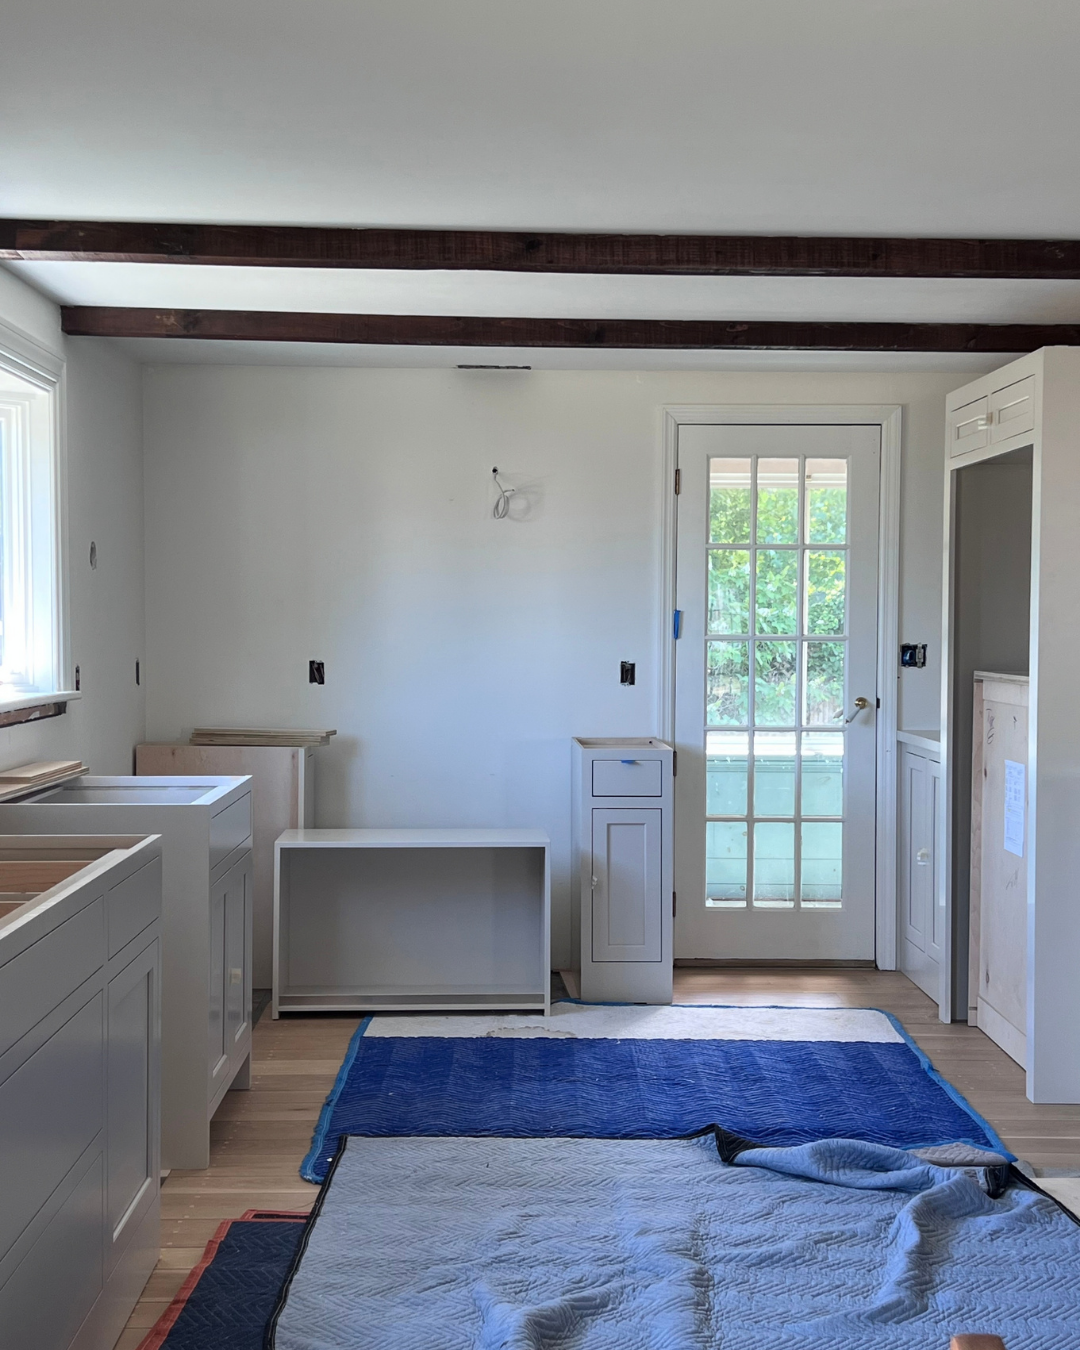
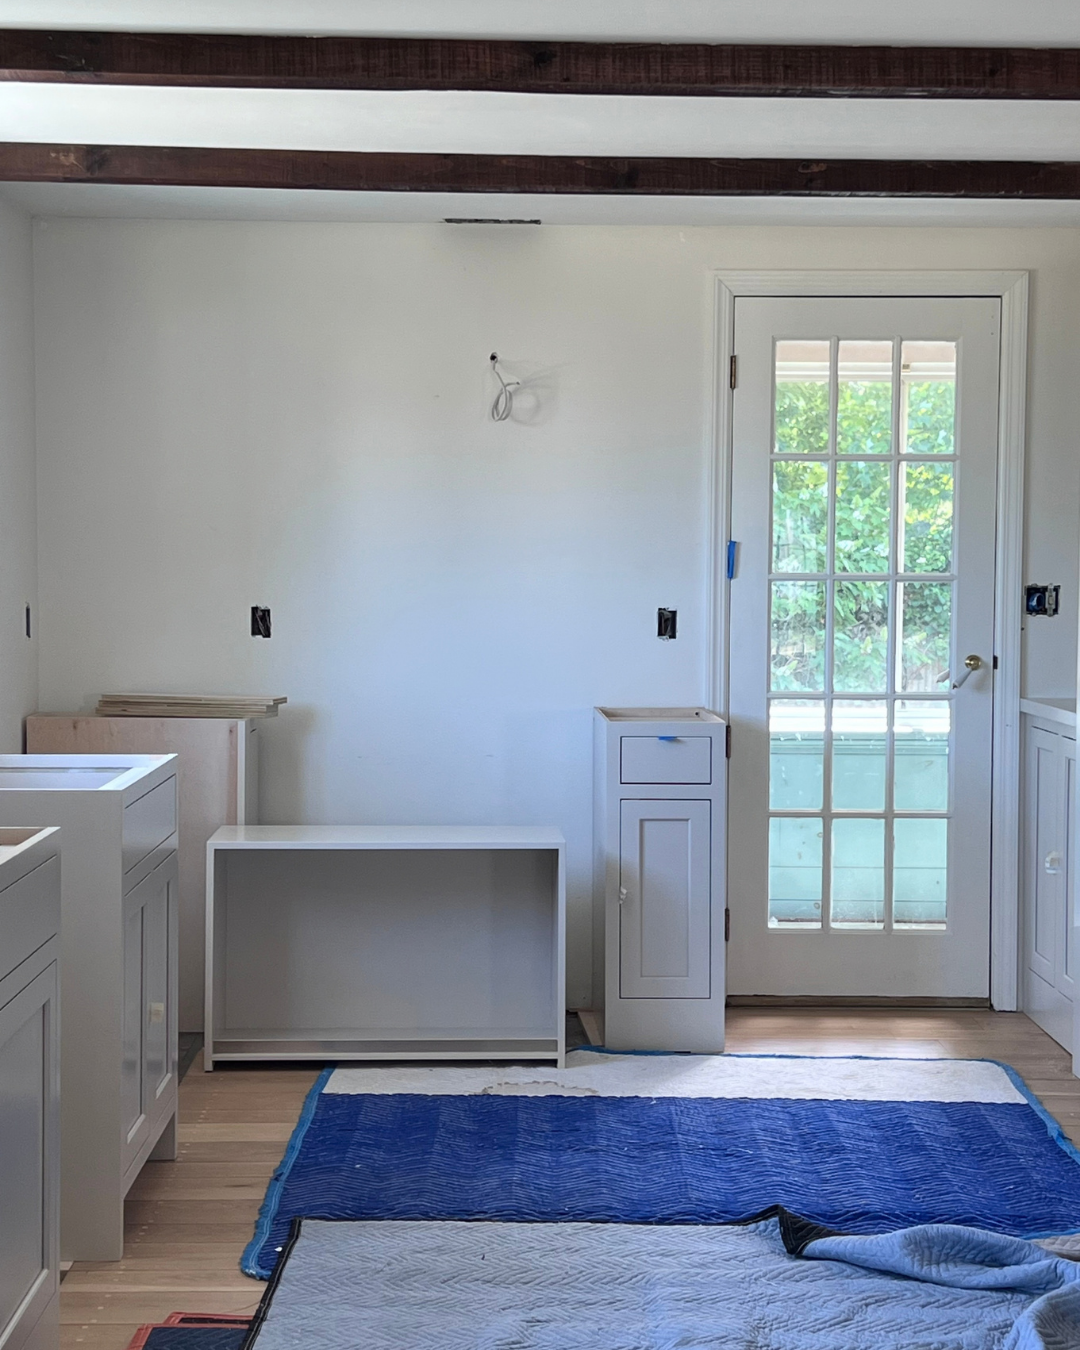
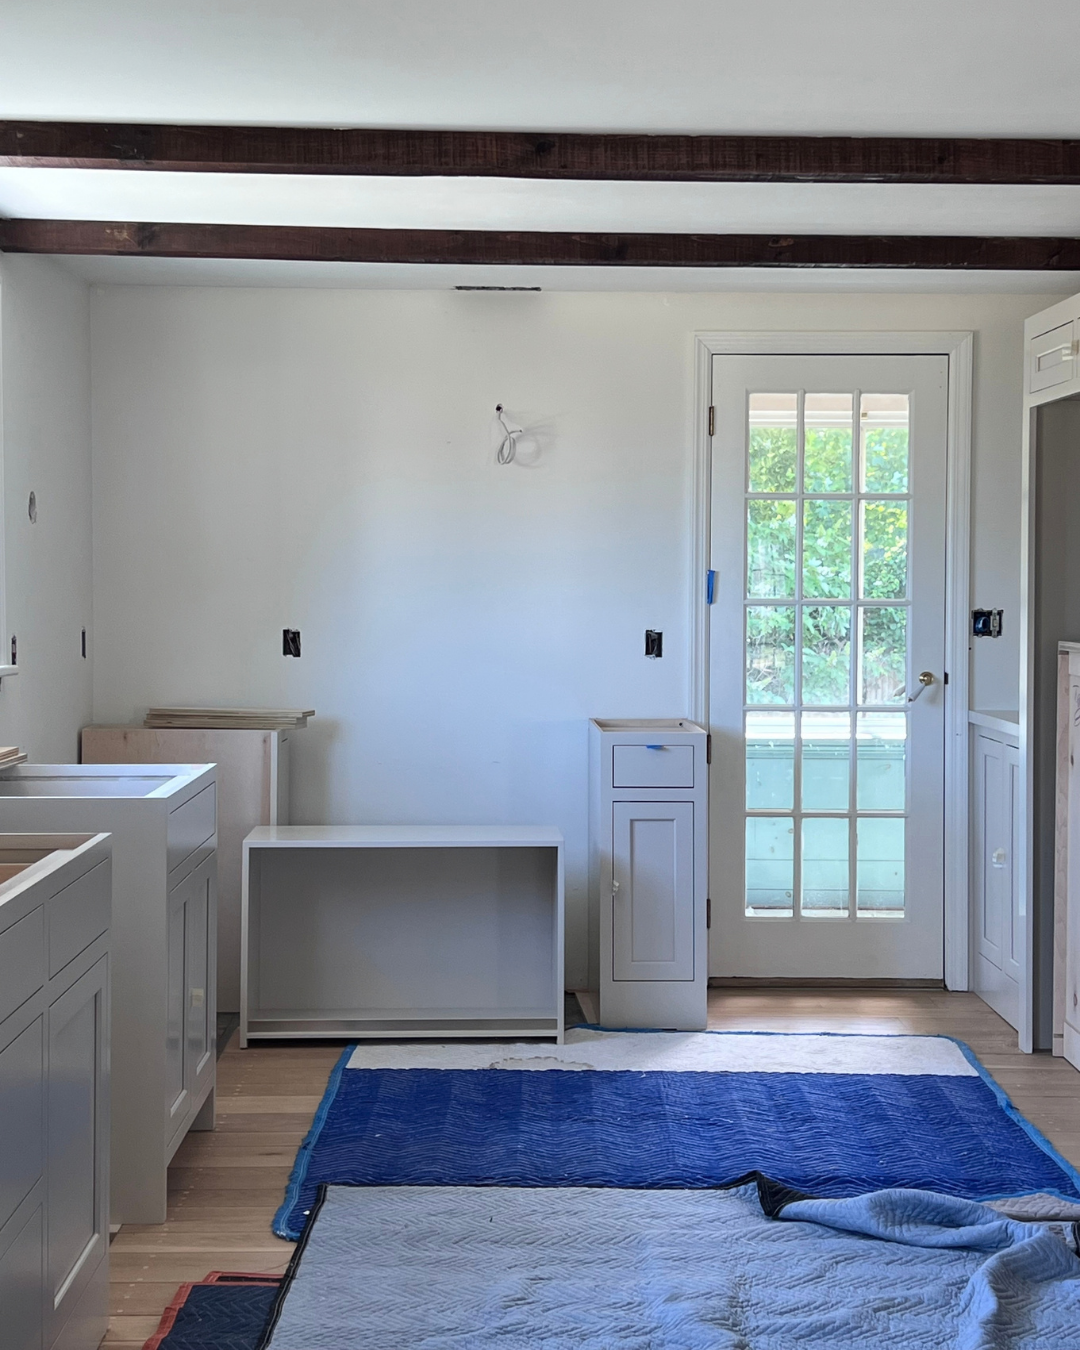
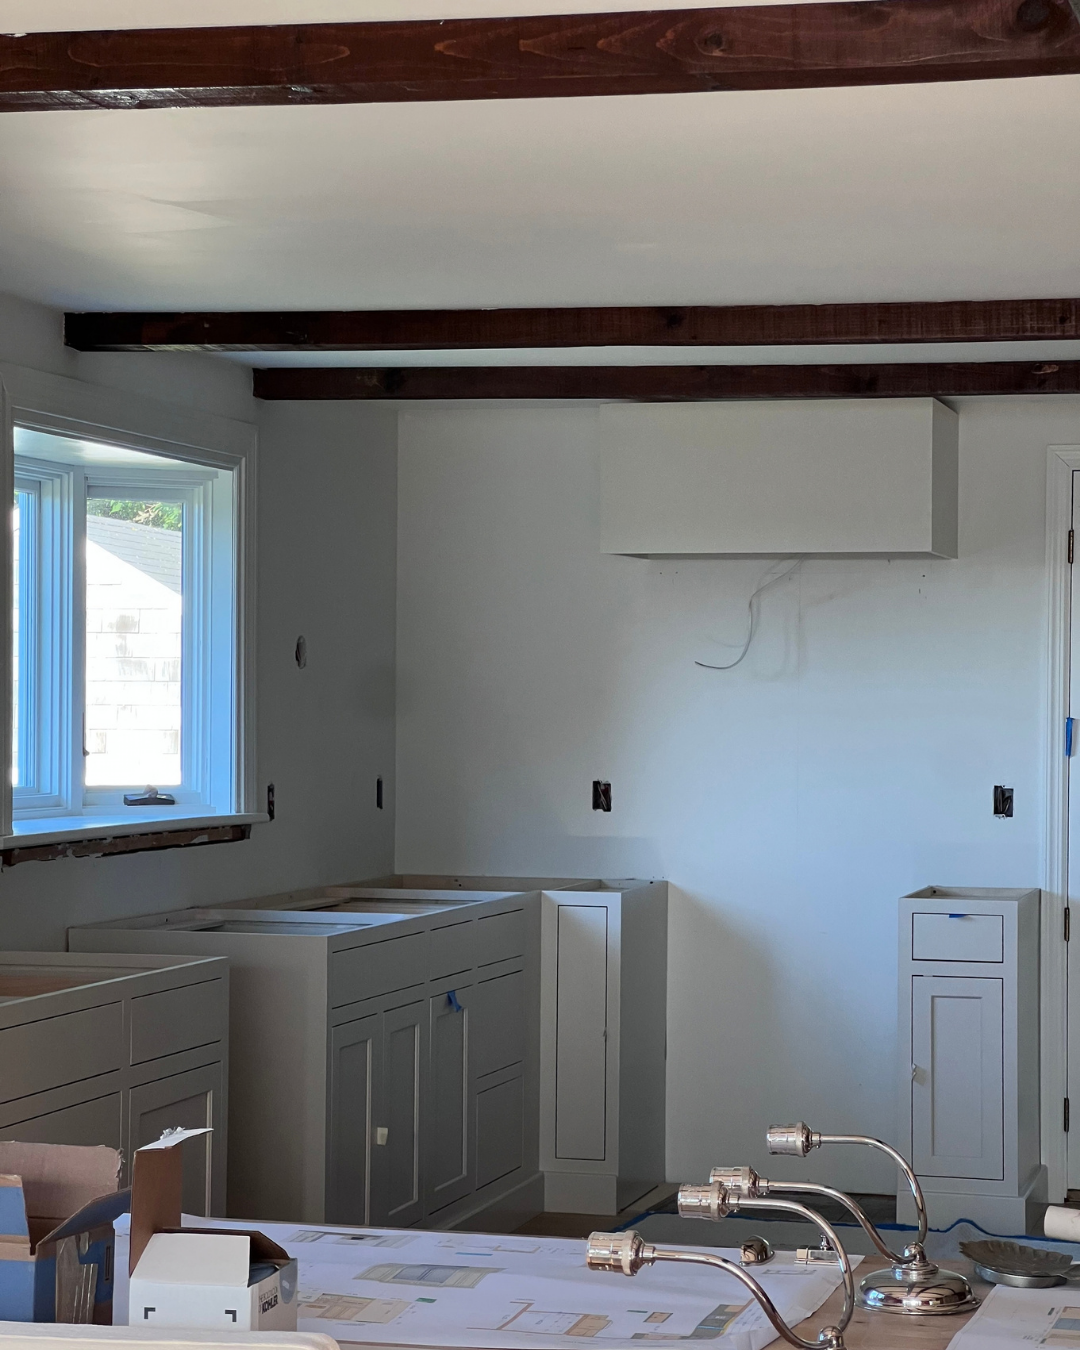
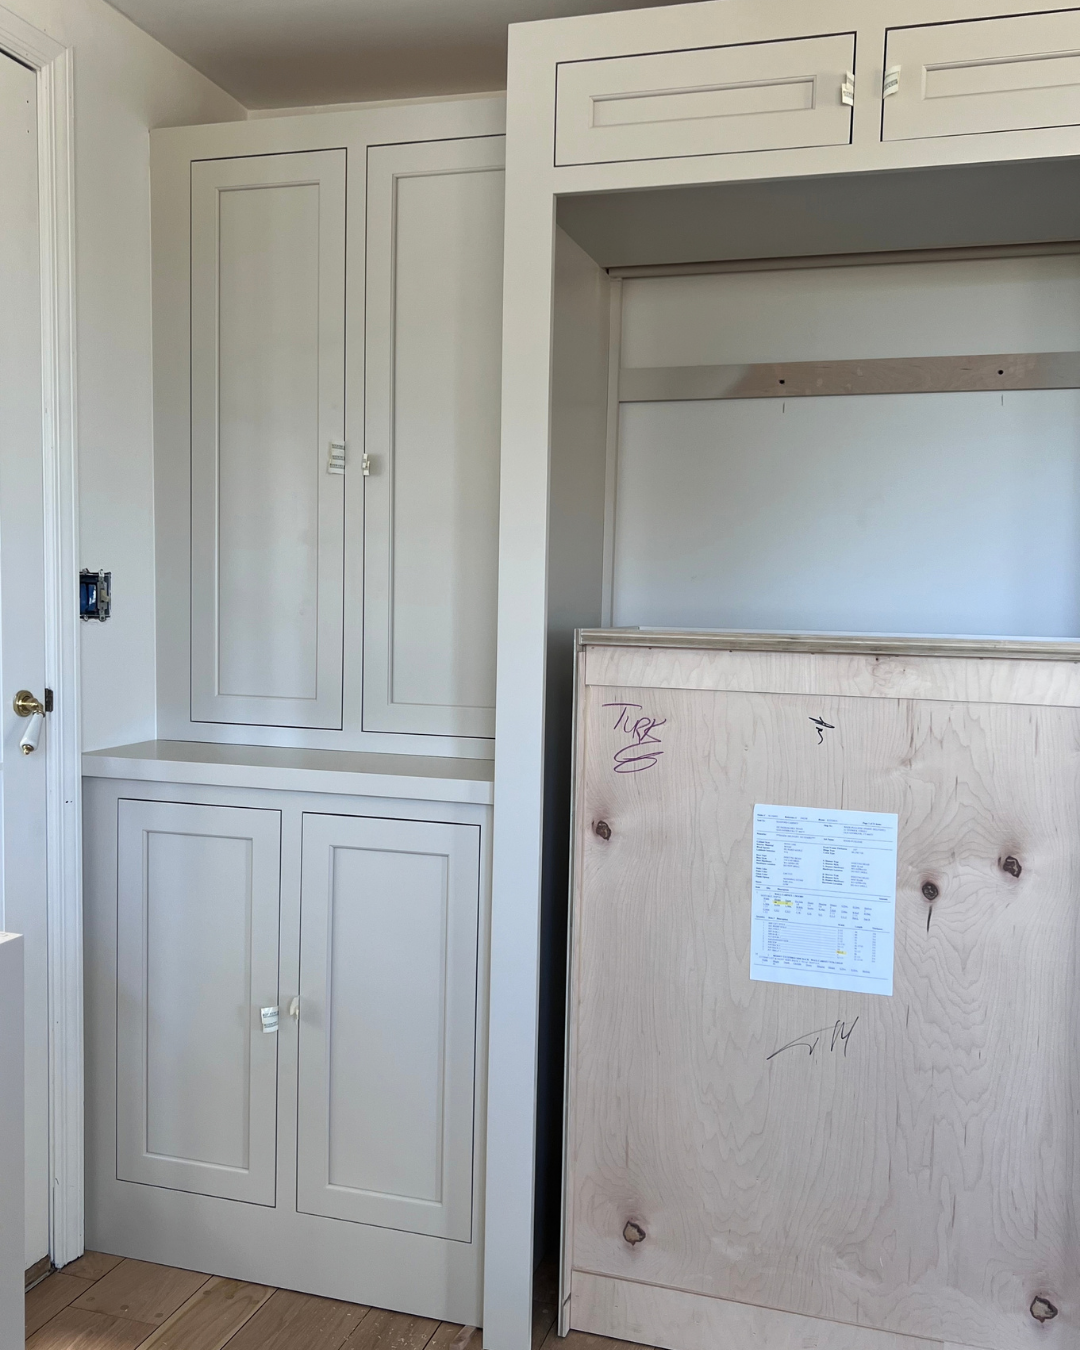
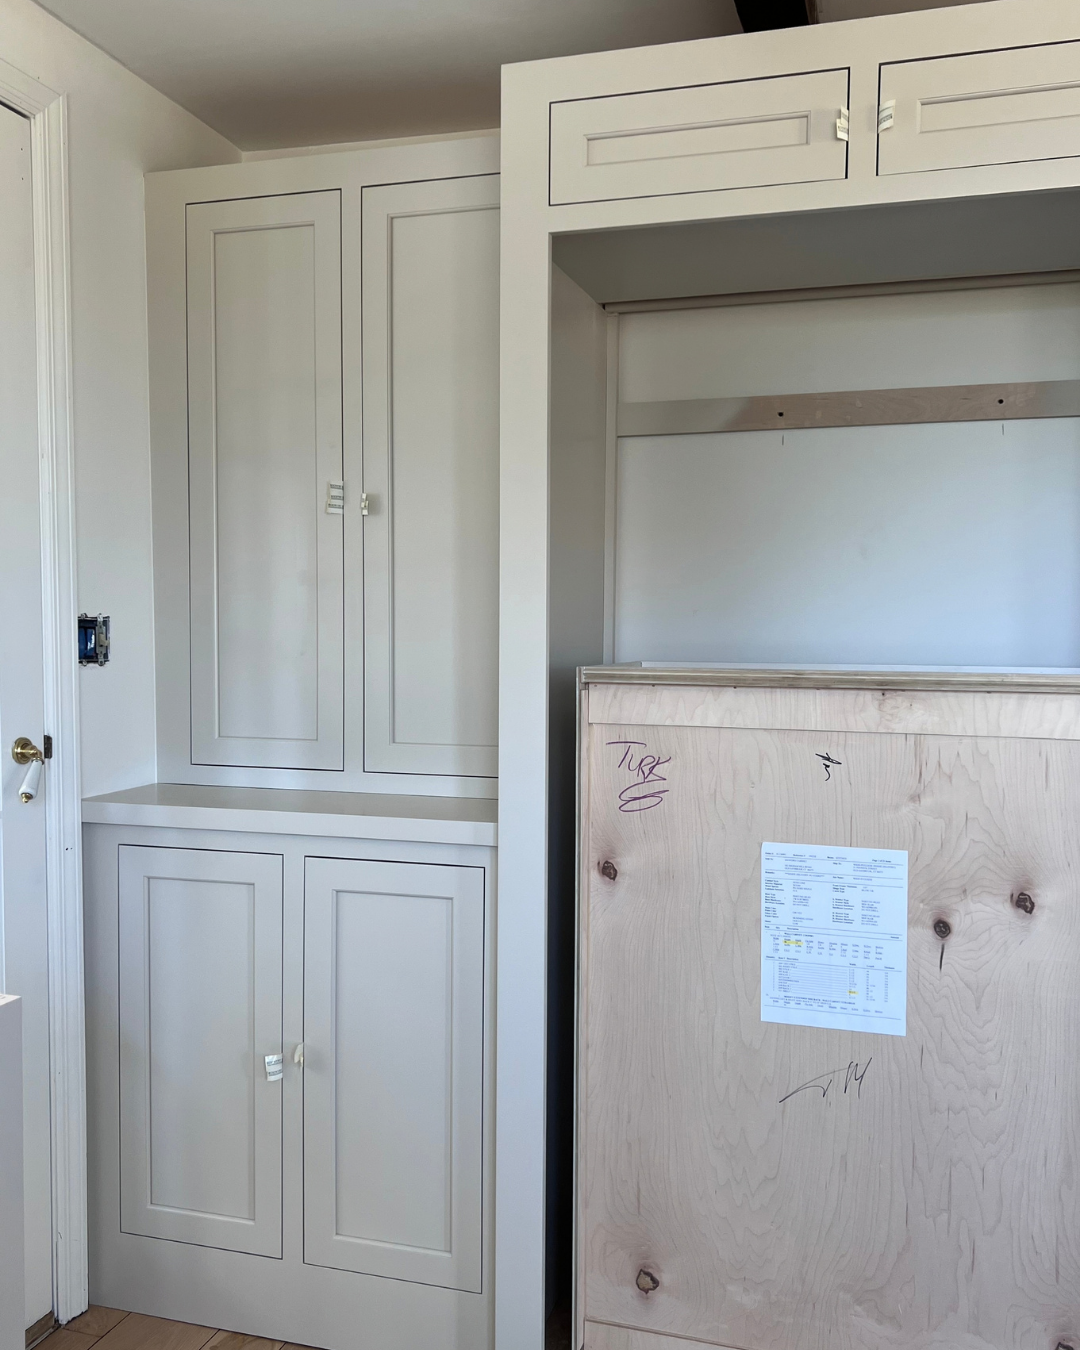
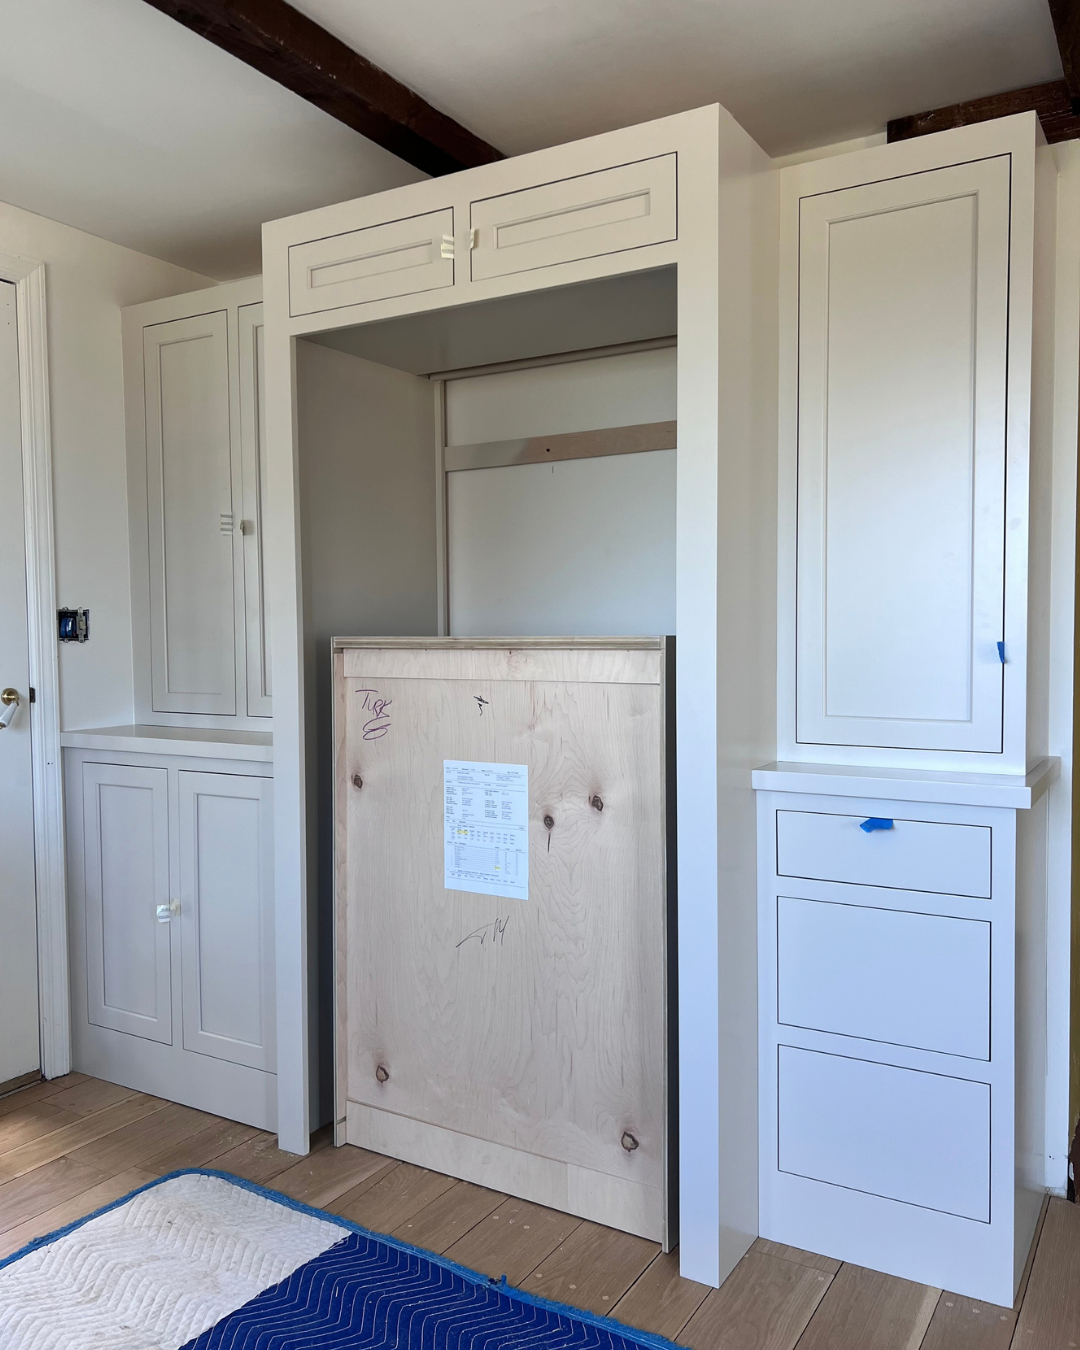
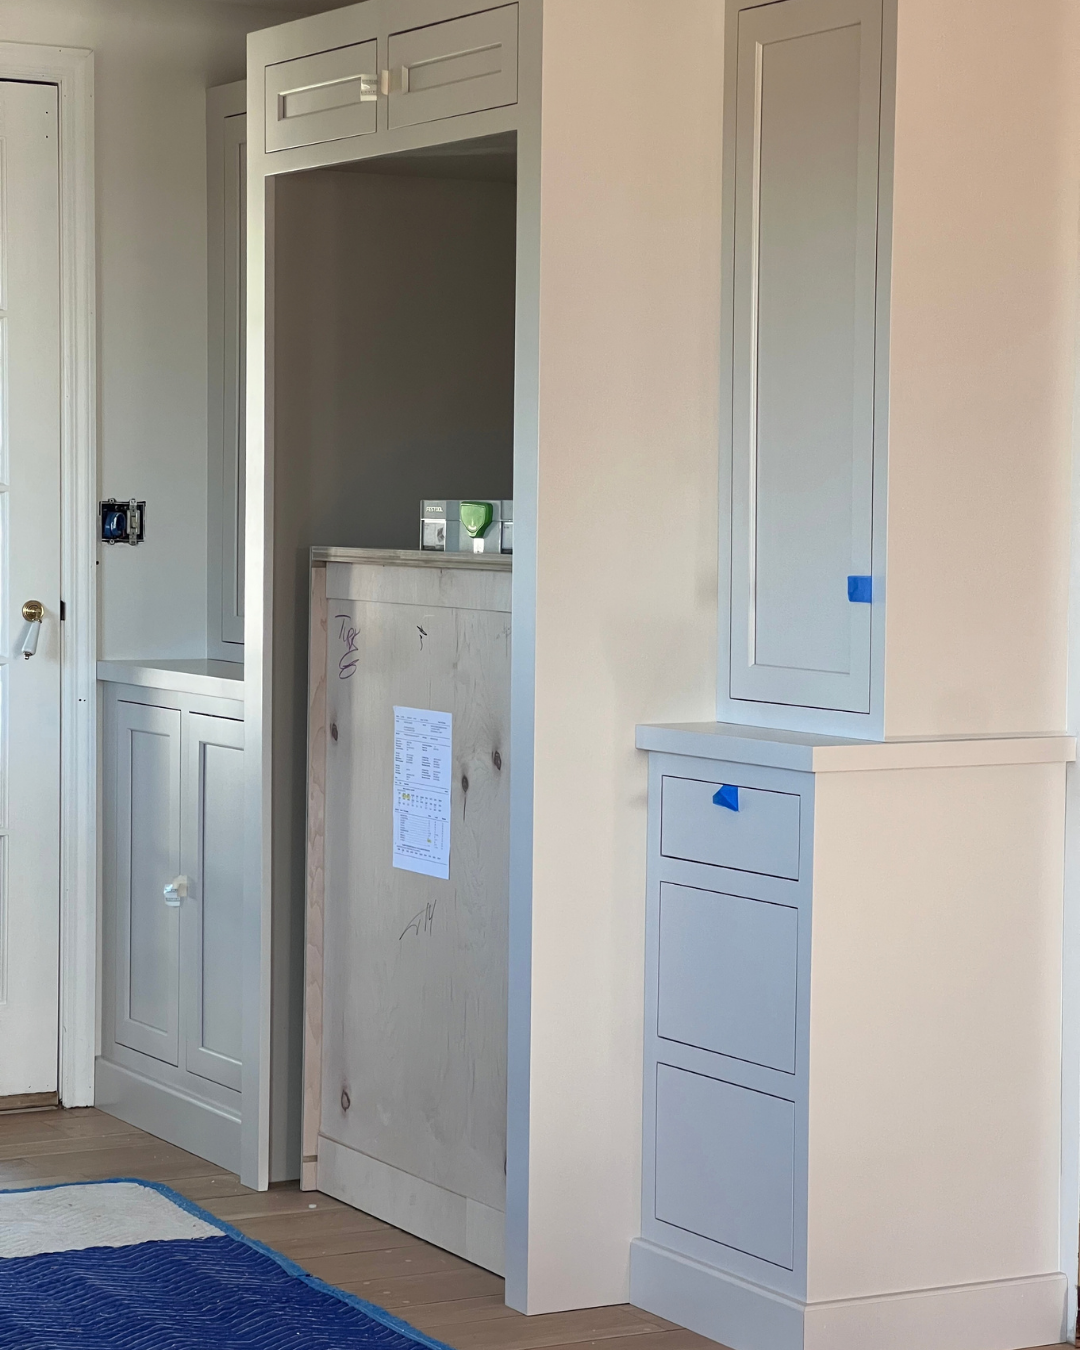
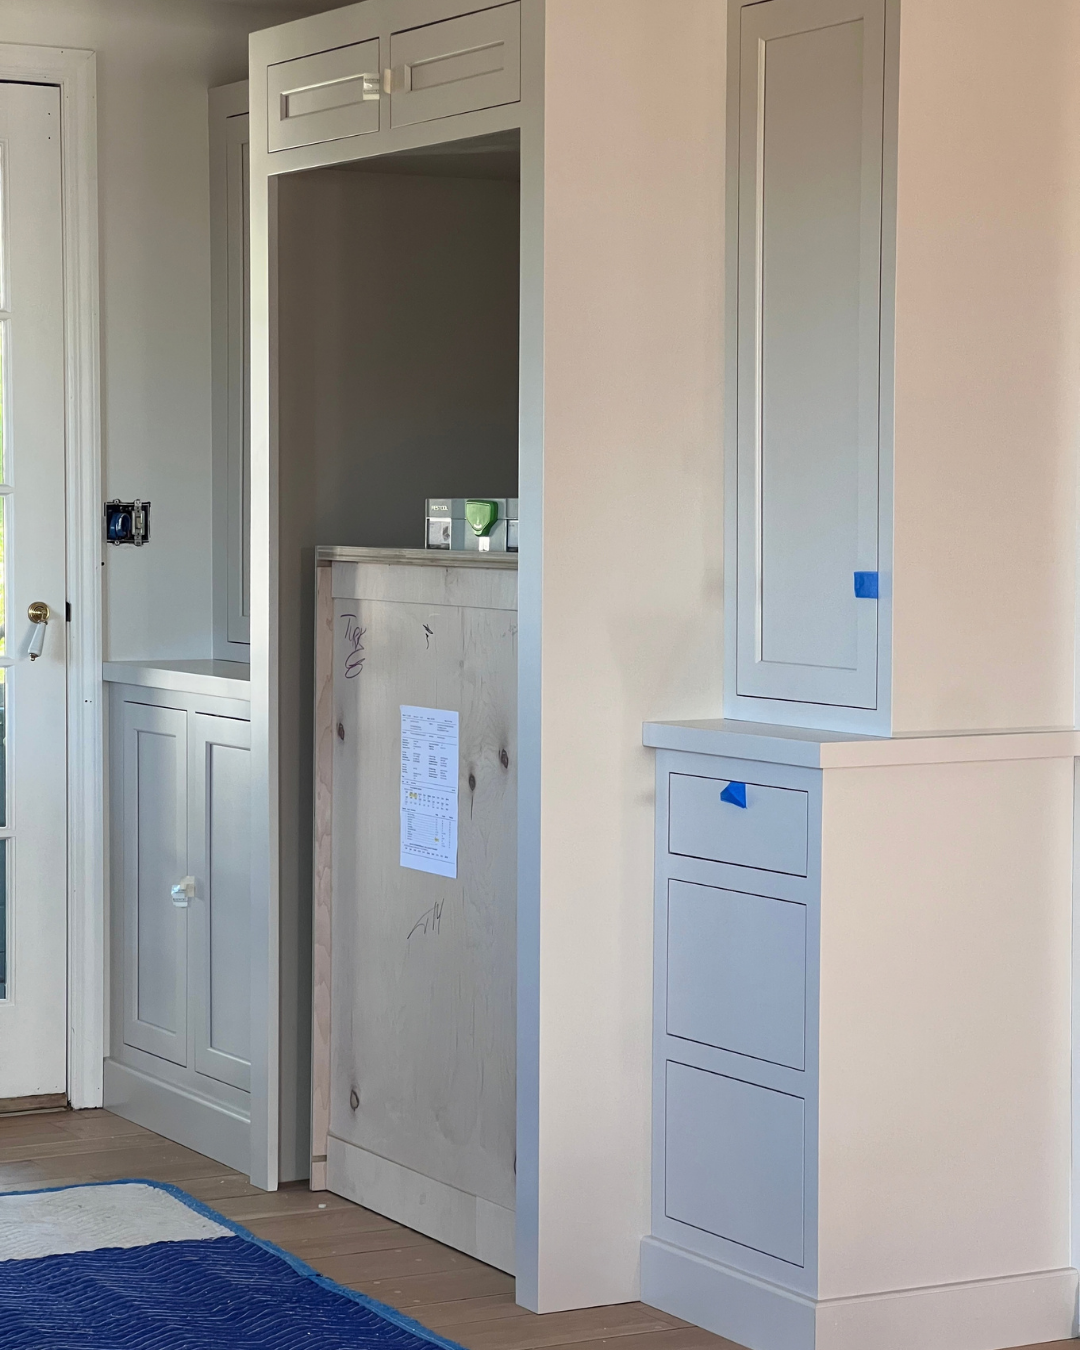
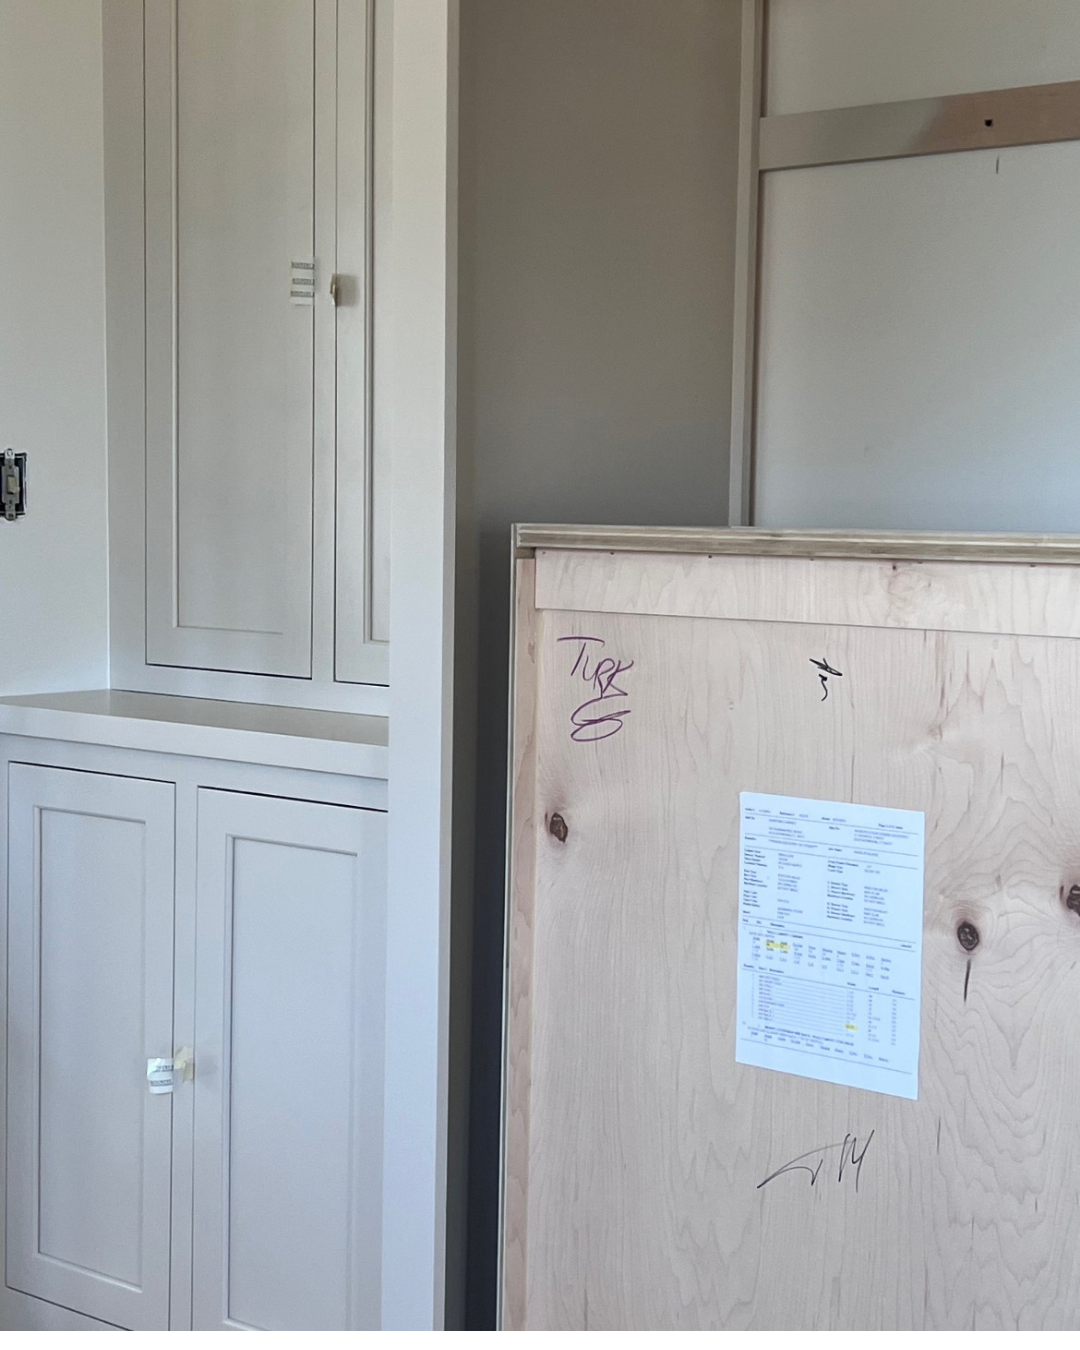
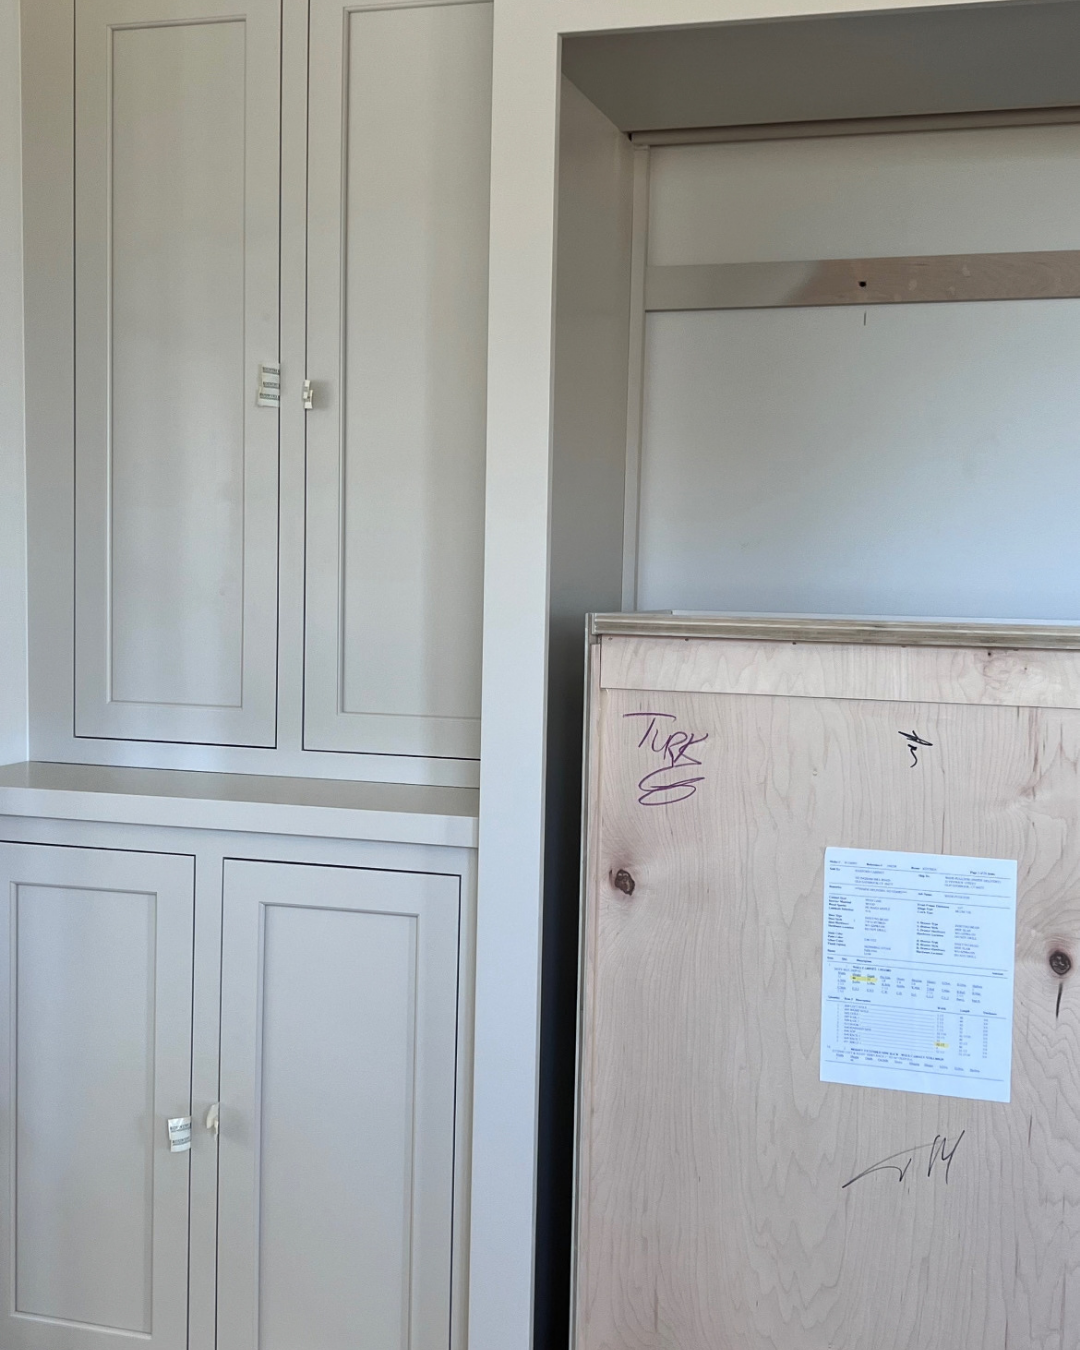
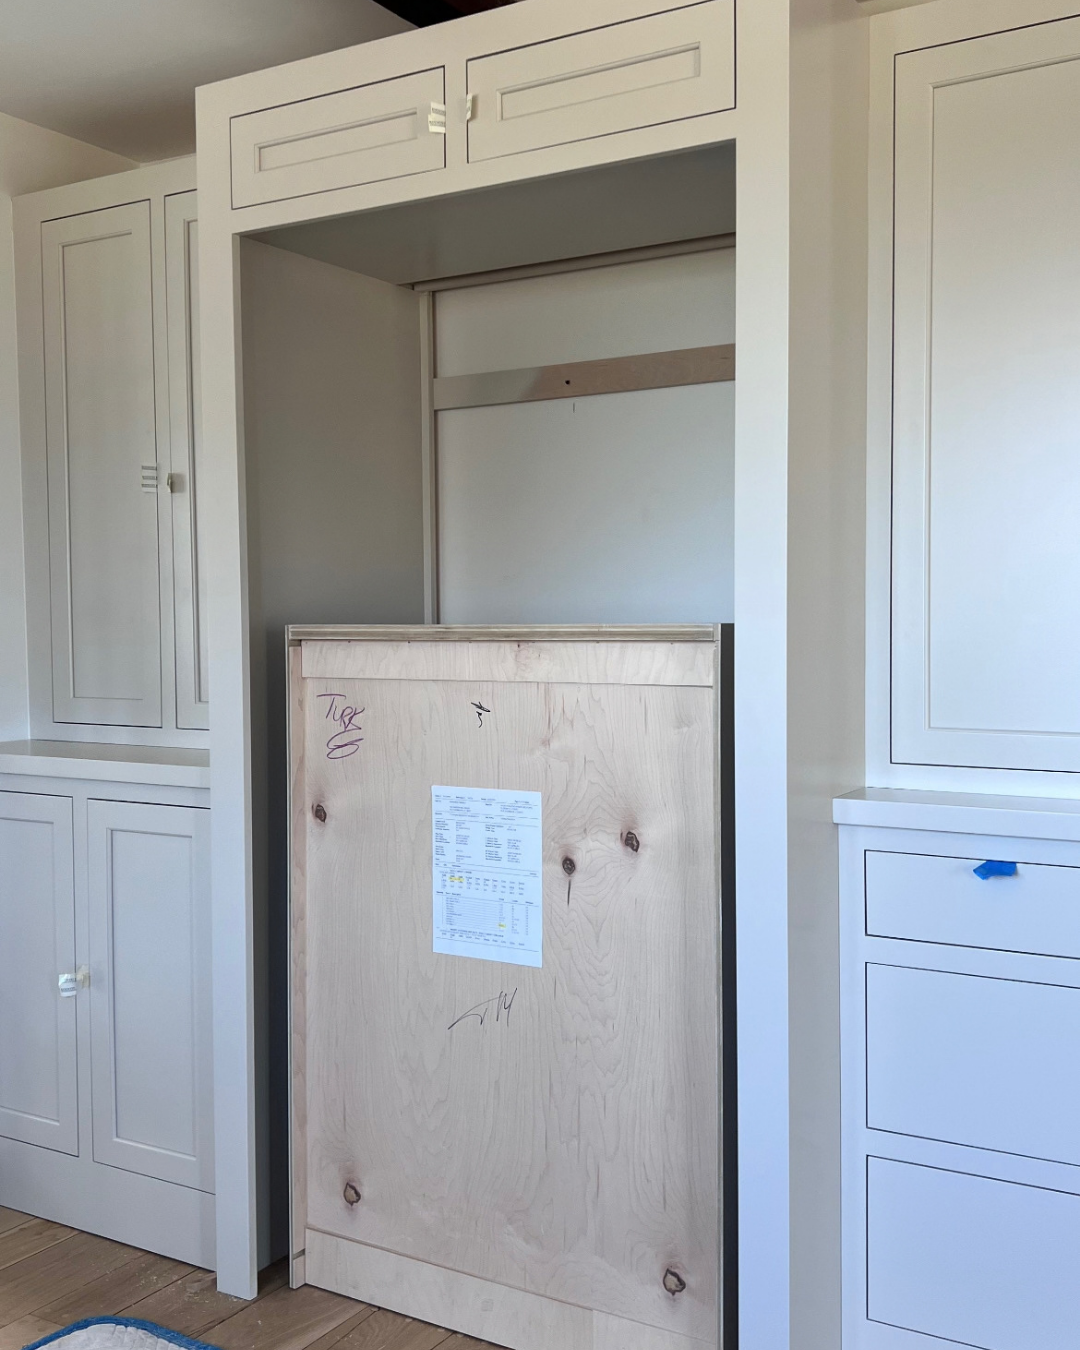
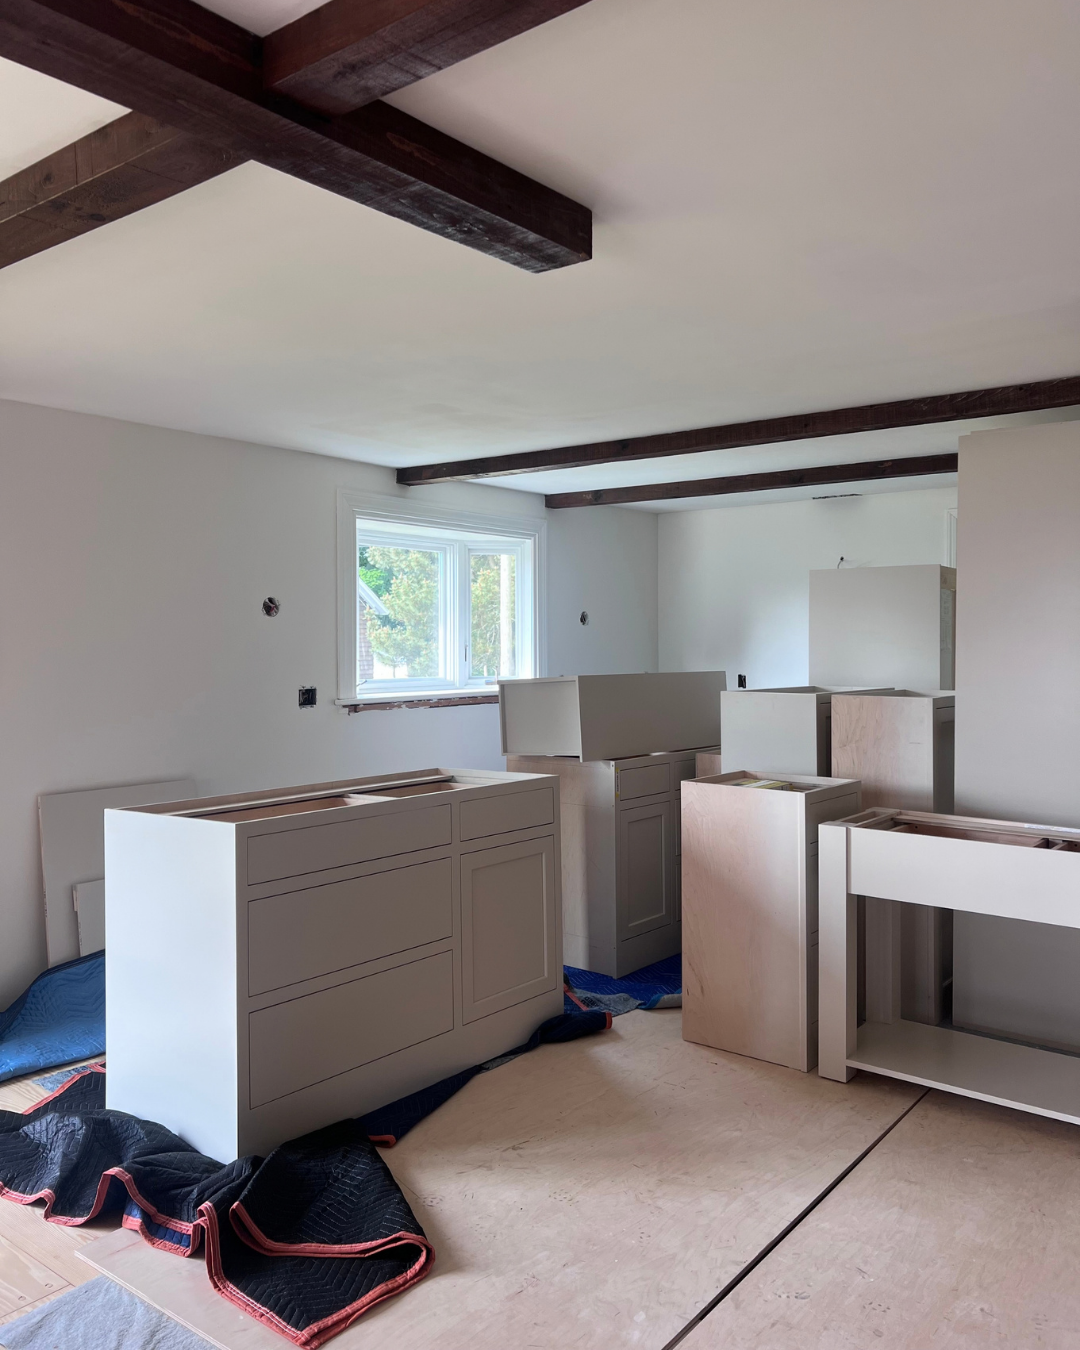
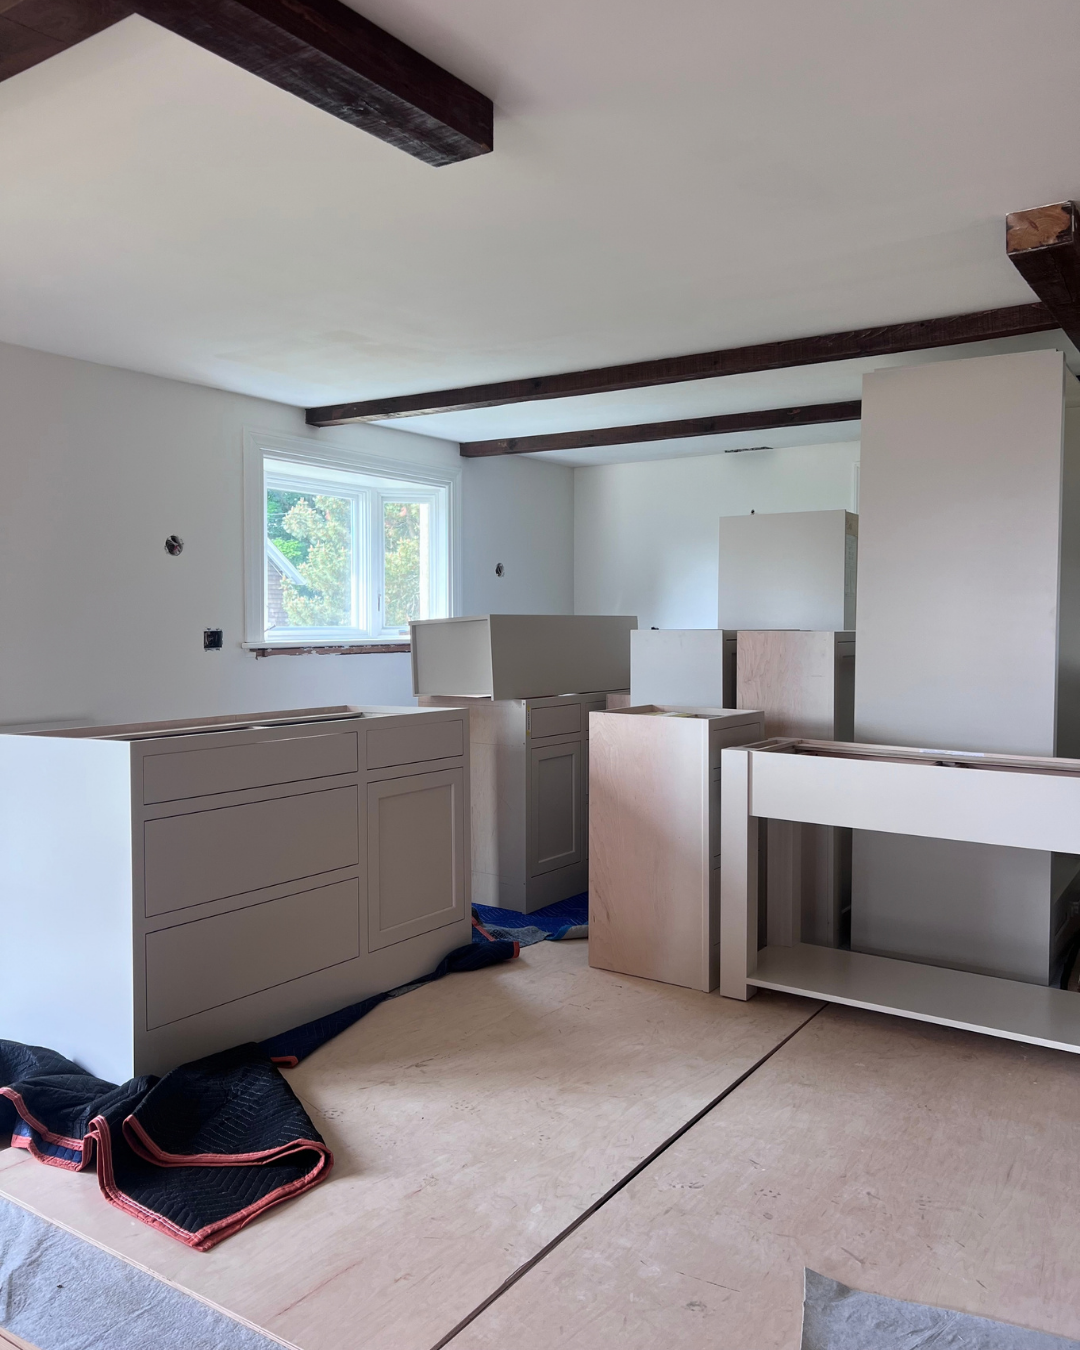
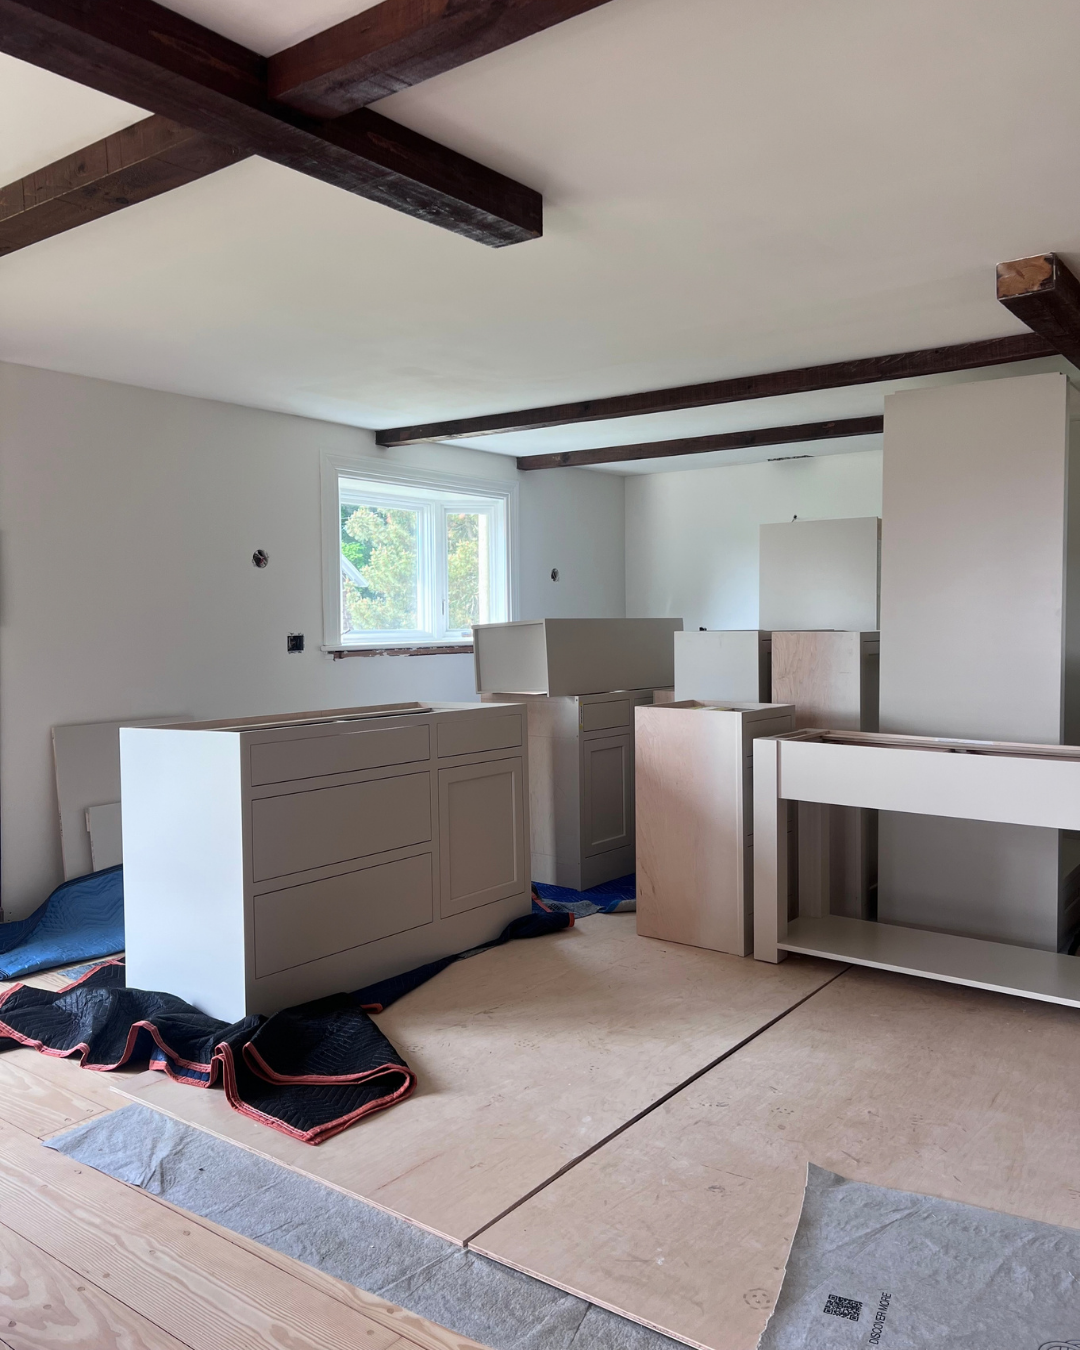
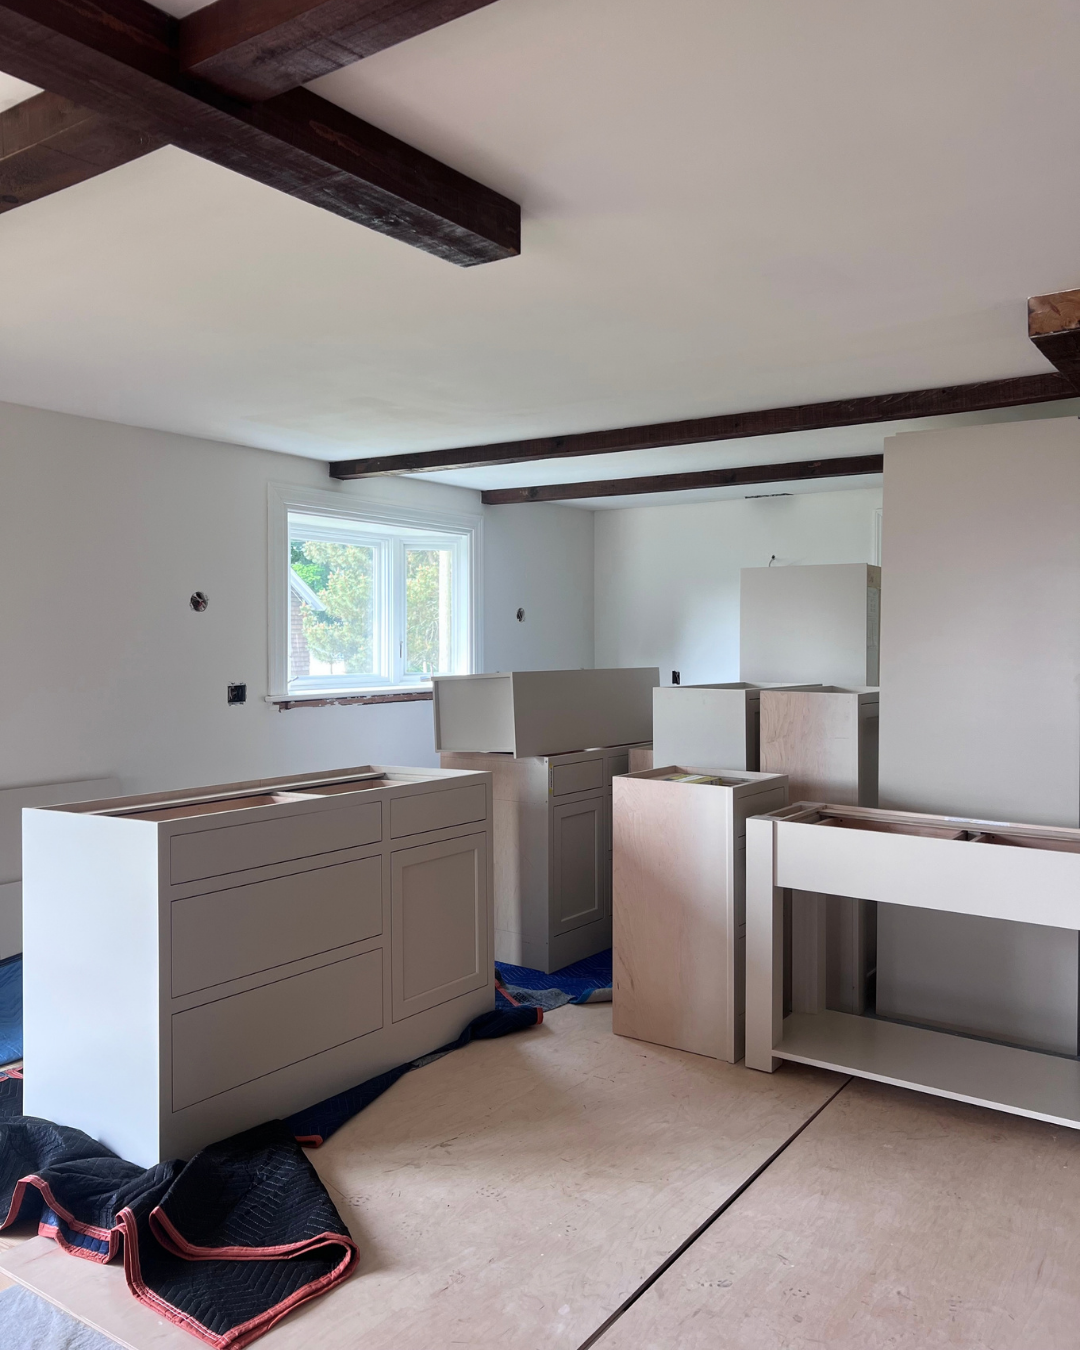
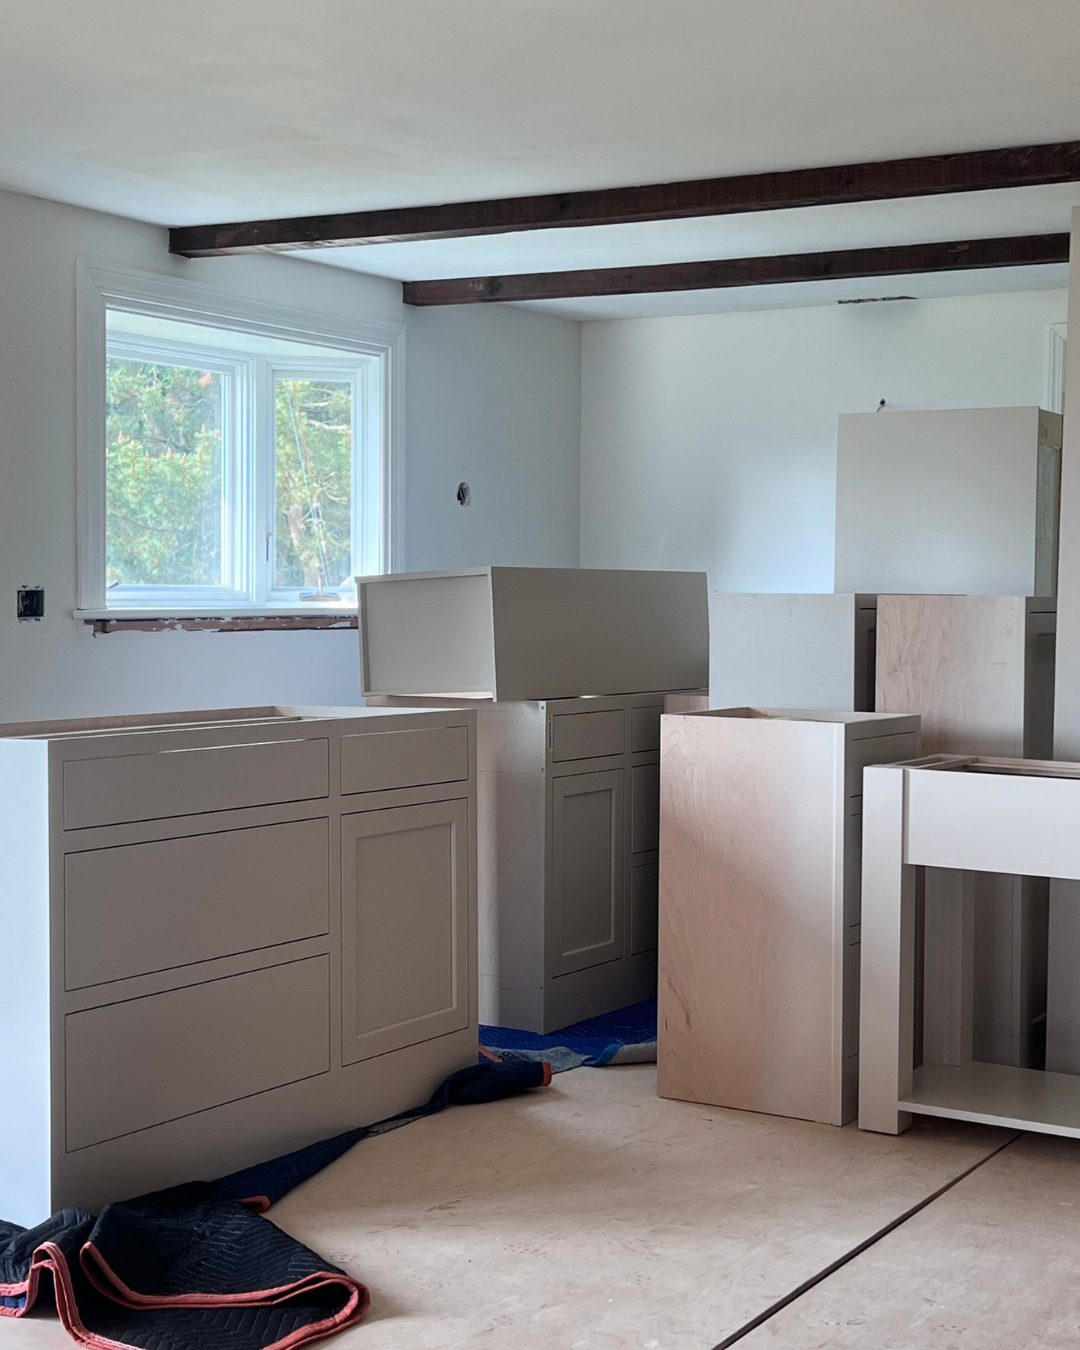
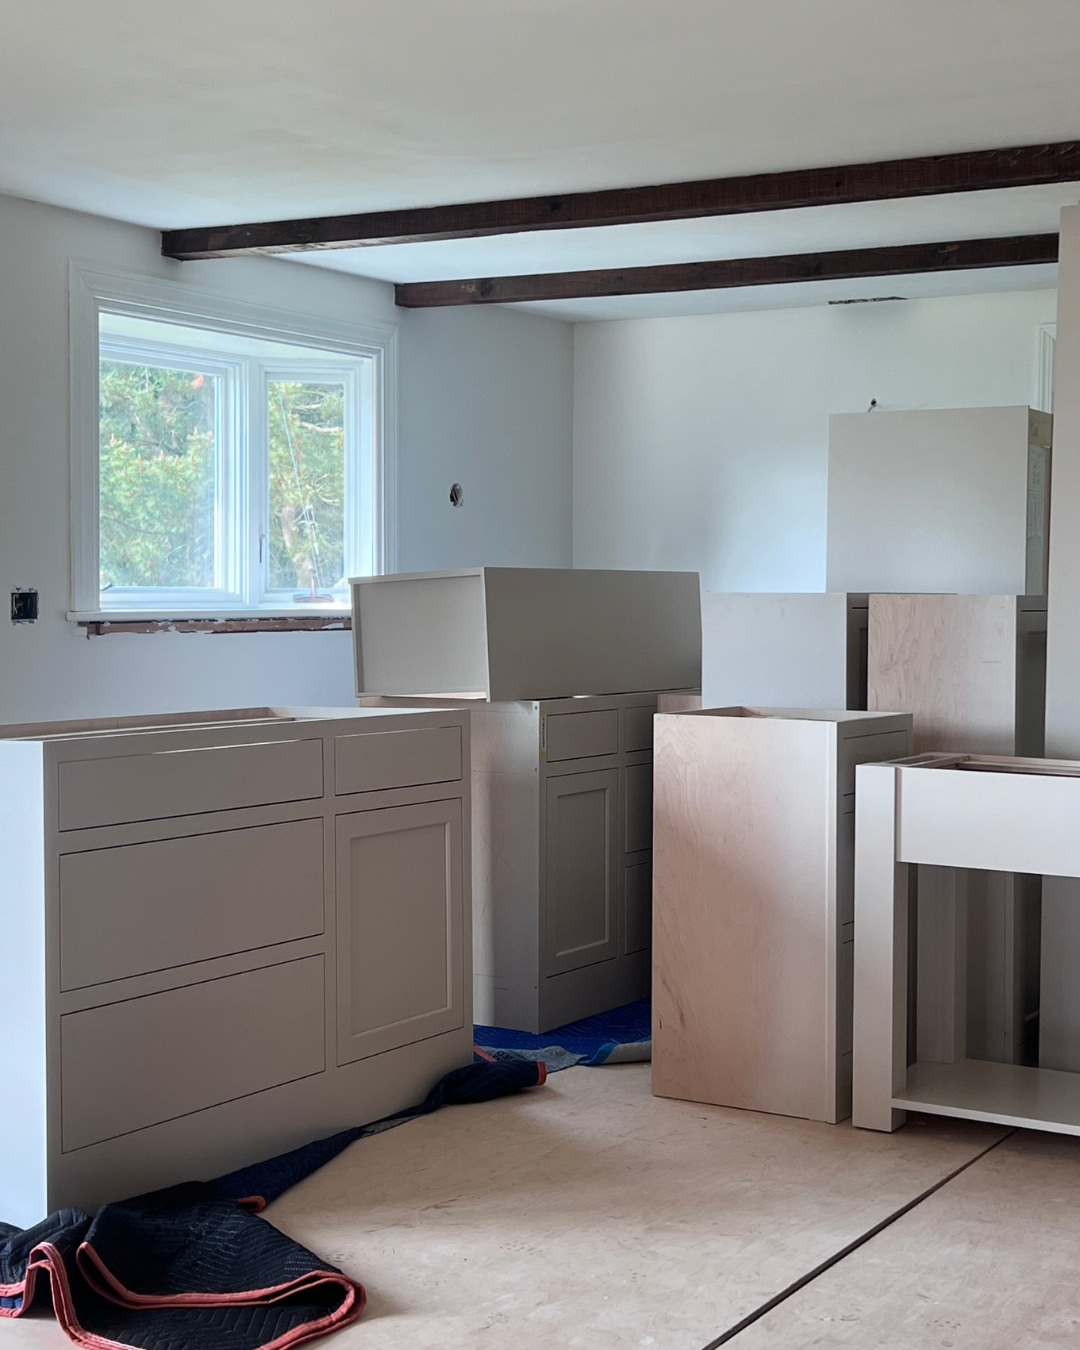
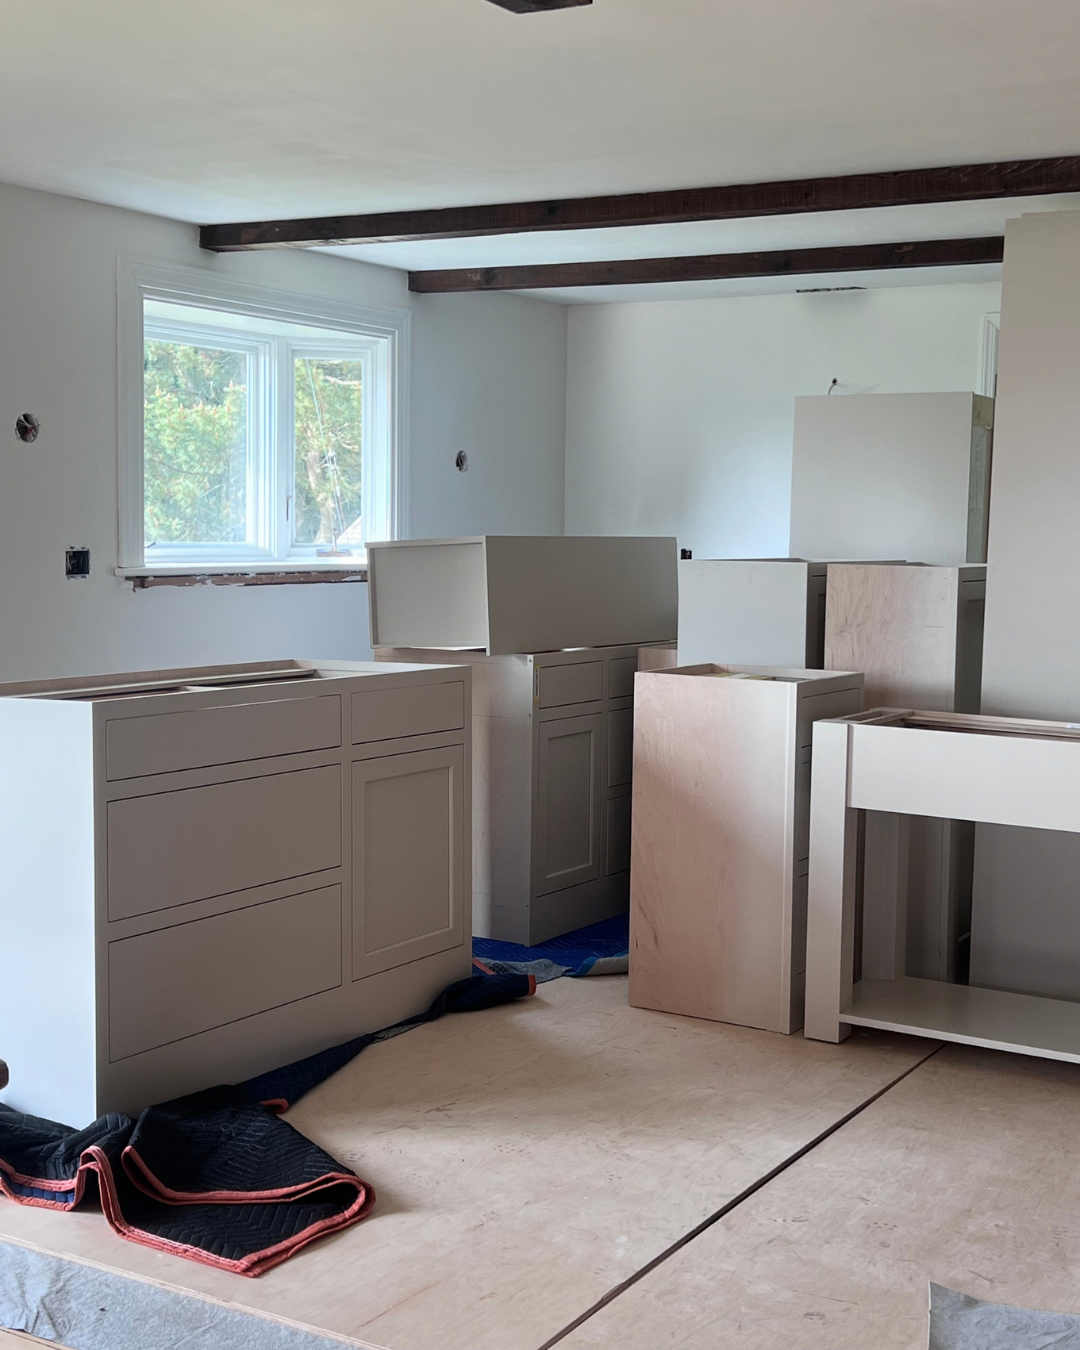
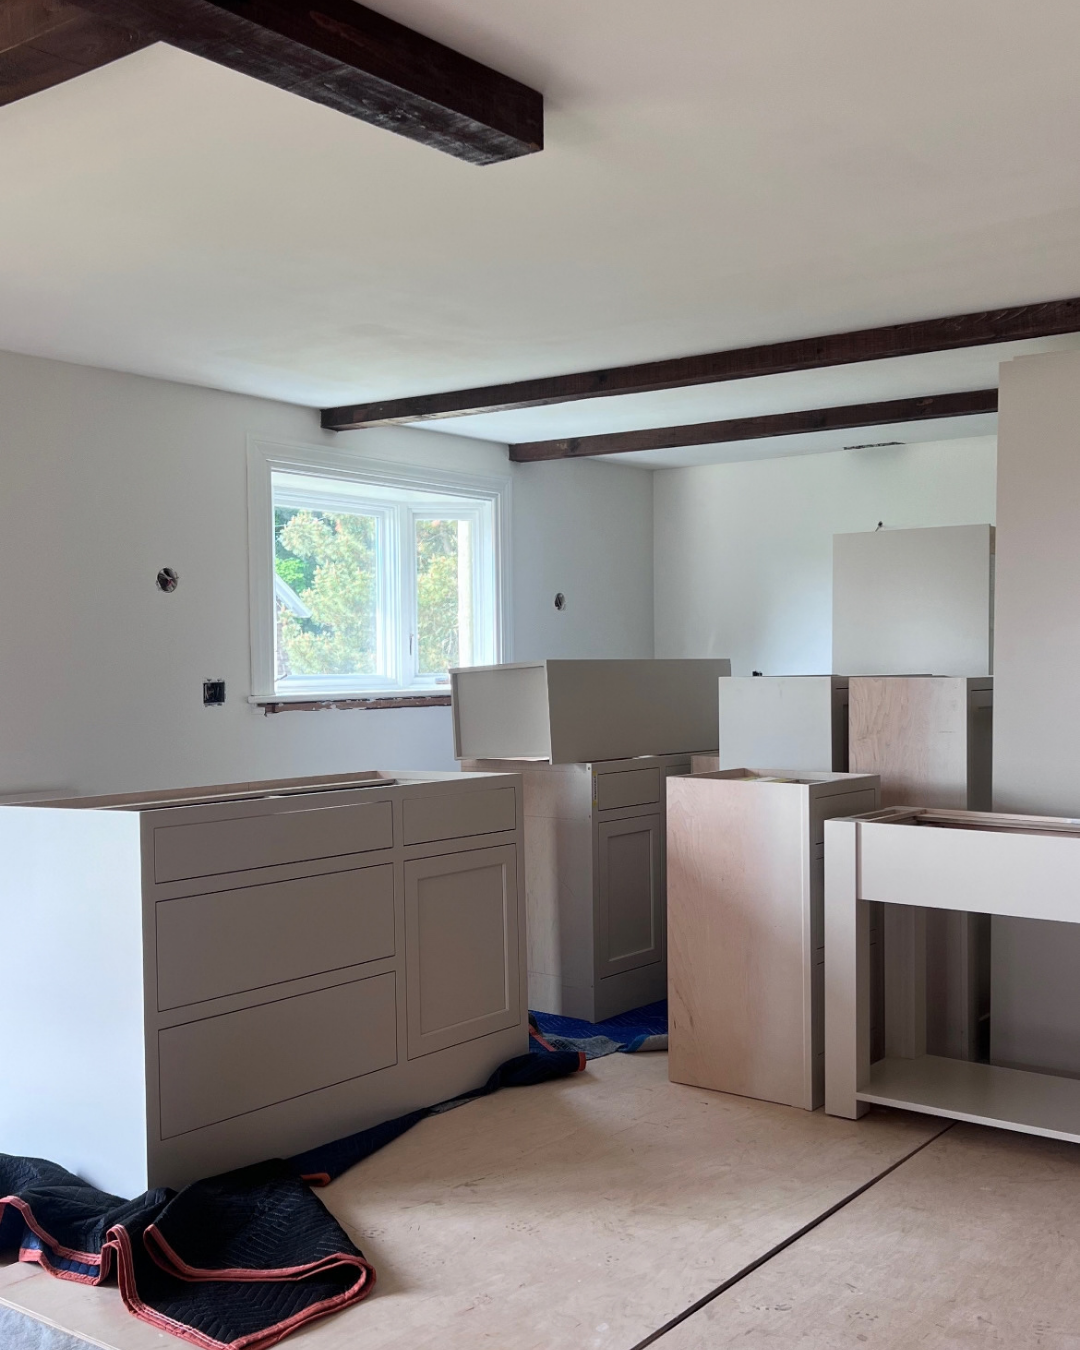
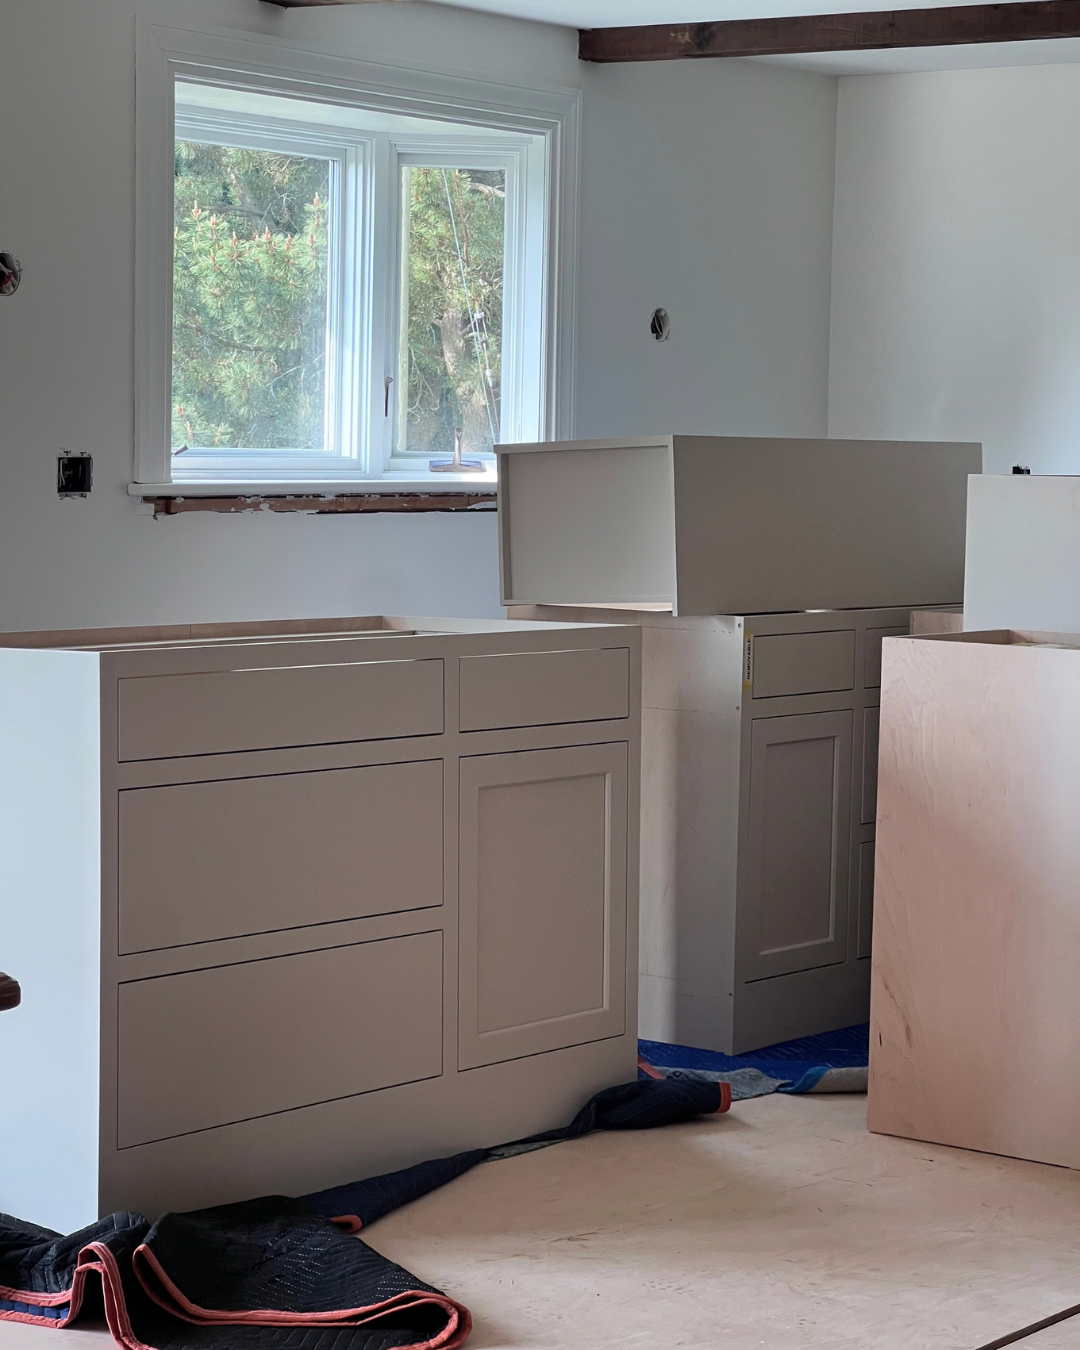
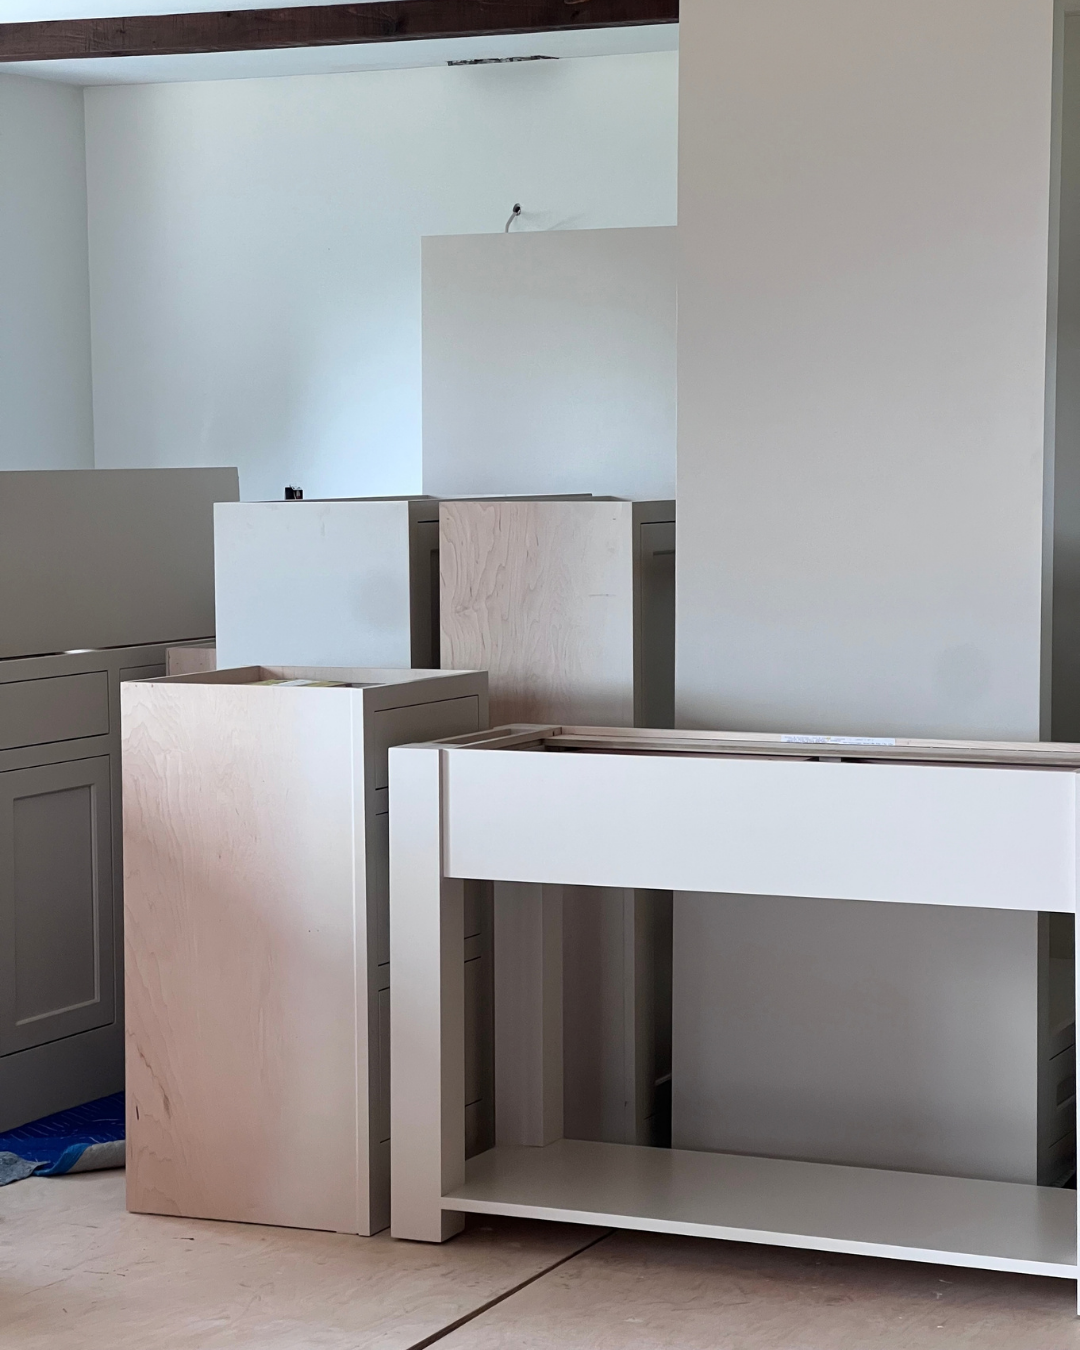
in-progress
Week 12: 6/14-6/20
Kitchen Cabinet Install (Hanford Cabinetry & Woodworking)
All lower cabinet bases, 2 of 3 full-height cabinets; hood/vent cover, and baseboard toe kick
Some off-site adjustments
Note: 2 out of 3 full-height cabinets (located on the north wall) did not have a marble countertop separating the top from bottom, so they were installed with the rest of the other cabinetry on Week 12. The 3rd full-height cabinet (located on the south wall) has a marble countertop separating the top from the bottom, so this has to be installed (Week 15) after the countertop is installed (Week 14).
Week 13: 6/21-6/27
Kitchen Cabinet Install (Hanford Cabinetry & Woodworking)
All drawers and door hardware, top trim, undermount sink placed, castors on island
On-site fixes and adjustments
Countertop Templated (Genrose, managed by Hanford Cabinetry & Woodworking)
Countertop and island (excluding backsplash and slab over stove)
Note: Because there is a full-height cabinet sitting on top of the countertop on the south wall, Genrose templated and installed only the countertop first - not the backsplash and slab over stove - they came back to template and install the backsplash and slab after the top of the full-height cabinet got installed on top of the countertop. This approach ensures extremely precise measurement.
Week 14: 6/28-7/4
Ductwork installed for vent/hood (KMK Mechanical)
Countertop installation (Genrose, managed by Hanford Cabinetry & Woodworking)
Countertop and island (excluding backsplash and slab over stove)
Kitchen Appliance Deilvery and Installation
Dishwasher and Range, excluding refrigerator
Stair Railing Installation begins (Carpenter)
Posts installed
Off-Site assembly of handrail and fittings & on-site installation
½ of balusters
Week 15: 7/5-7/11
Cabinet damage is discovered due to faulty dishwasher
Stair Railing Installation continues (Carpenter)
Remaining balusters
Trim in stairwell
Kitchen Cabinet Install (Hanford Cabinetry & Woodworking)
Full-Height Cabinet (on top of countertop)
Custom Wood Grille (for toe kick HVAC vent under sink cabinet base)
Hood Vent Appliance Installed (Hanford Cabinetry & Woodworking)
Lighting Fixtures Installed (Faulkingham Electrical Services)
Sconces
Overhead Pendants
Stairwell Sconce
Countertop Backsplash & Slab Templated (Genrose, managed by Hanford Cabinetry & Woodworking)
Note: Because there is a full-height cabinet sitting on top of the countertop, Genrose came back to template the backsplash and slab after the top of the full-height cabinet got installed on top of the countertop. This approach ensures extremely precise measurement.
Week 16: 7/12-7/18
Week 17: 7/19-7/25
New replacement dishwasher installed
Week 18: 7/26-8/1
Week 19: 8/2-8/8
New baseboard toe kick and returned-edge installed
Sink apron installed
Week 20: 8/9-8/15
Week 21: 8/16-8/22
Refrigerator Delivery & Installation
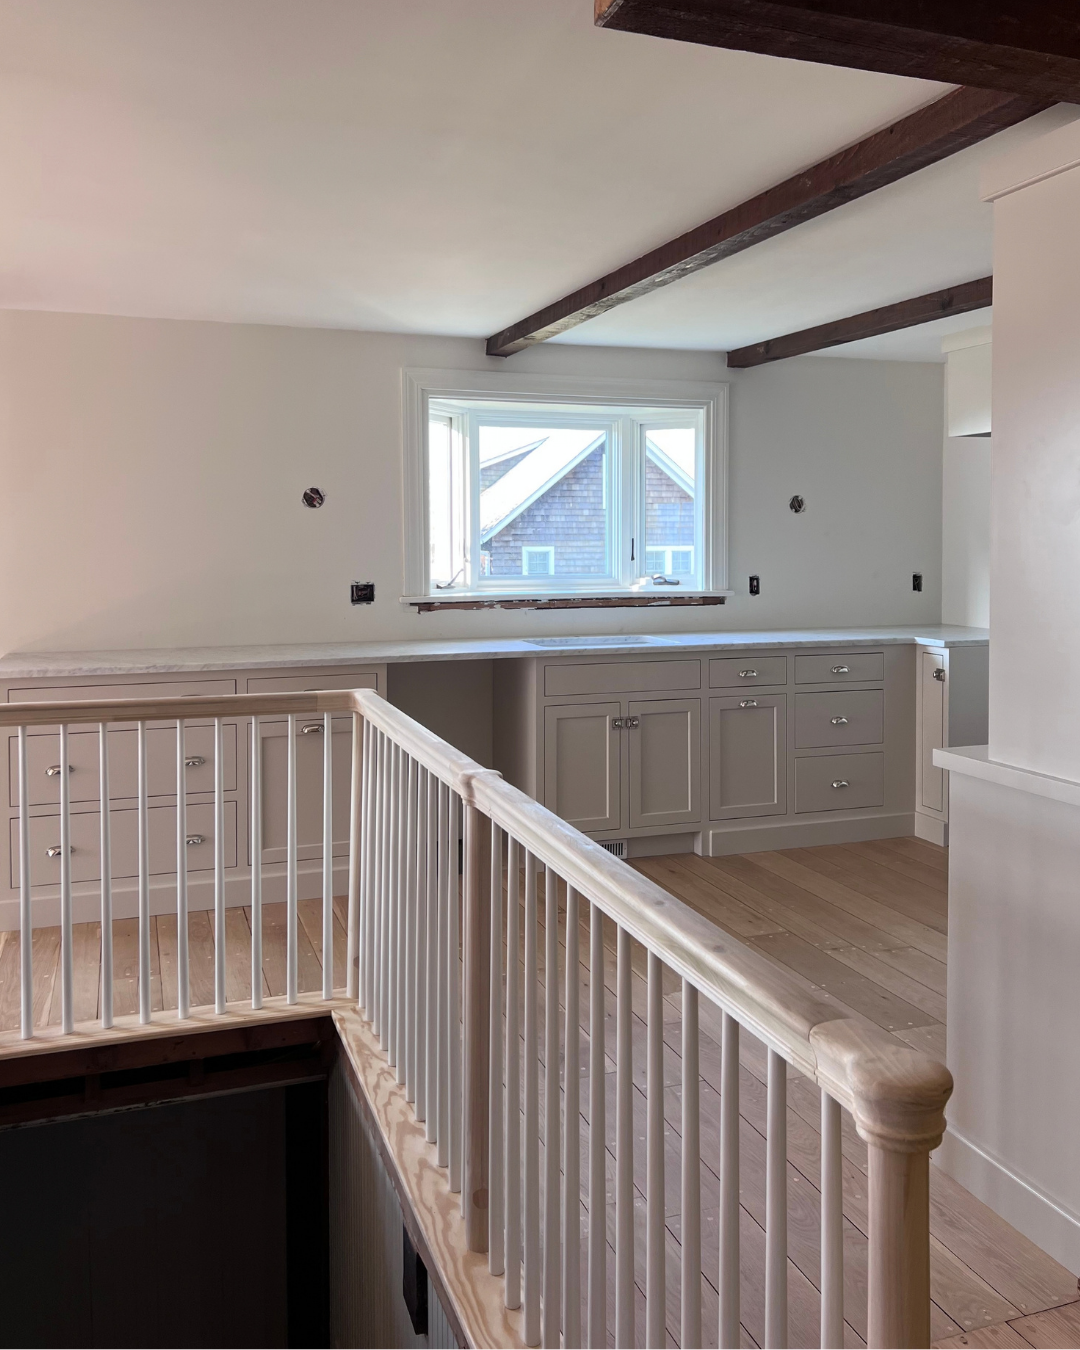
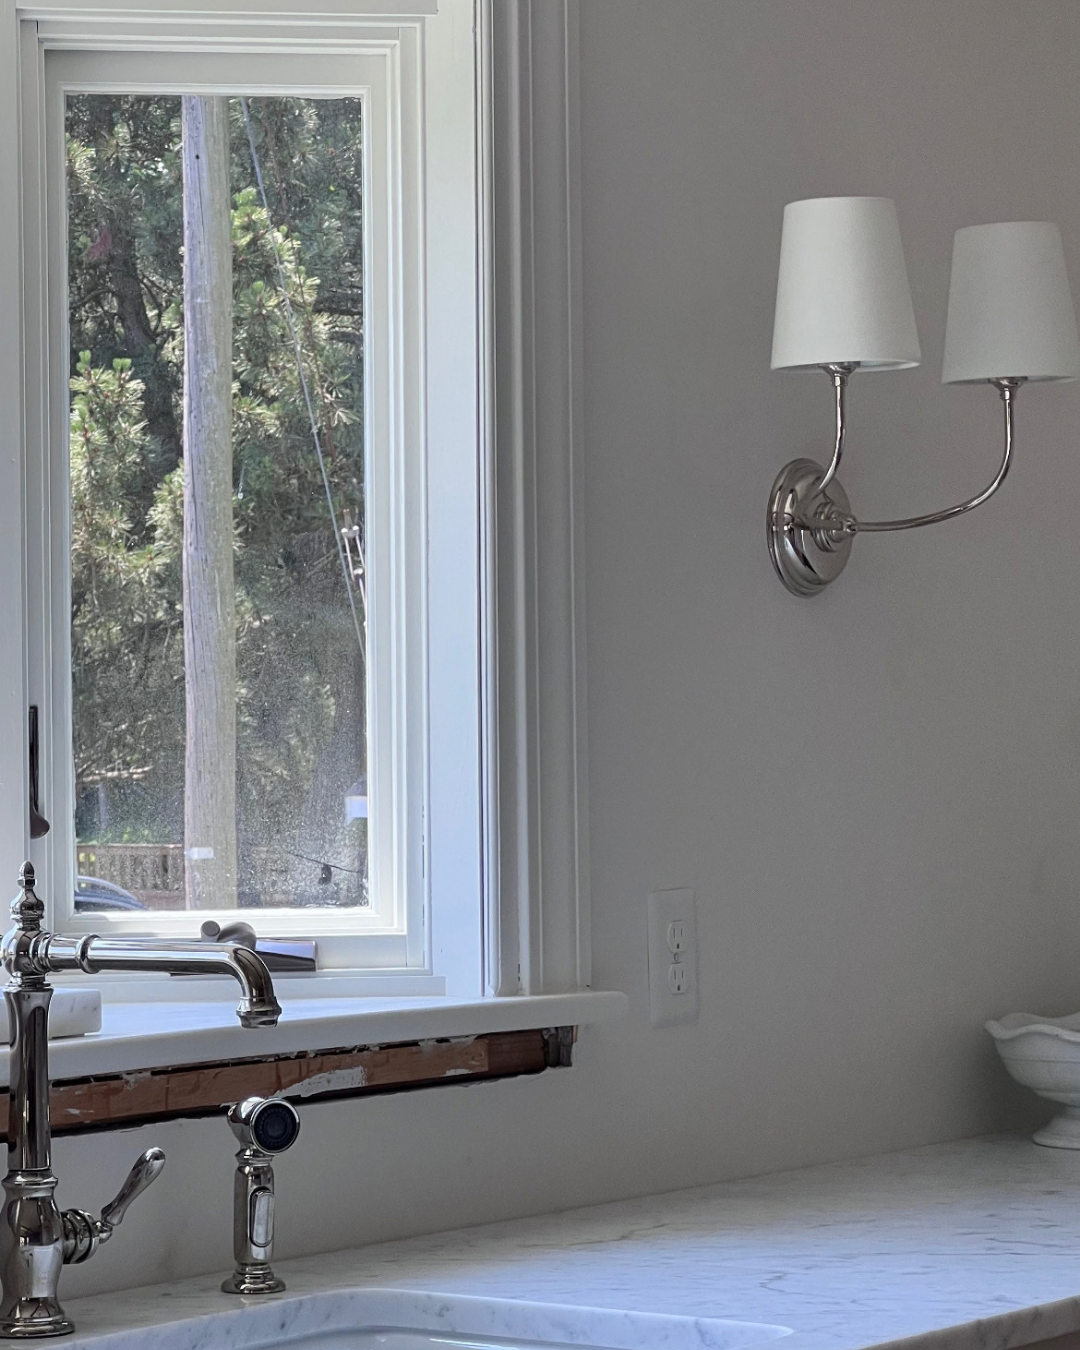
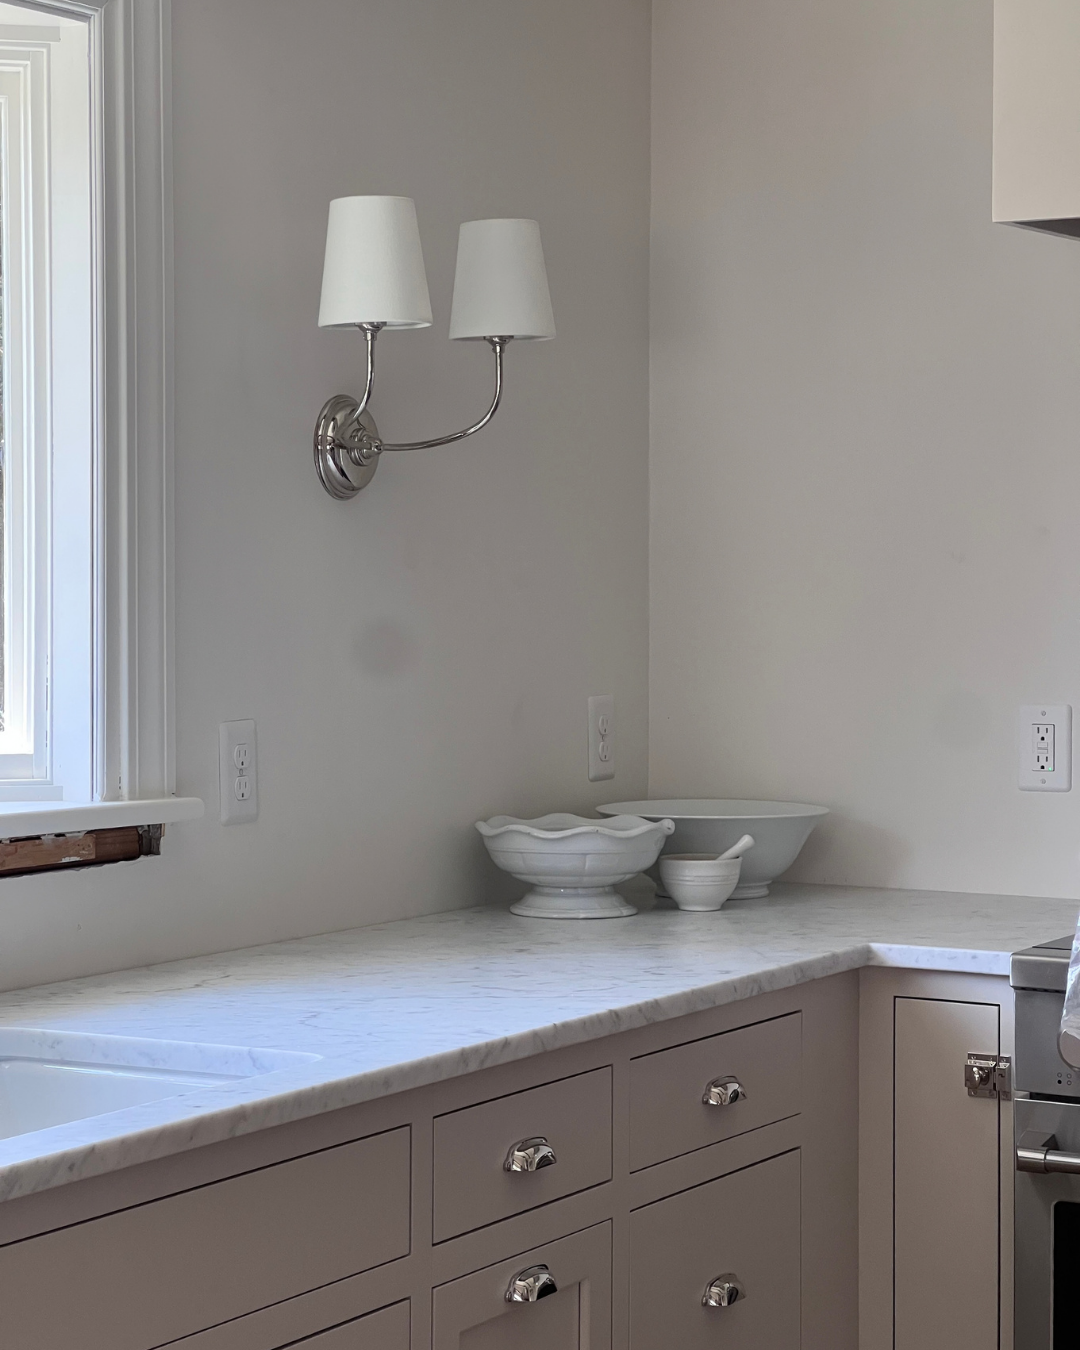
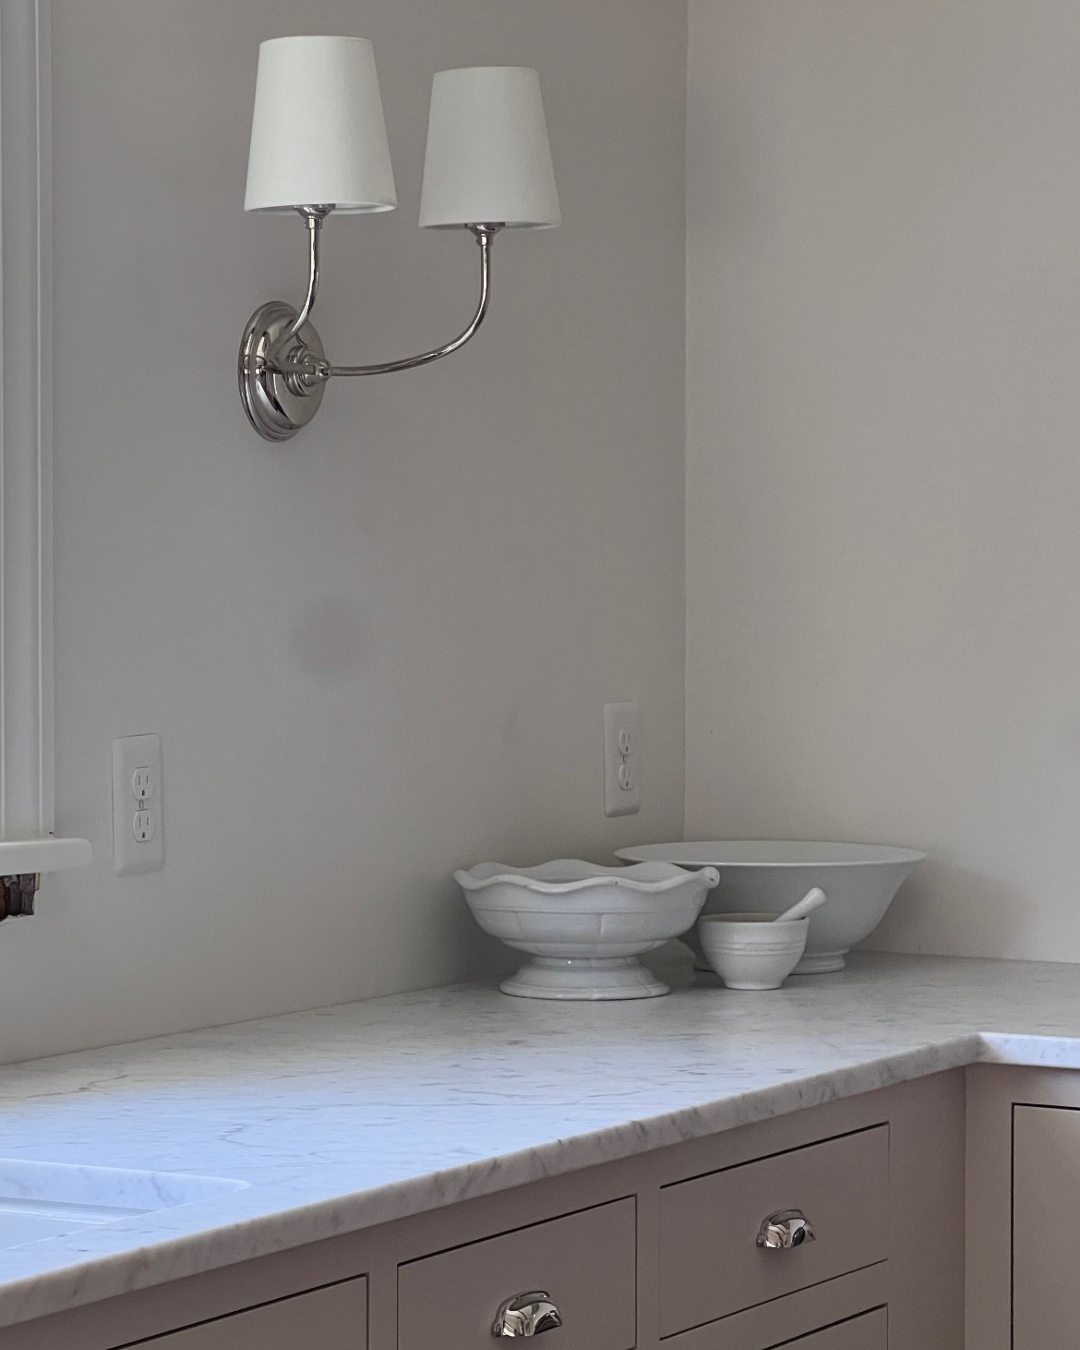
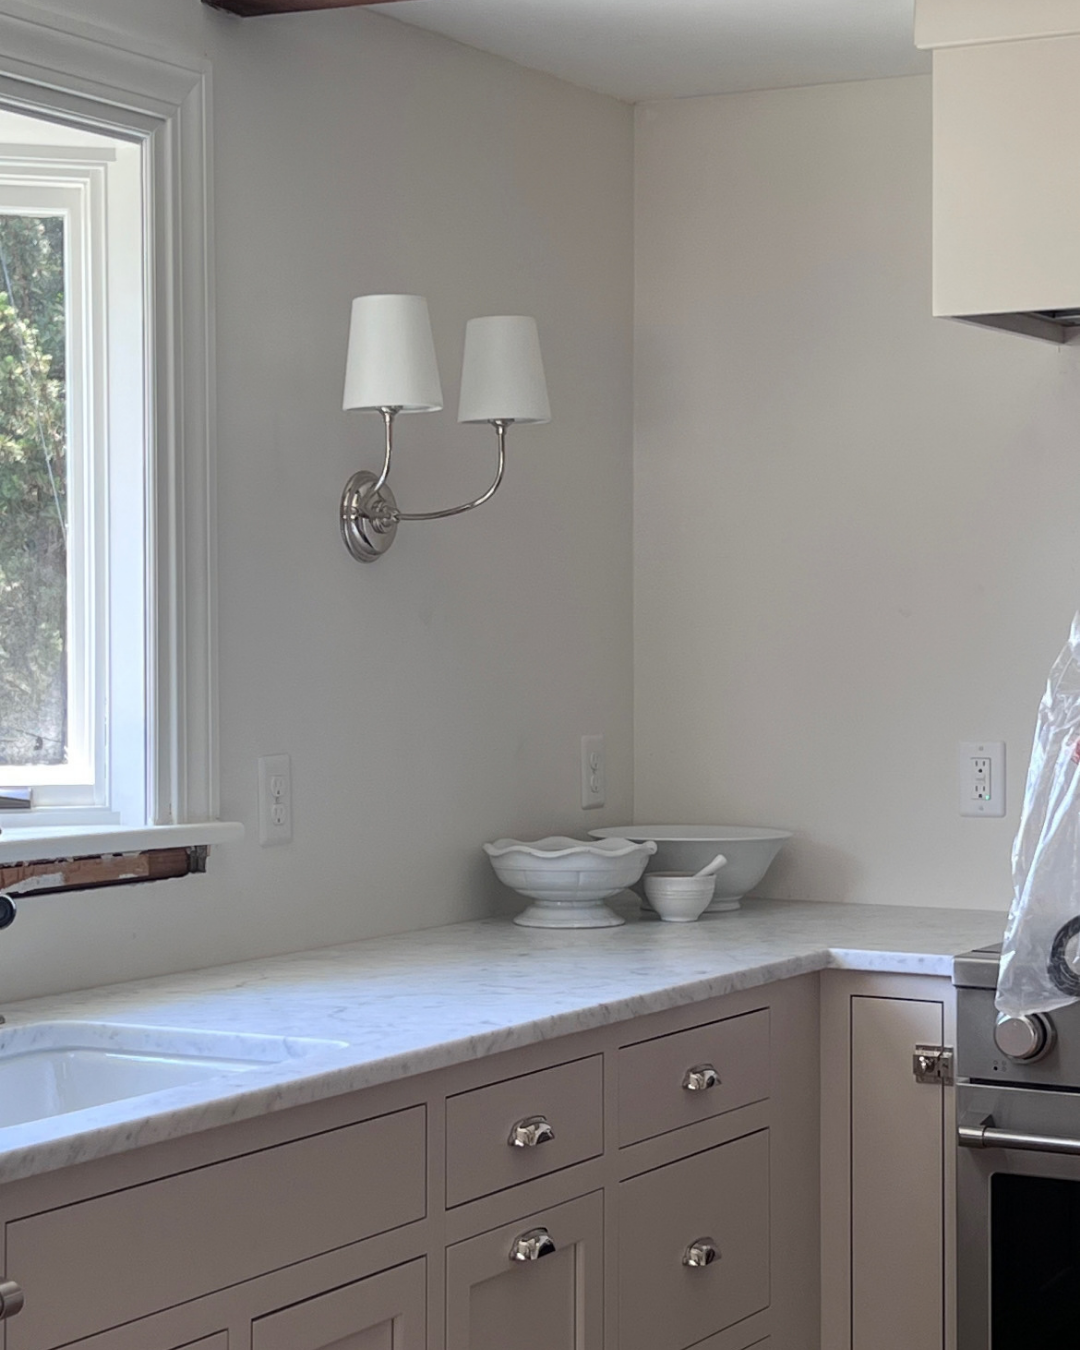
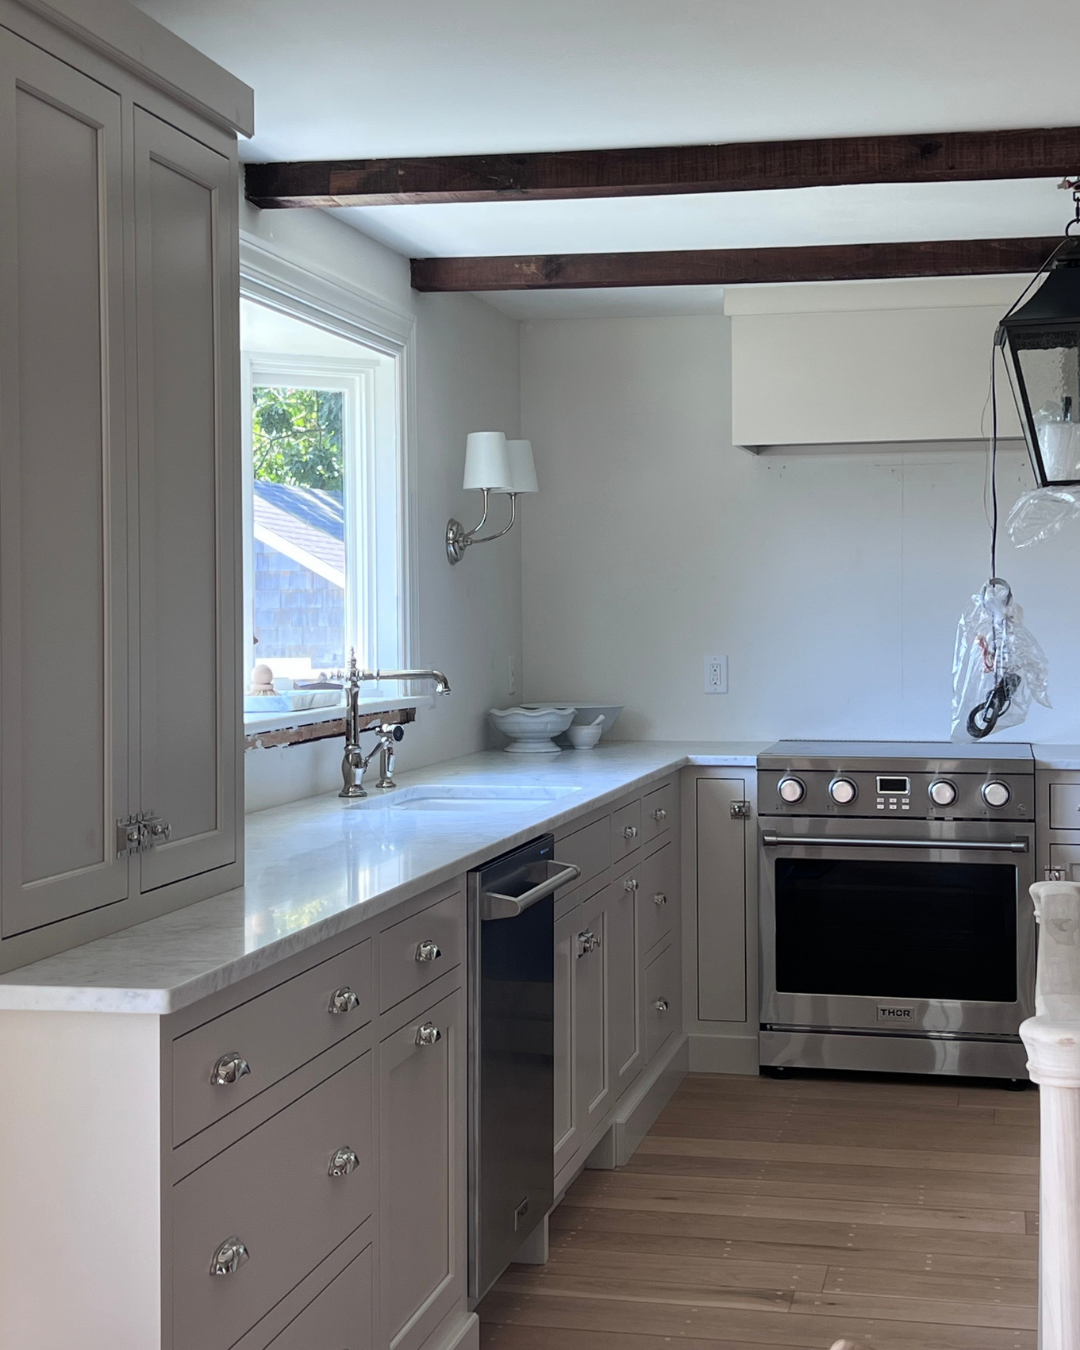
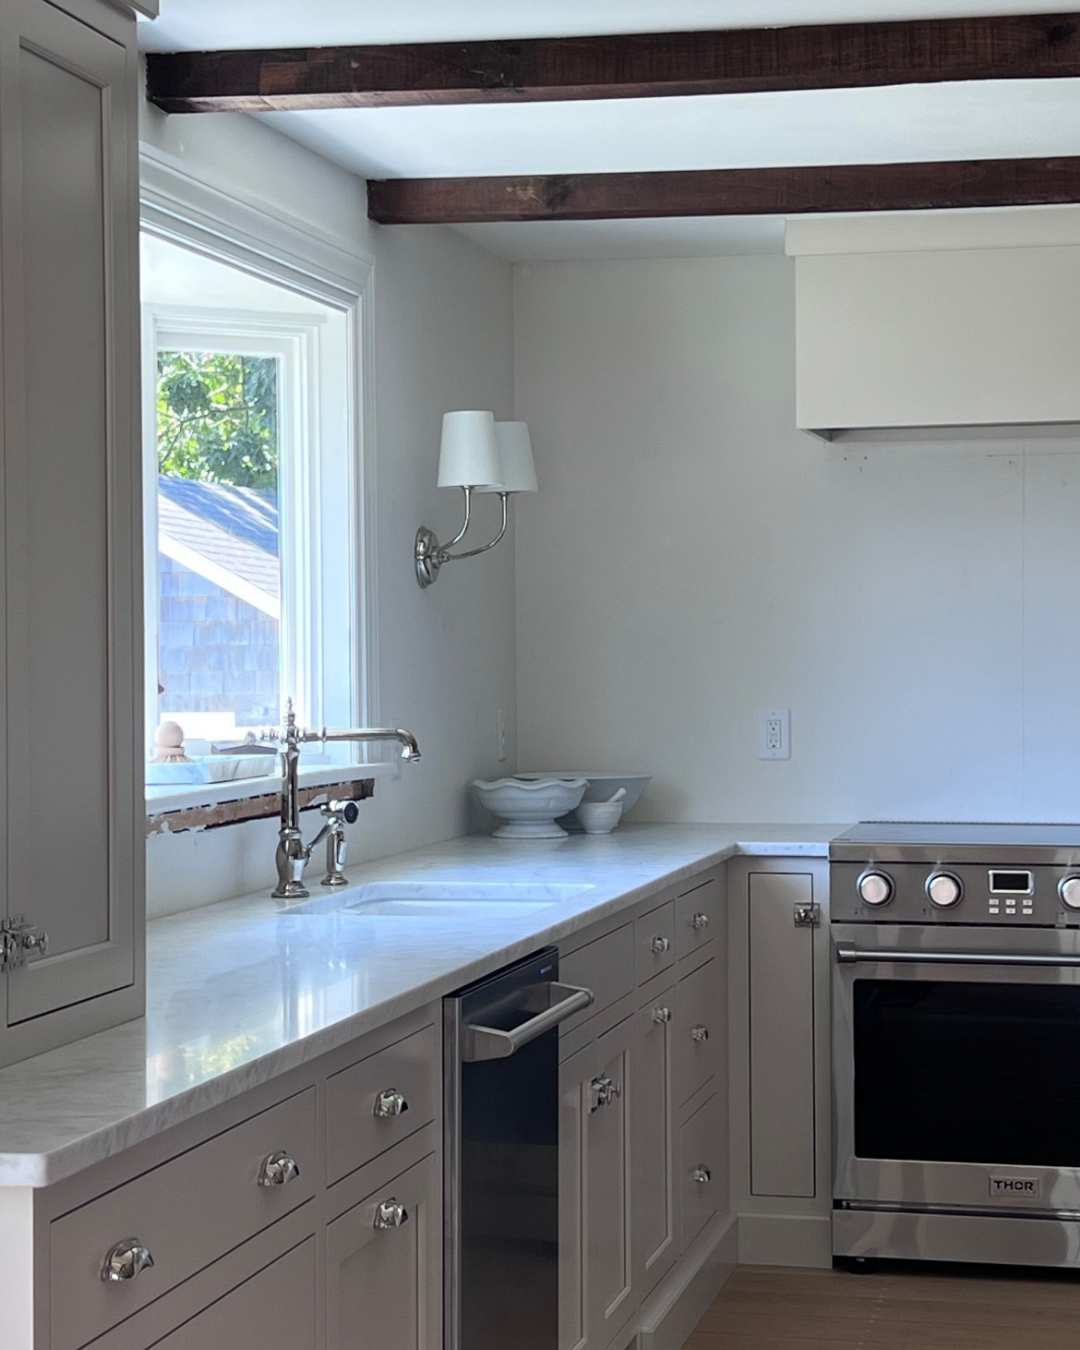
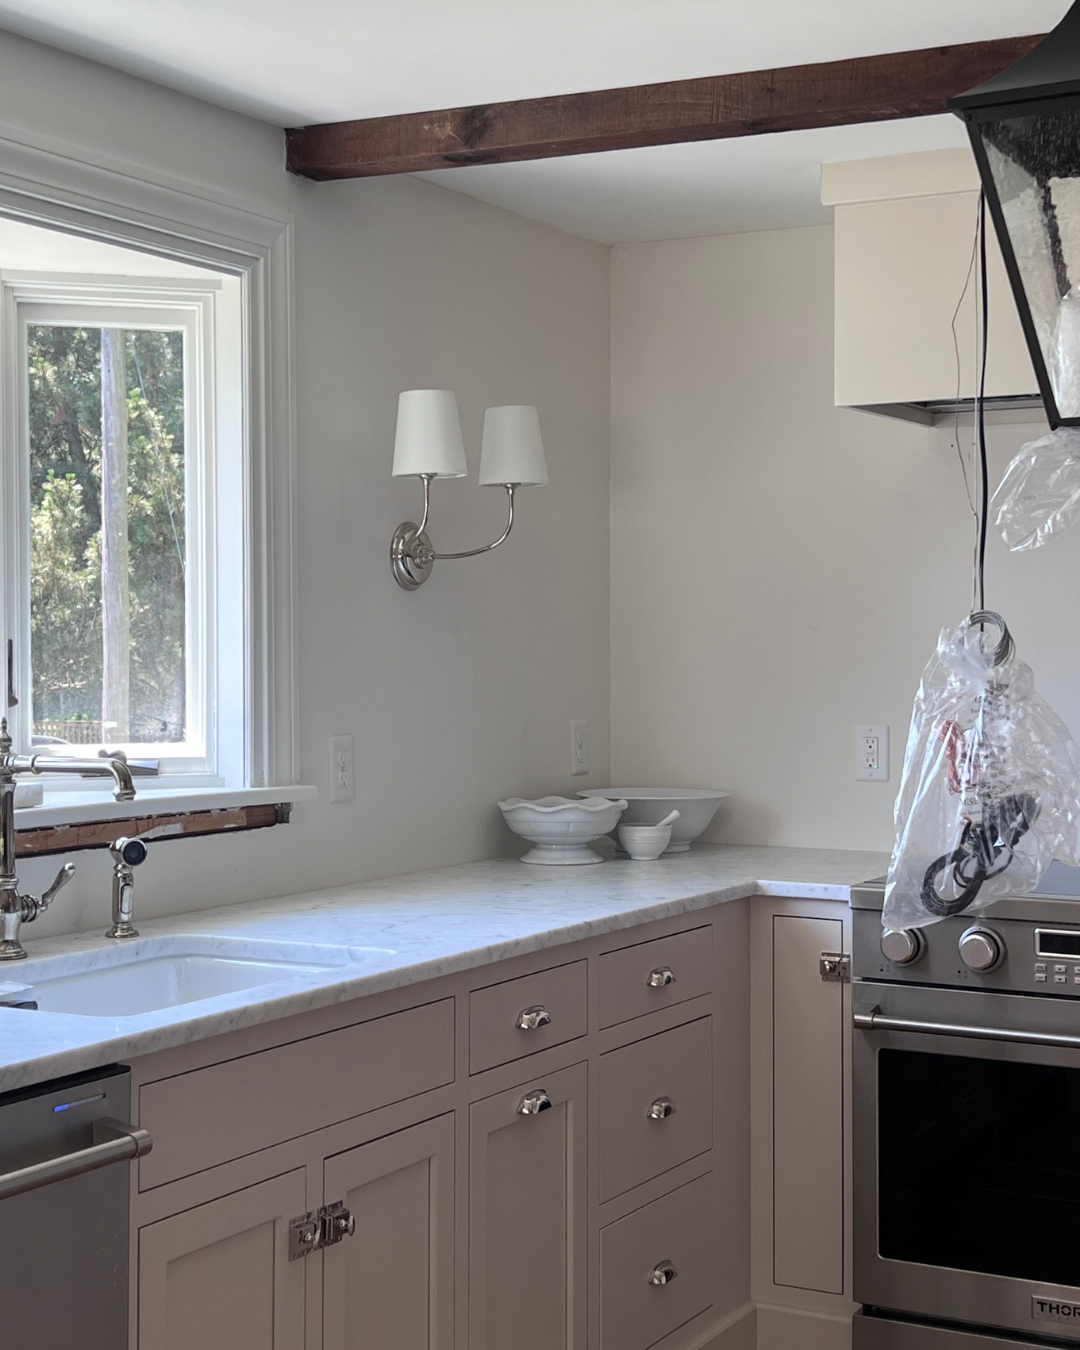
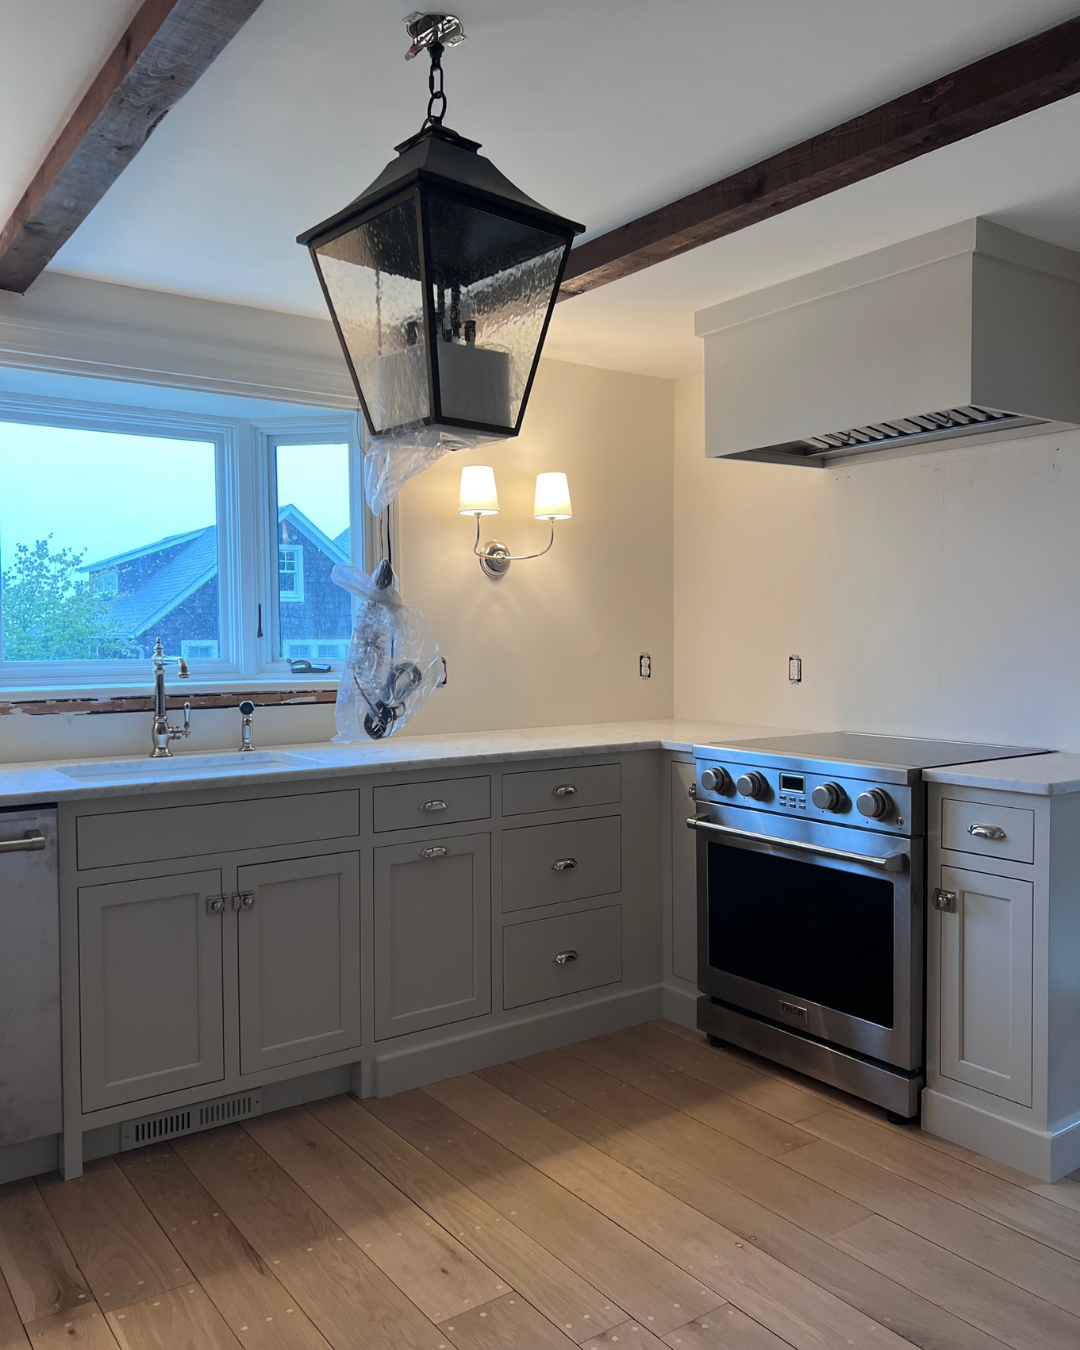
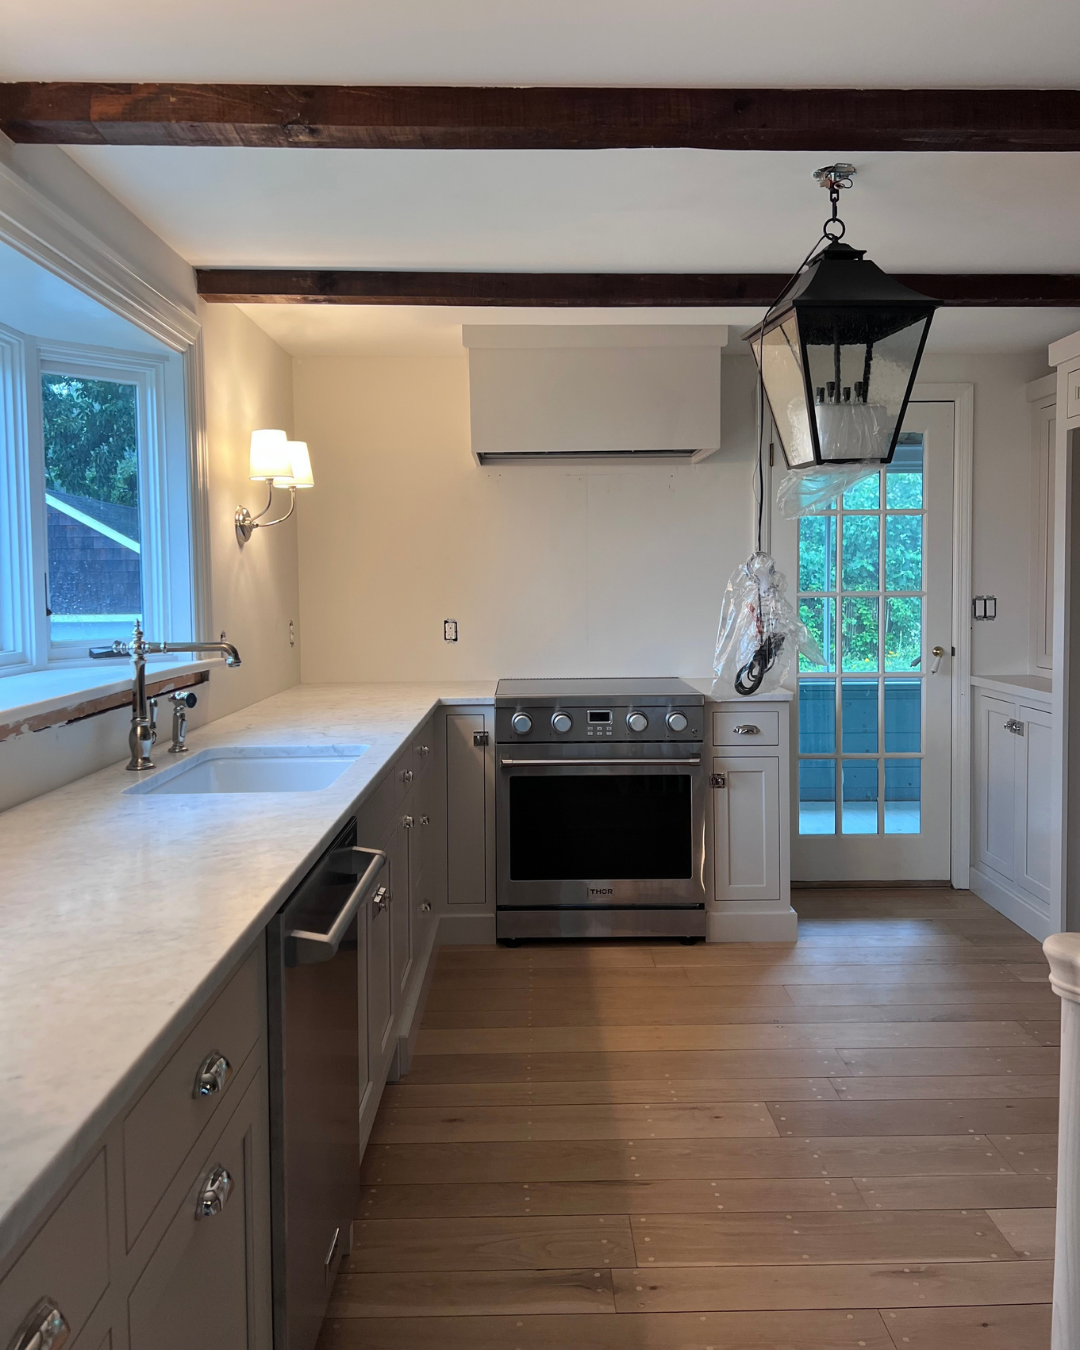
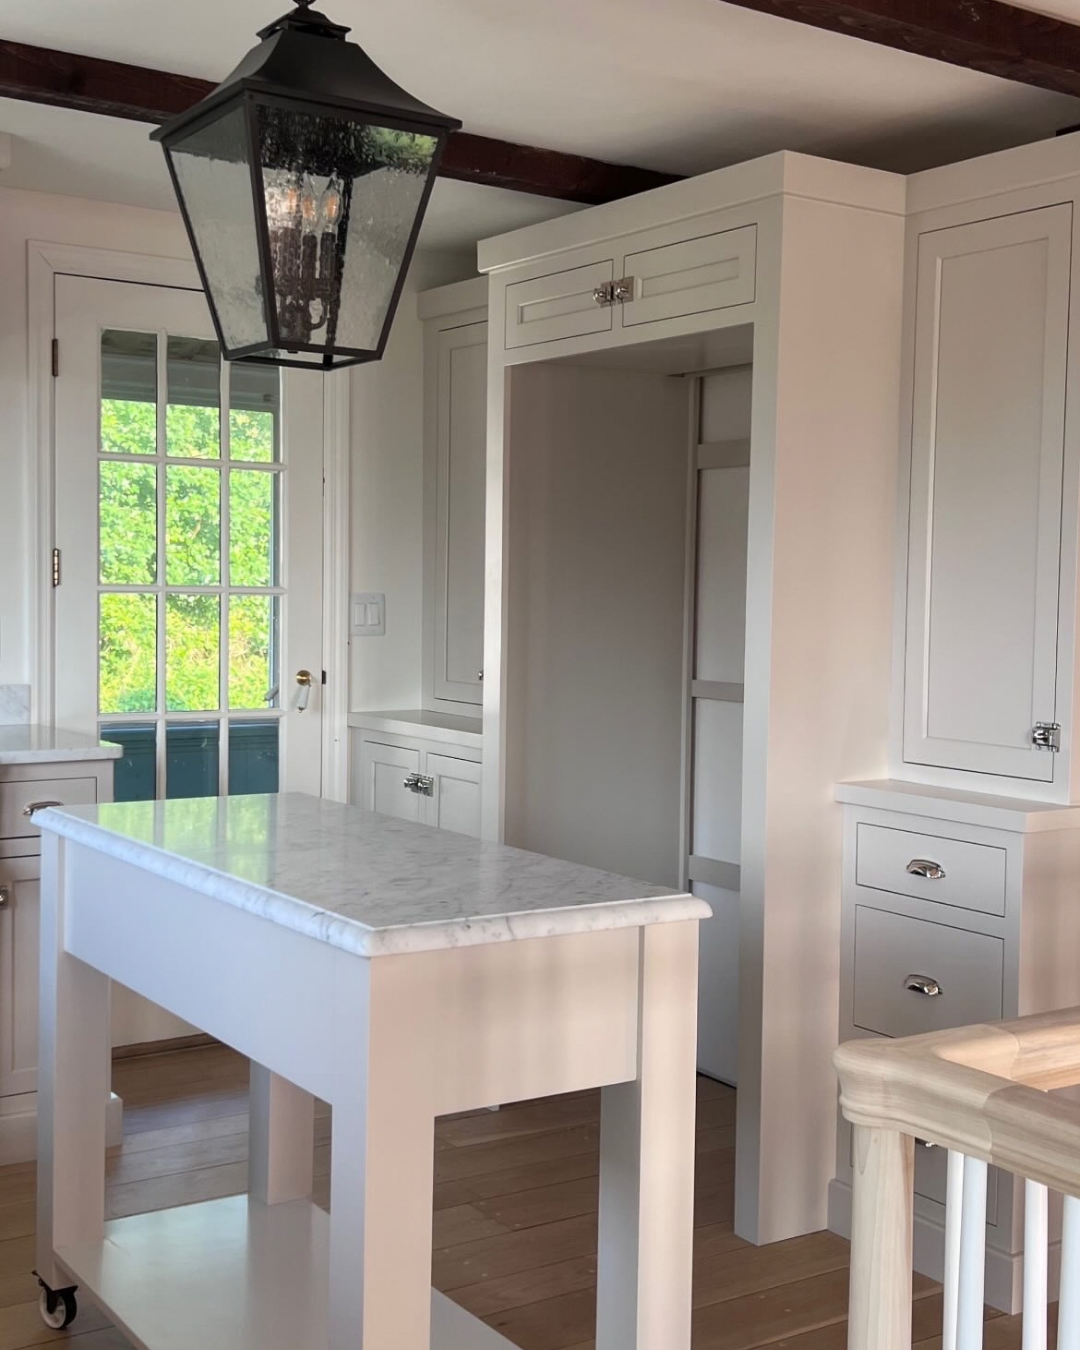
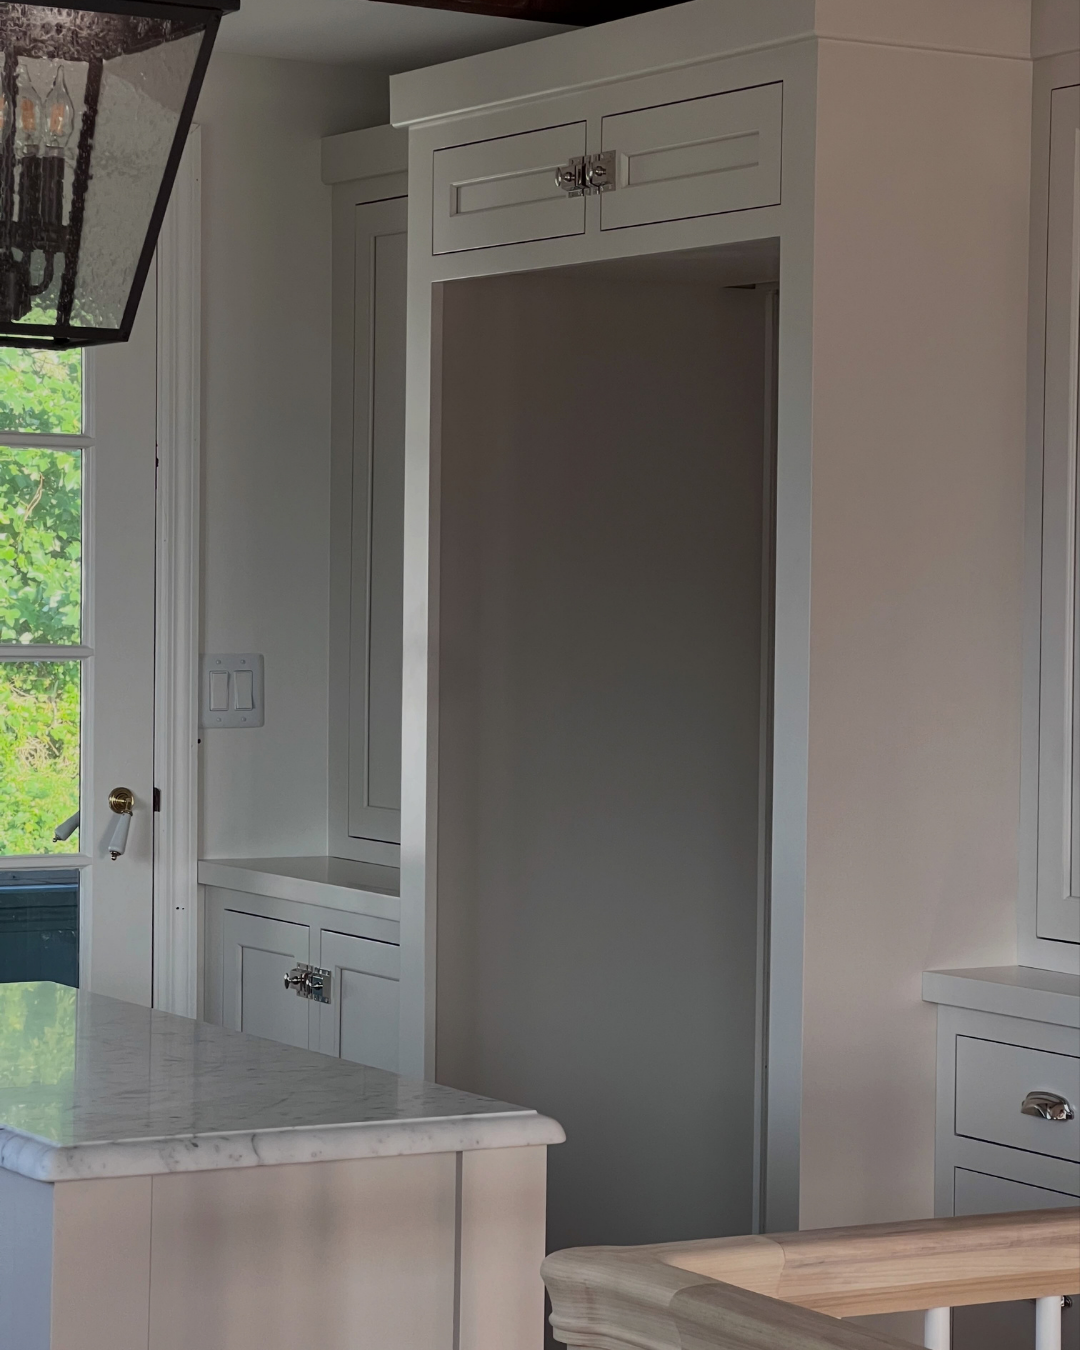
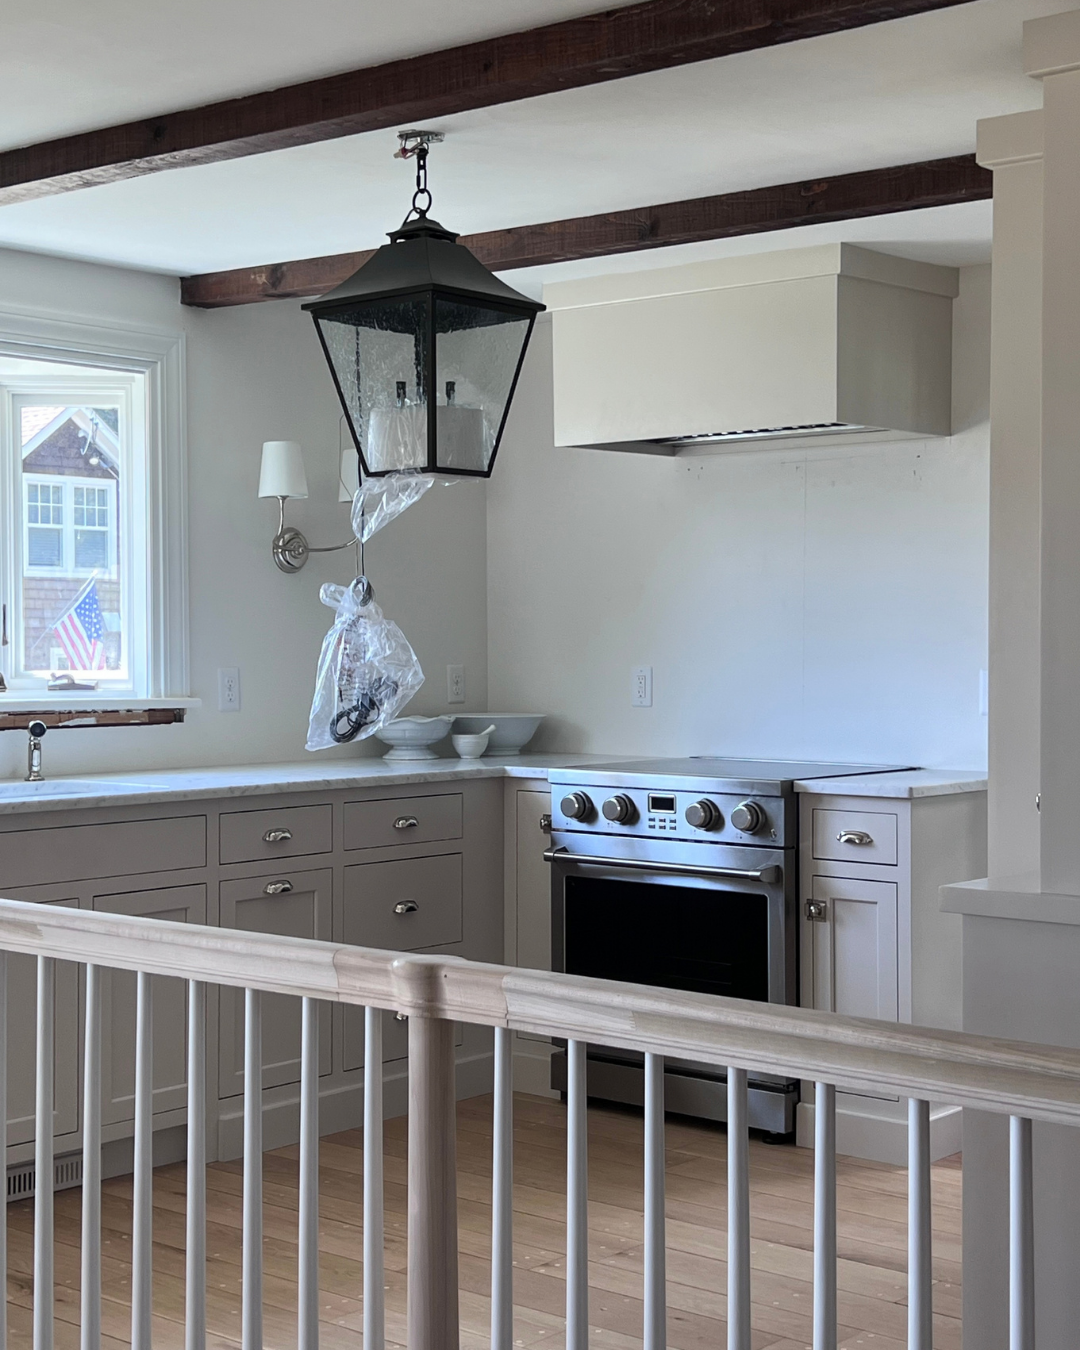
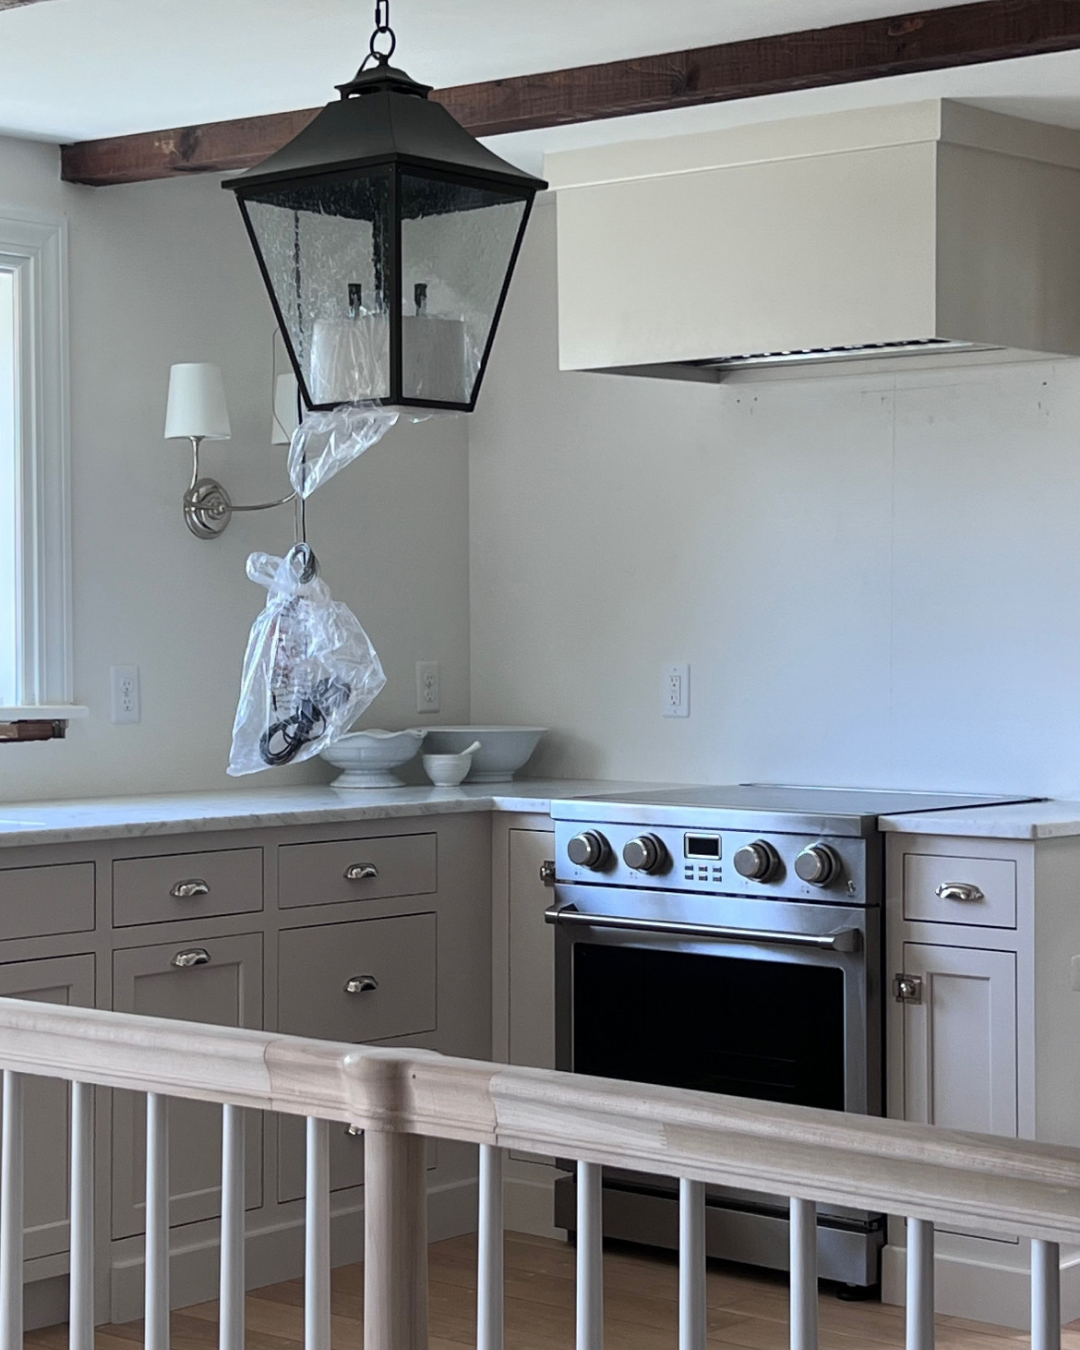
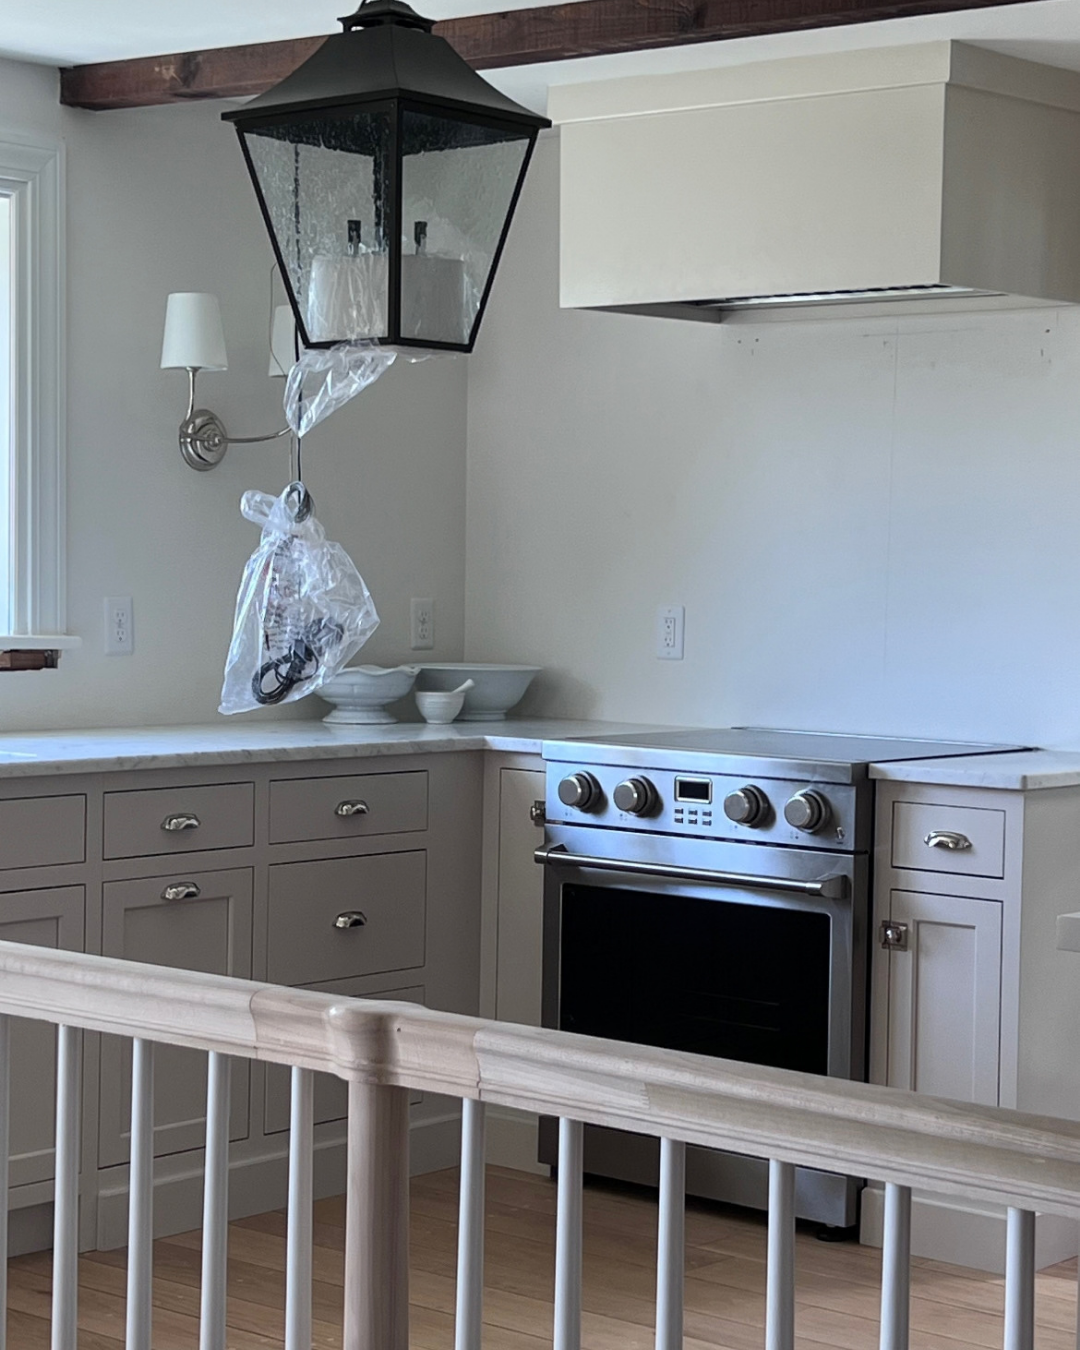
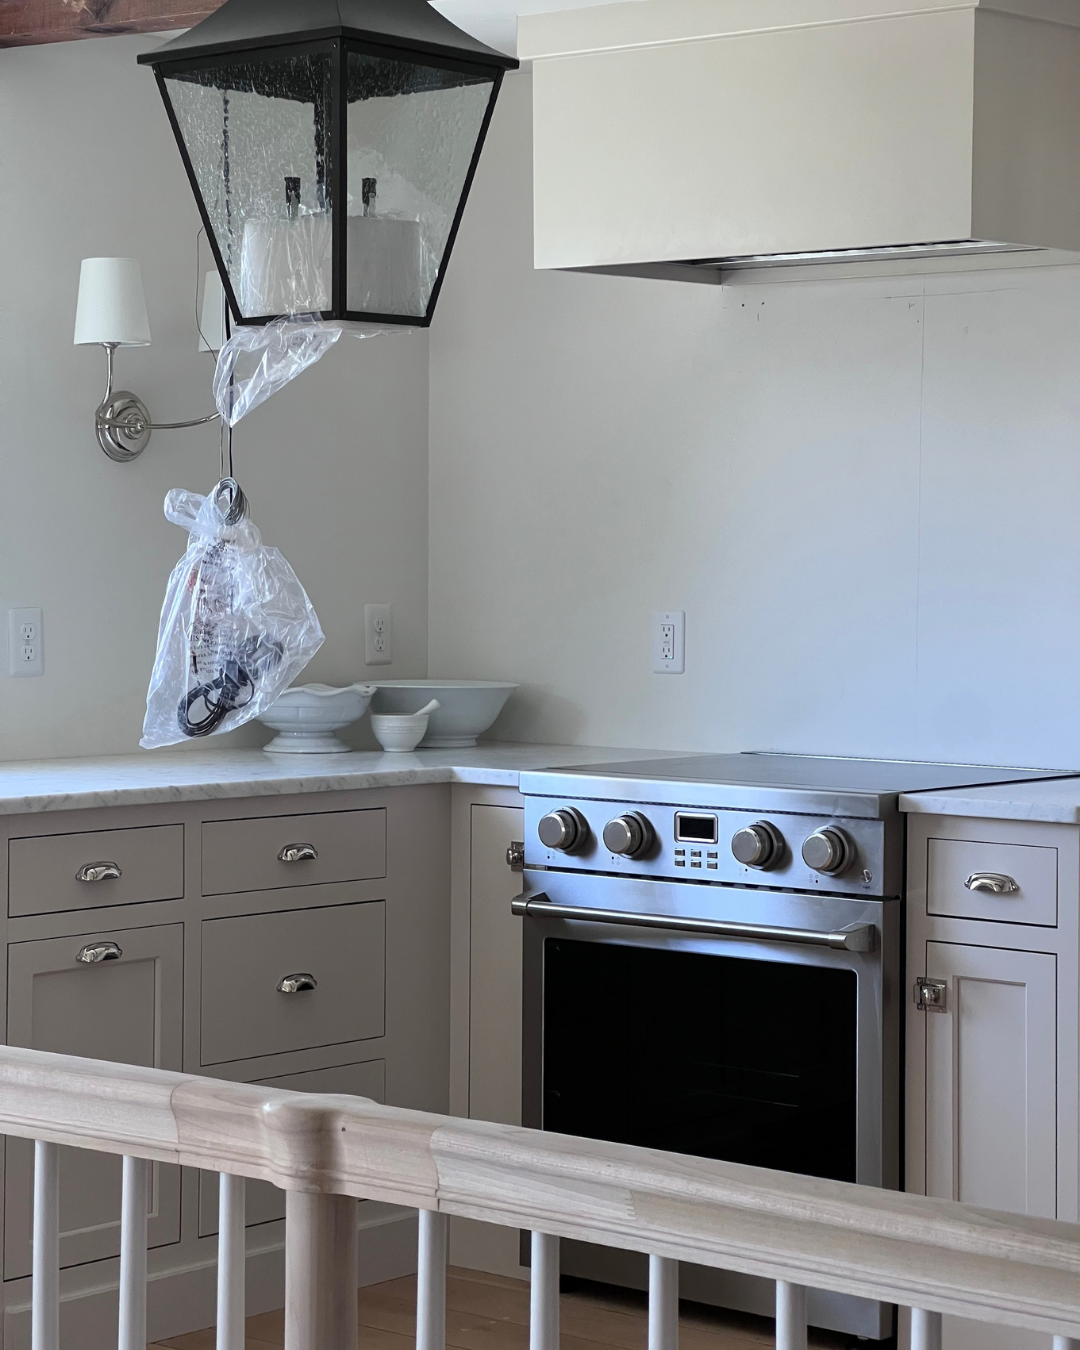
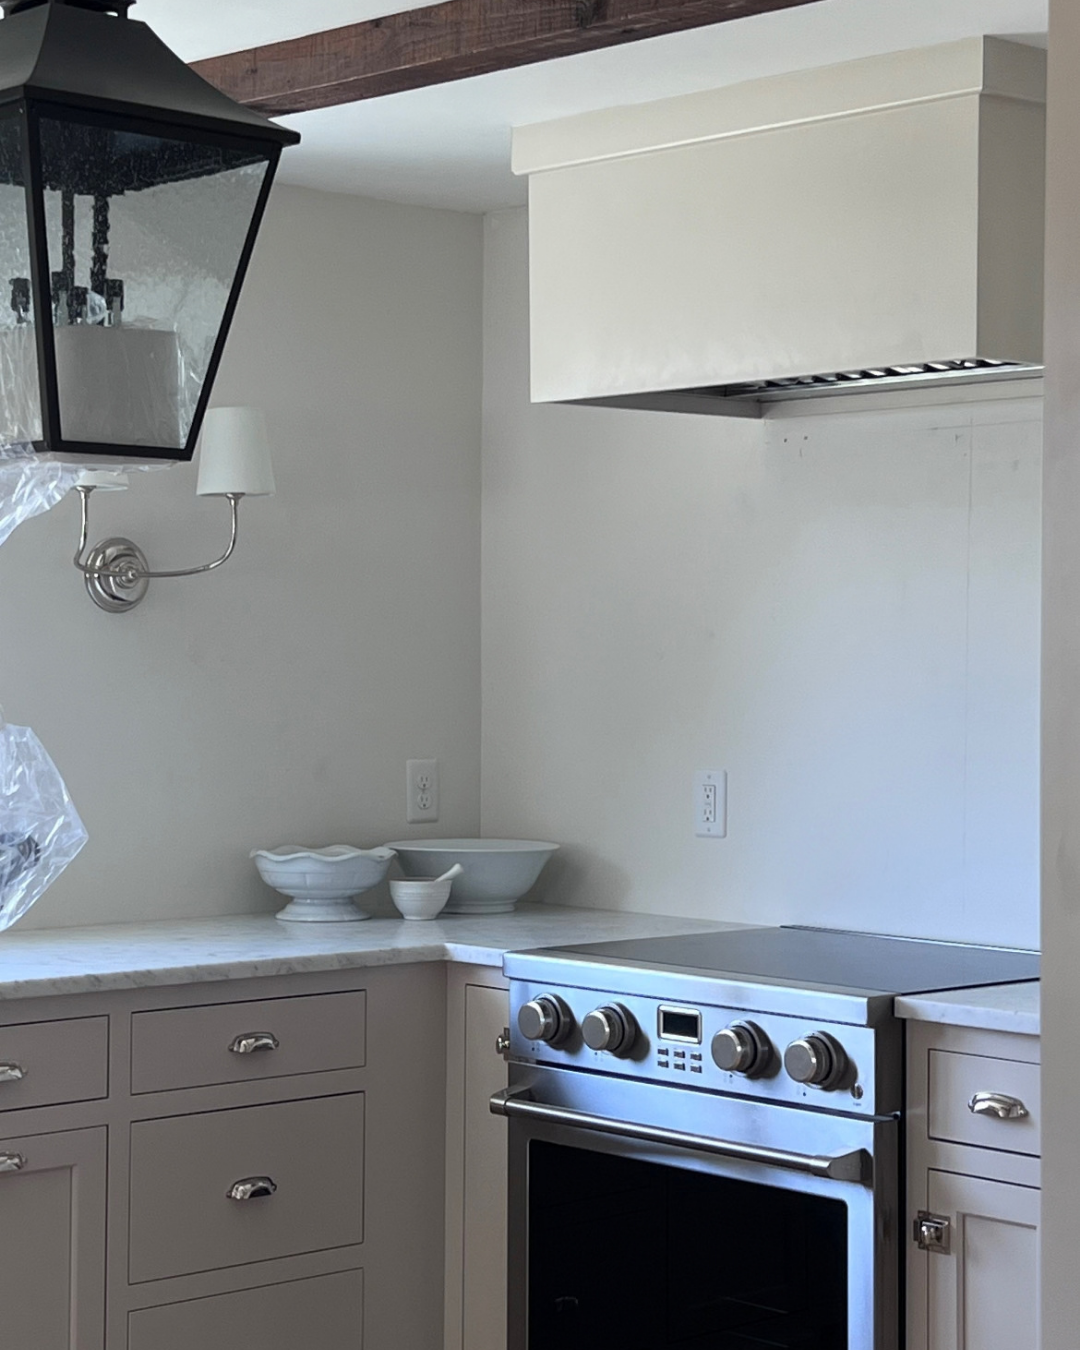
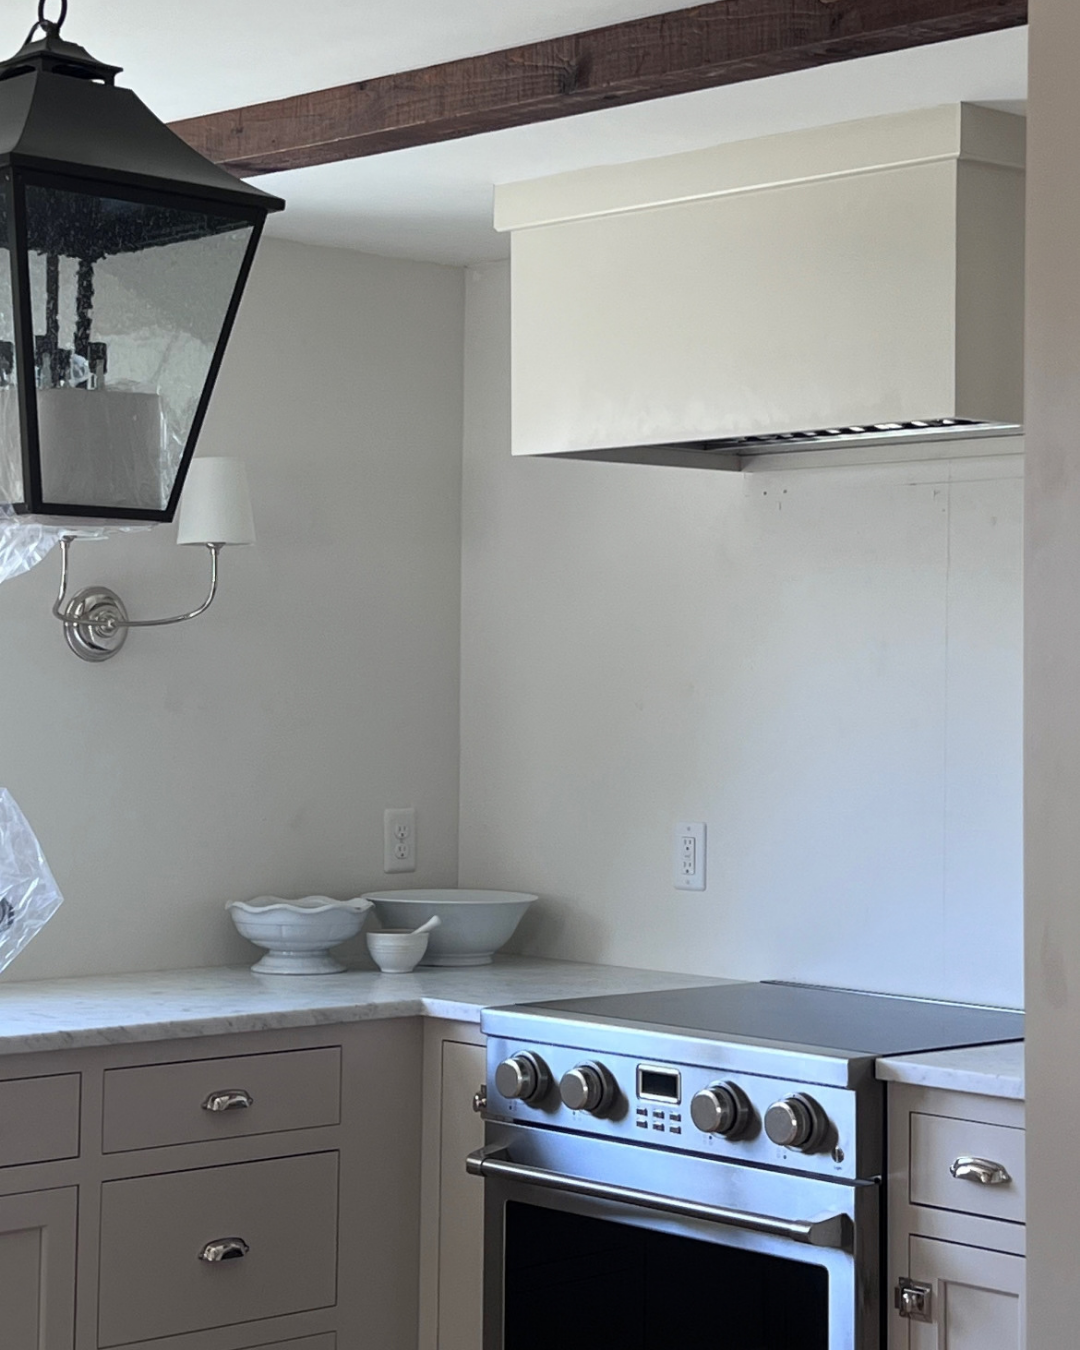
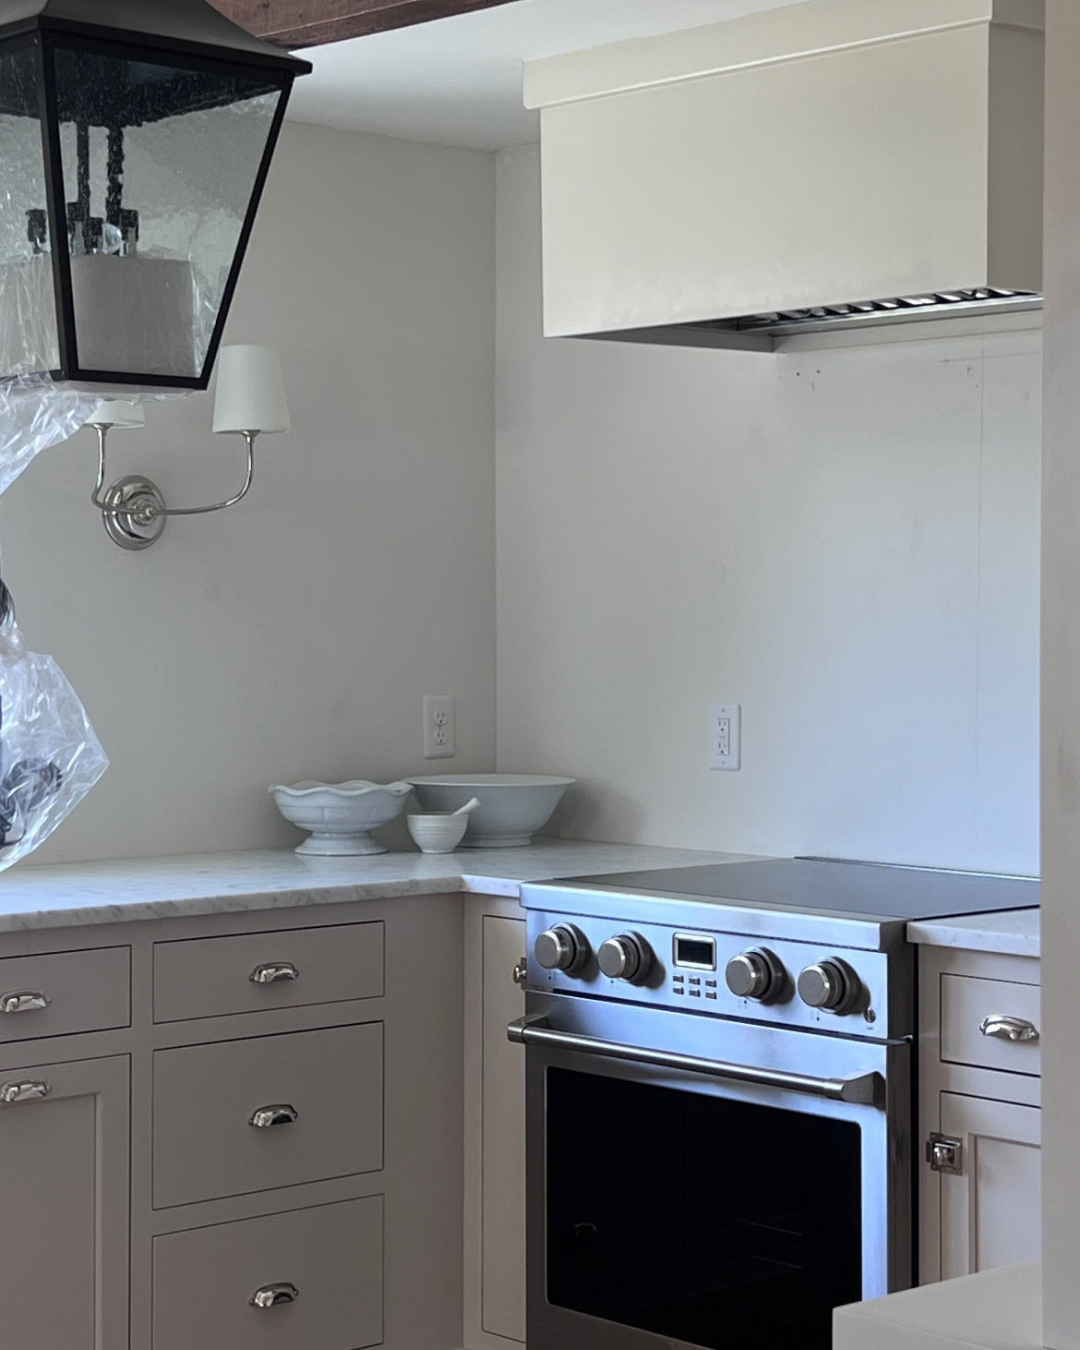
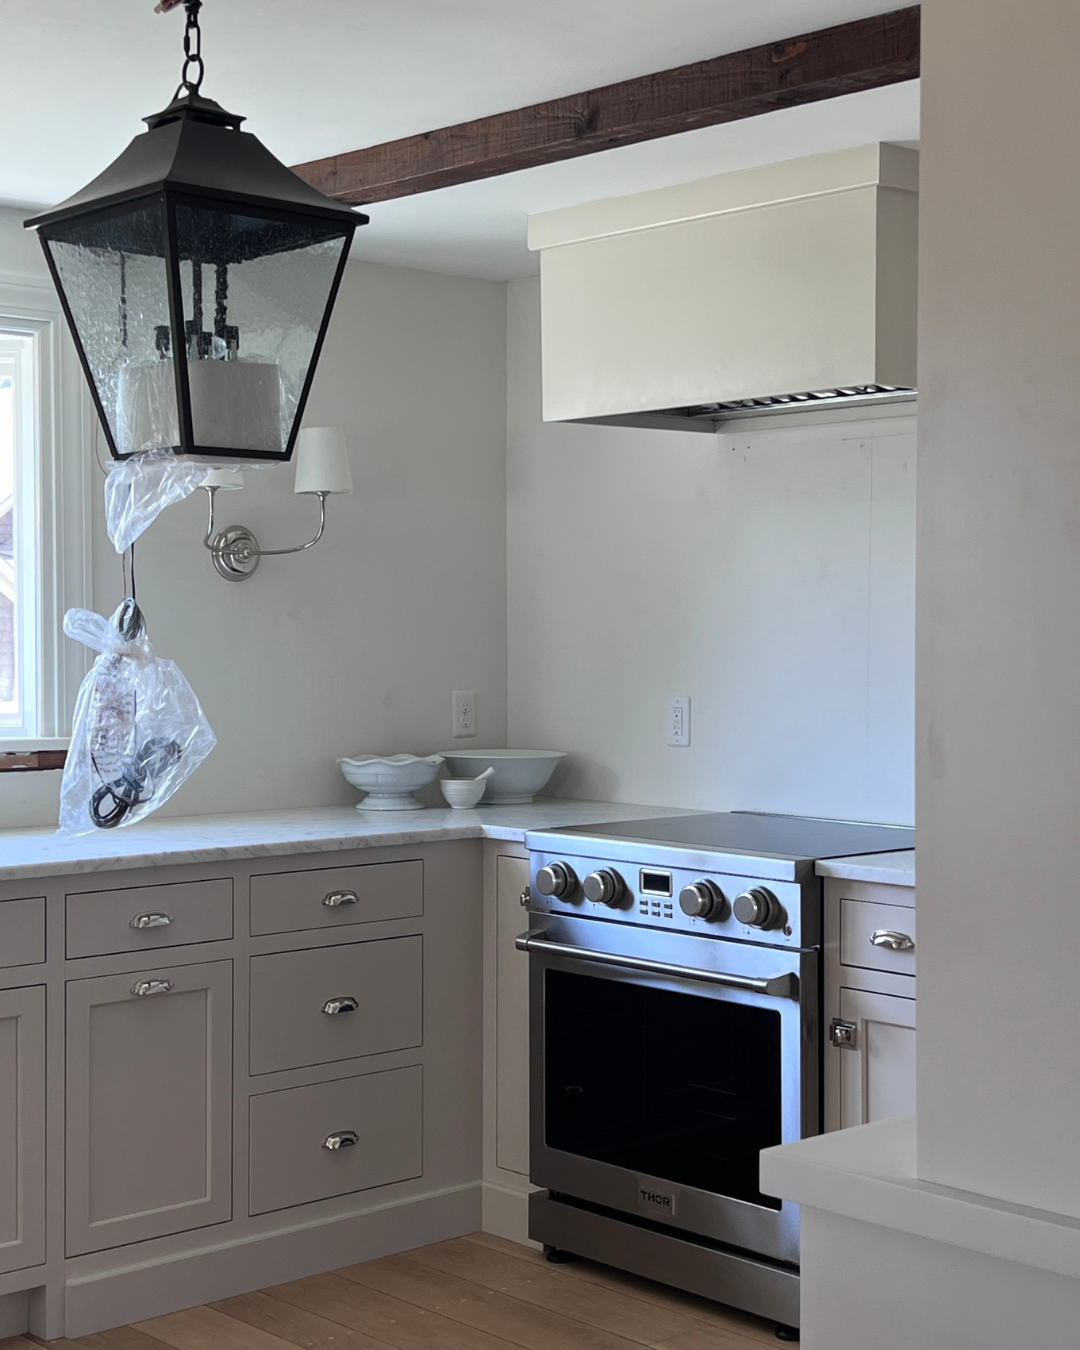
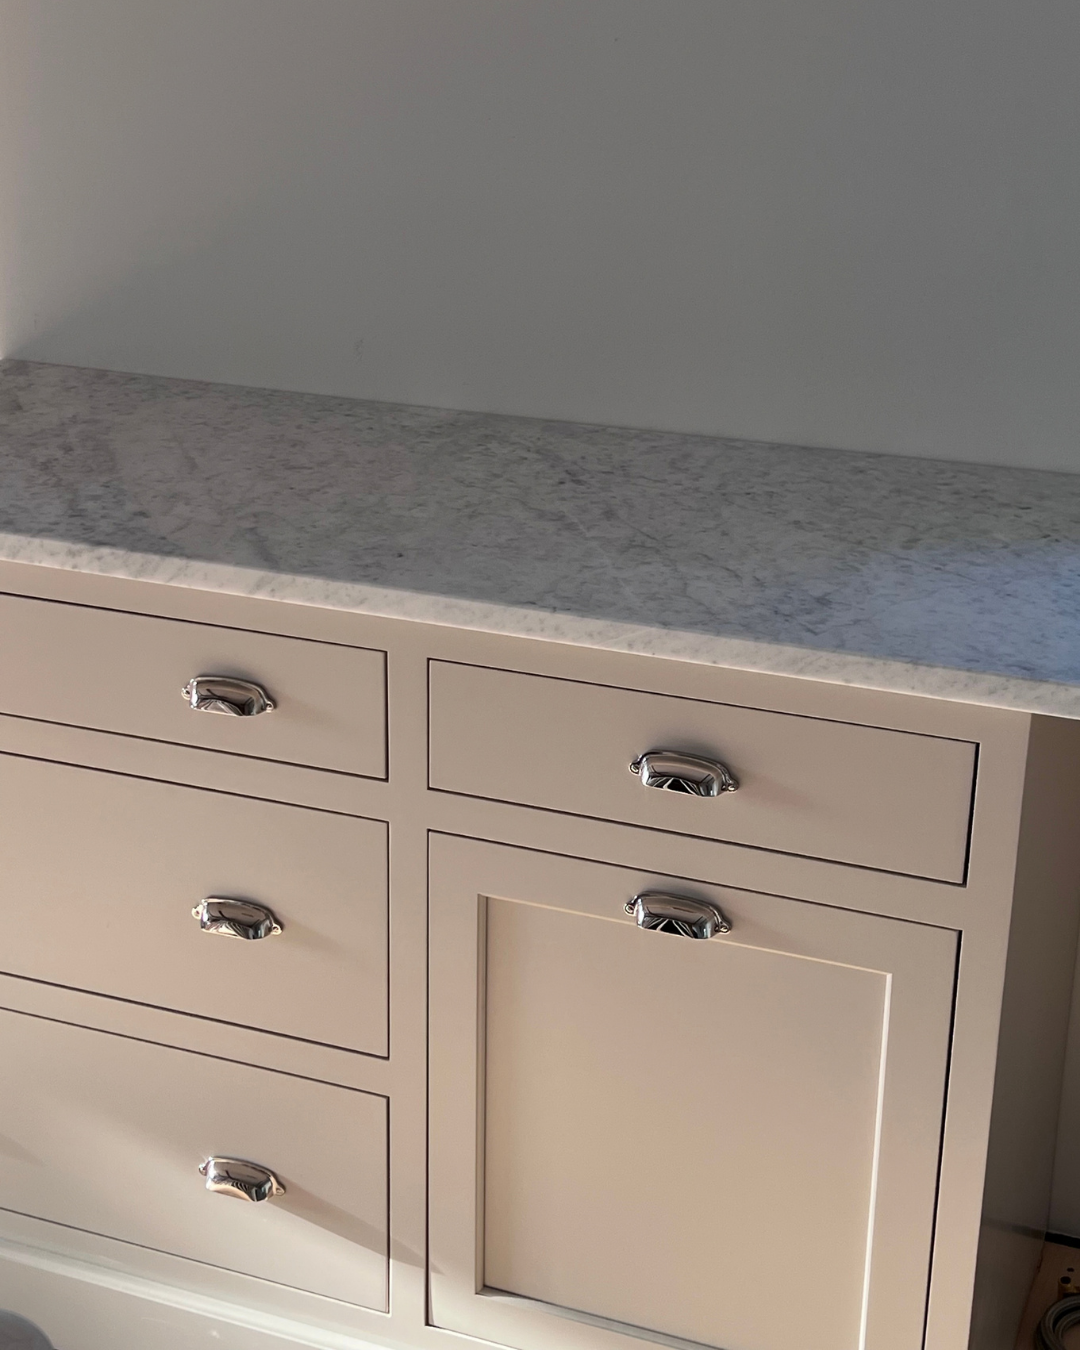
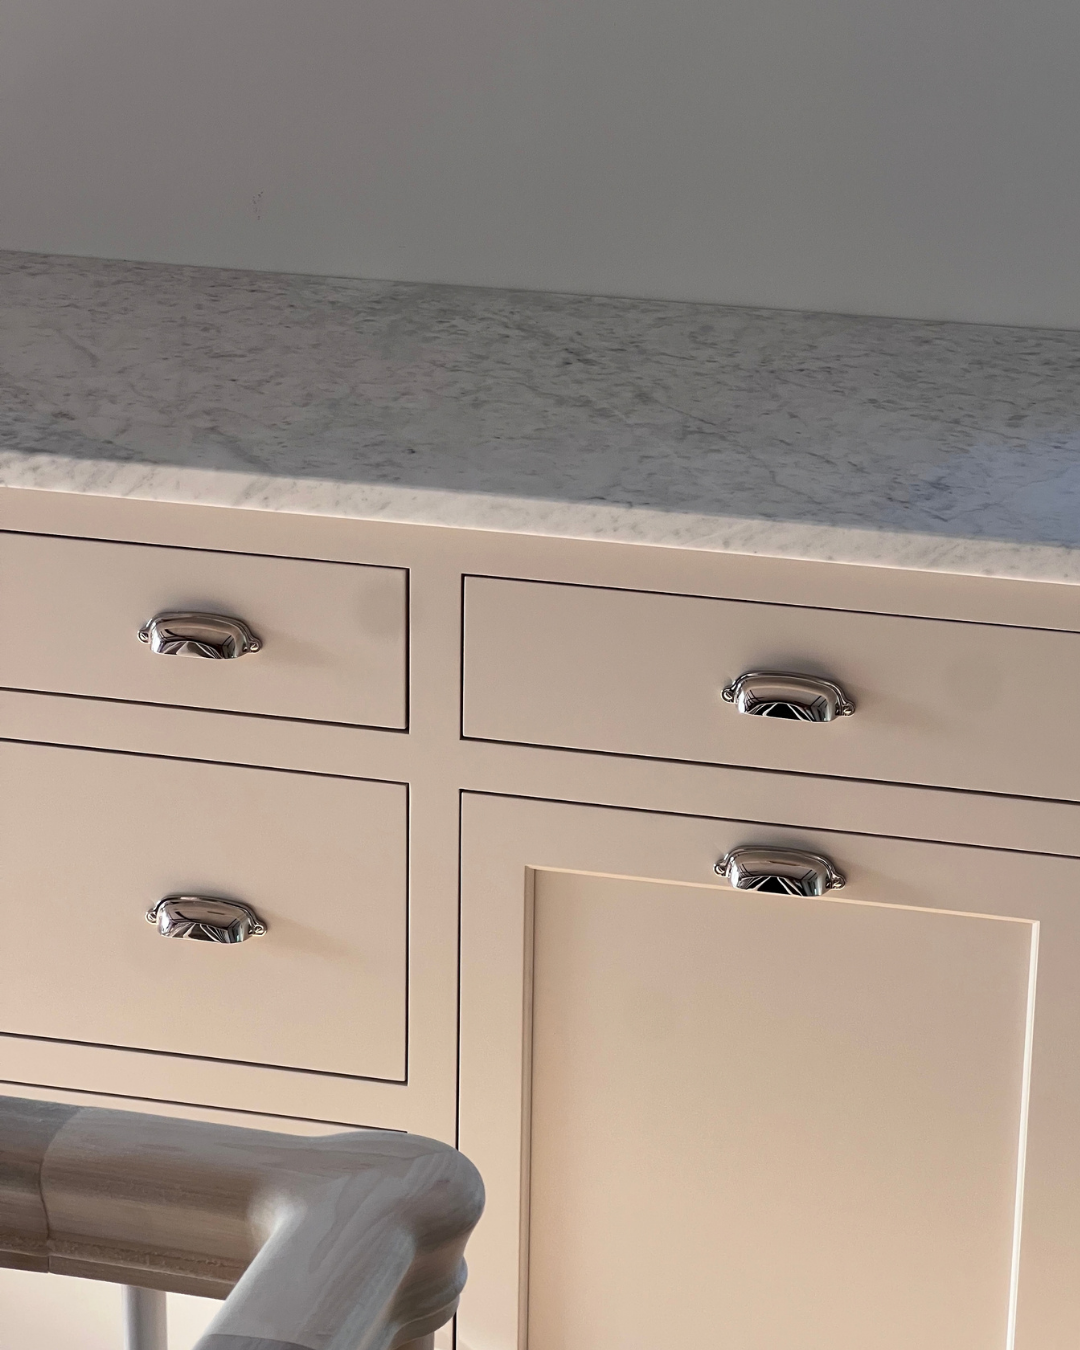
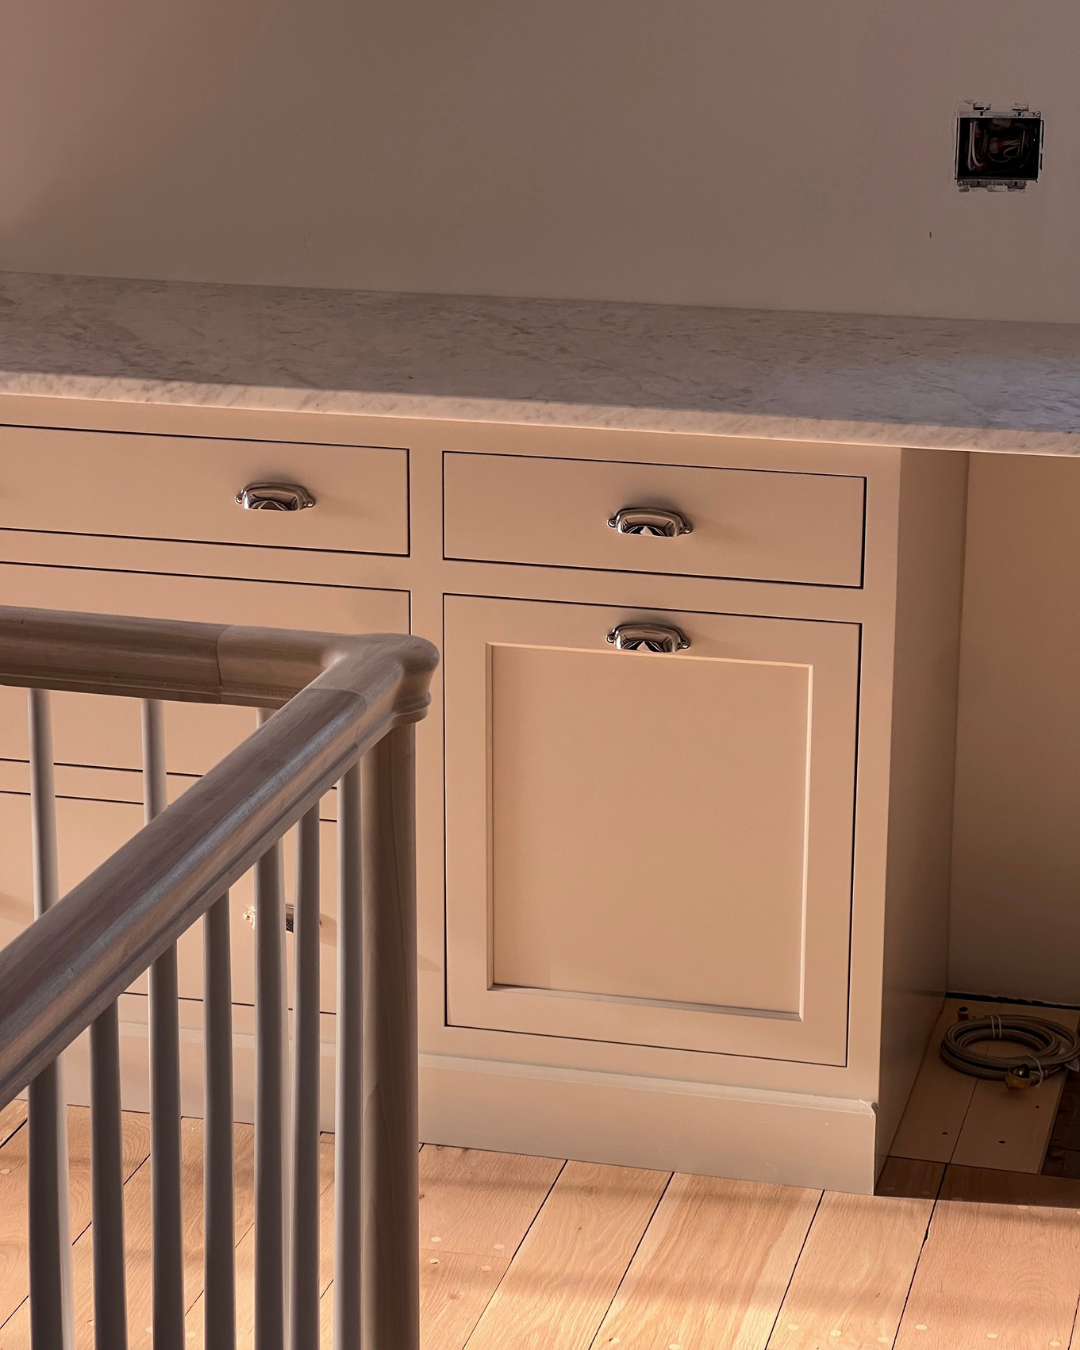
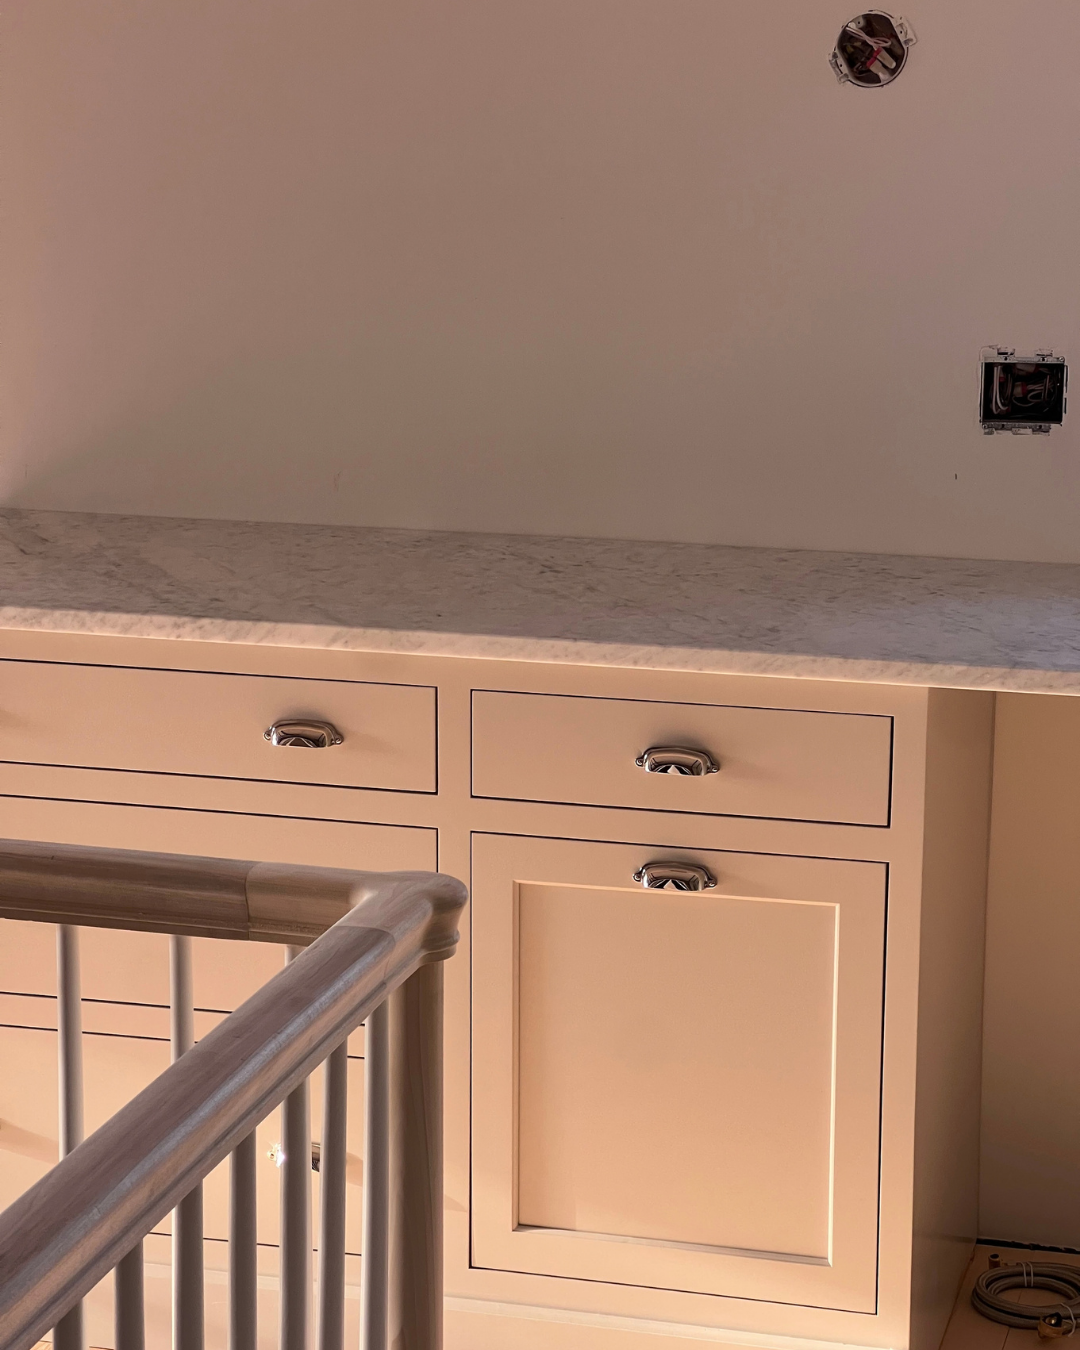
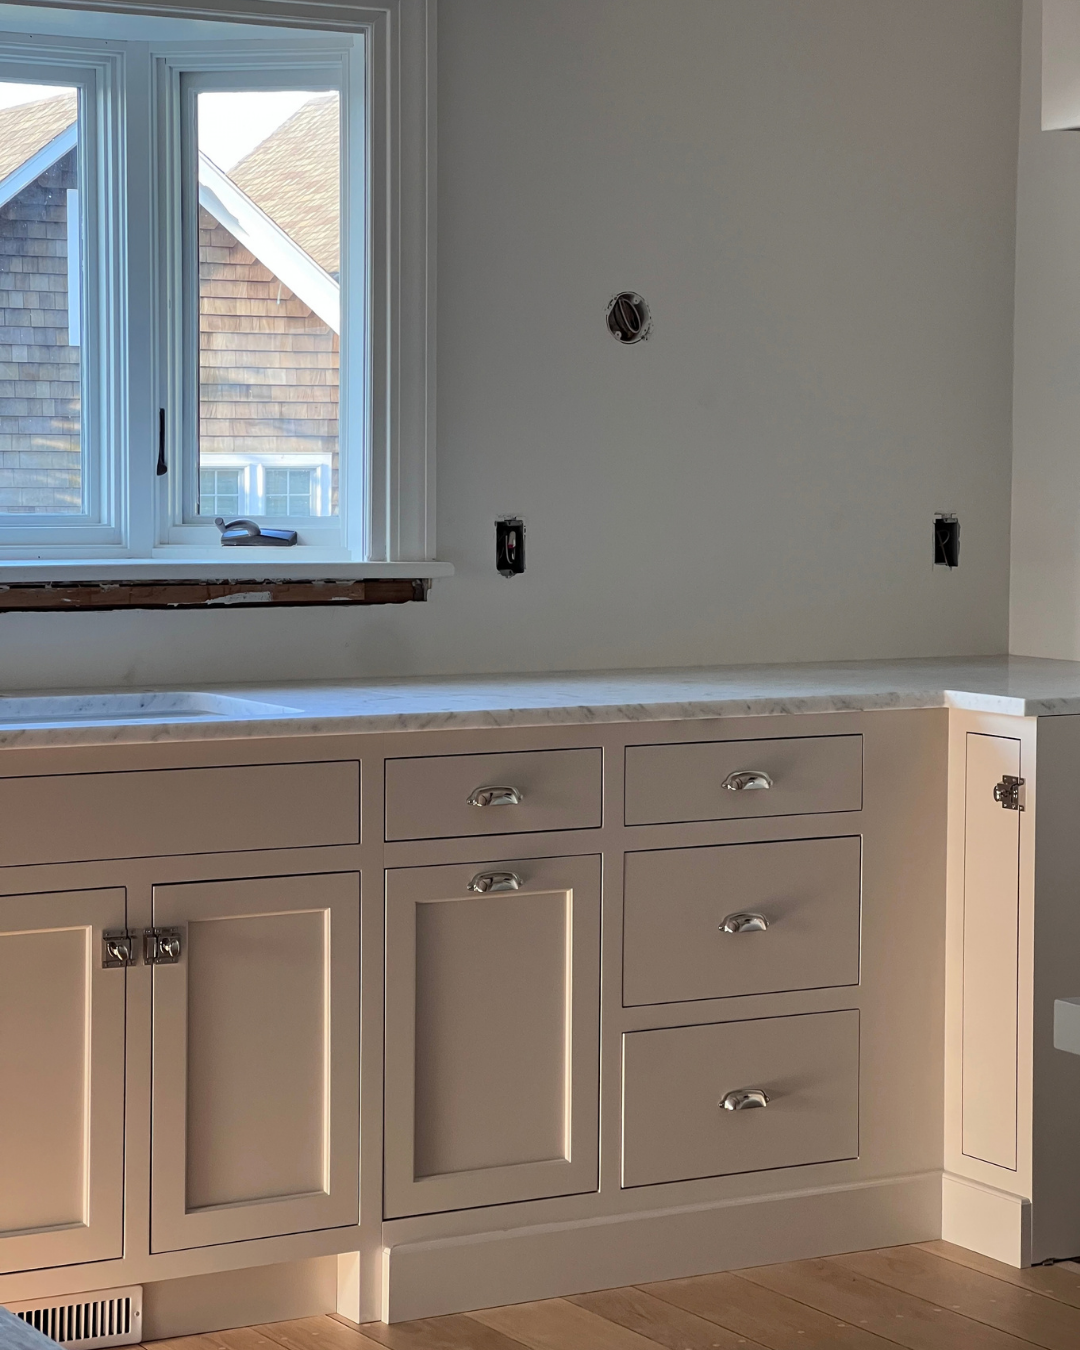
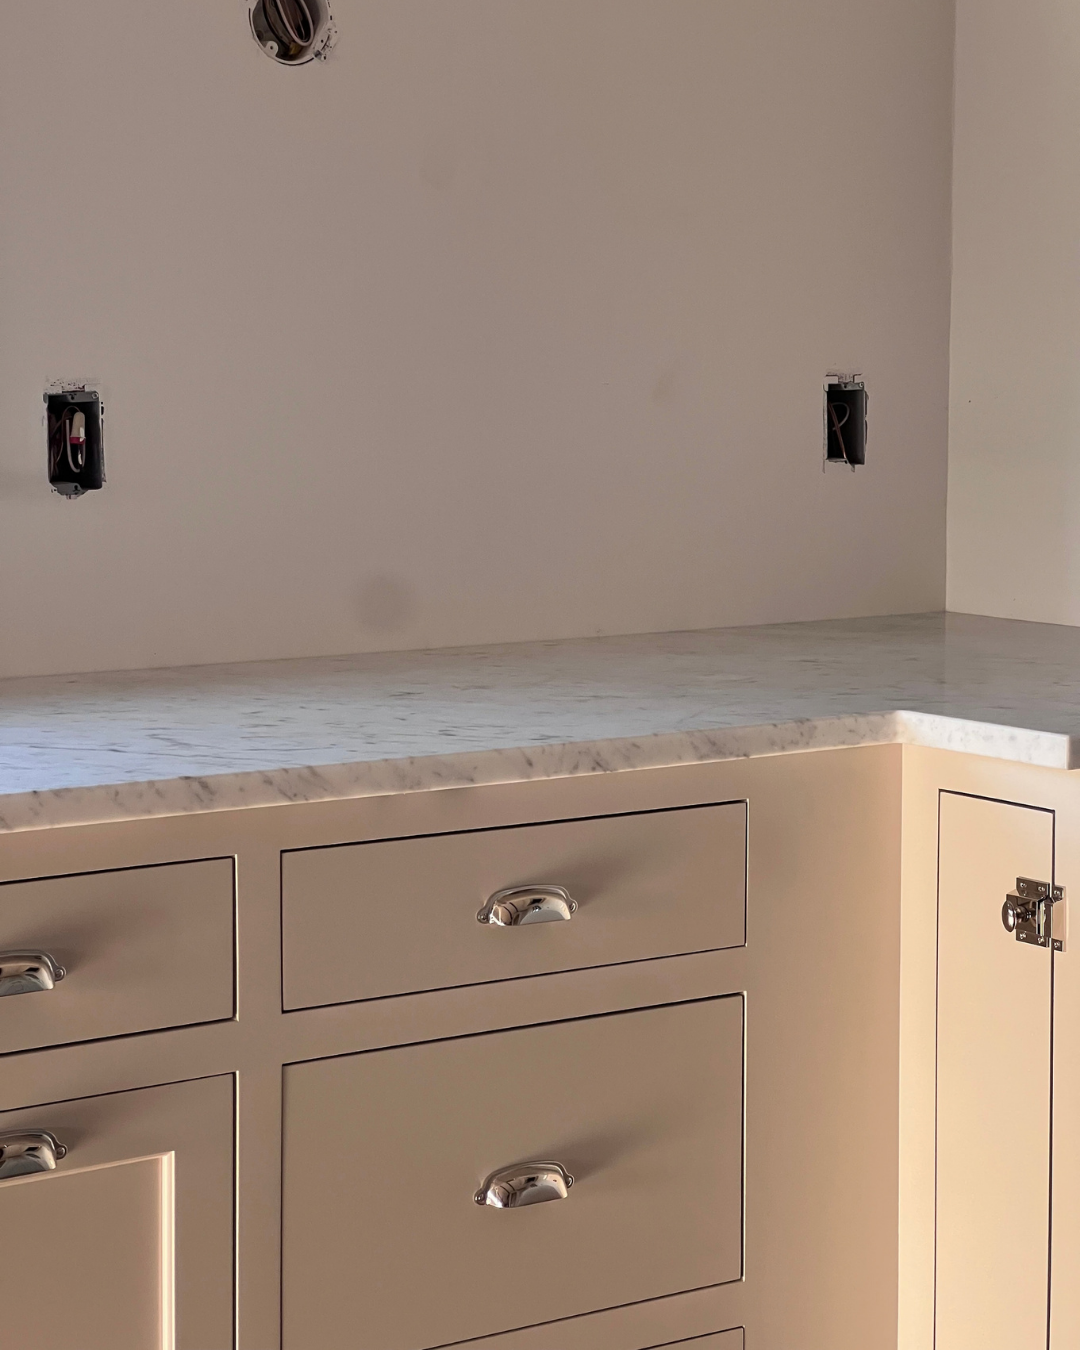
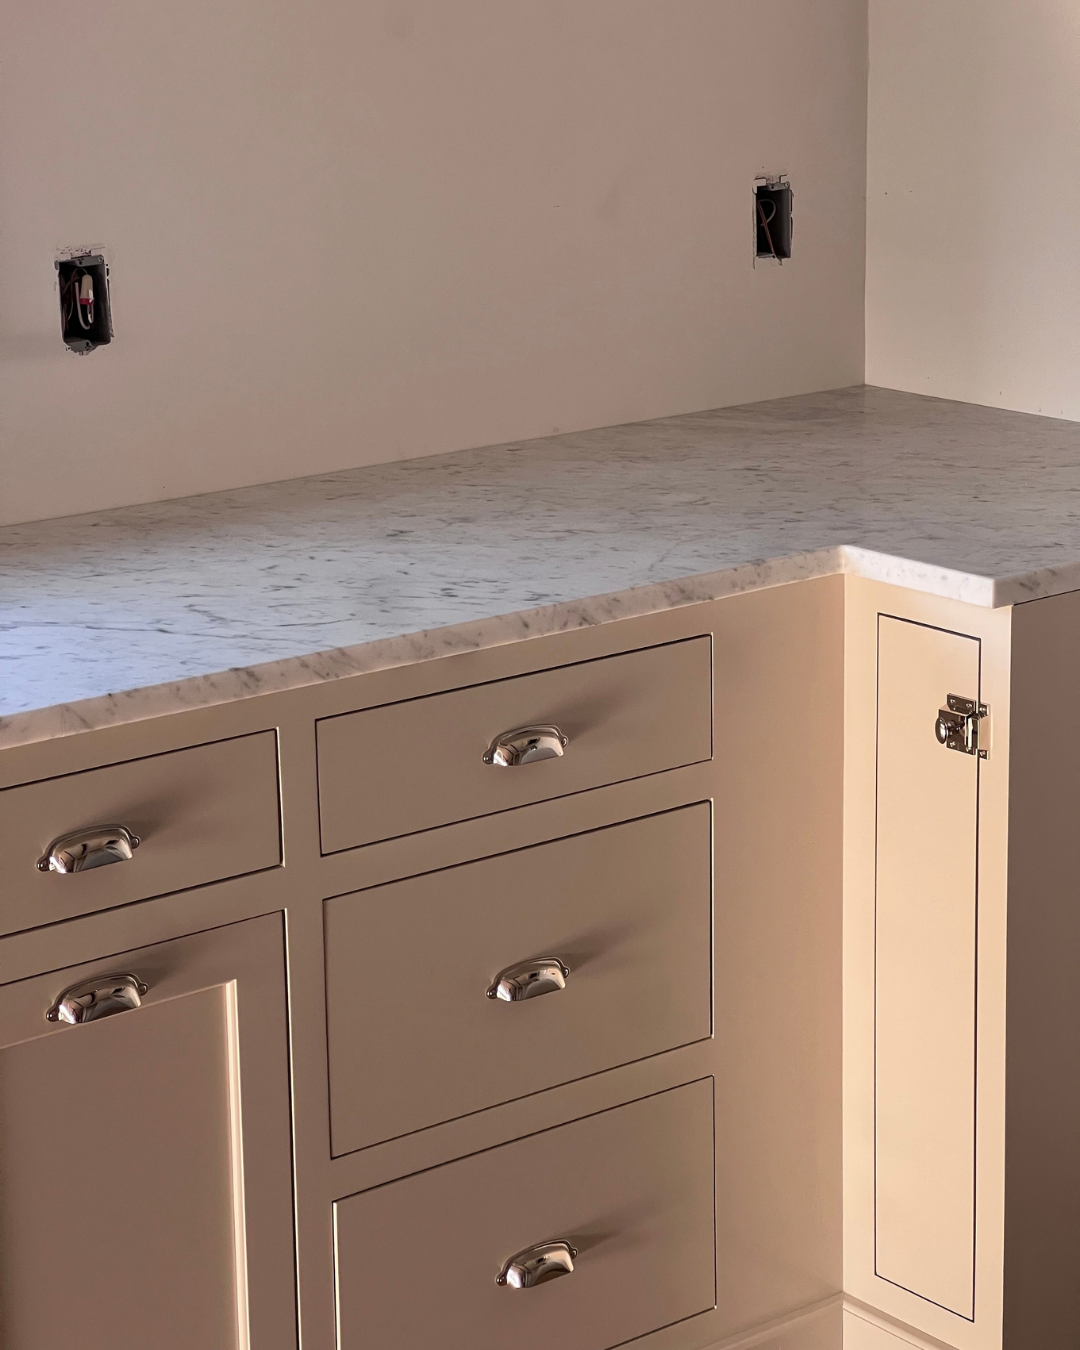
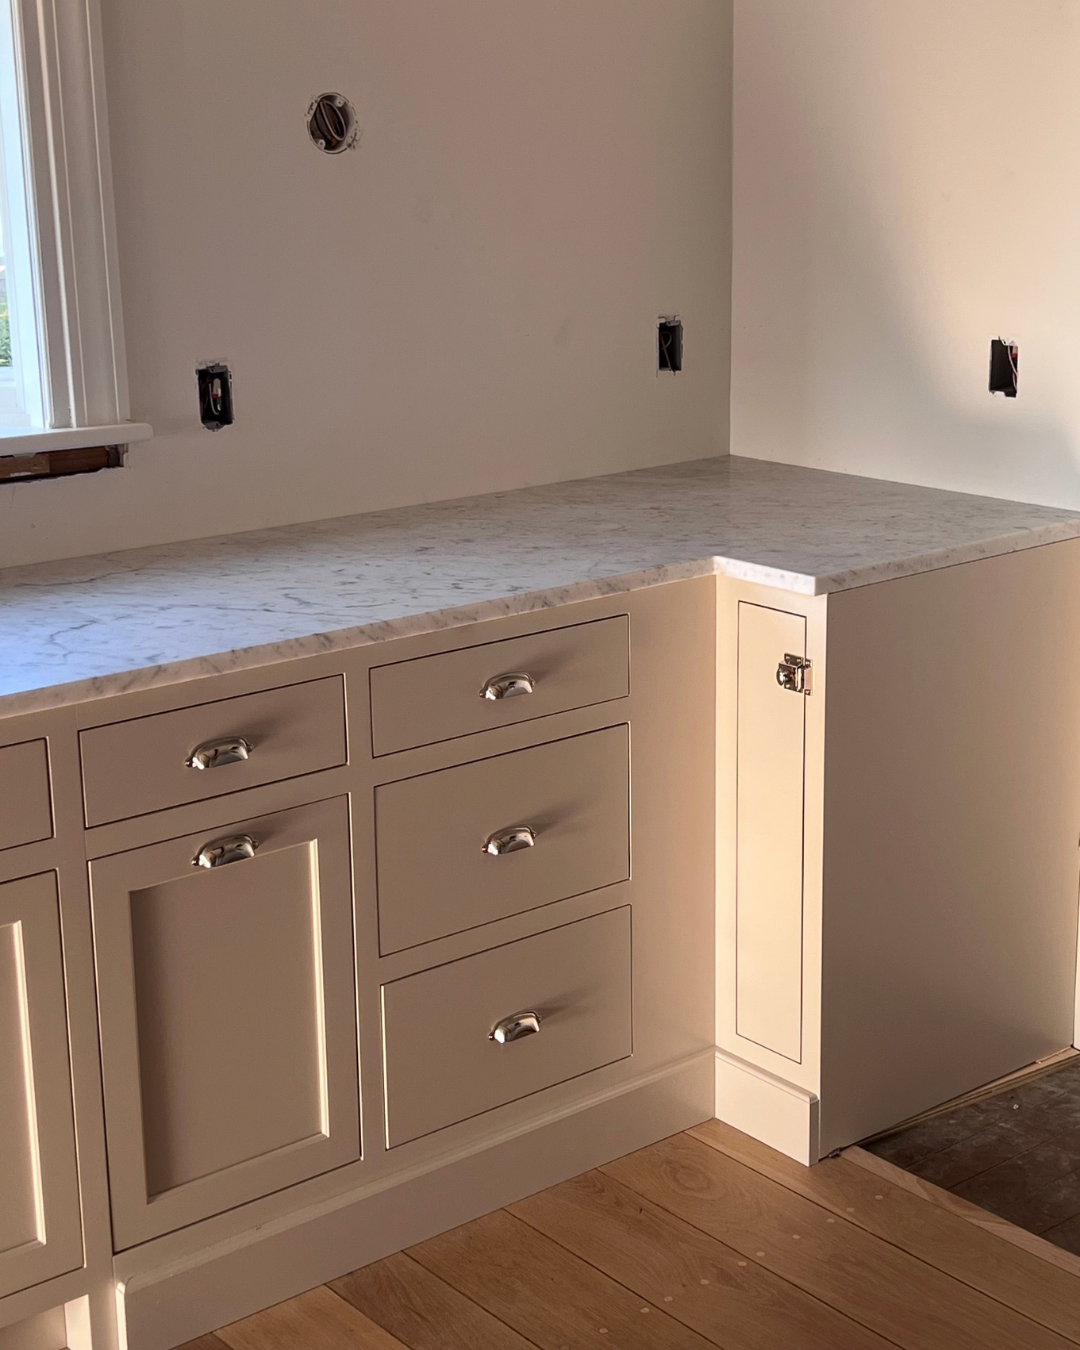
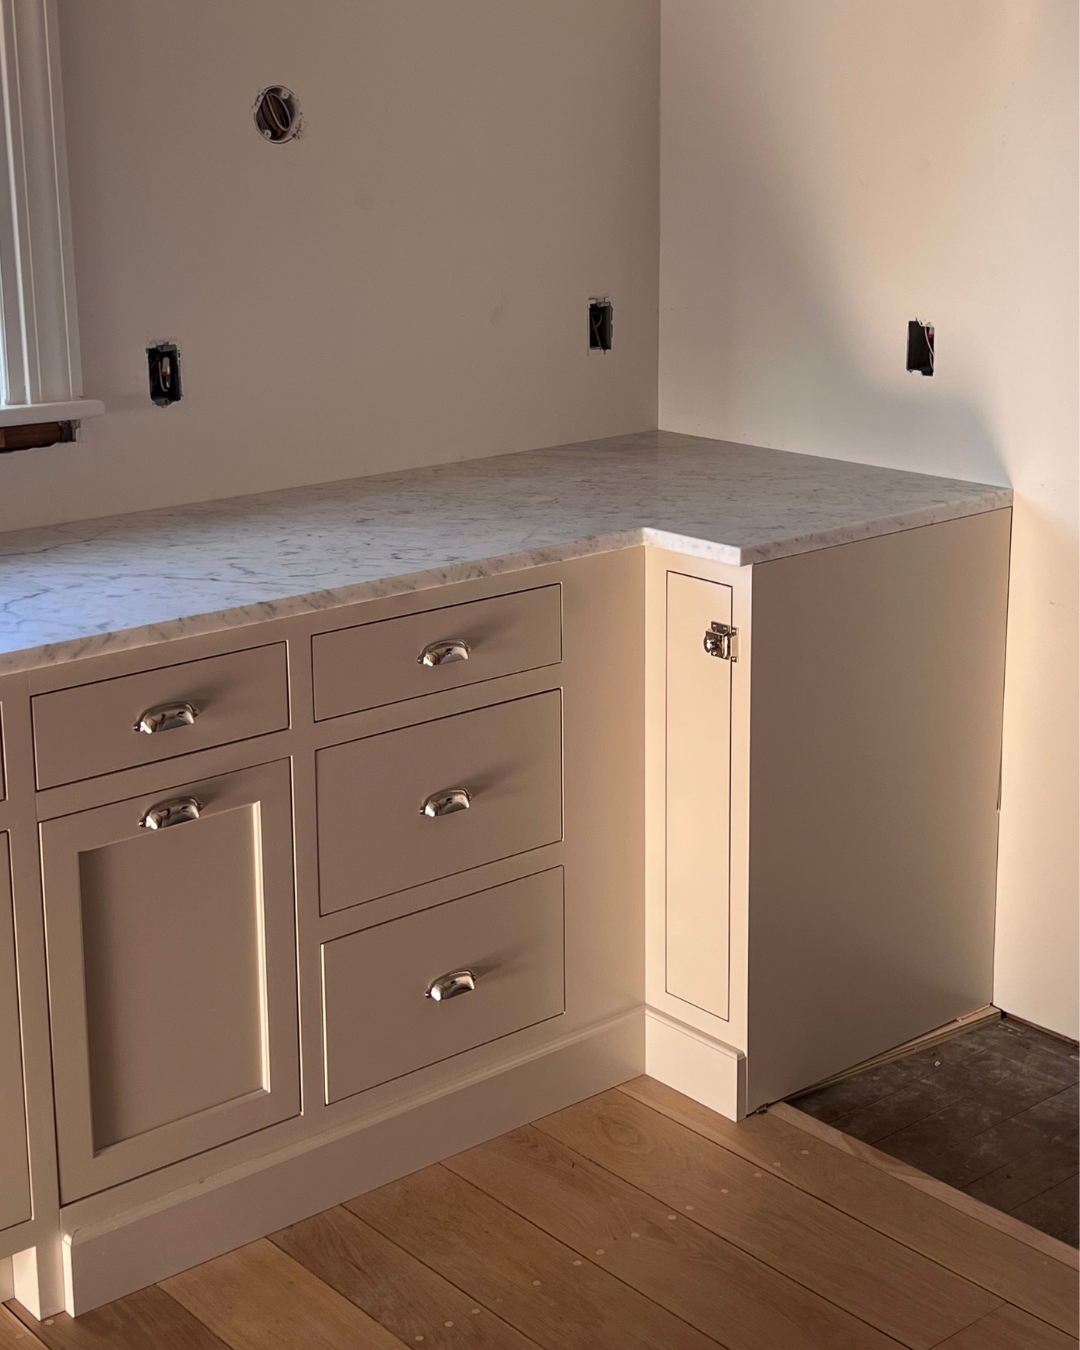
almost there
Change-Ups & Challenges, Setbacks & Solutions
While the purpose of having detailed kitchen design plans is so that everything is decided beforehand, there are so many moving parts in a kitchen renovation and having someone actively manage the project and its details allows you to ensure all of the pre-determined details are being implemented as they should, catch anything unforeseen that might need attention while they’re in-motion and also determine any change-ups that could be needed. A few minor change-ups in this kitchen included:
Increasing the height at which the hood was installed. Originally, we were planning to have the top of the hood sit at the same height as the top of the cabinets. However, when it came time to install the hood, my husband (who is 6’3”) wanted the hood lifted by about 2 inches to give him a little more clearance when cooking at the range. While I liked the original plan of having all of the top heights uniform, this change didn’t make much of a difference to the look of the kitchen. This change did slightly increase the size of the marble slab on the wall above our range.
Changing the color of the castors on our kitchen island. We didn’t have a big selection of castors to choose from for our kitchen island, but we initially selected a silver wheel that we hoped would work with the kitchen’s polished nickel hardware (an alternate option was all-black, but that felt too industrial). However, when the wheels came in, they were so distracting and cheap-looking, so Hanford hand-painted the wheels white which made a huge difference.
We also experienced a few setbacks throughout the kitchen project:
Damage to kitchen cabinets from a faulty dishwasher. After our cabinetry installation was complete, our kitchen appliances were then delivered and installed (excluding our refrigerator, more below). Once our dishwasher was installed, I began using it immediately, taking all of our kitchen supplies out of storage boxes and washing them. After just a few loads, I realized that steam was pouring out of the tub gasket/door seal during the drying cycle, literally melting the paint off of the surrounding cabinetry, and ultimately ruined the left-side foot of our sink base cabinet. We contacted the appliance company for assistance, however were met with pushback. So instead, our plumber came over, took the entire dishwasher out and re-installed it from scratch, ensuring everything was perfectly plum, only for the issue to persist when we tested another cycle. Ultimately, the appliance store took back our Thor dishwasher and replaced it with the 800-series Bosch dishwasher (which has worked great for us), but not without way too much back-and-forth. And of course, our sink base cabinet was compromised, but Hanford jumped right in to help with the paint damage; they replaced the toe-kick (it required an all-new baseboard for that section) and added a returned-end miter cap into the recessed toe kick area of the sink base to hide the damage.
Delayed delivery of refrigerator. Despite purchasing our refrigerator in March and being told that we did not have to provide any lead time for request of delivery, our refrigerator was delayed by two months. We requested the delivery on June 23rd to be delivered the following week, and the refrigerator was delivered on August 22nd.
Poor experience with local appliance store. We were disappointed in the communication and customer service from the local company we purchased our appliances from. Outside of the kitchen, we also had issues with the laundry appliance installation by their team that resulted in additional costs incurred due to their mistakes.
The Costs
At the time of this post being published, we have not yet installed the custom mullion grids on our bay window, installed the two replacement aesthetic beams on our ceiling, or installed new hardware on our french door— all of which will be done by our carpenter this fall; we also have not yet received a comprehensive invoice/bill from our plumber. They will be added as the final bit of work is done and costs are calculated.
TOTAL COST $86,754.58+
Demo $2,592.50
Dumpster $742.50
Demo Labor $1,850.00
Stair Railing Build (Post-Wall Removal)$7,377.76+
Installation of Wood Floor Frame Around Opening of Descending Stairwell (Materials & Labor) $1,250.00
Electrical Work $150.00
16’ Support Beam into Ceiling/Attic (Material & Install) $1,250.00
Stair Railing Materials (Posts, Balusters, Handrails, Fittings) $2,827.20
Stair Railing Installation $1,770.00
Misc. Materials $130.56
Aesthetic Beam (Material & Install) TBD
Floor Refinishing $615.00
^ this amount is pro-rated based on 165 sq ft of kitchen. The total cost of having the floors refinished throughout the 1,432 sq ft first floor was $5,220.40.
Trades $6,312.98+
Plumbing TBD
Electrical $2,514.59
Labor (rough-ins, switches, outlets, appliance hook-ups and lighting) $2,410.00
Supplies (specialty, non-stock materials) $104.59
Dry Wall $1,304.72
Materials $204.72
Labor $1,100.00
HVAC $1,266.67
Carpentry $1,227.00+
Window Sill and Door Trim Work $670.00
Custom Mullion Grids for Bay Window
Materials- Custom Mullions $557.00
Install- TBD
Painting $475.02
^ This amount is for materials only, as we did the painting ourselves.
Cabinetry & Countertops $59,252.00
Cabinet Design Retainer $1,500.00
Installation $7,000.00
Custom Cabinetry $39,370.00
Cabinets $33,950.00
Island $5,420.00
Hardware $695.00
Countertops $7,913.00
Perimeter $4,554.00
Backplash & Slab above Stove $1,760.00
Island $1,599.00
Appliances & Fixtures $9,856.32*
*many of the appliances and fixtures were purchased at a discount through my professional trade accounts
Plumbing $1,386.68
Kitchen Faucet $738.07
Kitchen Sink $451.88
Sink Drain/Strainer $111.66
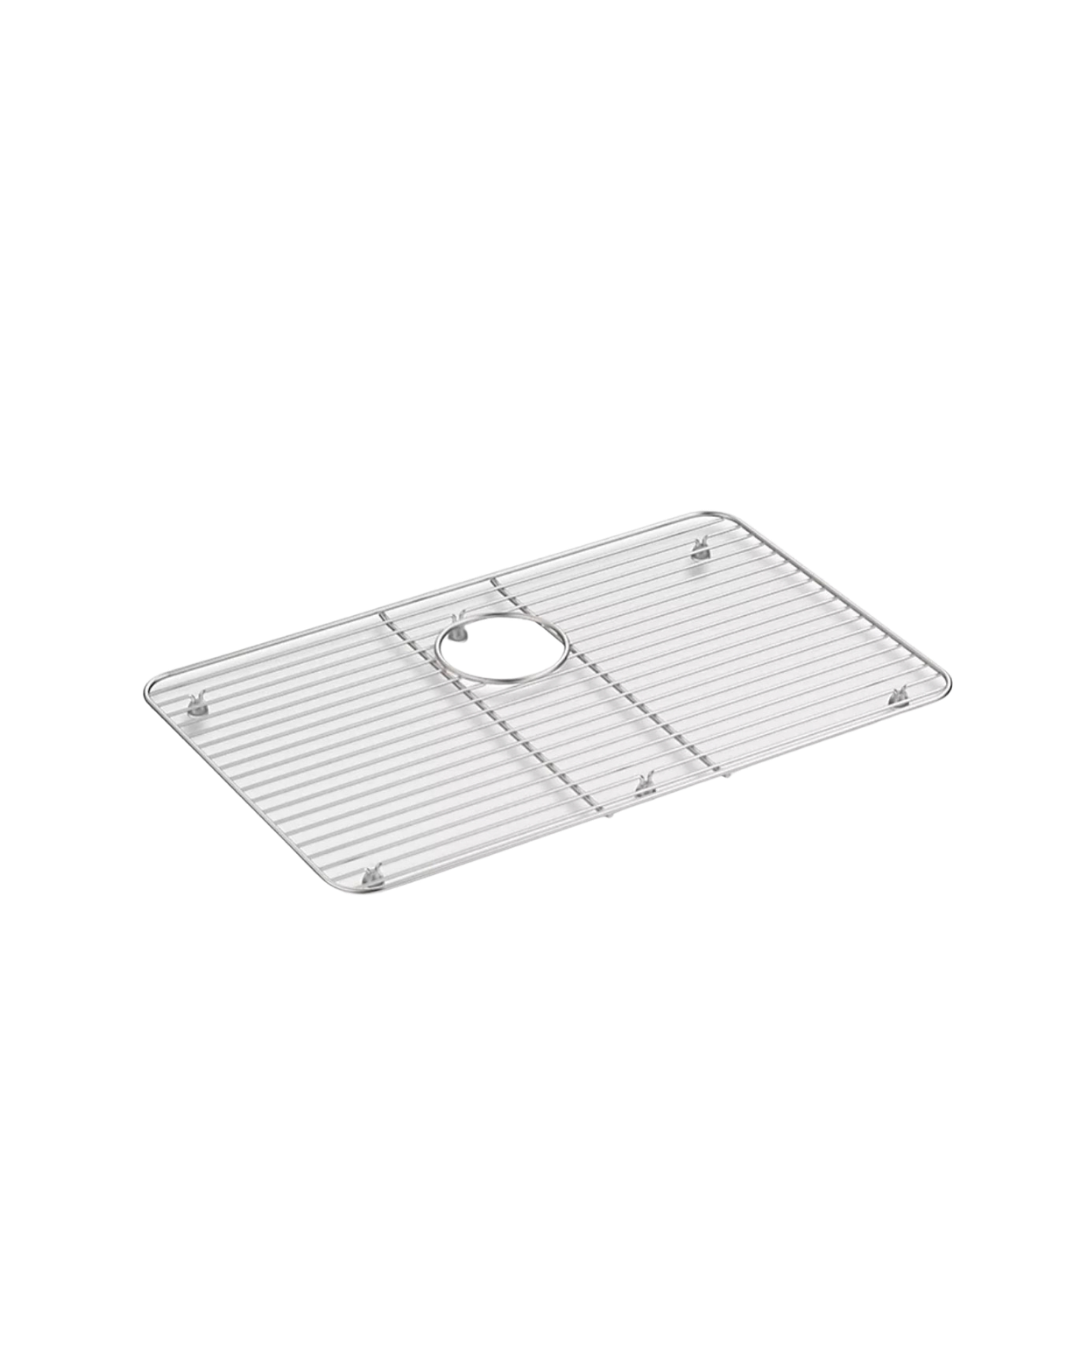
Sink Rack $85.07
Kitchen Appliances $7,115.87
Hood $1,410.19
Refrigerator $2,755.53
Stove $1,894.09
Dishwasher $1,056.06
Lighting $1,353.77
Sconces $727.43
Pendants $626.34
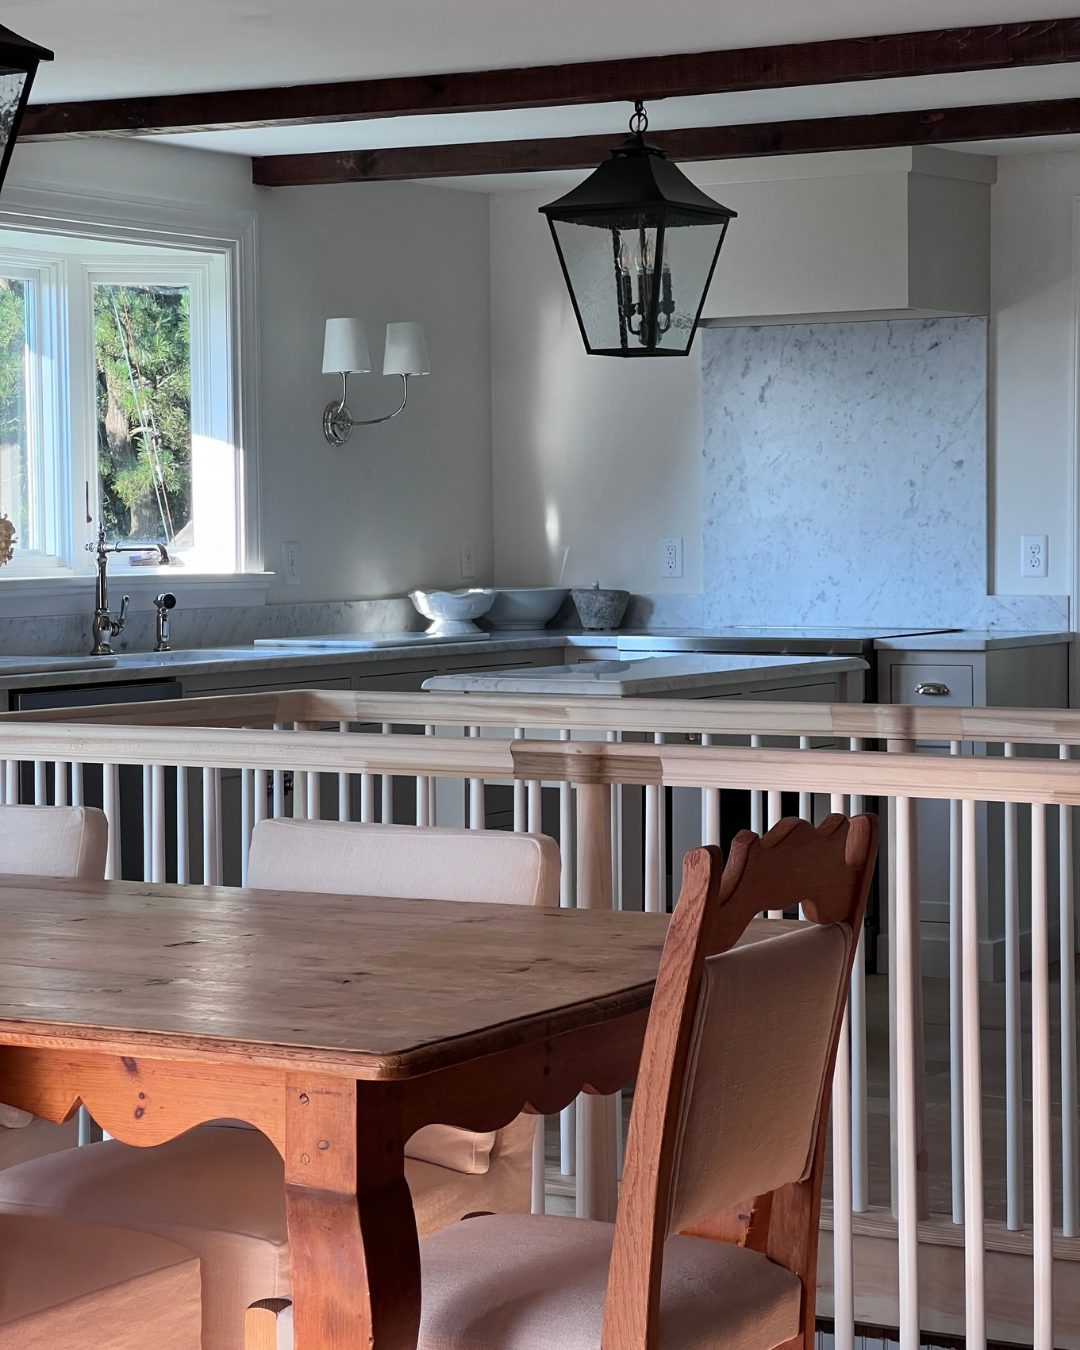
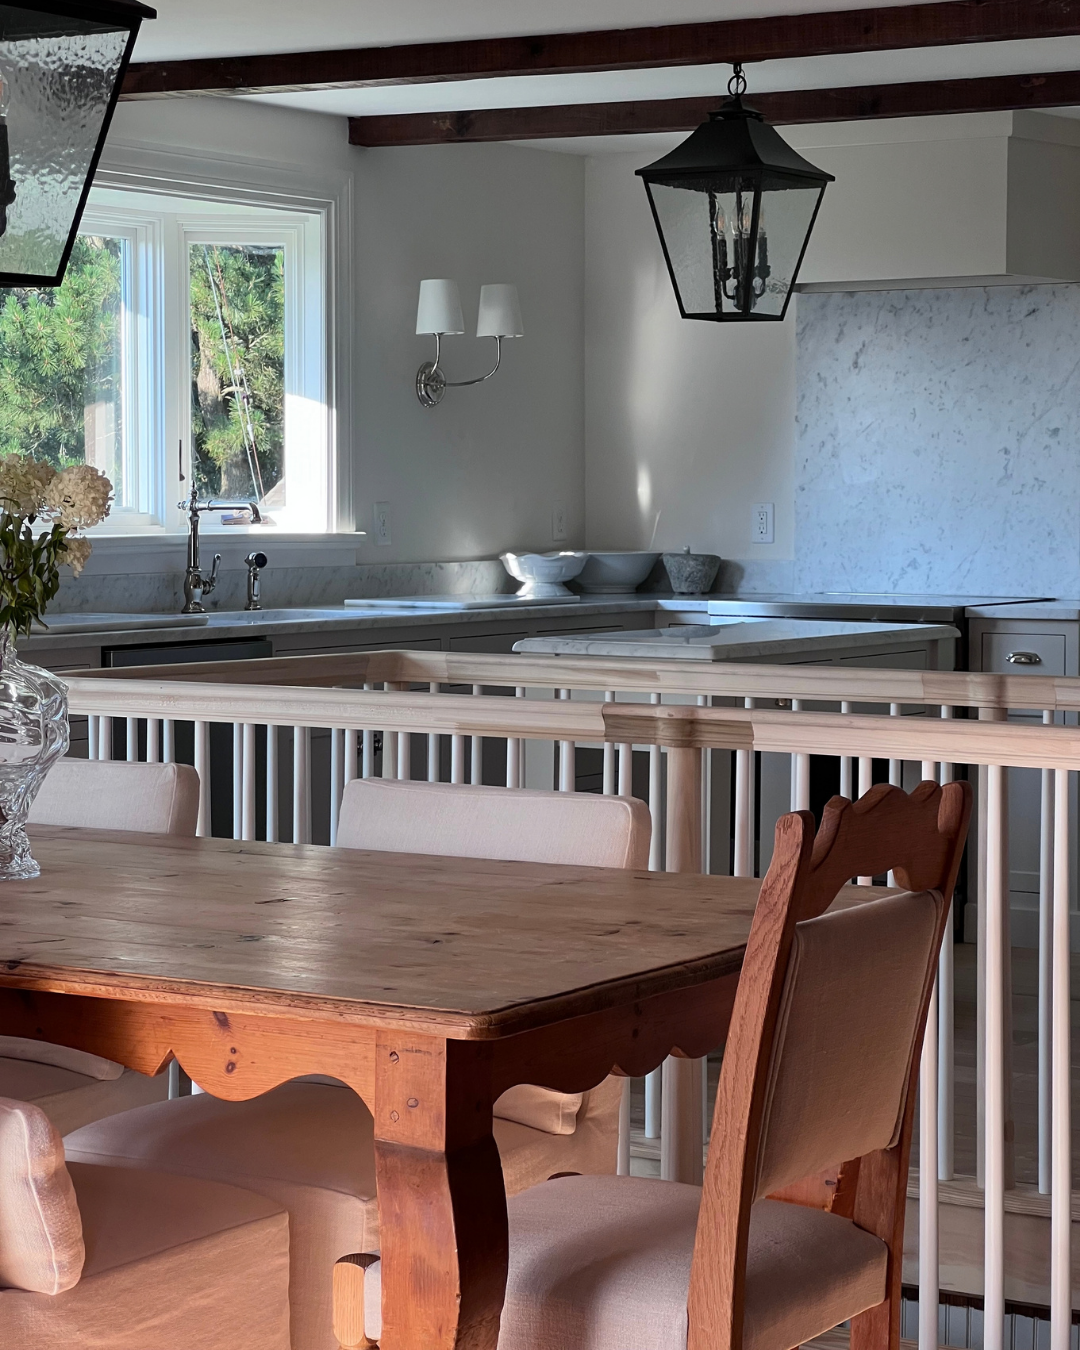
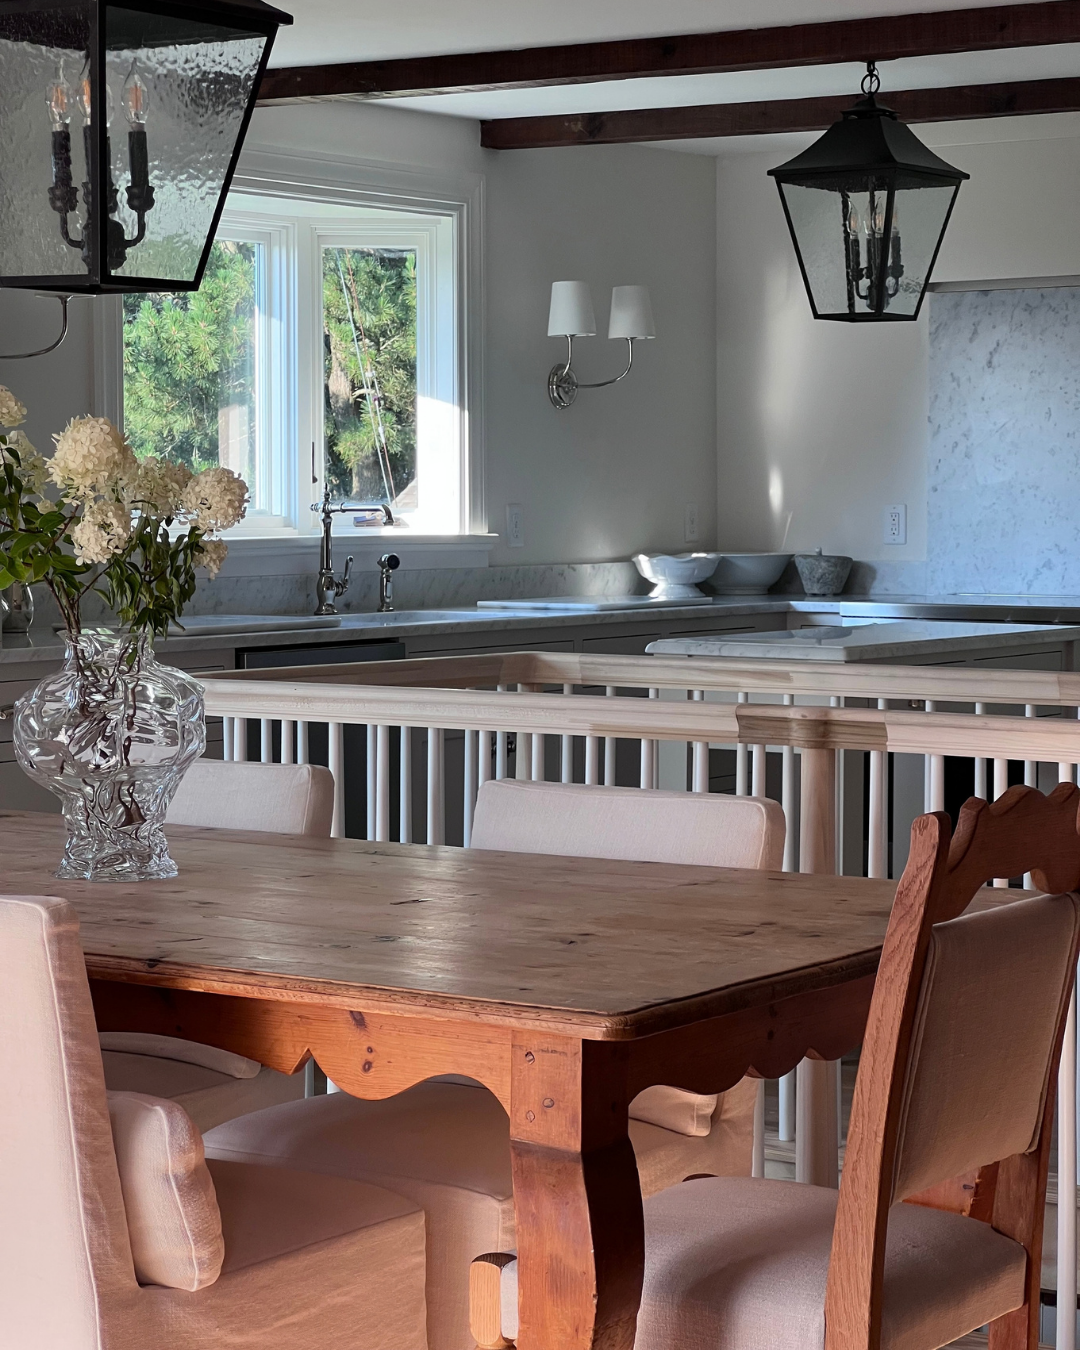
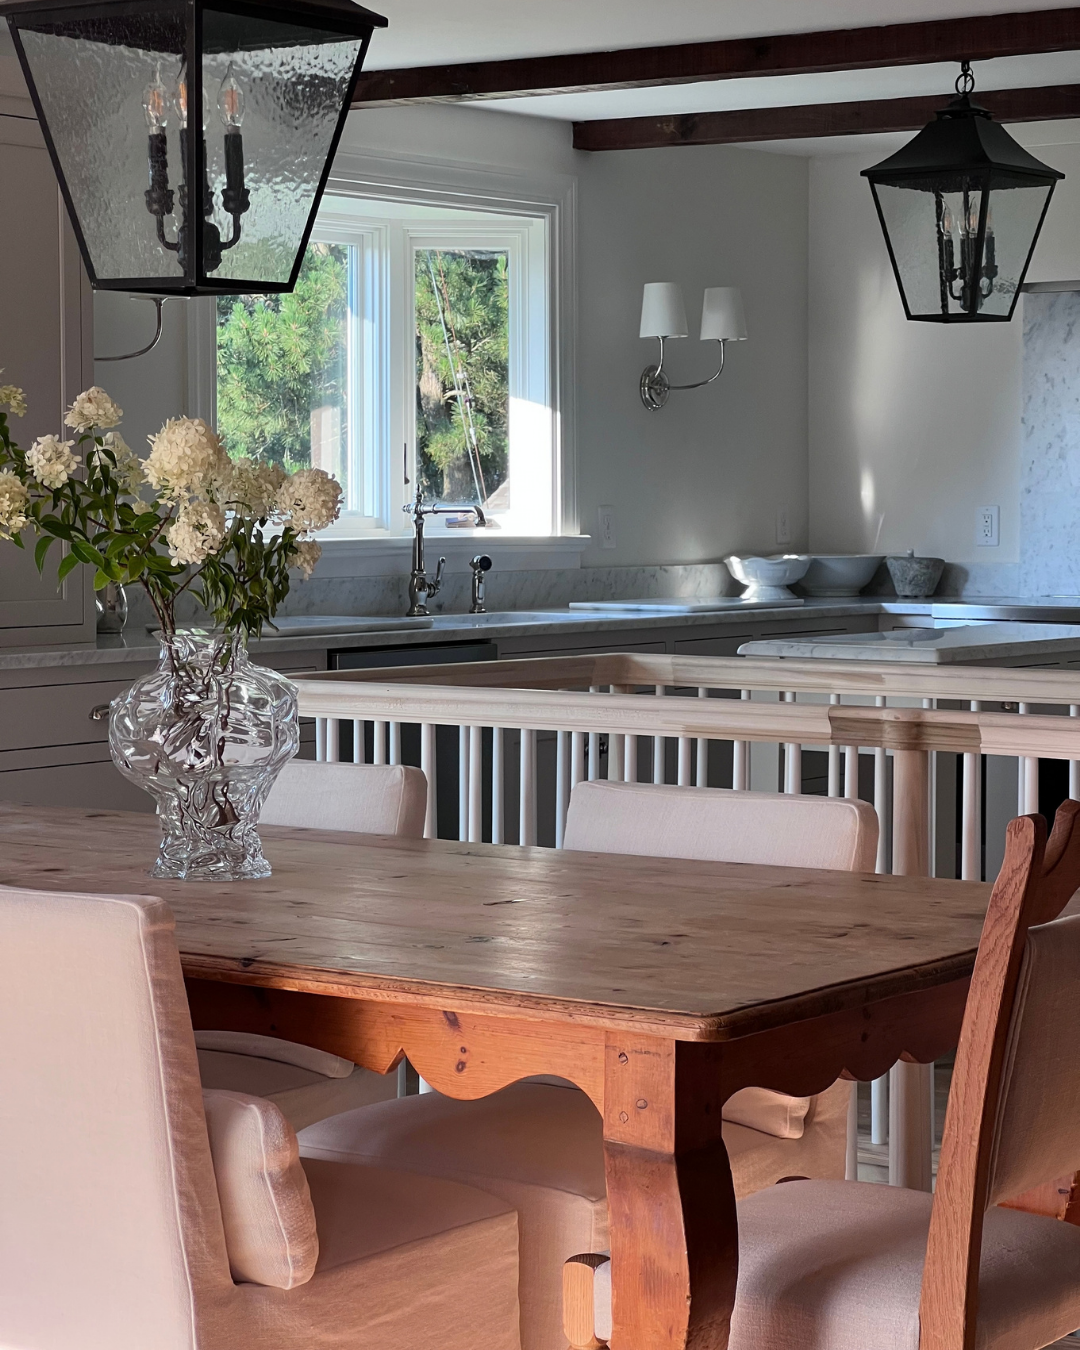
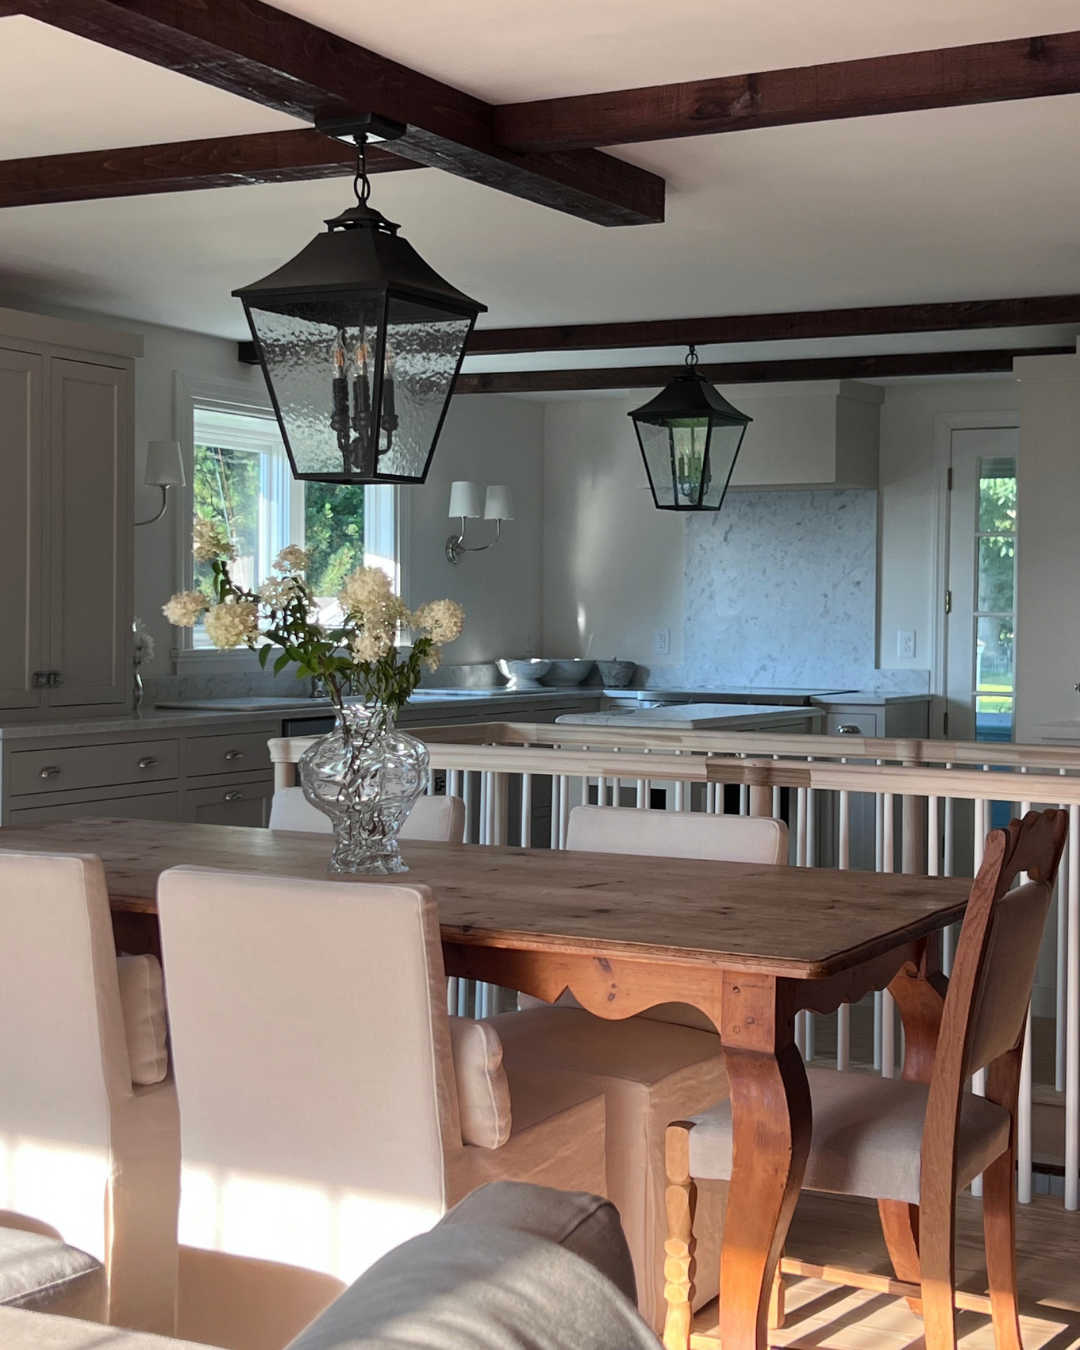
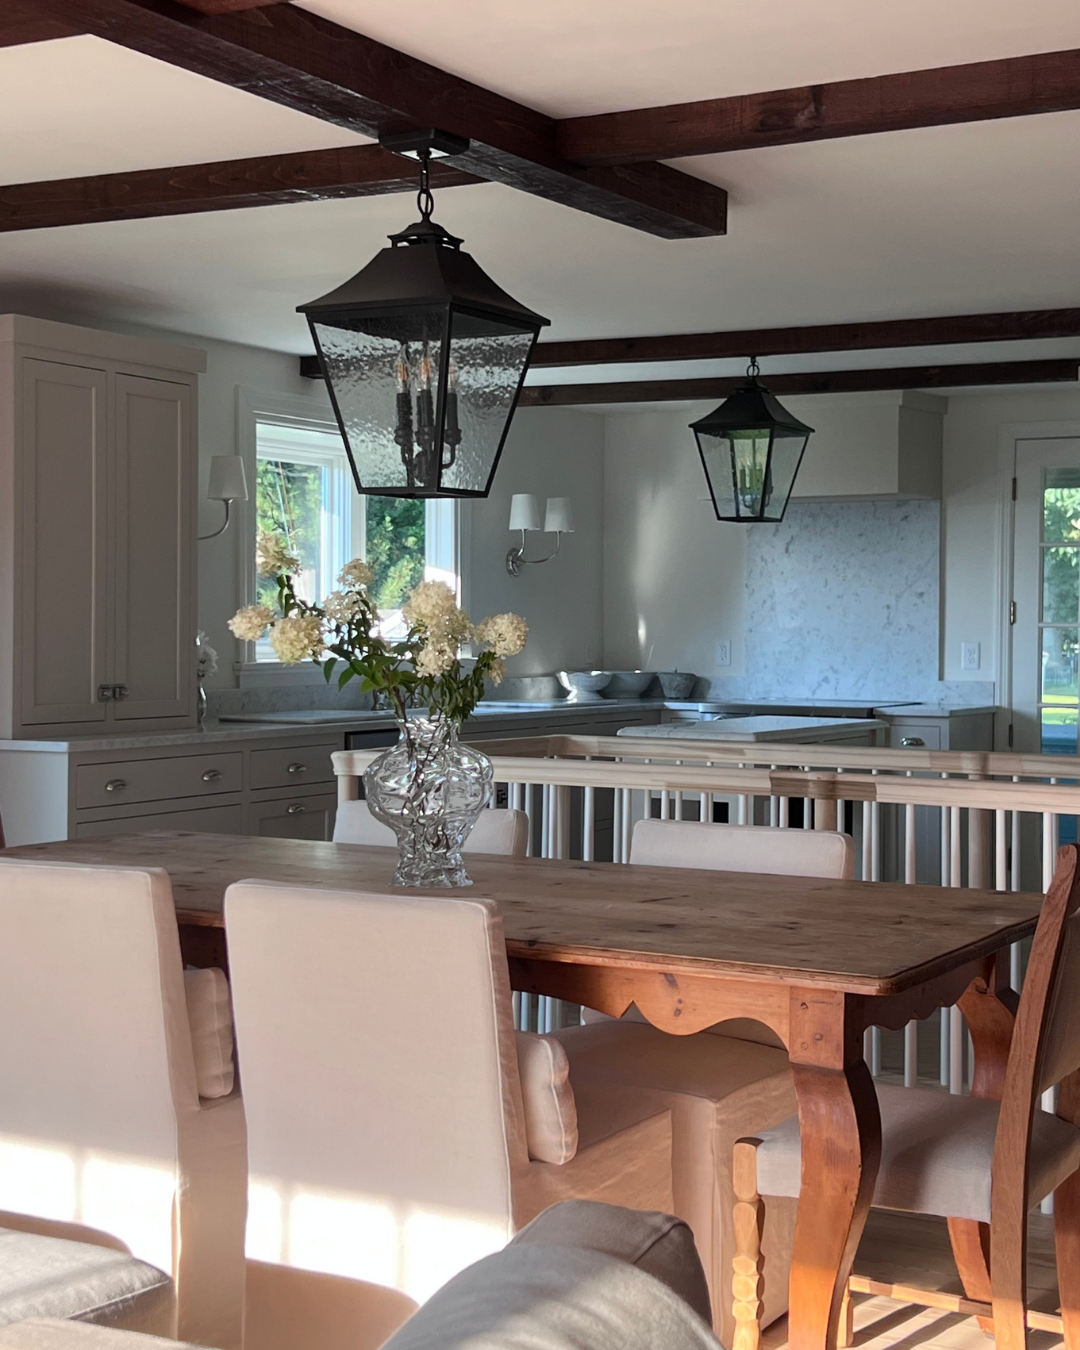
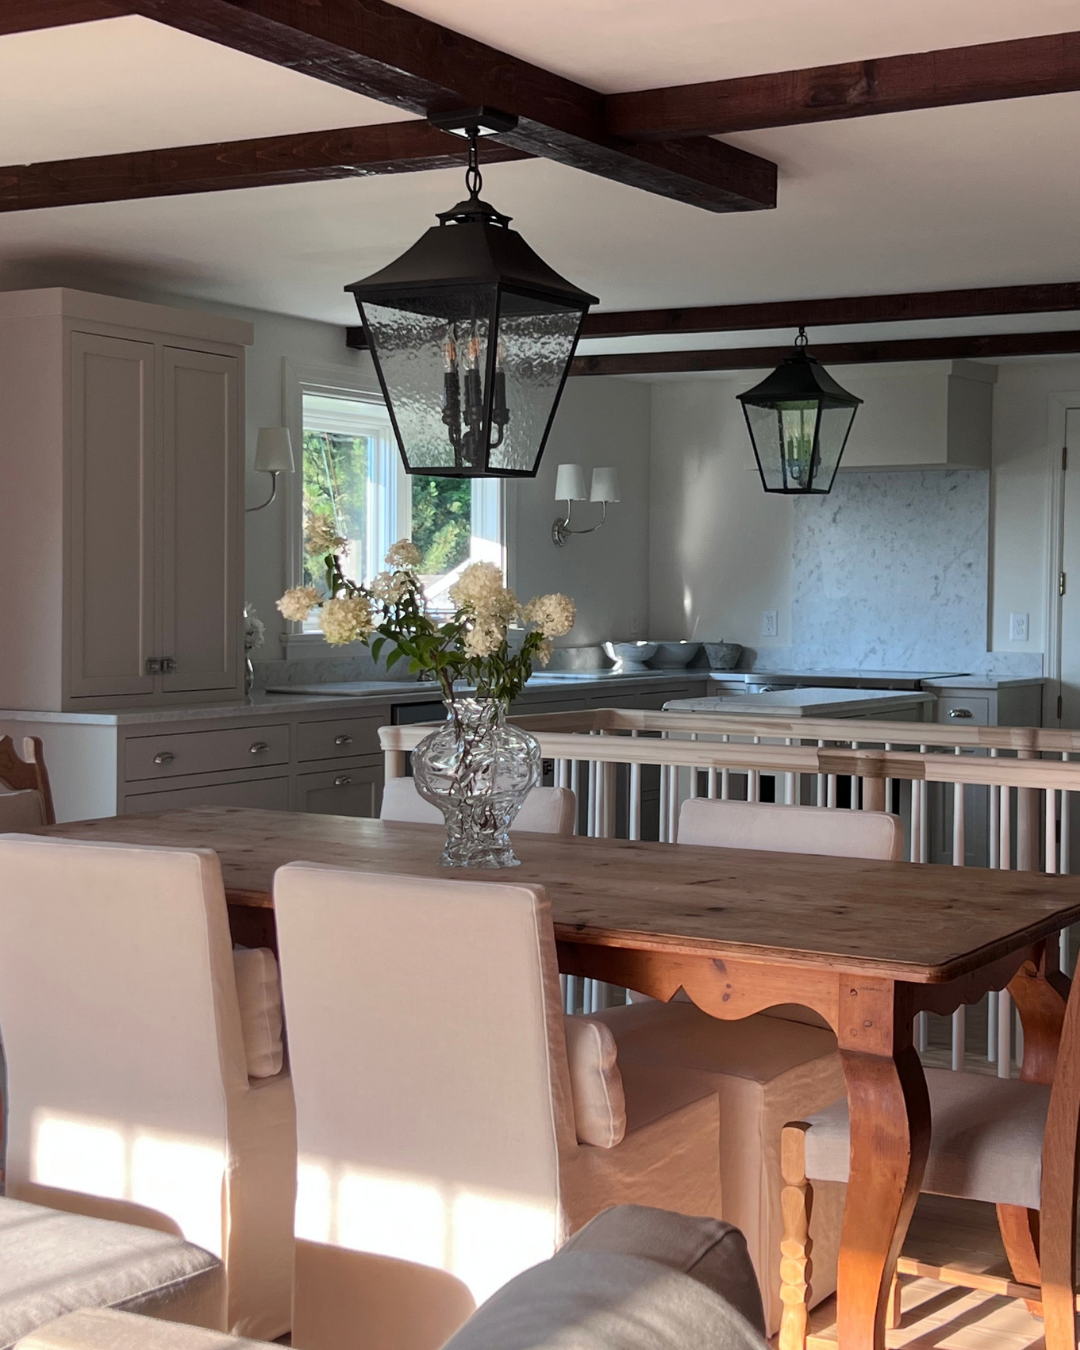
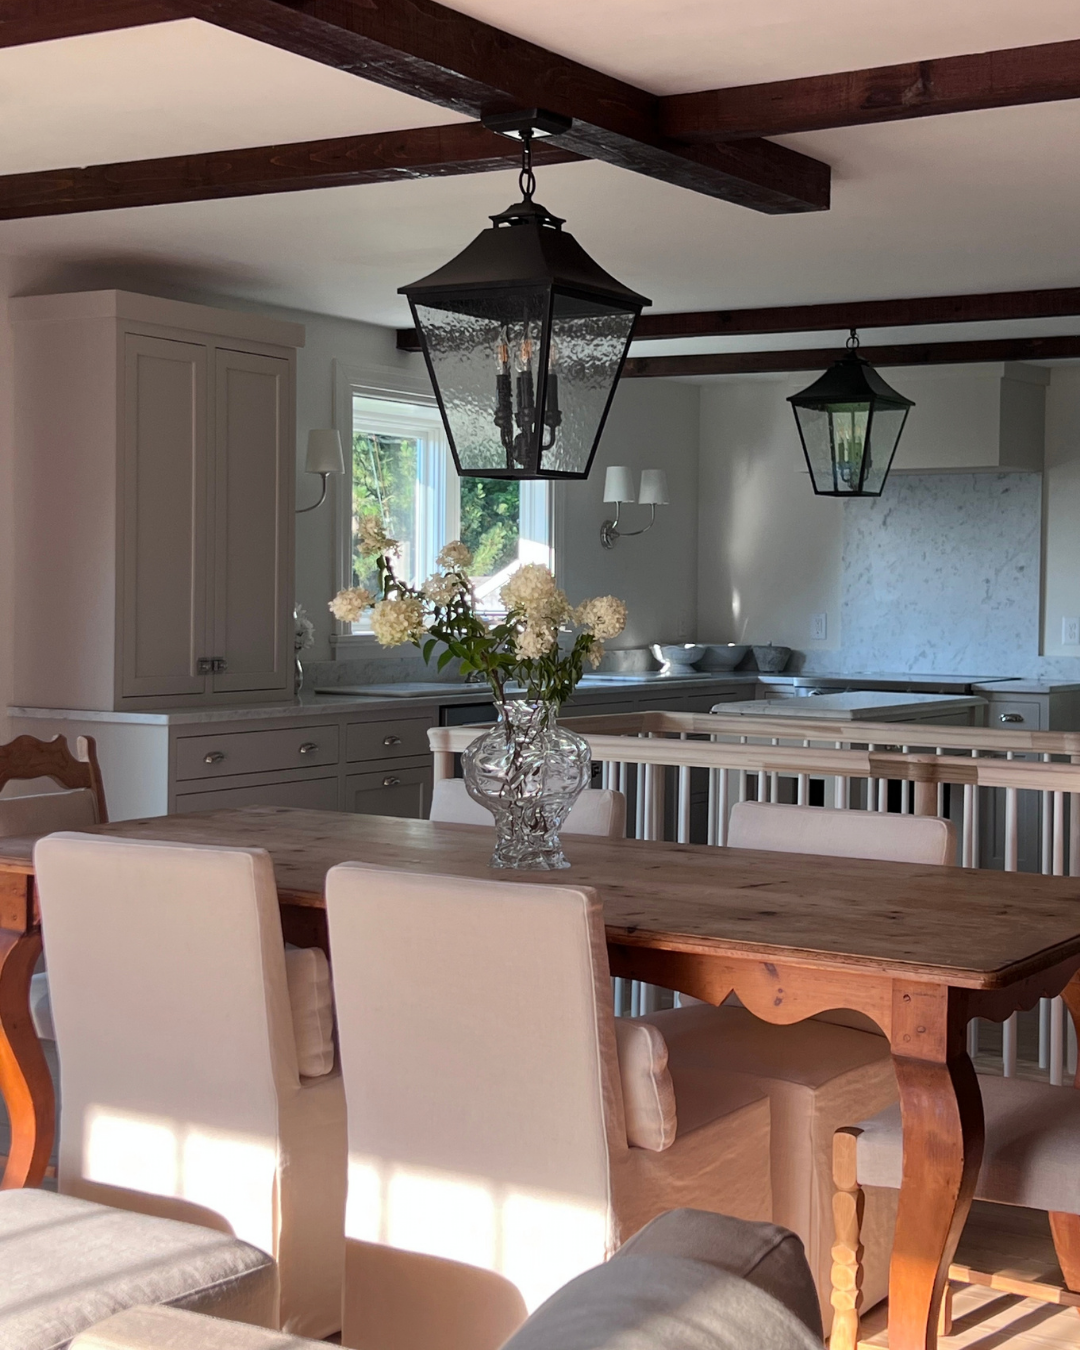
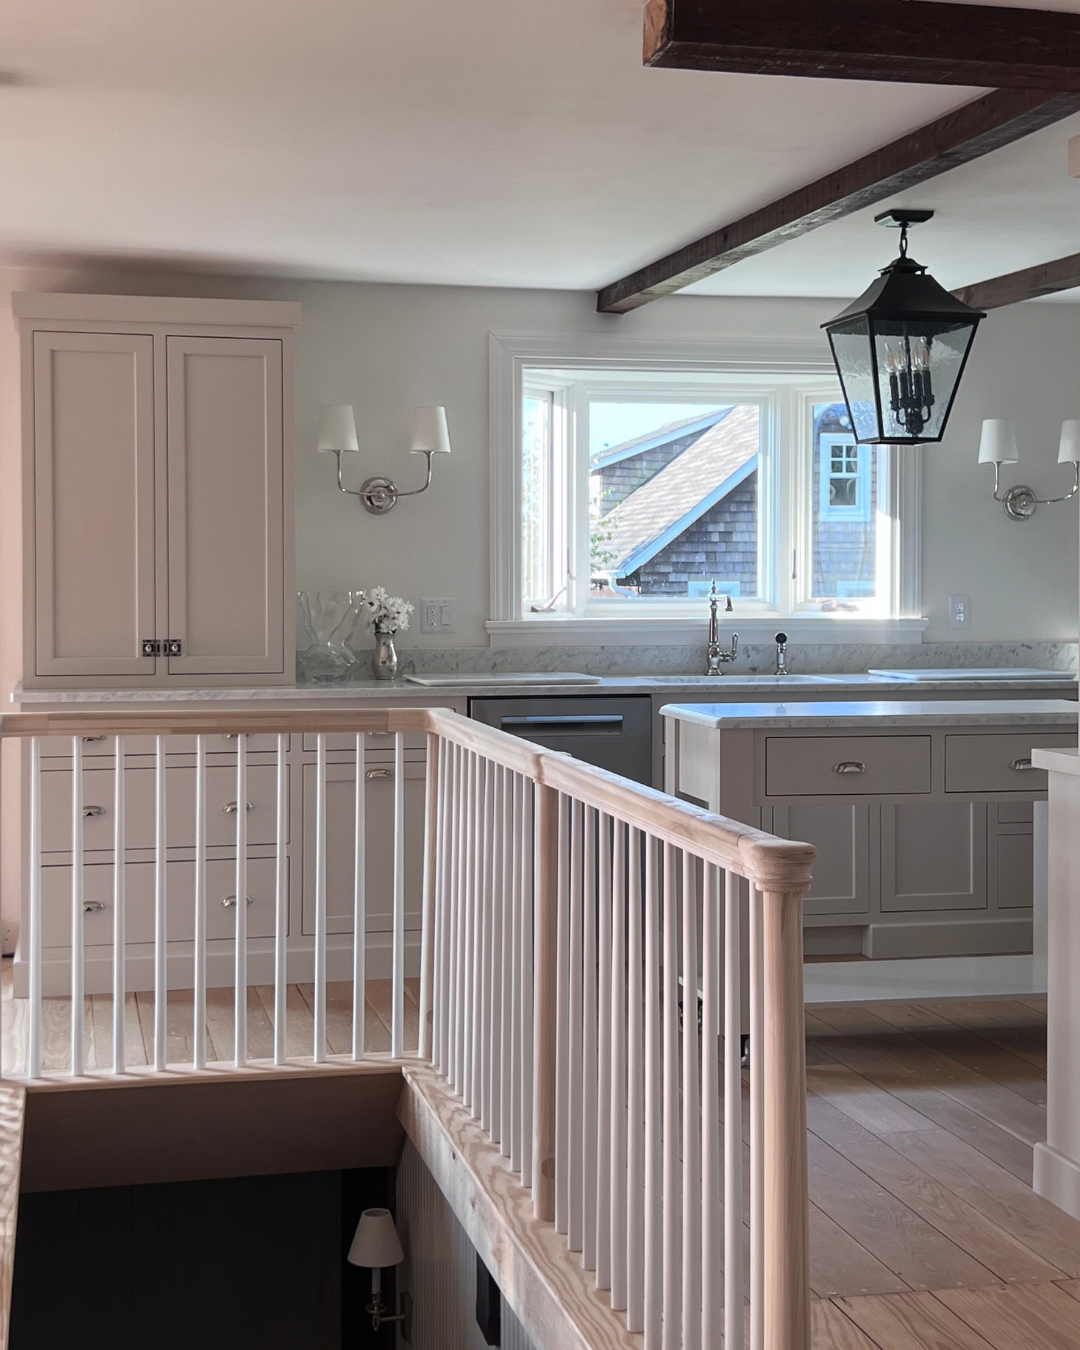
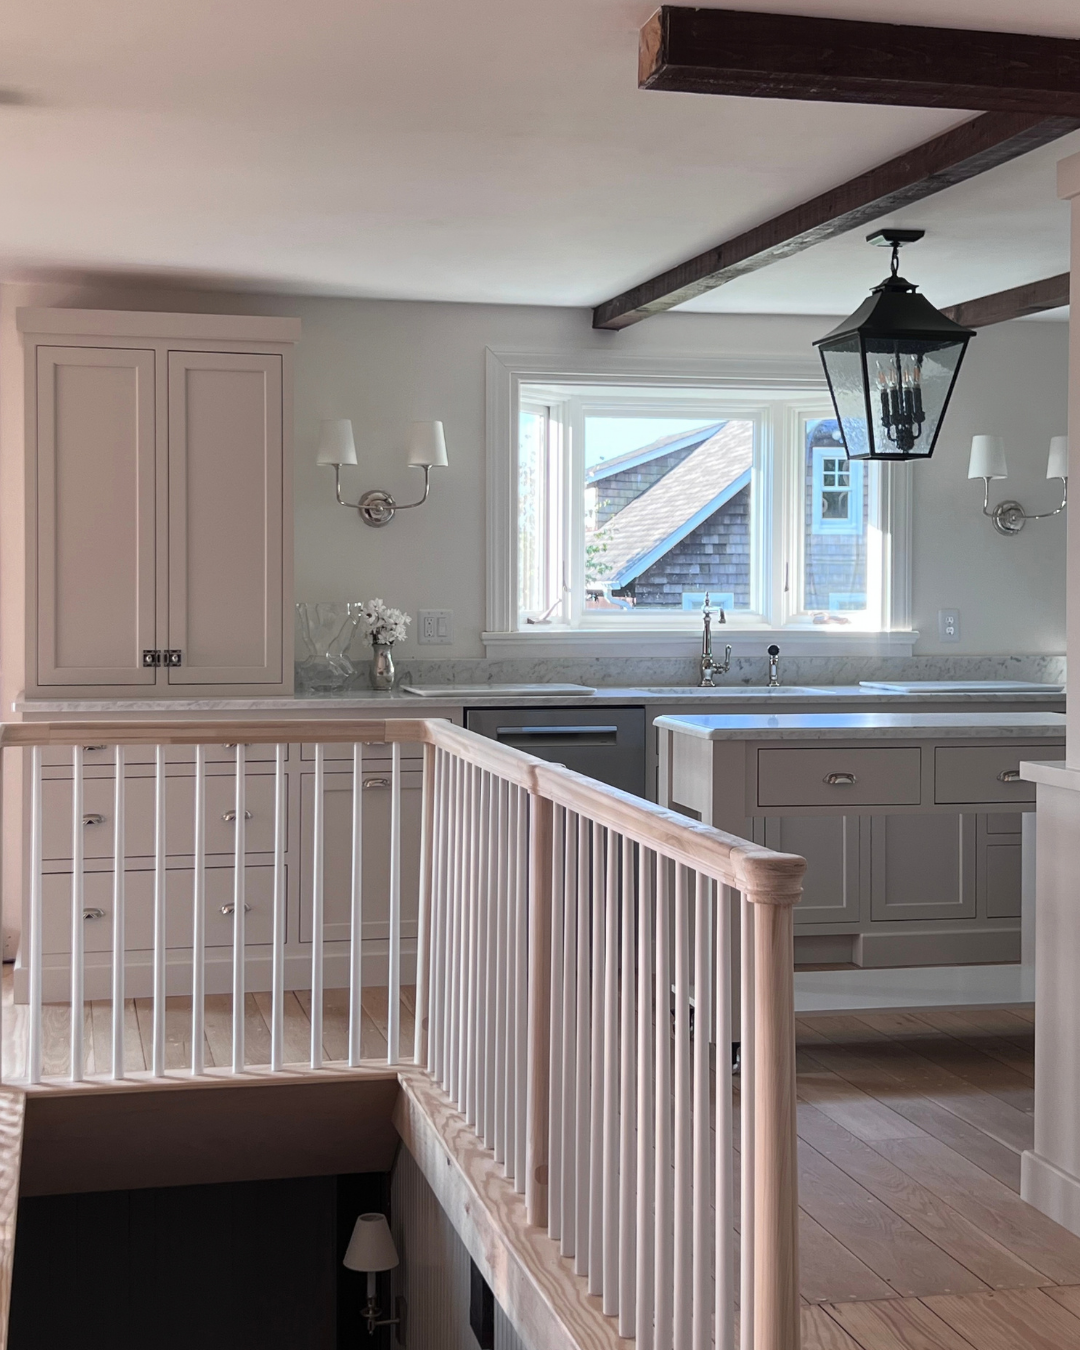
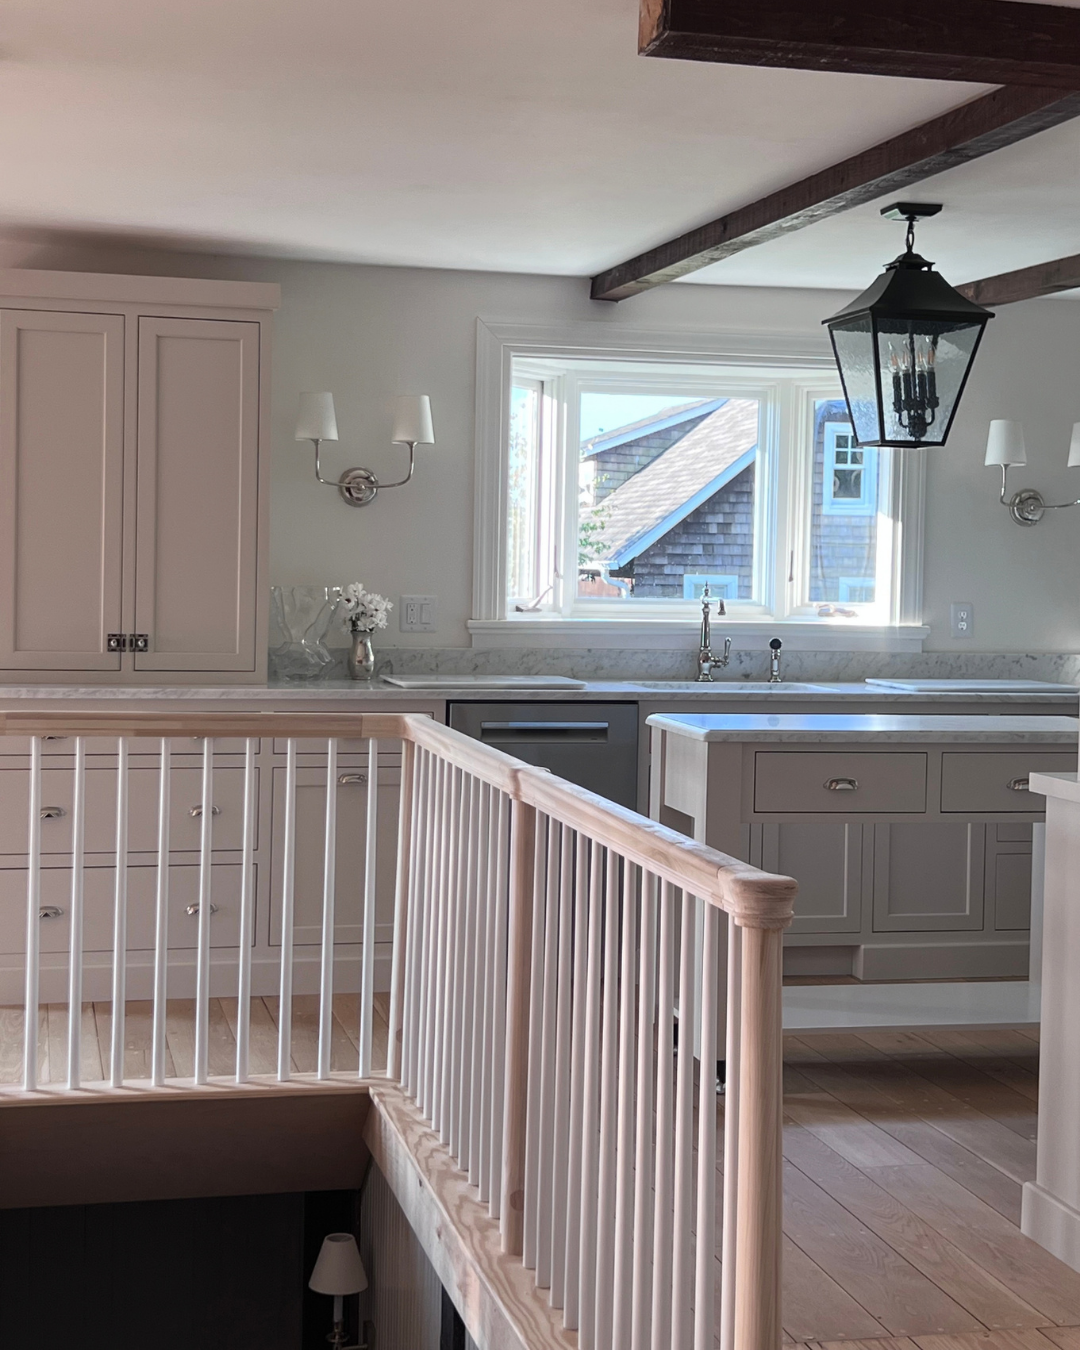
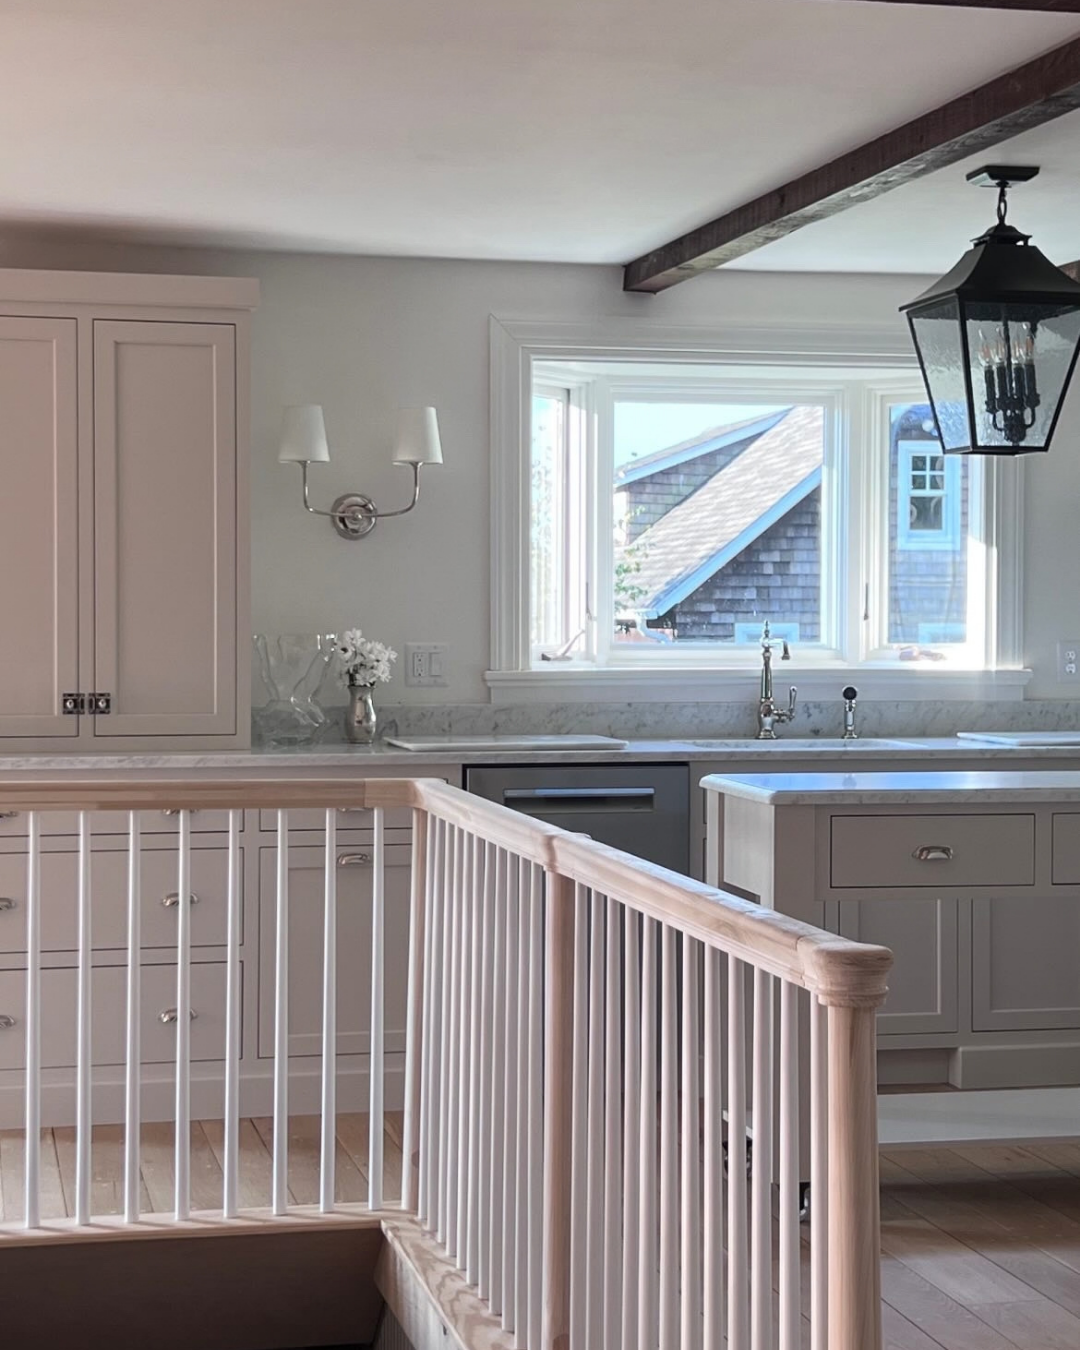
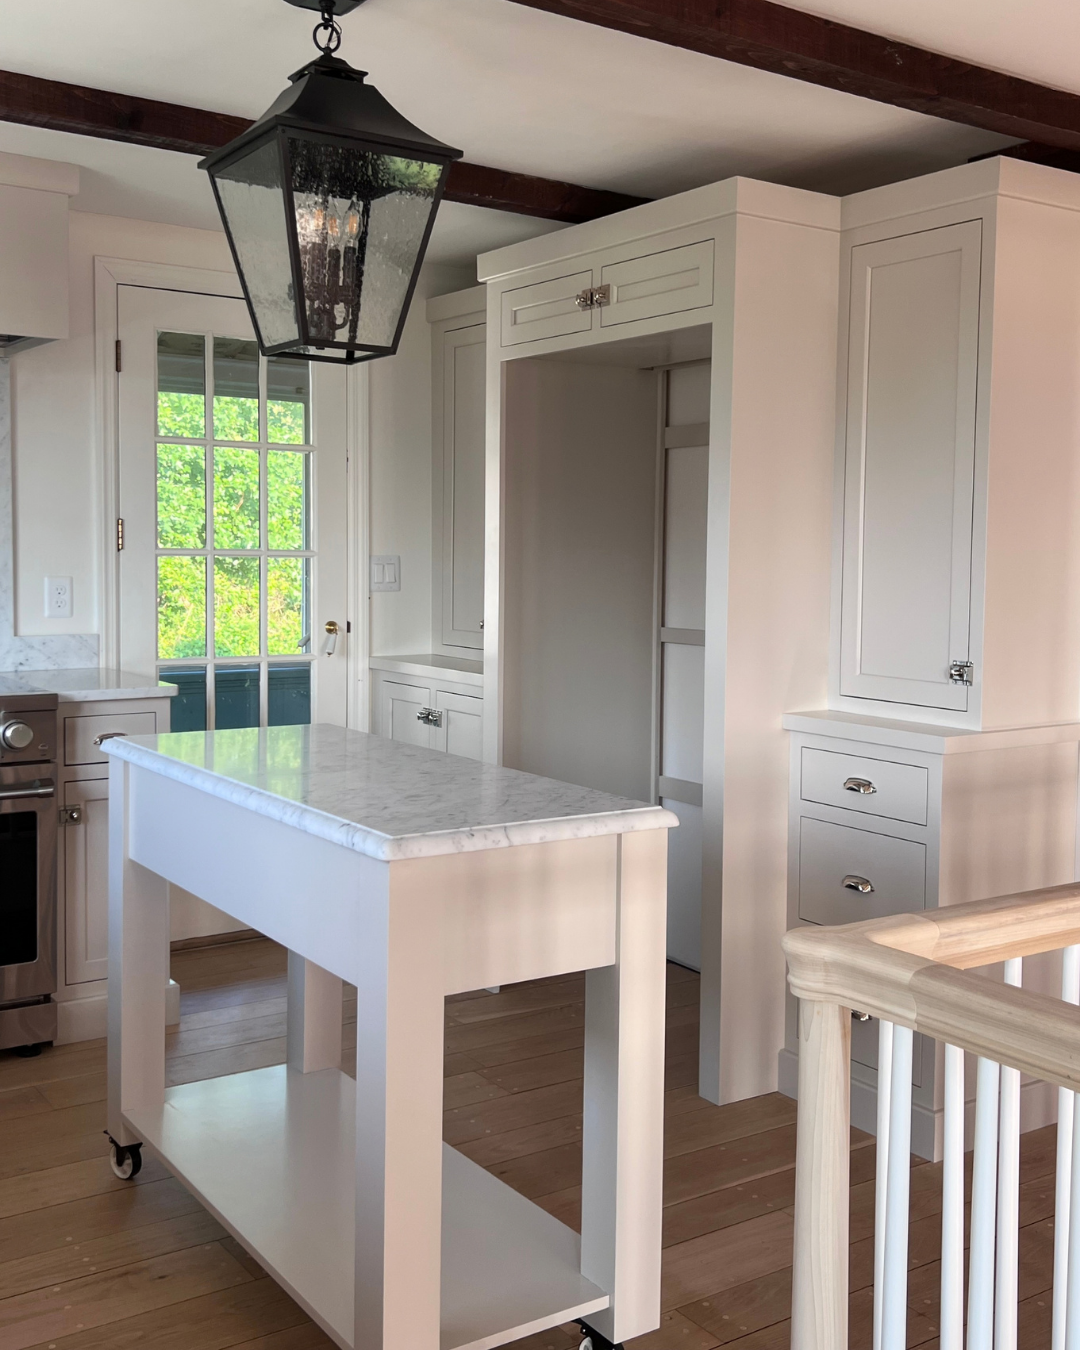
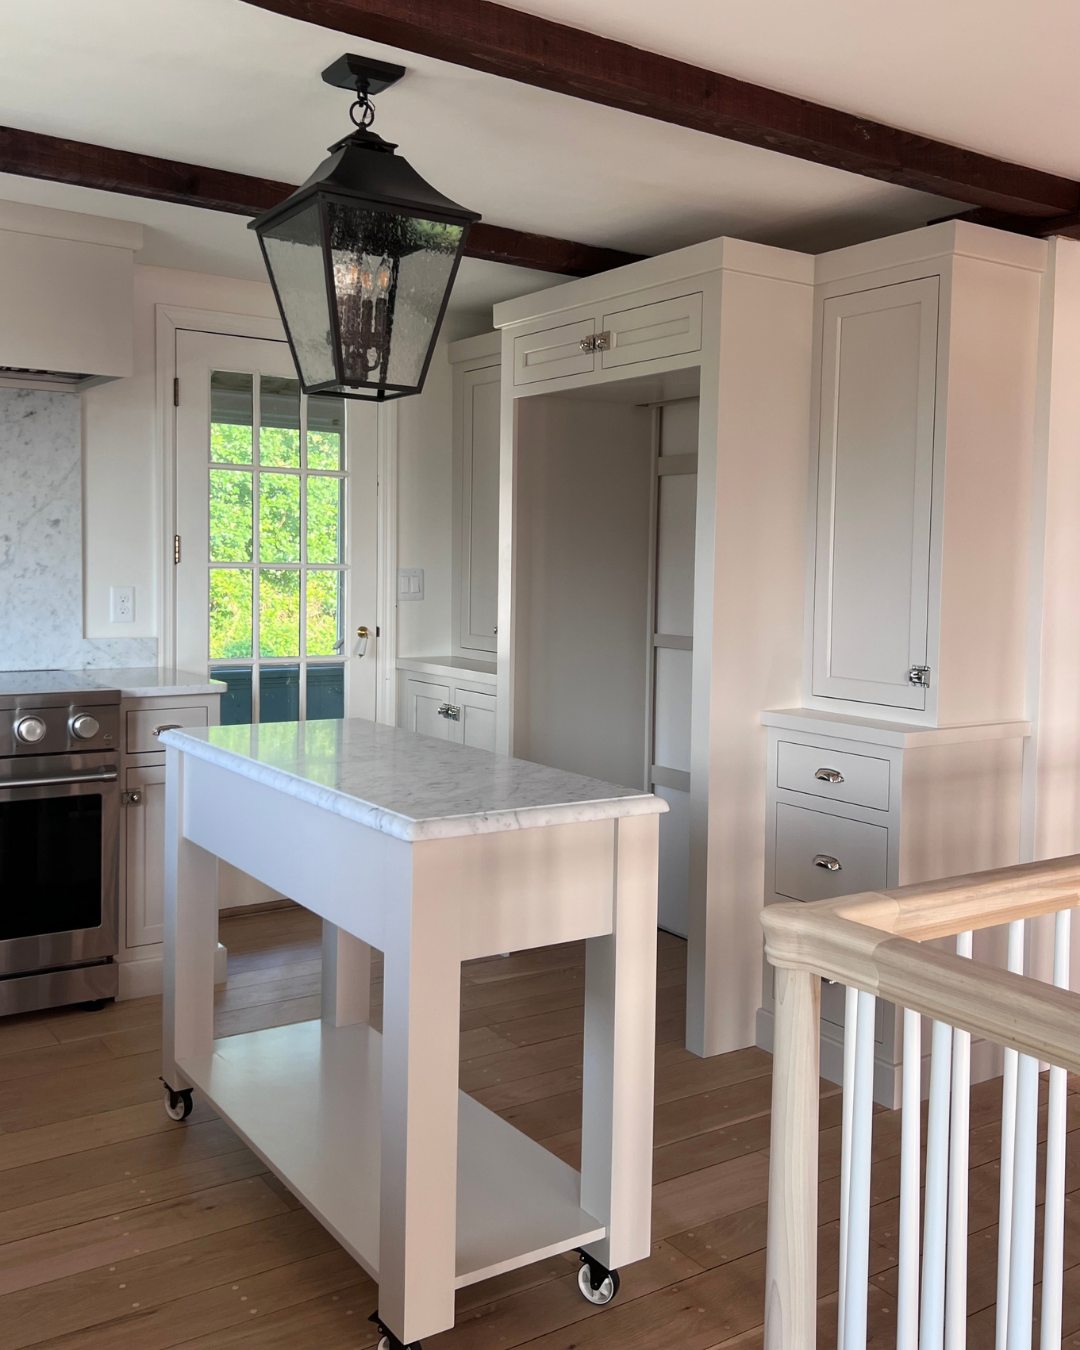
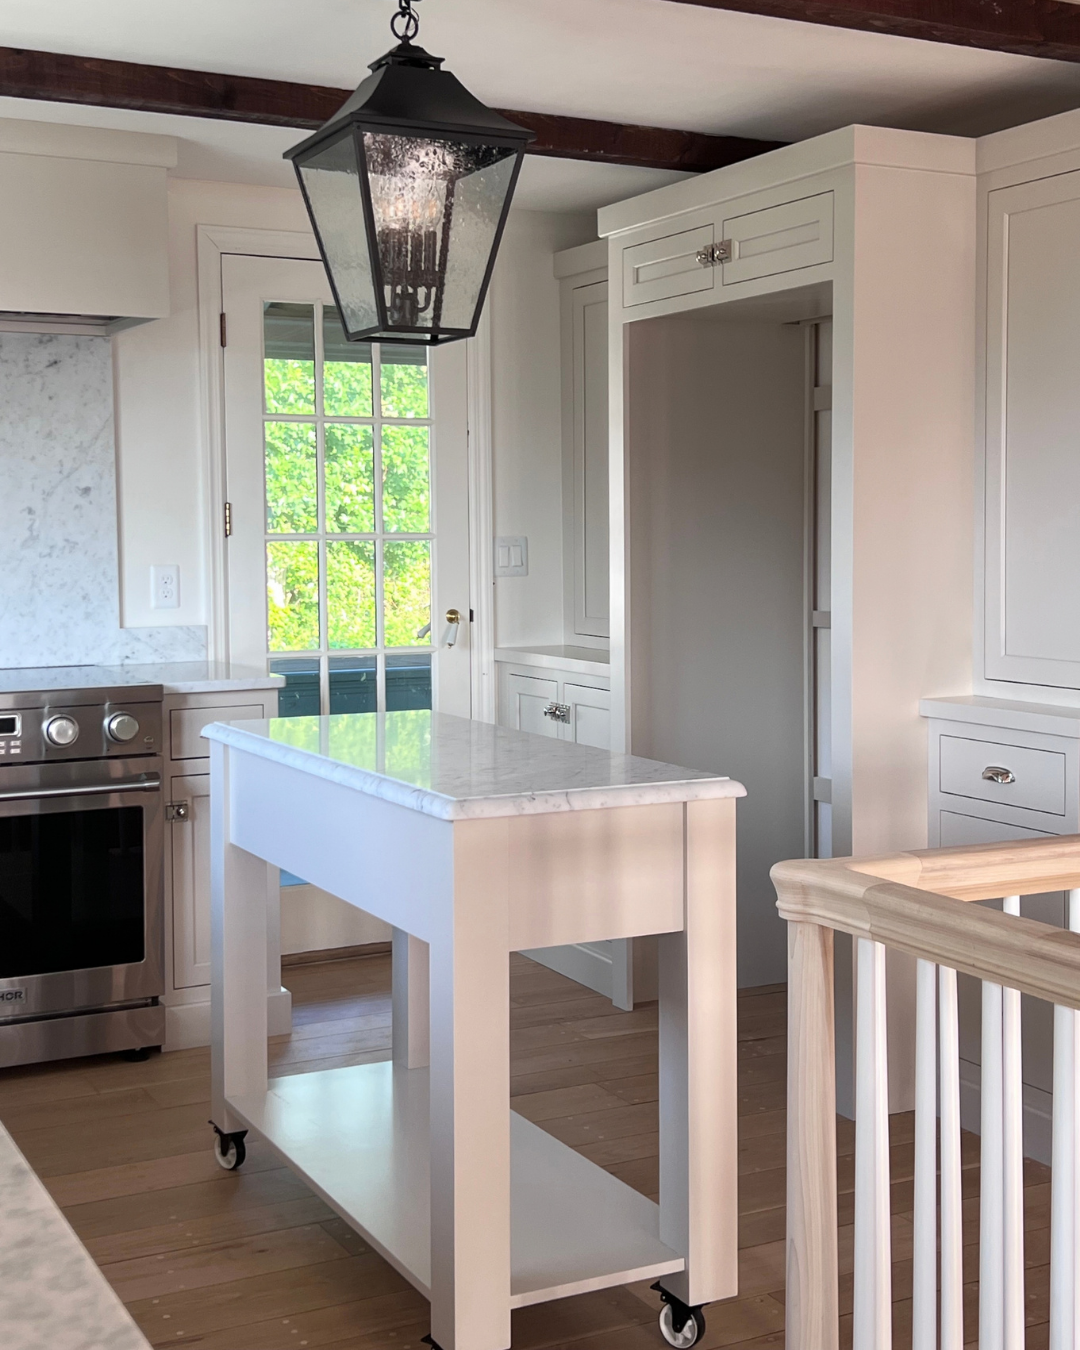
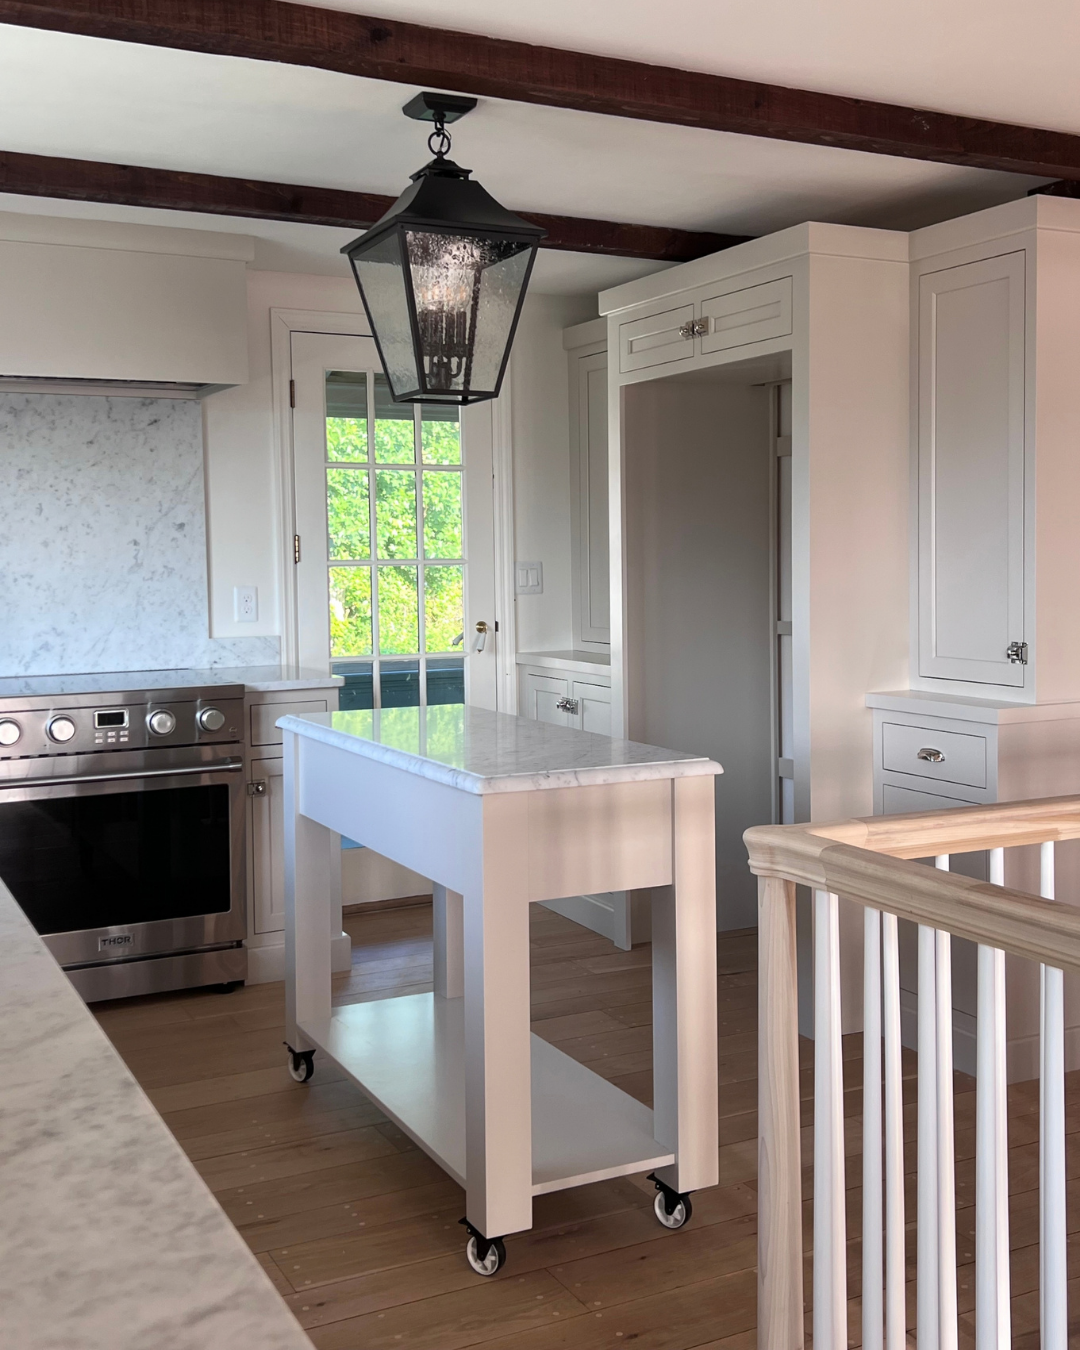
See the full kitchen reveal (coming soon!)