Post-Holiday Organization with Great Day Connecticut: How To Organize Your Fridge and Pantry
Week 3 of our Post-Holiday Organizing Series, as seen on WFSB-TV’s Great Day Connecticut.
This segment is the third of a three-week series exploring post-holiday organization. In addition to tackling general clutter and refreshing your home for a fresh start in the new year, post-holiday organization involves storing and putting away holiday decor (Week 1), incorporating new gifts that were received over the holidays (Week 2), and cleaning out and re-setting the refrigerator (Week 3).
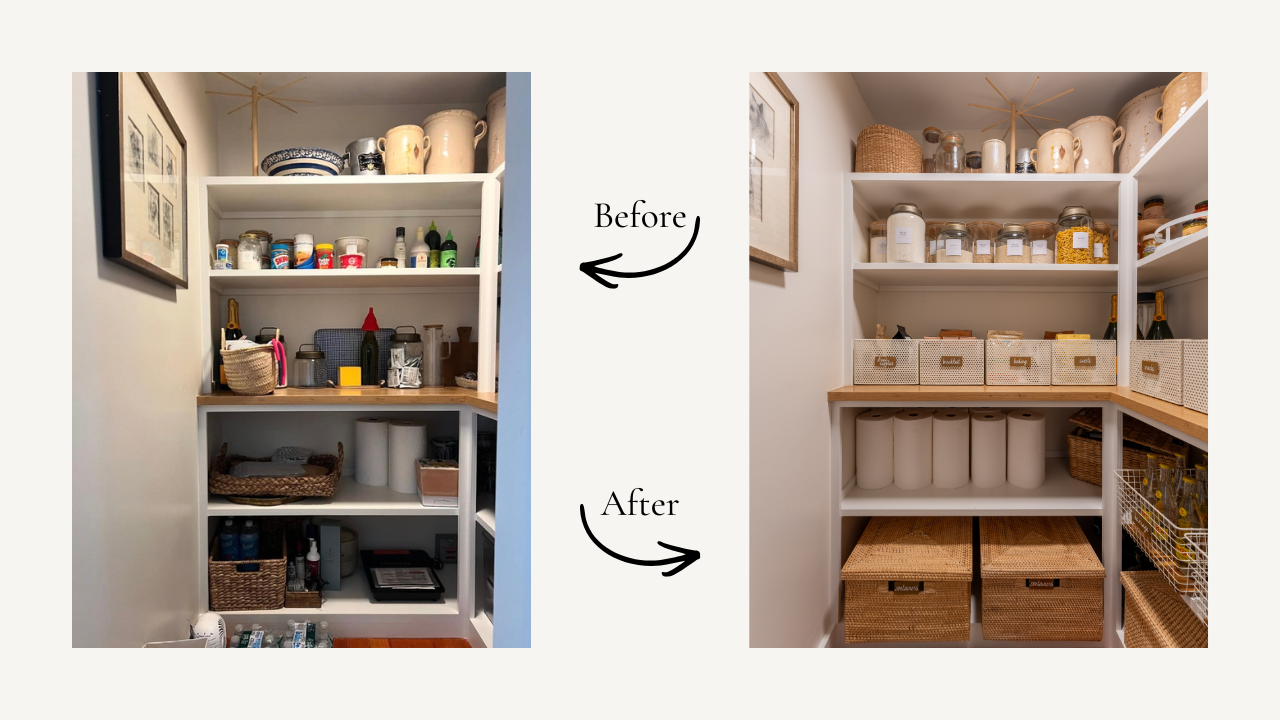
By the end of the holidays, we often end up with more things in our home than at any other time of the year. After all of the parties, big family meals, baking and gourmet gift baskets, the fridge and pantry can become a crowded hodgepodge of half used items and packed with leftovers. Take the time to give it a good clean out so you can start all of those New Years resolutions with a fresh pantry and fridge.
To get organized, you’ll take everything out, wipe down the shelves, discard expired food, and then put items back in an optimized layout with supportive organizing materials/products. This helps you see exactly what you have, avoid buying duplicates, and makes breakfast, lunch and dinner so much easier moving forward.
While there isn’t a one-size fits all layout or system for every fridge and pantry– rather every space is different– there are some helpful general organization principles and methods that are helpful to every space.
Beyond simply looking good and making your everyday experience in the spaces more enjoyable, organized fridges and pantries can:
Save You Time- Having everything visible and accessible can make prep more efficient. Knowing and seeing where ingredients are, cuts down on time spent searching, making meal prep less stressful and more consistent.
Save You Money- First, you’ll be able to cut down on waste; and second, you’ll avoid purchasing unnecessary duplicates.
Boost Your Health- These organized spaces will support you by making healthy choices easier, reducing stress around meal prep, leading to consistent healthy eating habits and less reliance on convenient (less healthy) options. A clutter-free fridge and pantry can make cooking a more pleasant, manageable activity.
The Fridge
Start With An Edit You can’t organize what you can’t see, so the first step is to pull everything out. Yes, everything. This not only gives you a clear view of the space you’re working with, but also lets you check and toss expired food as you go. Also be sure to toss out any leftovers that are past their prime (the USDA recommends after three to five days). If there are specialty ingredient items in there that you know you won’t use again or anytime in the near future, offer them to a friend. Keep a trash bag nearby to make it easy. And while your fridge is empty, take the opportunity to wipe down all the shelves and drawers.
Designate Containment Zones Your fridge should feel like a supermarket: everything has a home, and nothing is left to fend for itself. Assign categories to specific areas—for example, designate/group all meat in one spot together, vegetables in another. You can also group things by the time of day you’re accessing them, so that you don’t have to search around for things; for example, all of the ingredients for my husband’s daily breakfast sandwich lives on on shelf. If your fridge typically has prepared foods, meal prep and leftovers, don’t forget to allocate space for those items as well.
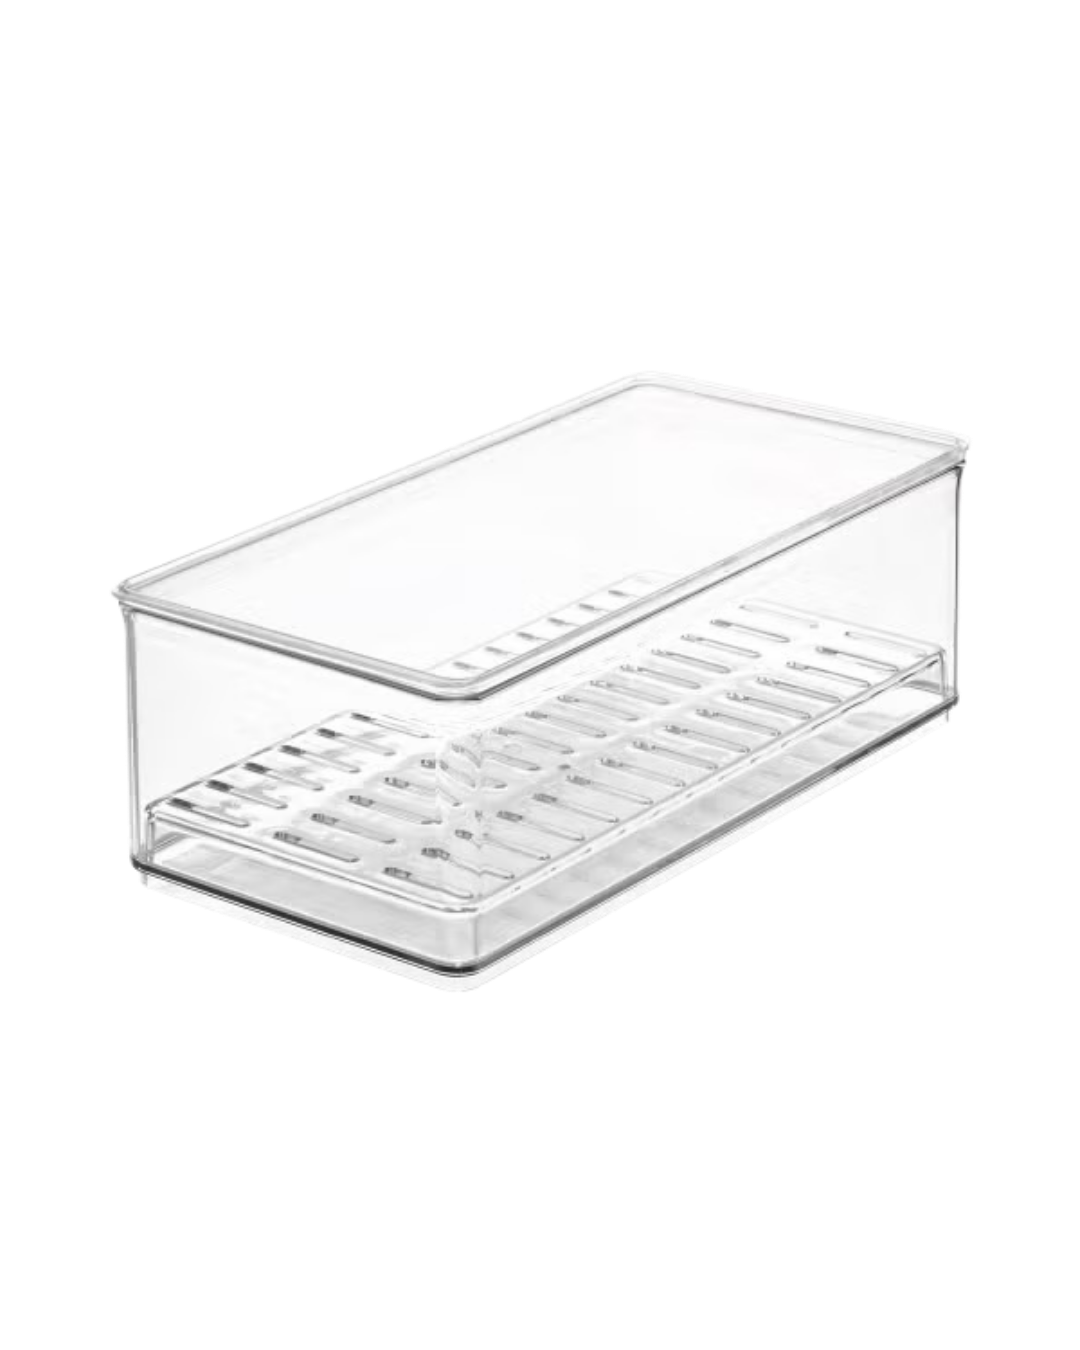
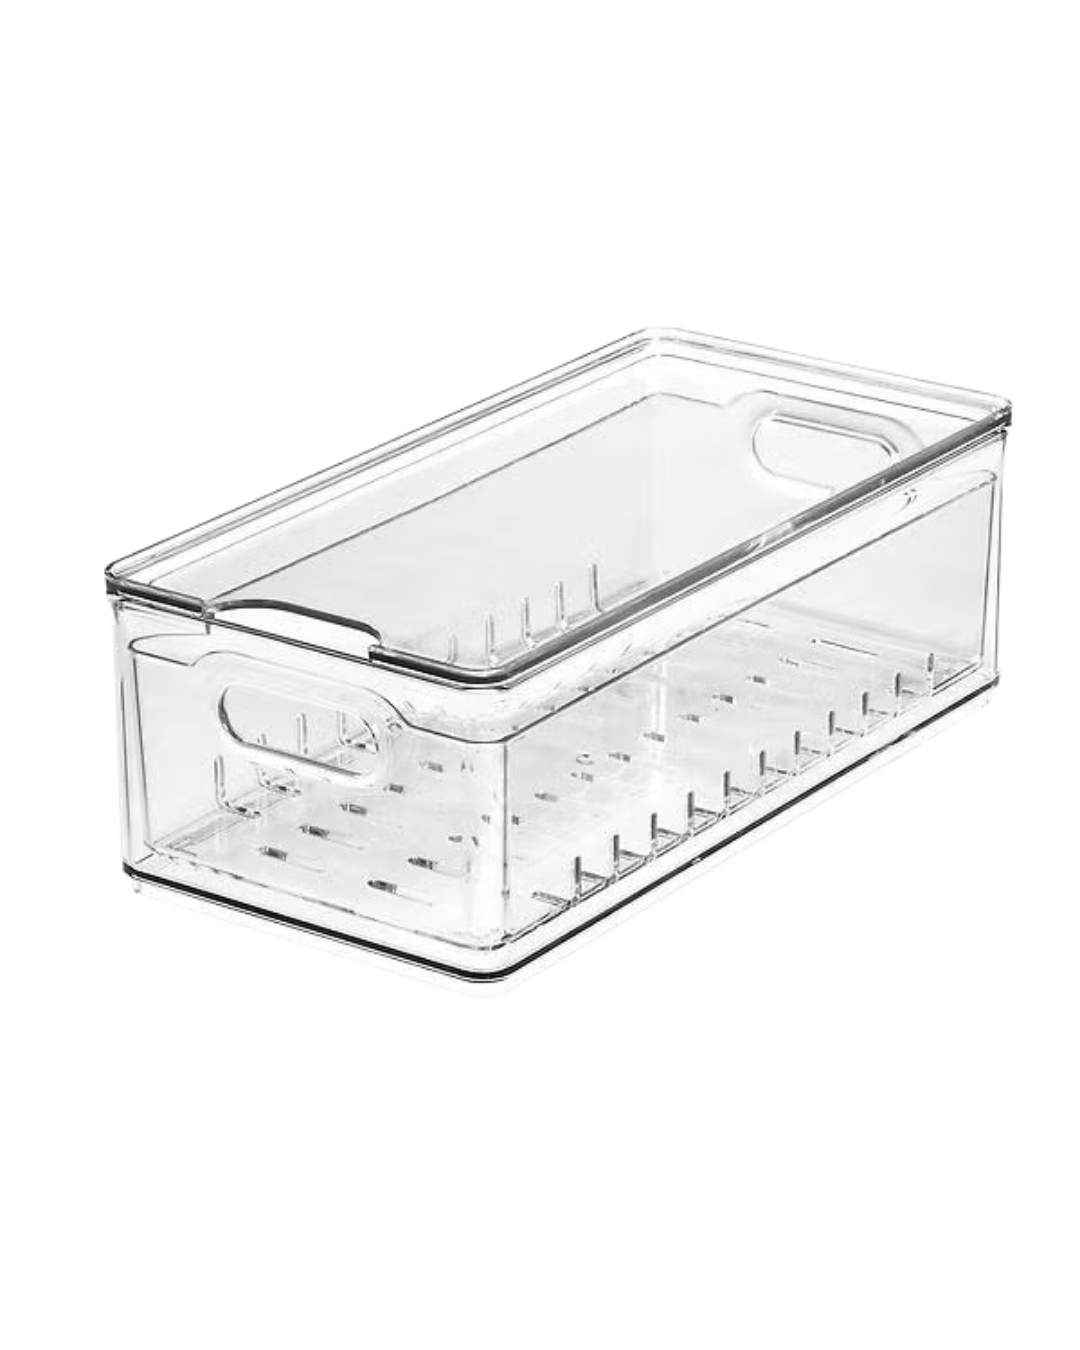
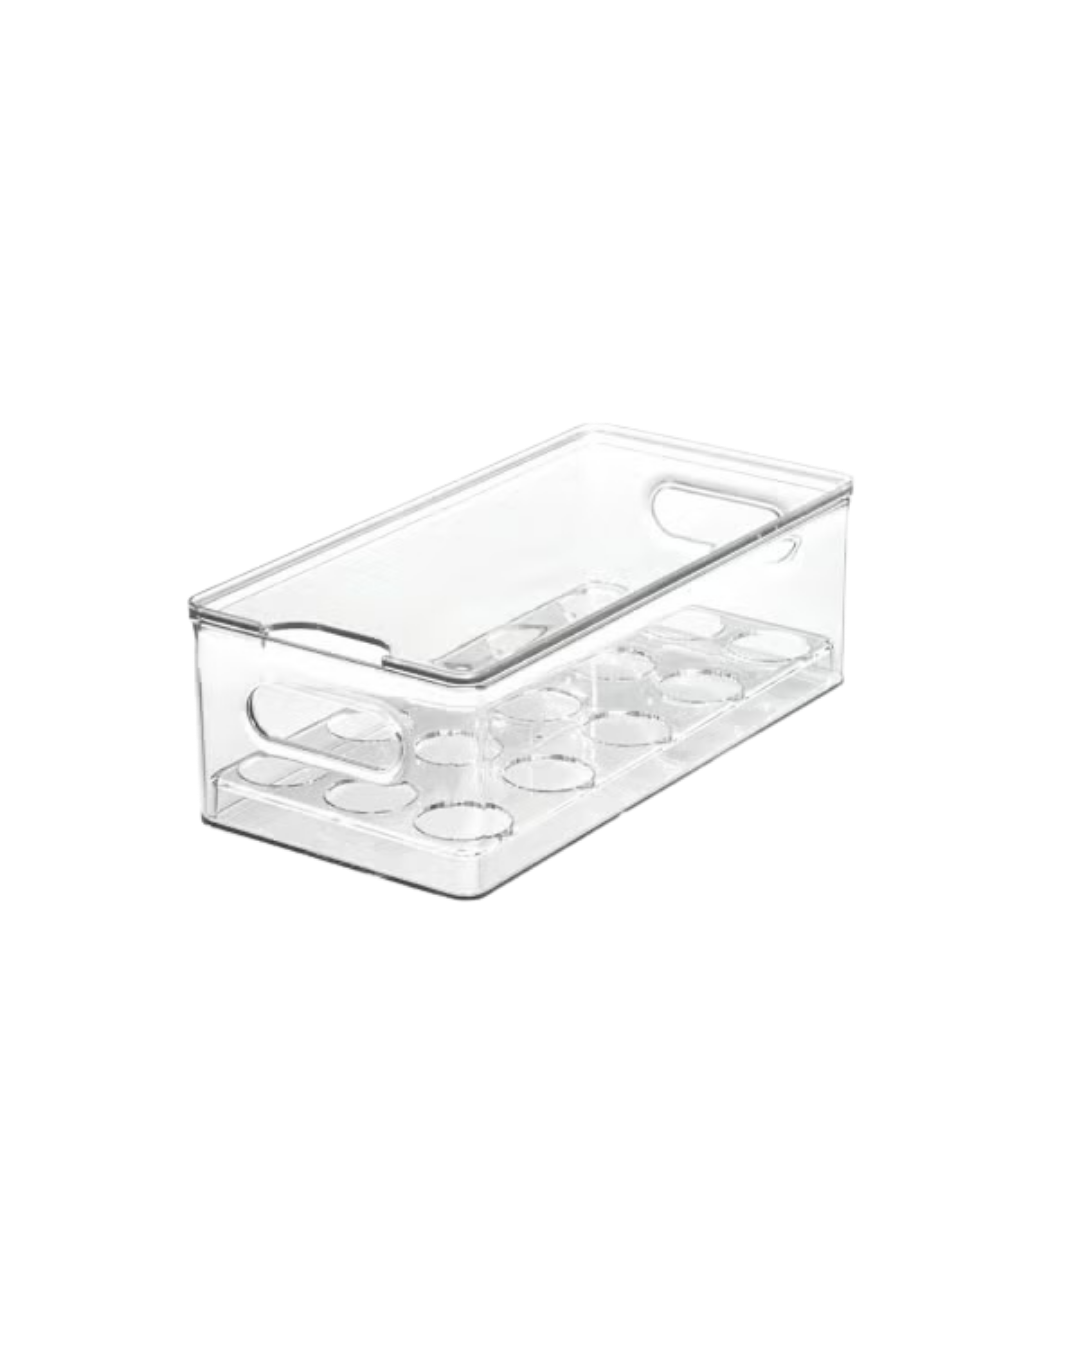
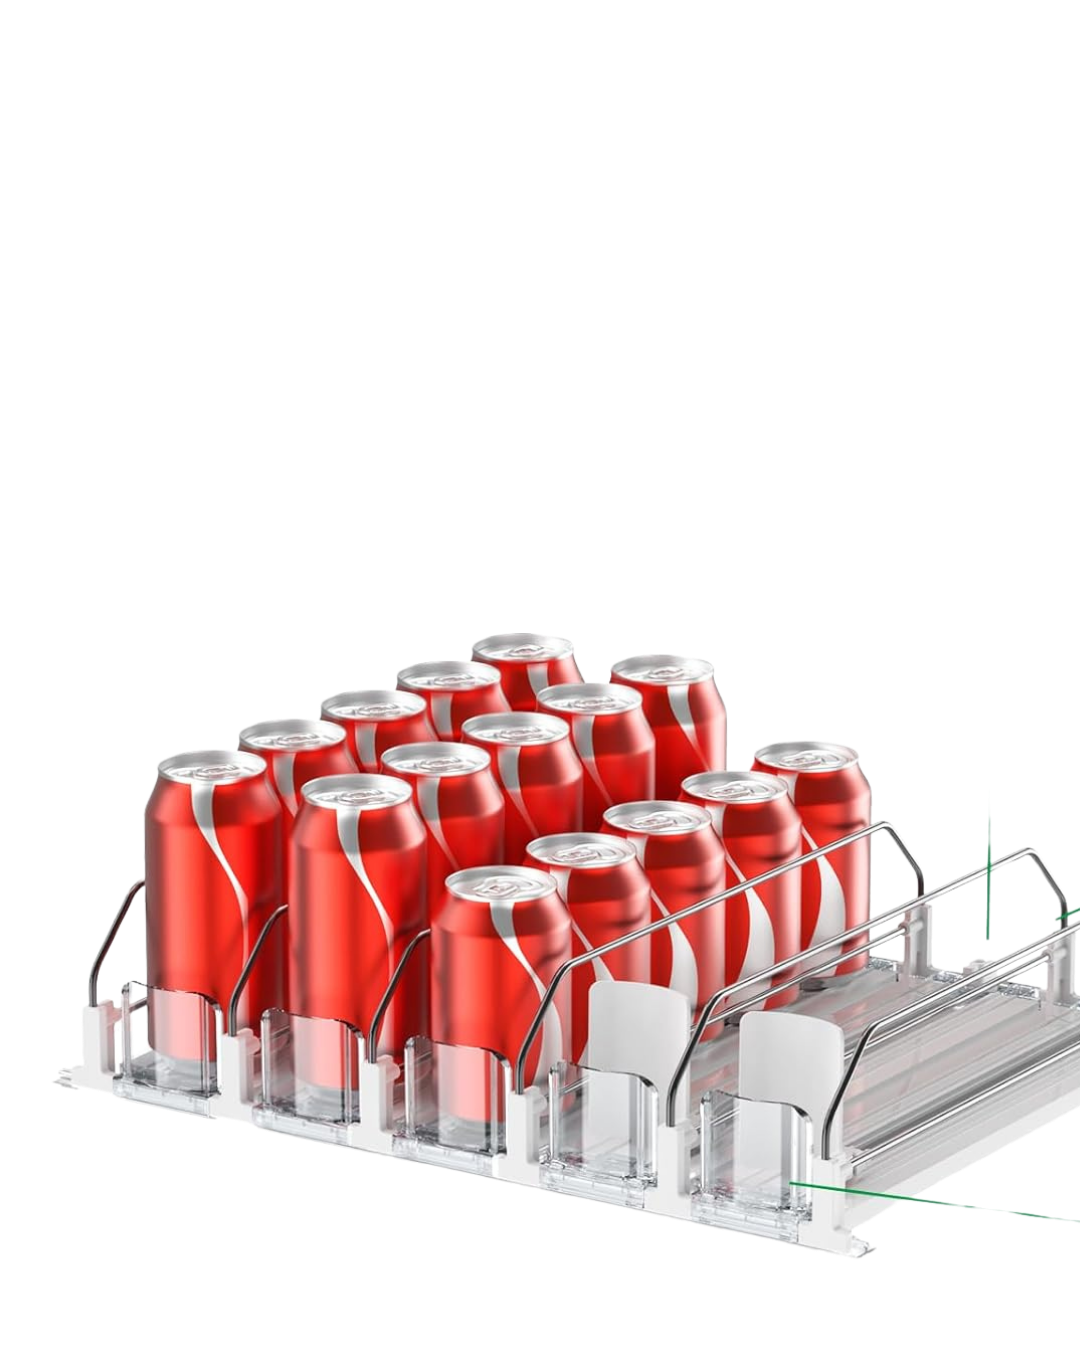
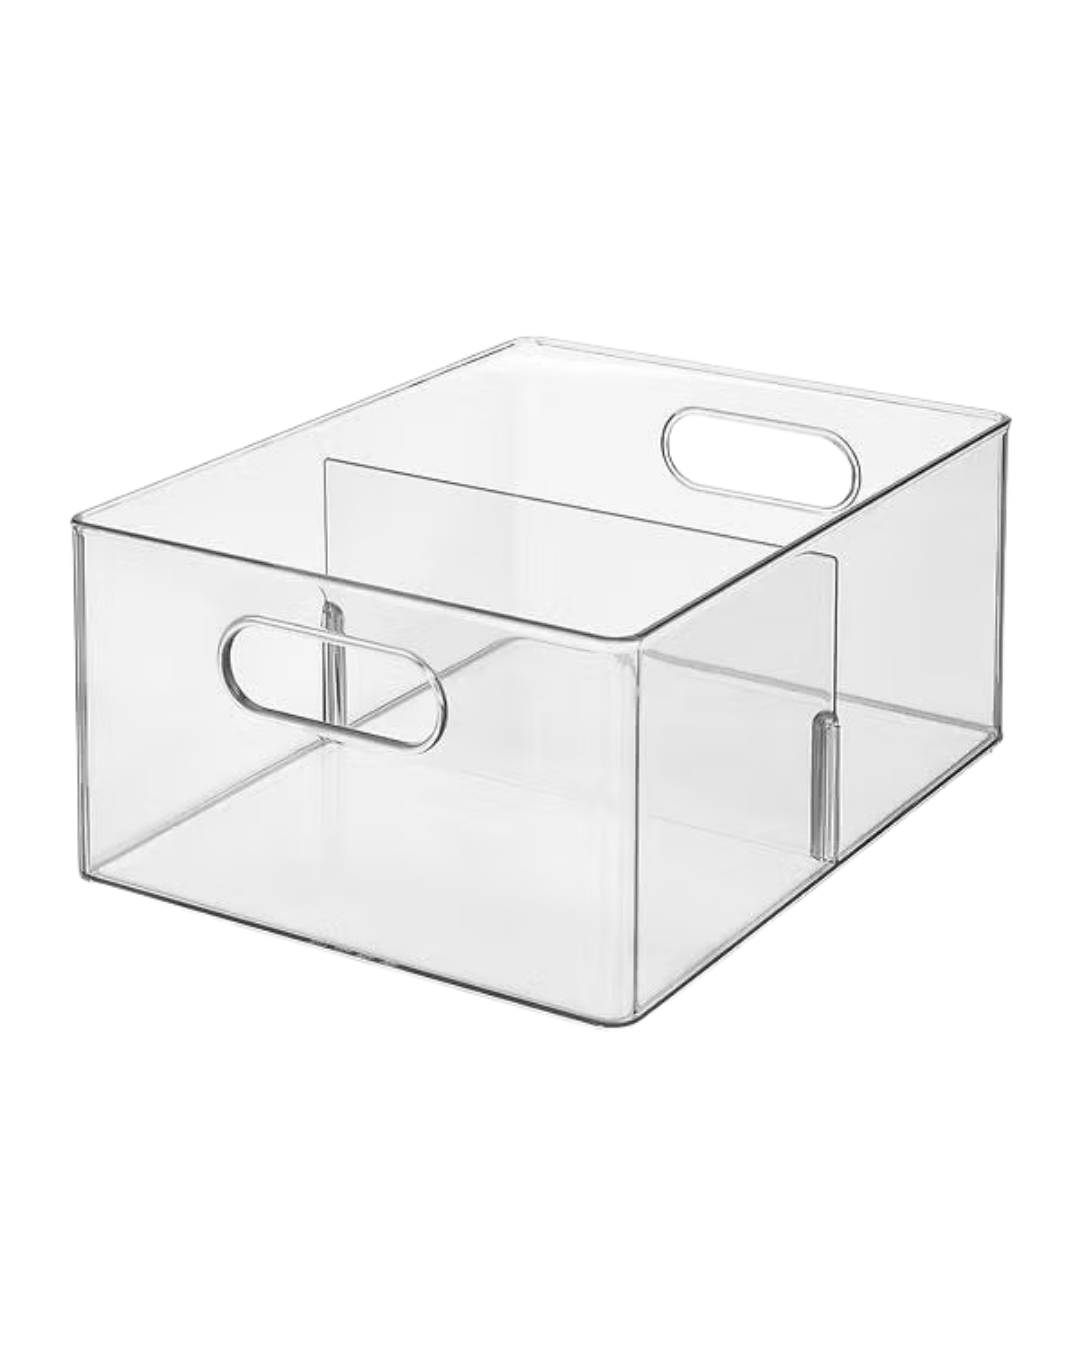
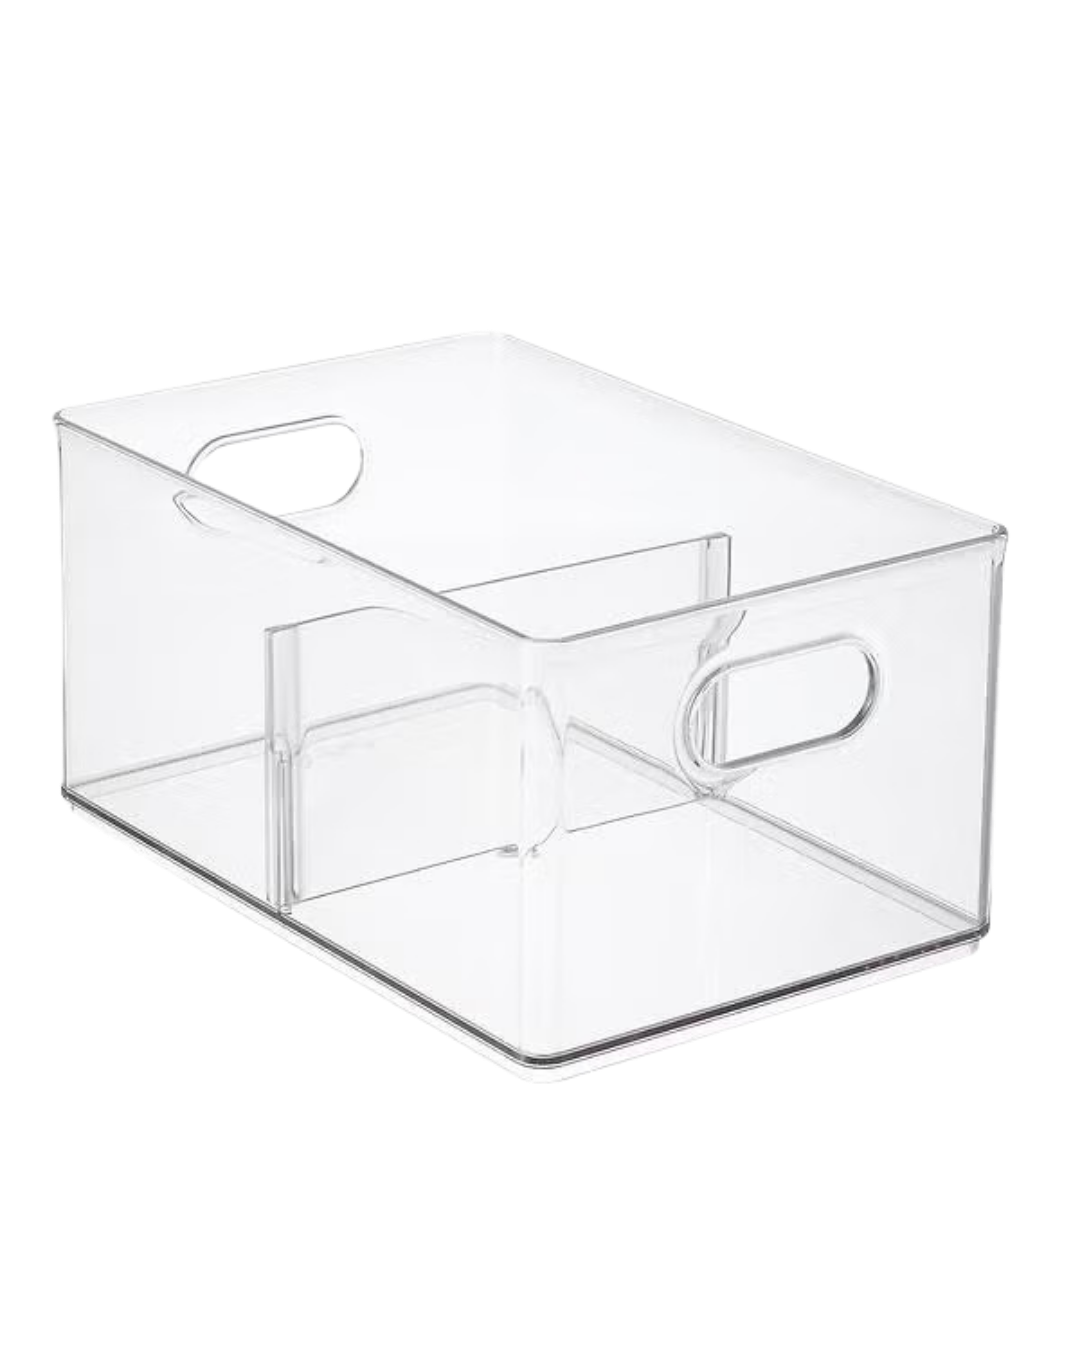
Rethink Your Produce Drawers In addition to the drawers that come standard with your fridge, you can create additional drawers and containment with the use of bins on shelves. These bins should be clear so that you and everyone else in your household can see exactly what the contents are. Everything is visible yet contained. There are a variety of fridge bins, including produce and berry bins which typically have a ventilation component to them. They also come in a stationary-type of bin, as well as a drawer-type variety.
Go Vertical With Stackable Storage These aforementioned fridge bins are also often stackable, which allow you to use vertical space in your fridge and maximize shelf storage.
Remove Bulky Packaging There are times when food packaging can be bulky, so in some instances removing items from their original packaging and transferring to clear storage isn’t just satisfying, it’s also the key to unlocking so much extra shelf space.
Label Each Category Labels are like a set of instructions for your fridge. This allows you and everyone else in your household to see exactly where to find something, and also where to put it back. They hold everyone in your household accountable, so you’re not the only one keeping the system intact. Keep the categories broad—“snacks” and “veggies” work better than “string cheese” or “cucumbers.” Flexibility means the system works even when the grocery list changes.
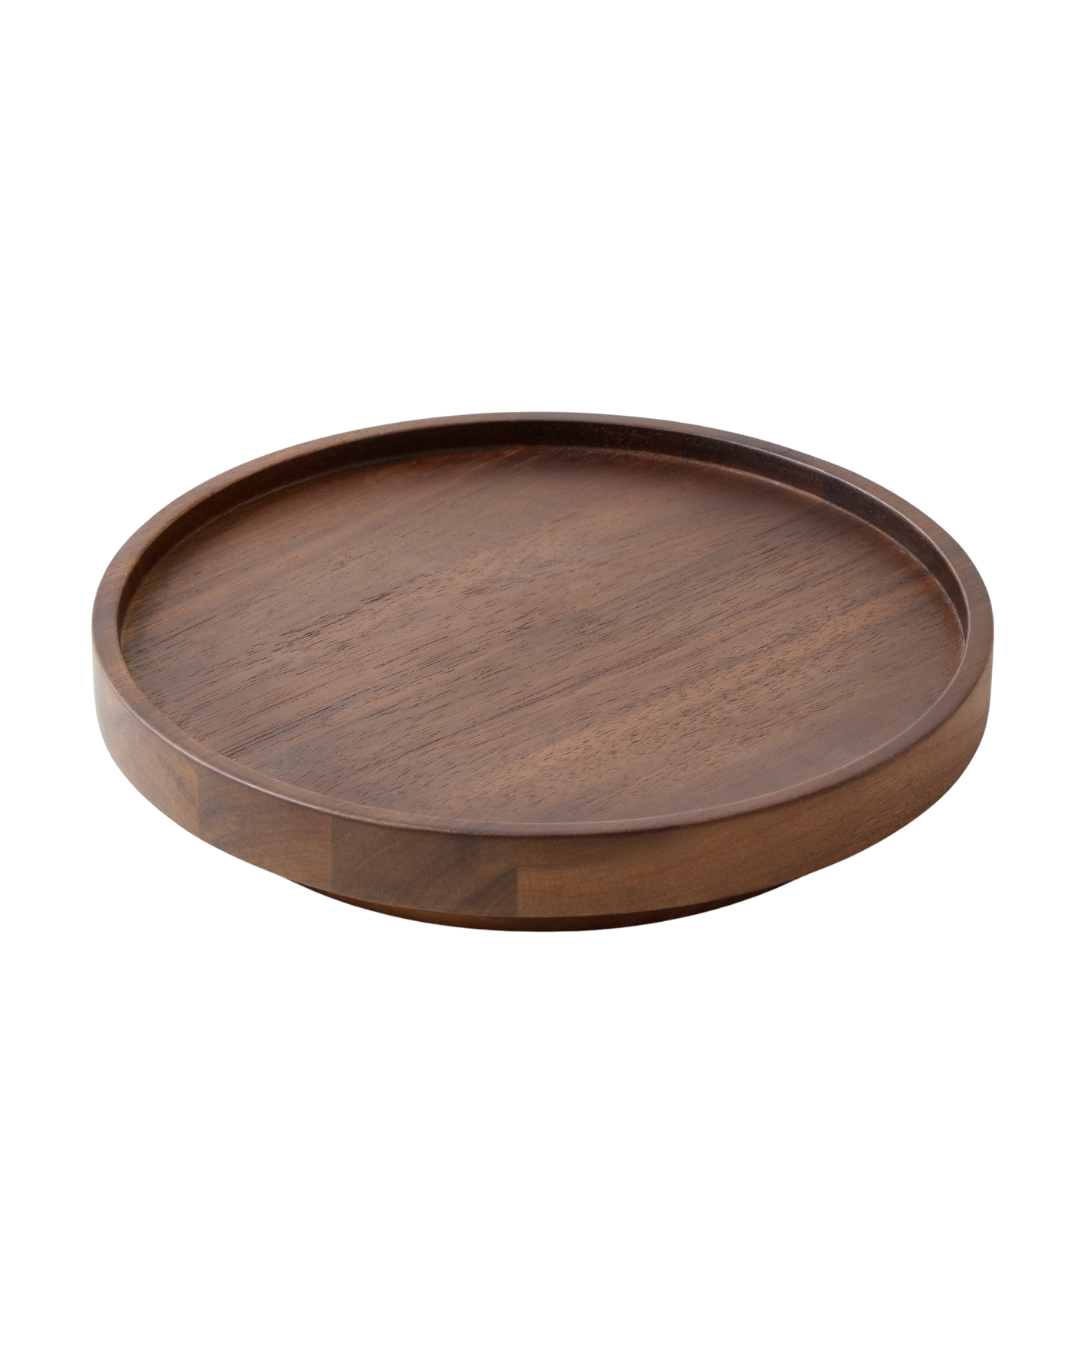
Try a Turntable Sauces, dressings, condiments, etc tend to store well on doors, but if you’re in need of extra storage space with these categories, try storing them on a turntable on top of a shelf.
Create a DIY Vending Machine Turn your fridge into a mini vending machine with spring-loaded beverage dispensers. They clip onto shelves and make grabbing a drink effortless—no digging, no spills, no excuses for your family to mess up your perfect system. It’s a little touch of genius that makes your fridge feel high-tech without the hefty price tag.
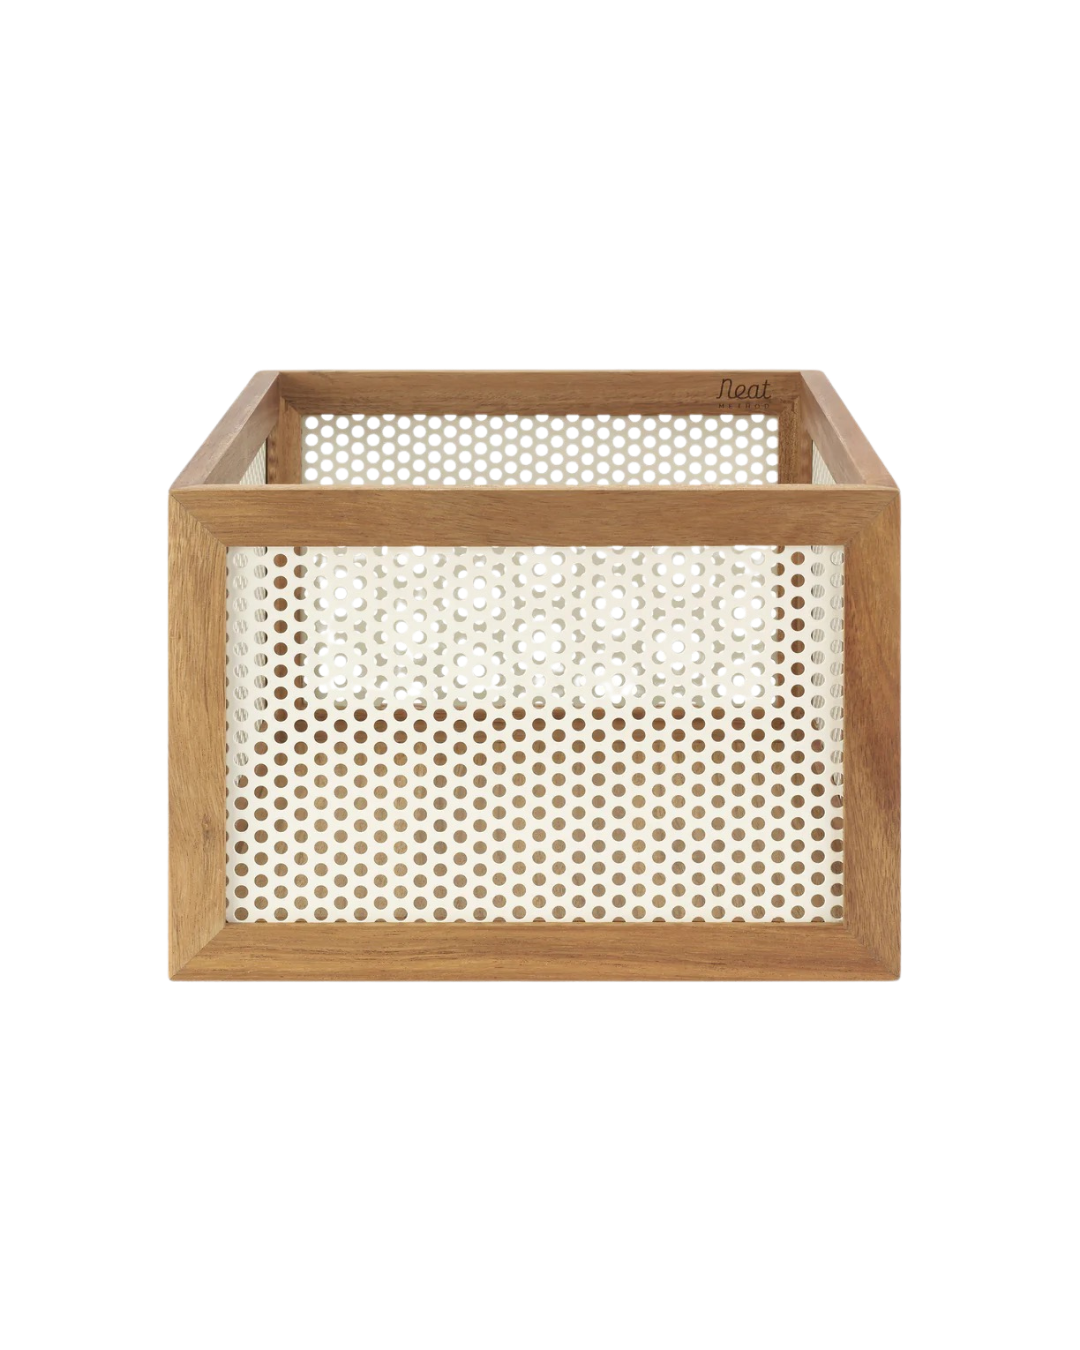
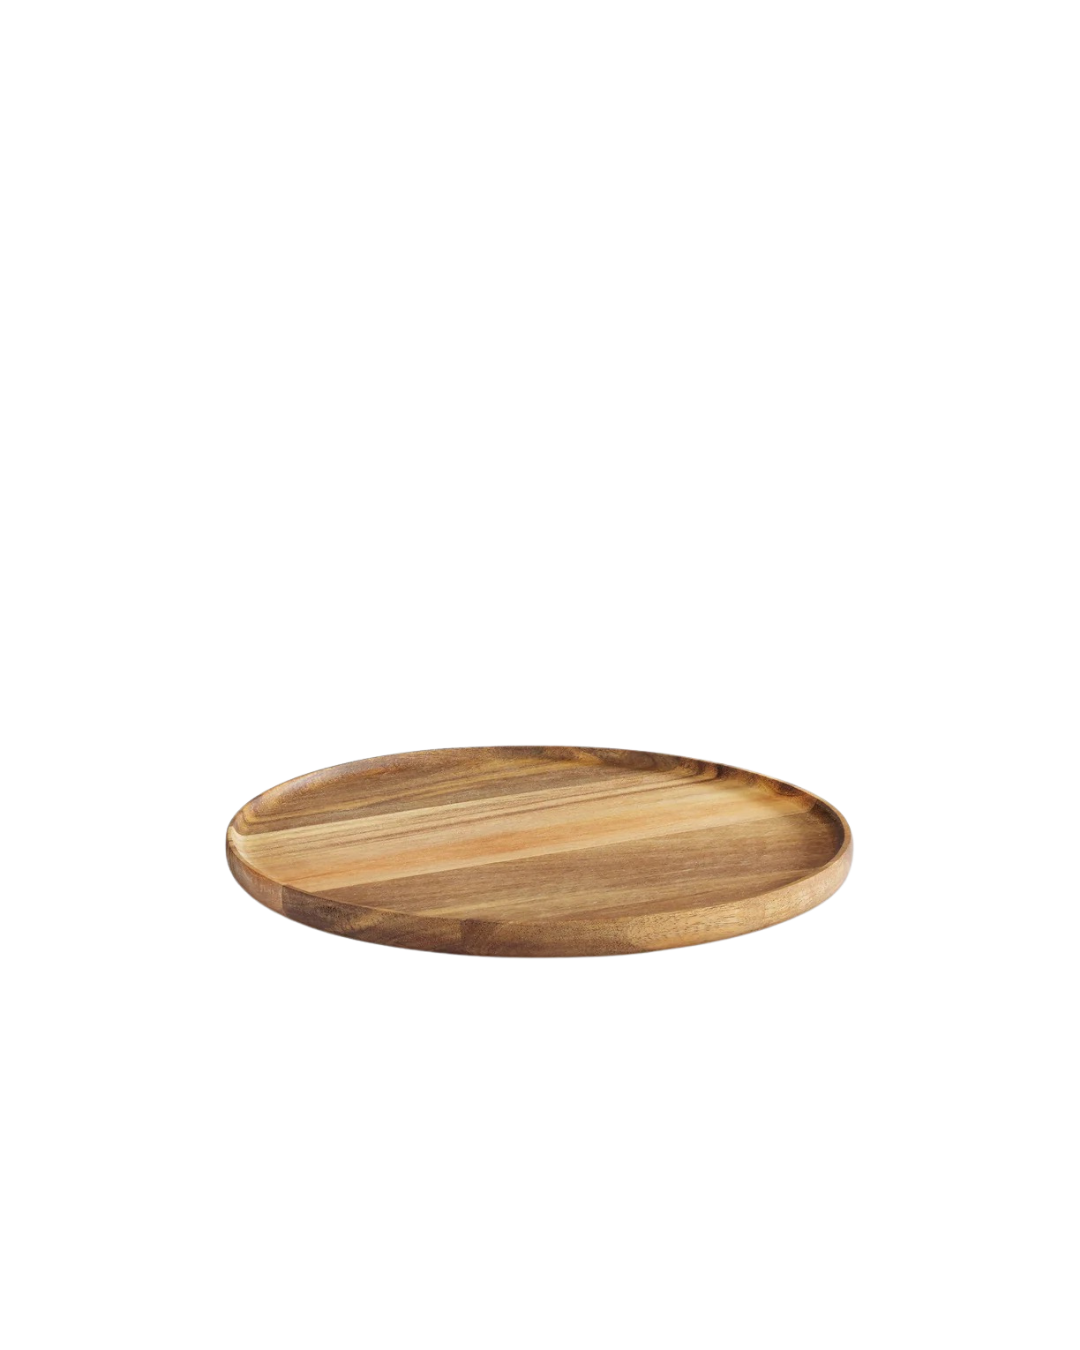
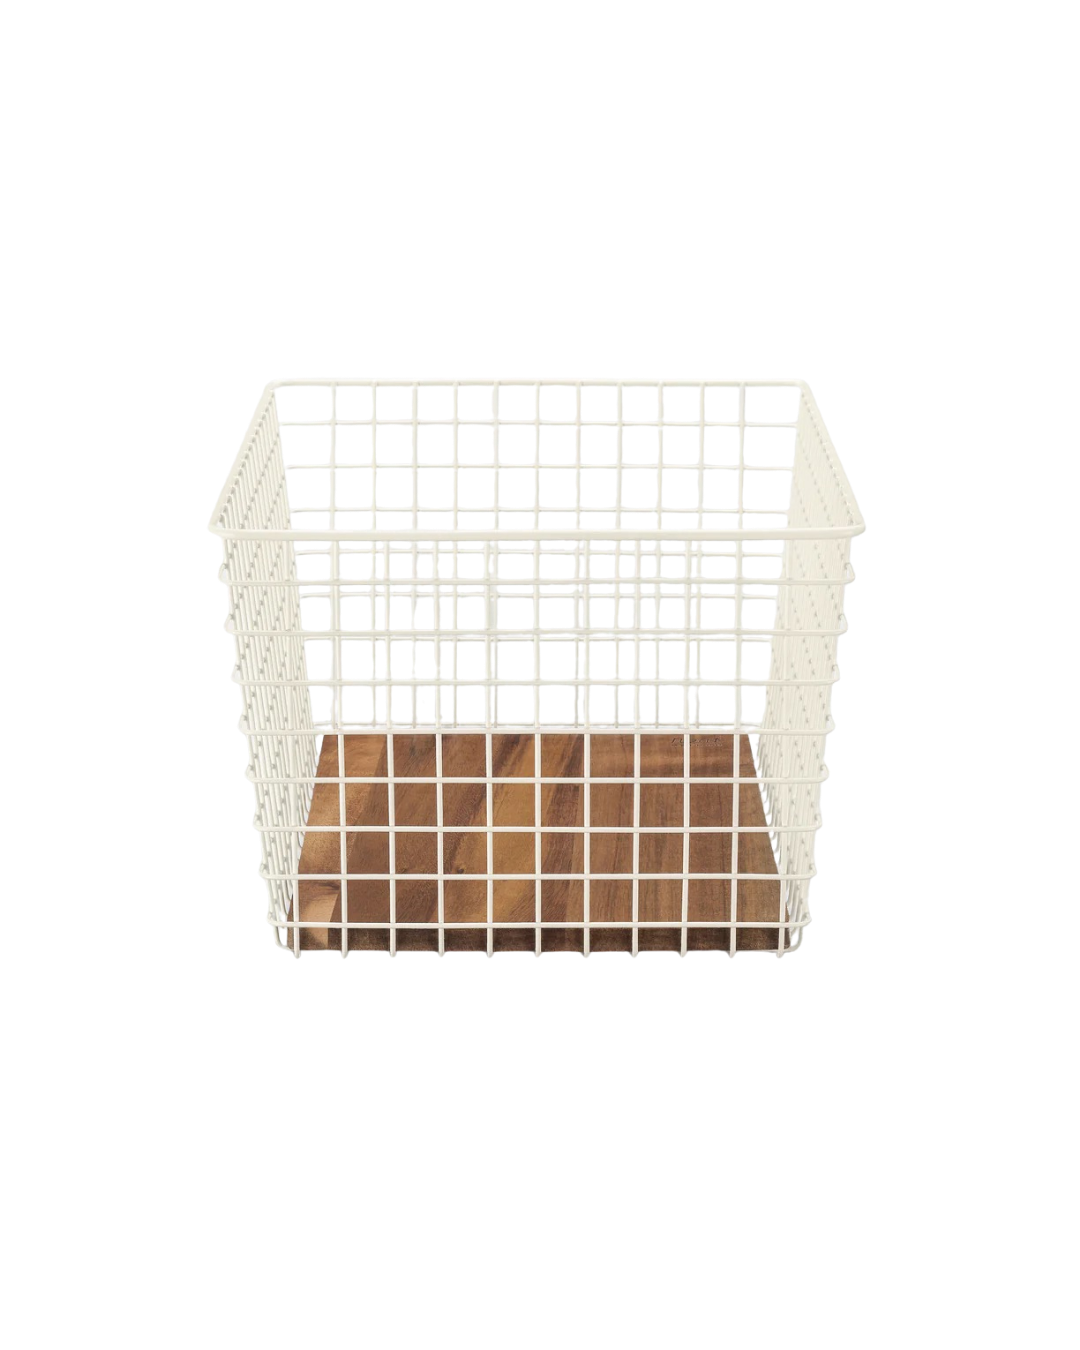
Shop Fridge Organization
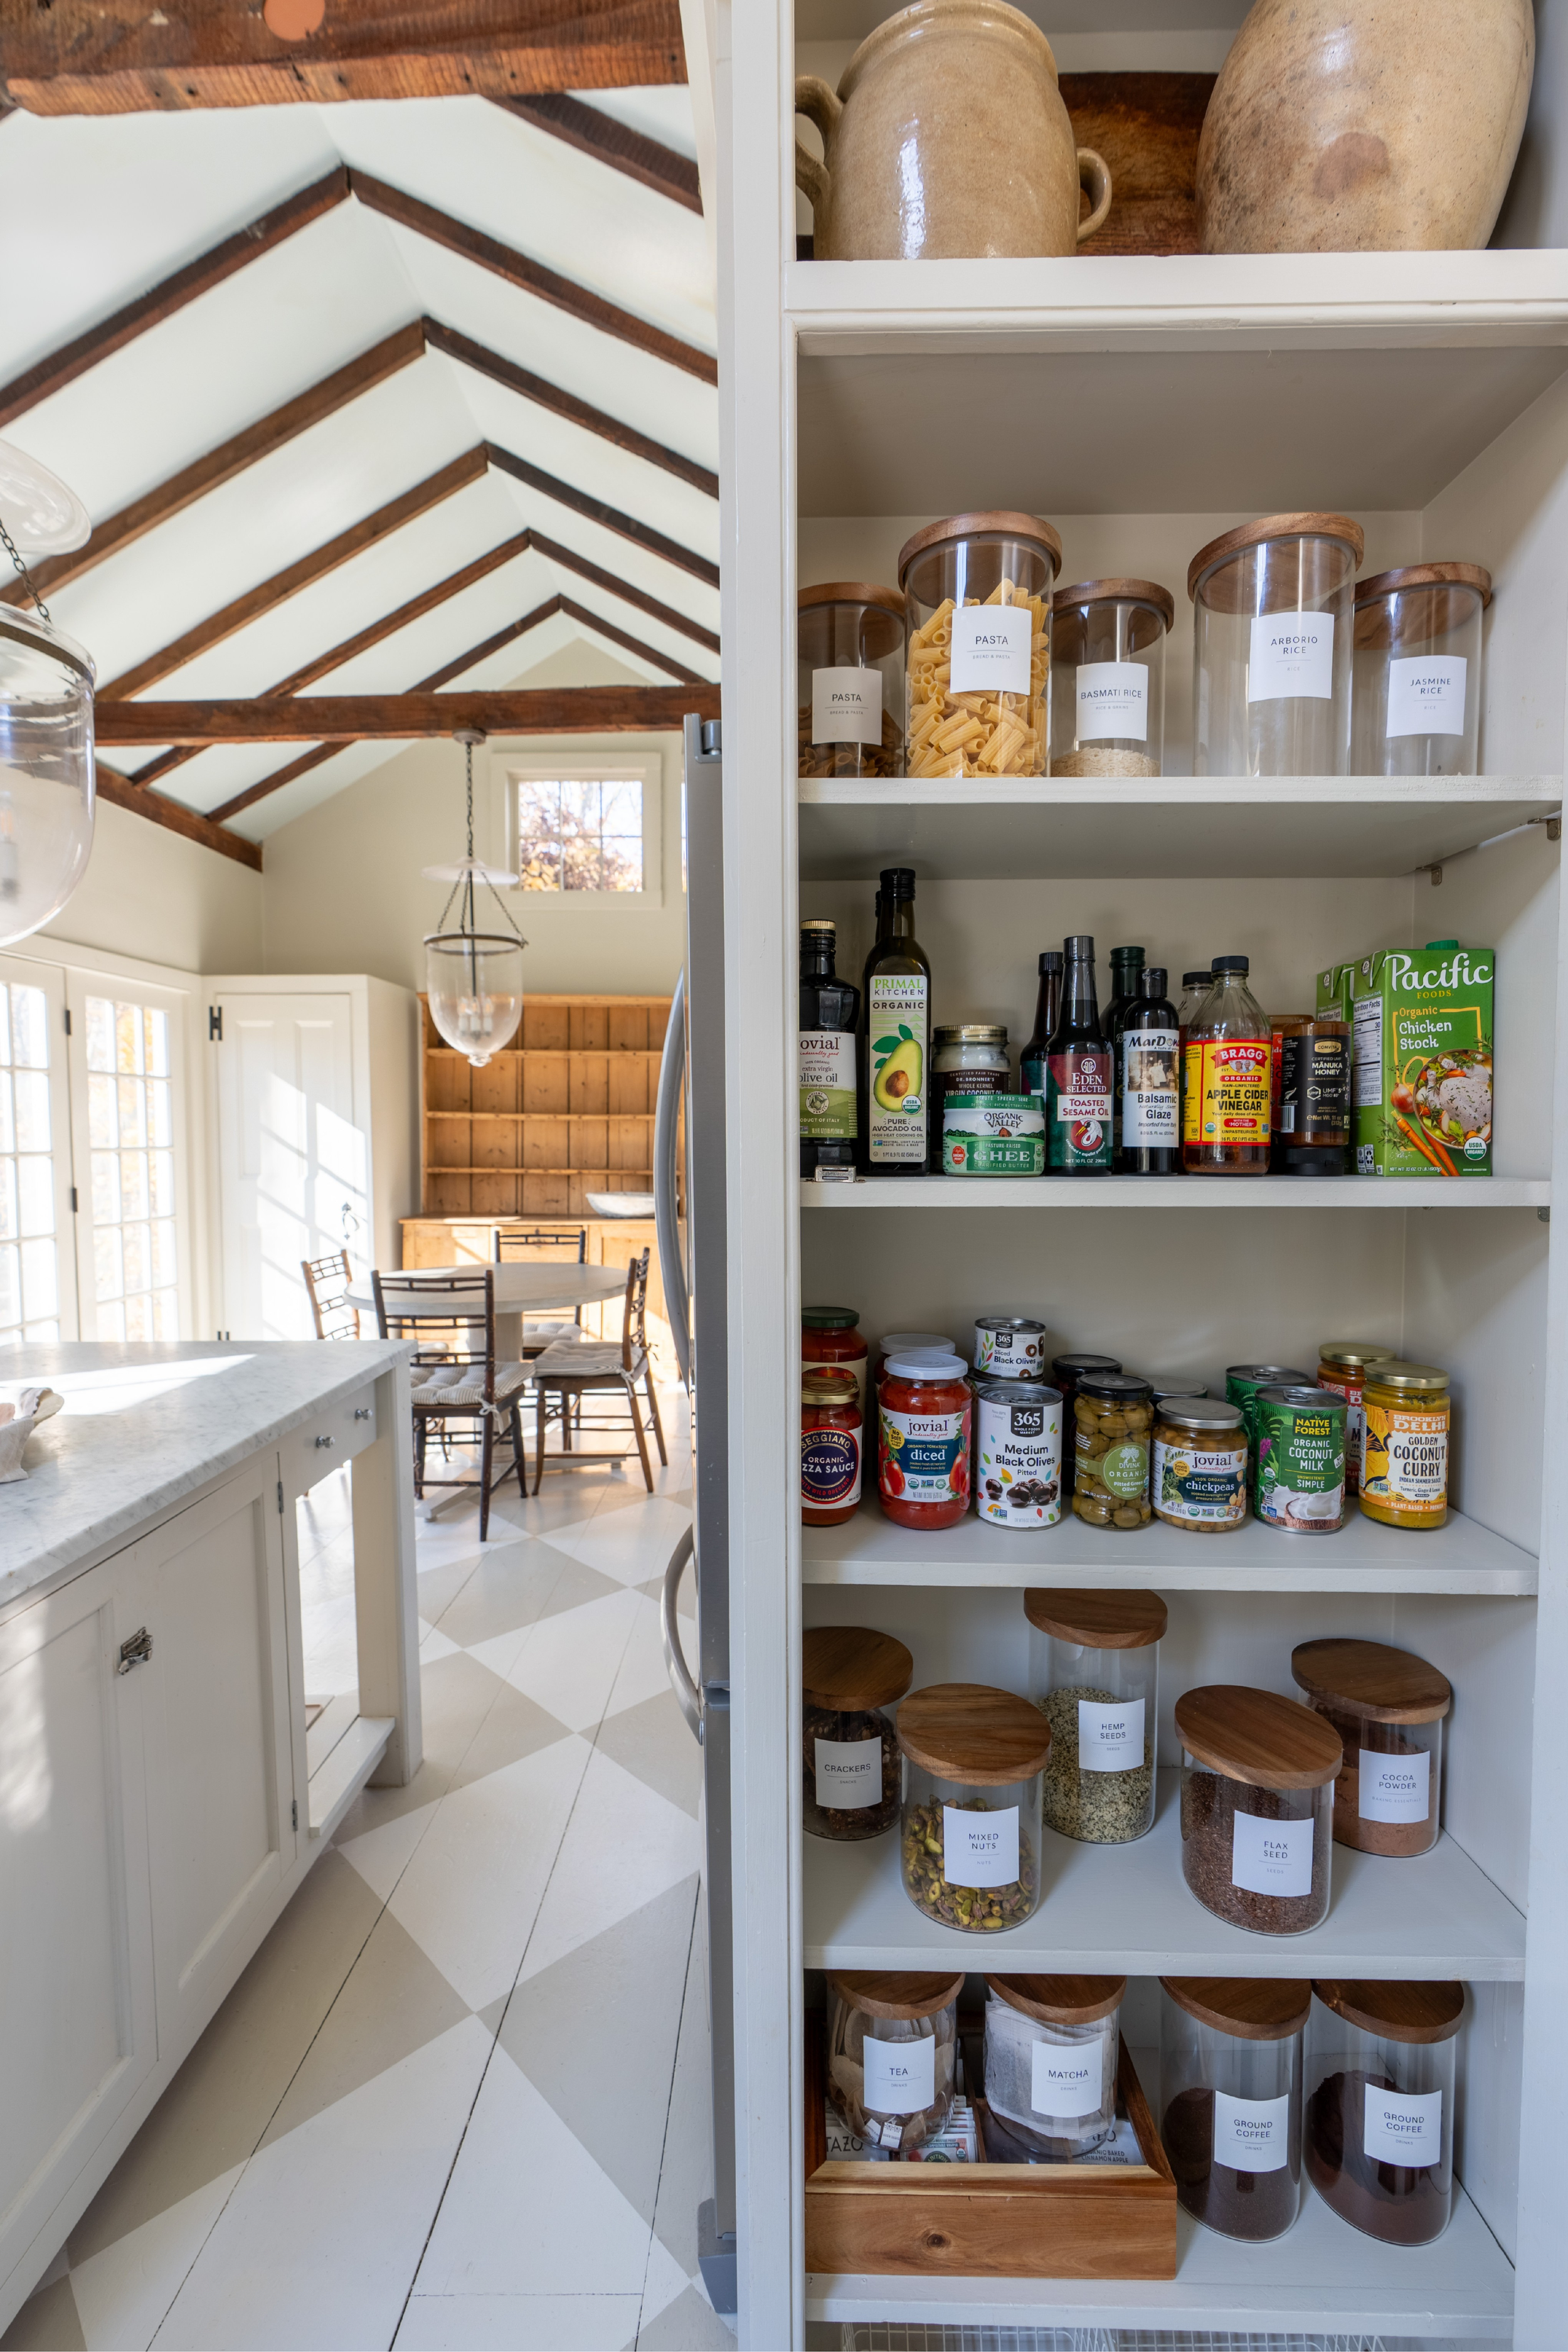
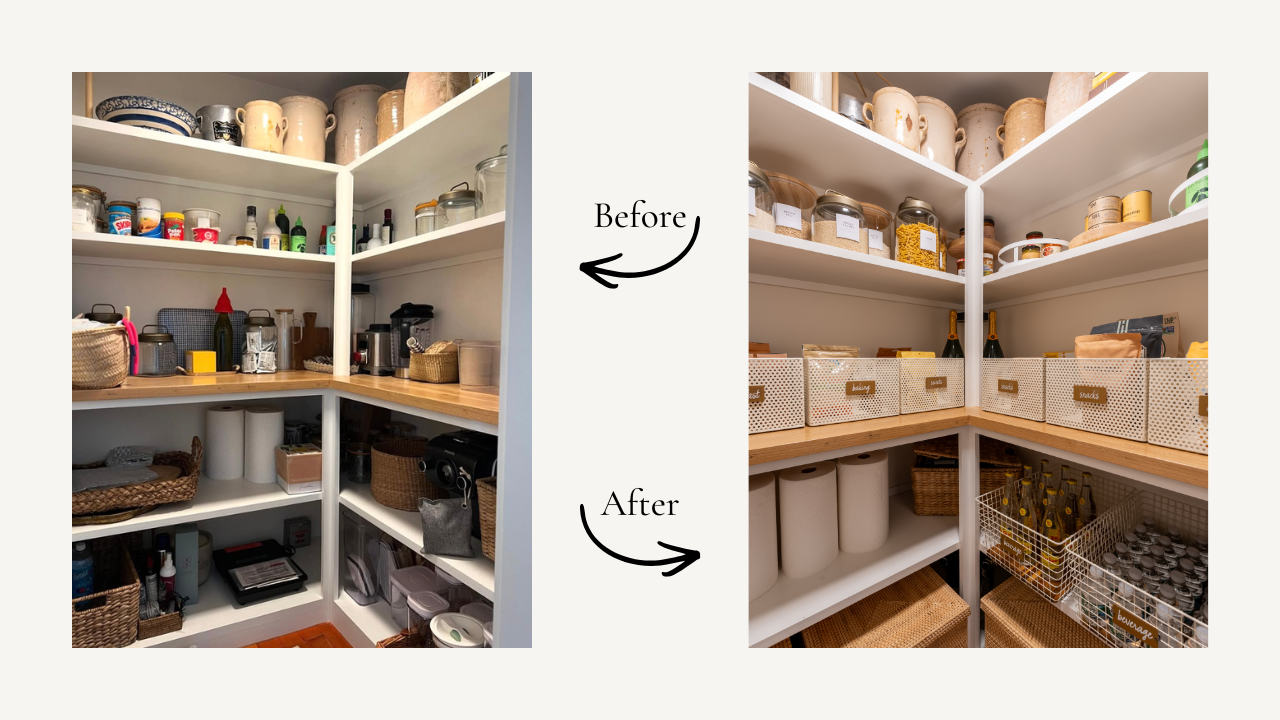
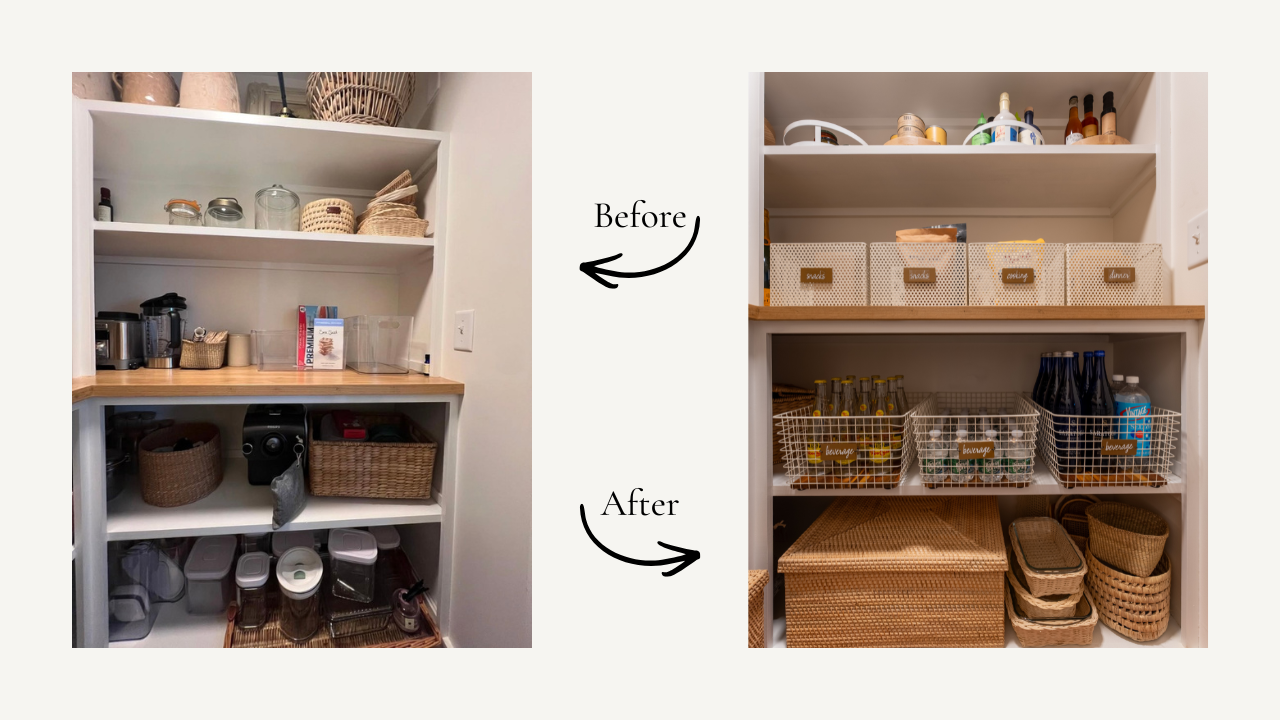
The Pantry
Remove Everything From The Shelves The first step to an organized pantry is to take everything off the shelves and assess what you have. Check every expiration date and toss what’s no longer consumable. Go through and edit your items until you have the essentials that you will actually use. You have likely already enjoyed some of the delicacies from the holiday season, but if you received just one too many jars of jam, or you were gifted food items you will never eat, now is the perfect time to donate them. Also consider donating any shelf-stable foods you didn't use during the holiday season that you won’t over the course of the year, such as canned cranberry sauce or extra canned vegetables.
Group Similar Items Together to Create Categories Once you’ve emptied out your fridge onto a large surface, group similar types of items together to form your categories. For example, goods like flour, granulated sugar and baking powder will be grouped together in your Baking category; Crackers, Chips and — will be grouped together in your Snacks category. When items are grouped together, you always know where something is and whether you need to restock. There are some exceptions, but most pantries have the same seven categories: Beverages, Breakfast, Wellness, Snacks, Cooking, Dinner and Baking. What will differ from pantry to pantry is the specific foods and products that make up those categories, as well as their quantities.
Keep Your Categories Simple Avoid hyper-categorizing the items in your pantry when organizing. What you want is a simple road map that's flexible enough to allow for the occasional outlier. If you get too specific with your categories, it locks you in, and you end up sticking things anywhere because they belong nowhere. When in doubt, keep it general. You can begin making smaller subcategories once you’ve created your pantry’s layout and storage solutions with the support of organizing materials (more on that below!).
Create Your Layout with Zones Then, create your pantry layout with dedicated zones using your pantry categories from the previous step. The layout, placement and size of each zone will look different in every pantry, however, we typically like to set up a pantry based on how you access it throughout the progression of day, usually with breakfast towards the bottom and dinner more towards the top. Keeping breakfast and snacks low and easily accessible encourages independence in kids. We do try to keep heavy items the lowest, like beverages, for instance. You can also consider how often you access each category of food, and the items that you use occasionally can live on a higher shelf but are still visible and accessible— this tends to be the baking category in most households. The items that you never use, or anything back-stock, should be less accessible so they don't take up valuable real estate.
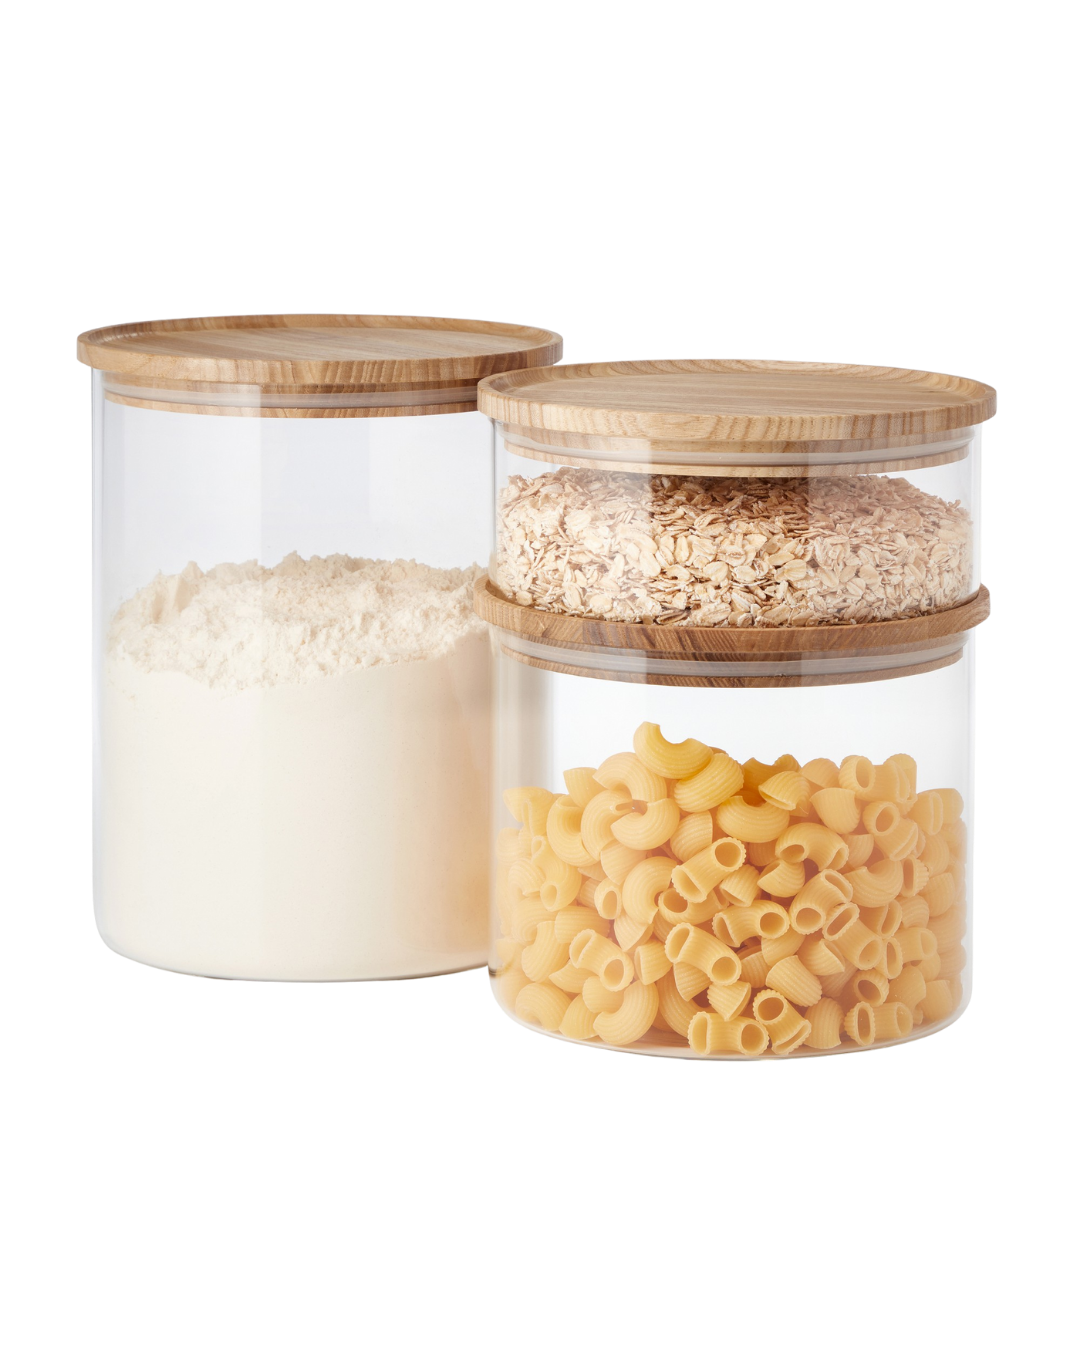
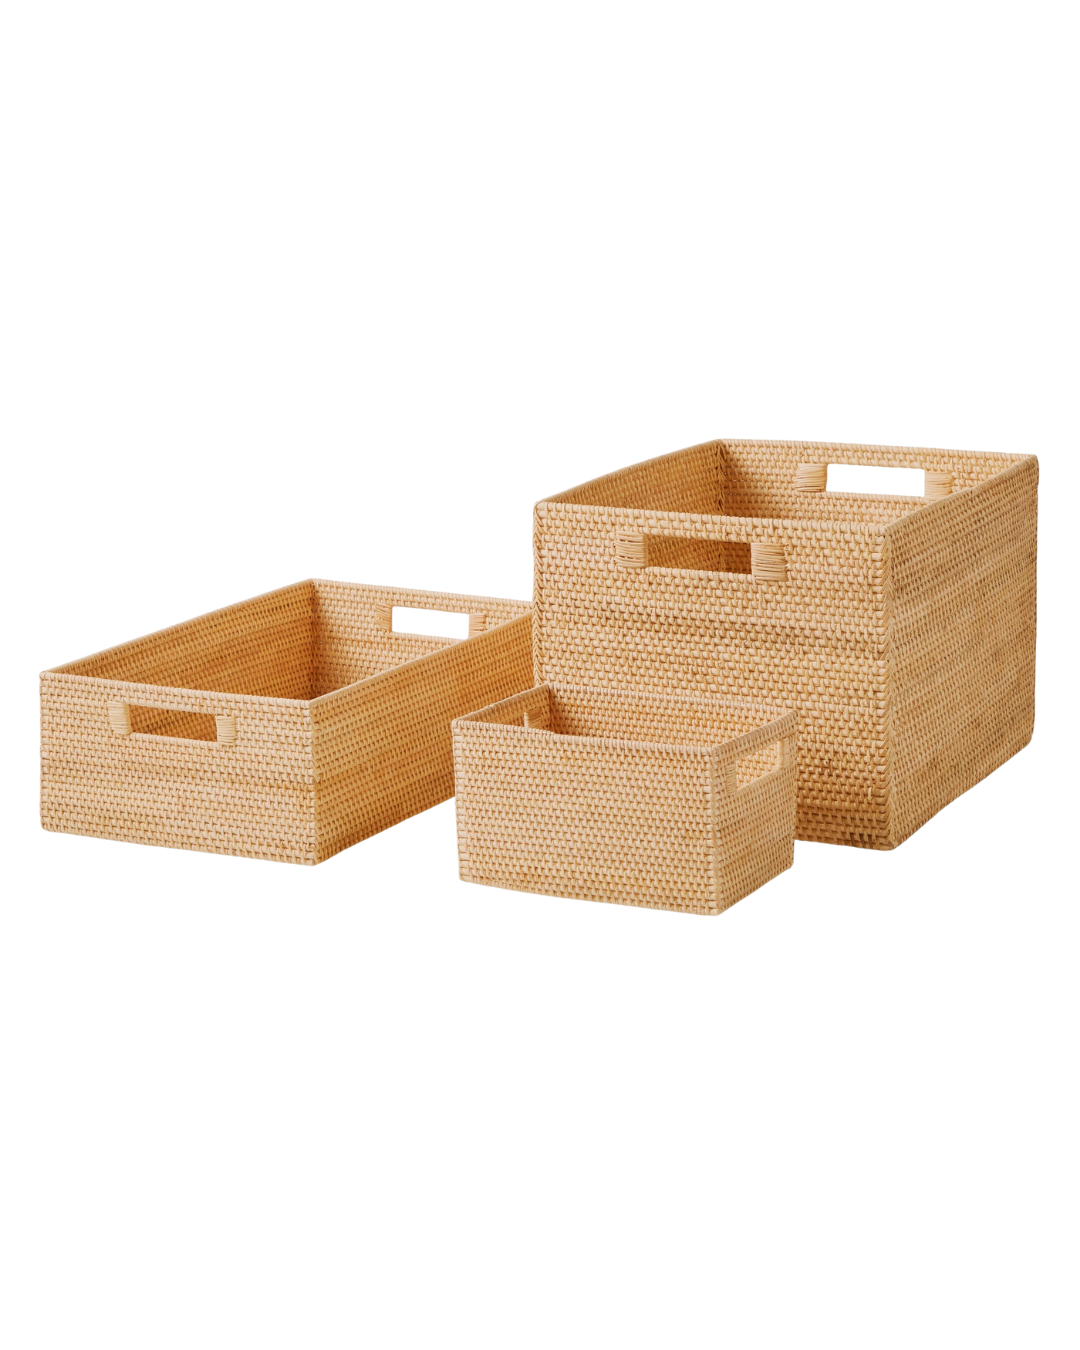
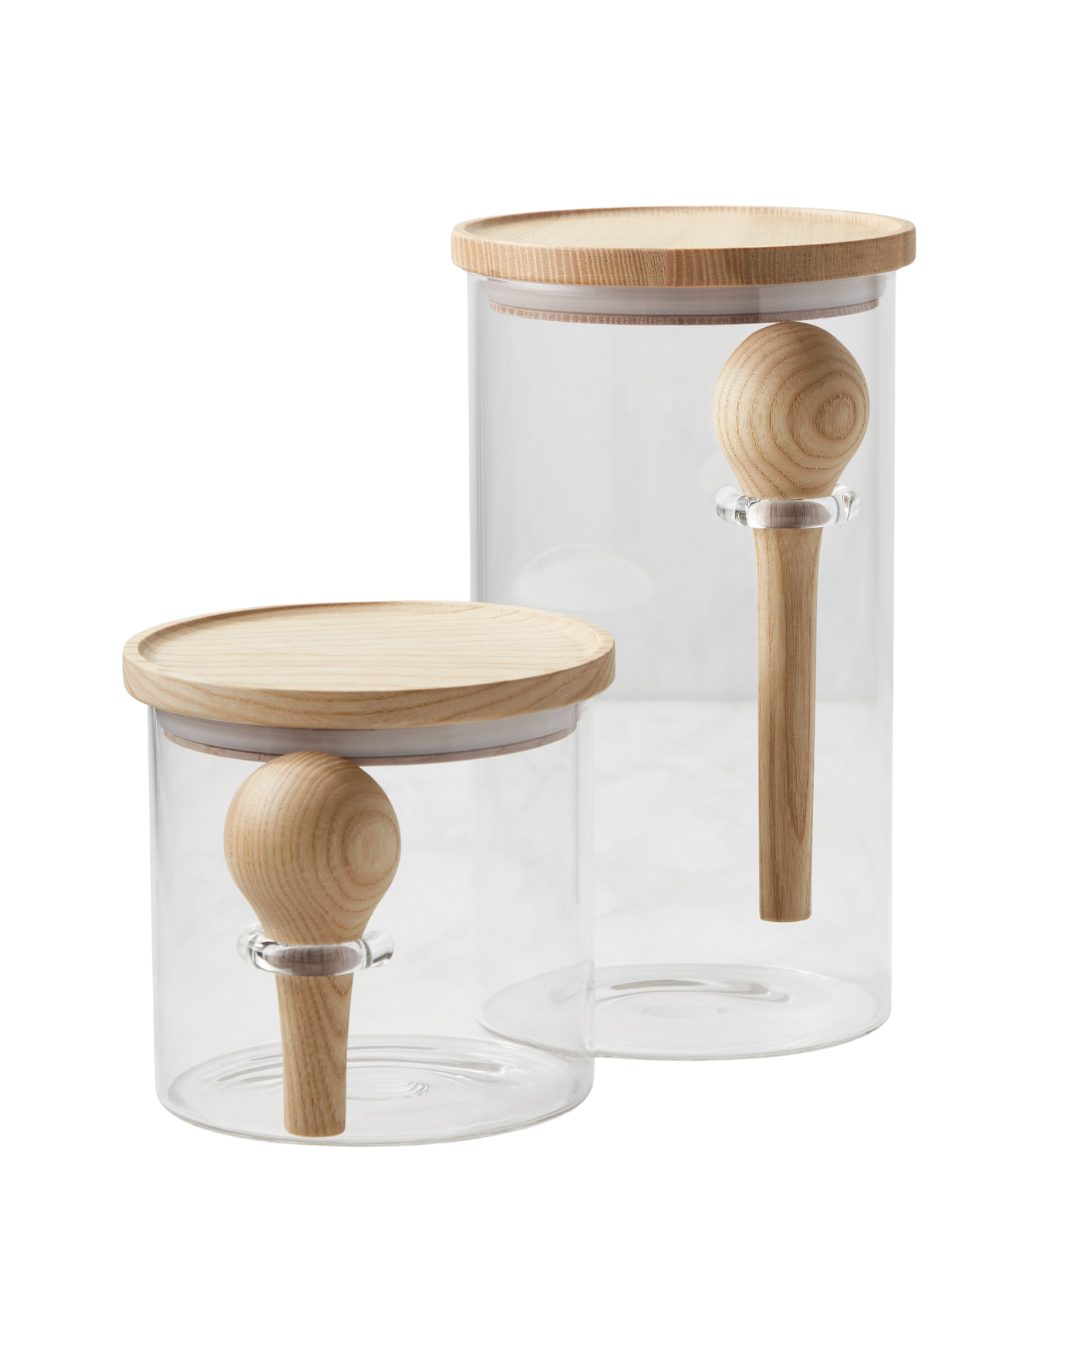
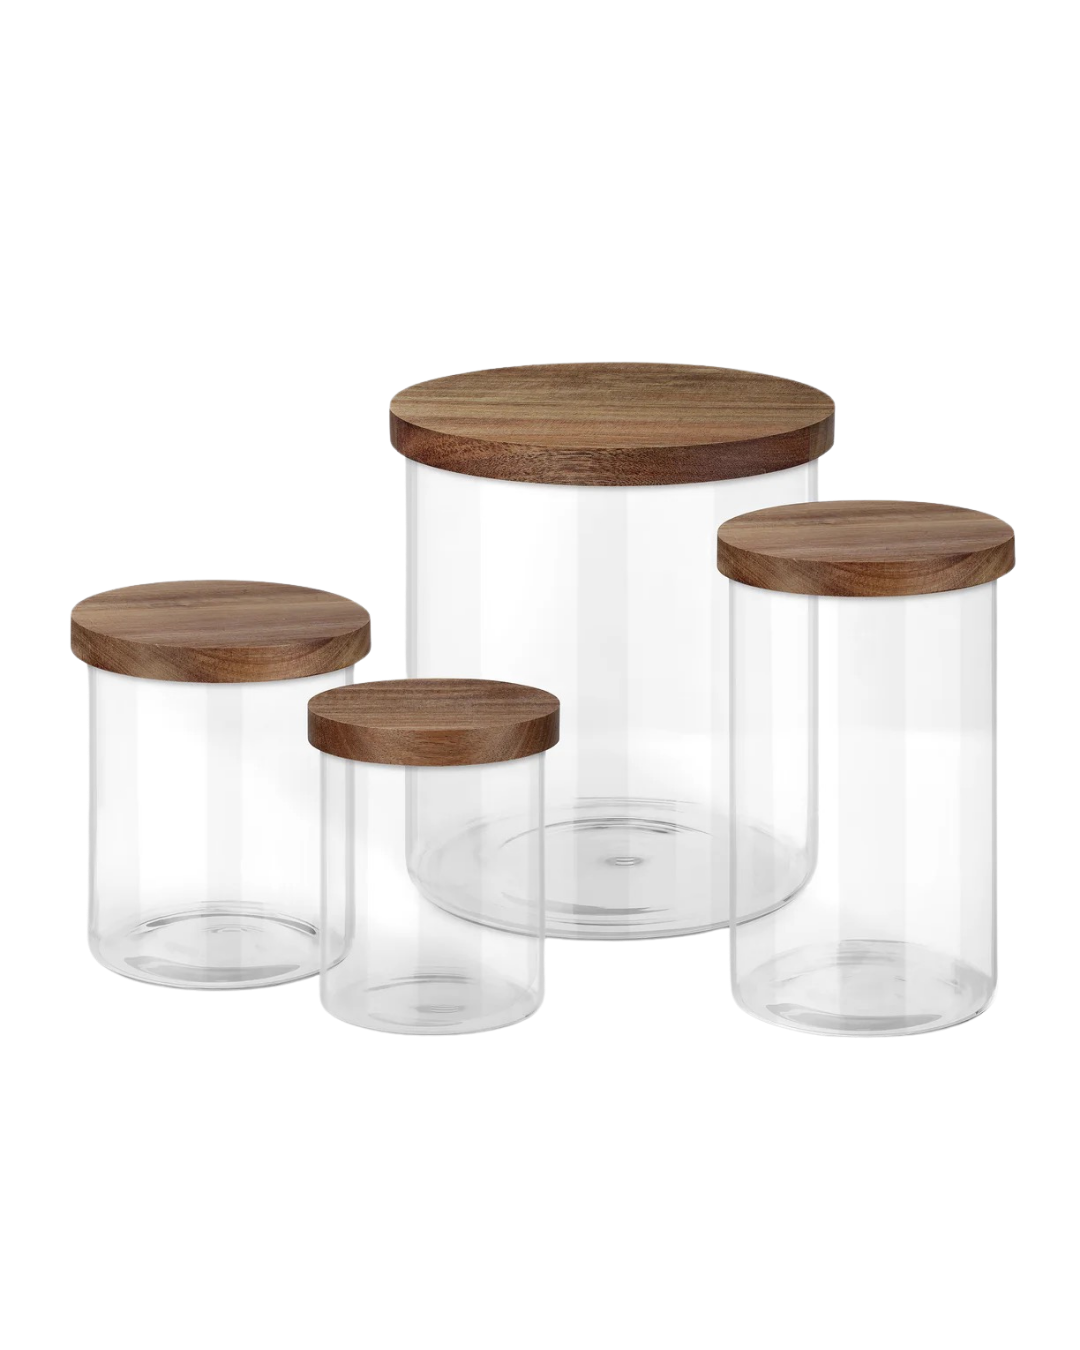
Use Materials/Products For Storage Solutions & Systems Now you can begin to create your storage solutions and organizing systems for your space. Rather than placing food loosely back on the shelves, keep them organized and contained with the support of organizing materials and products. These materials can also help you to create those “subcategories” we mentioned earlier. For example, in the Breakfast zone of your pantry: you could store cereal boxes in a bin, decant oatmeal and pancake mix in a canister, and store spreads like nut butters and jams on turntables.
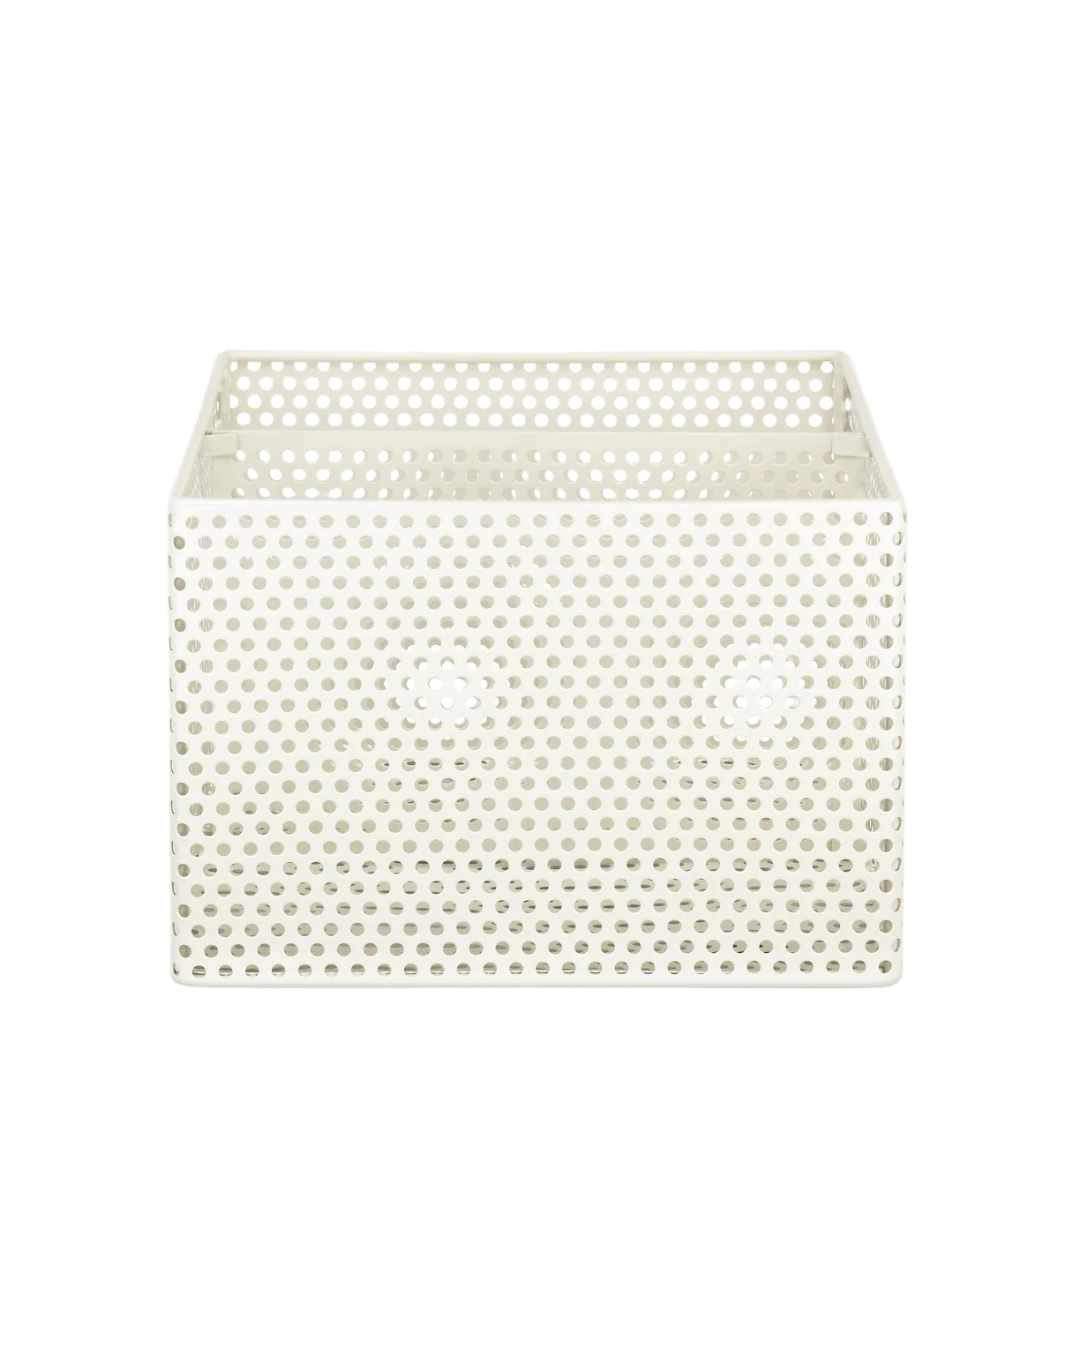
Contain in Bins Bins are a hero product in most pantries. From crackers and chips to pasta and grains, they can store almost any pantry food and provide a clear physical boundary of containment.
Decanting in Canisters Canisters make knowing what you have so much easier, and make any pantry look polished and beautiful, but truthfully speaking, they’re not the best solution for every single pantry– they do not always take up less space than the original packaging, and they also require an extra step after the grocery store run. They often work best to store staples that you keep in your pantry at all times. If you do decide to transfer original products out of their packaging and into decanters, include the expiration date on the bottom of the new container. Create a label with a label maker, or hand write on removable labels, so you can easily change it when you refill the container. Not only will this prevent you from eating something expired, it also keeps you from hanging on to old items.
Store on Turntables For canned, jarred and bottled goods, we love using turntables. It allows you to keep a variety of foods in one area and its turning mechanism allows you to see everything with ease.
Always Label Labels will help you easily identify the contents in your pantry. They guide the entire household on where to find something, and also where to put it back when done.
Stay On Top Of Maintenance The trick to keeping your pantry tidy is to regularly sift through its contents. Give your shelves a quick touch-up when you put away your weekly grocery haul. If you do this frequently, it should only take about five minutes to get everything back into its place. Then, once or twice a year, do a full clean-out that includes wiping down your shelving and checking all expiration dates.
Shop Pantry Organization


Thank you to Story Reporter Taylor Knight, Photographer Jeff, In-Studio Anchors Scot Haney and Caitlin Francis, Executive Producer Becky McCabe, and the entire Great Day at 9A team!